Improved Philmont Bear Bags

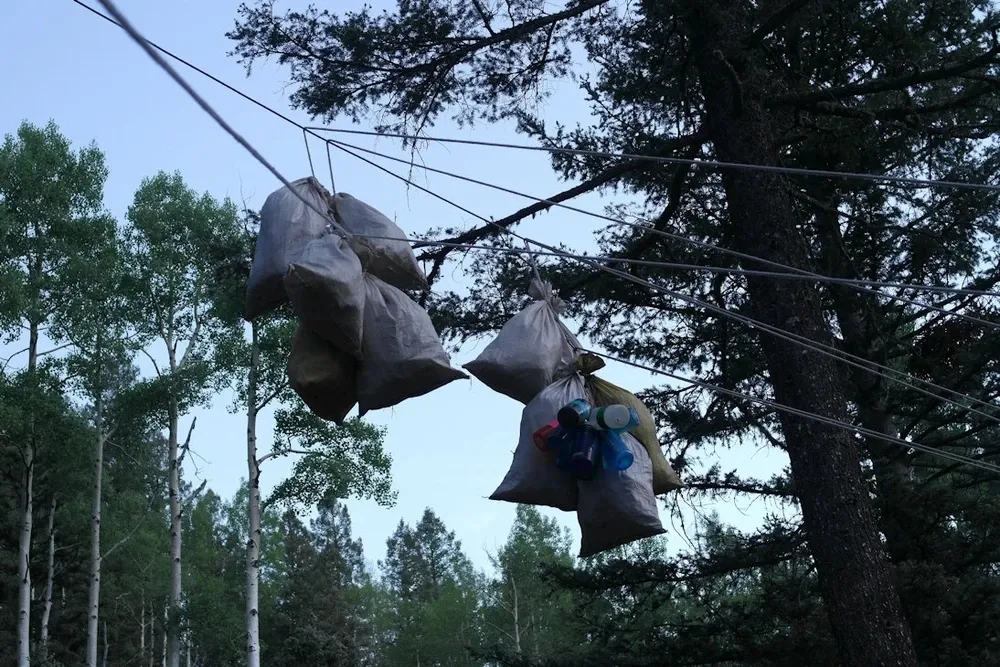
Philmont's approach to bear management has relied on bear bags for decades. Standard practice when I attended in 1988 and 1989 involved permanently-placed steel cables between trees, ropes, and burlap sacks. The only thing that had changed when I attended as an adult in 2023 was that that burlap had been replaced with plastic/woven grain bags. These bags had a few frustrating features:
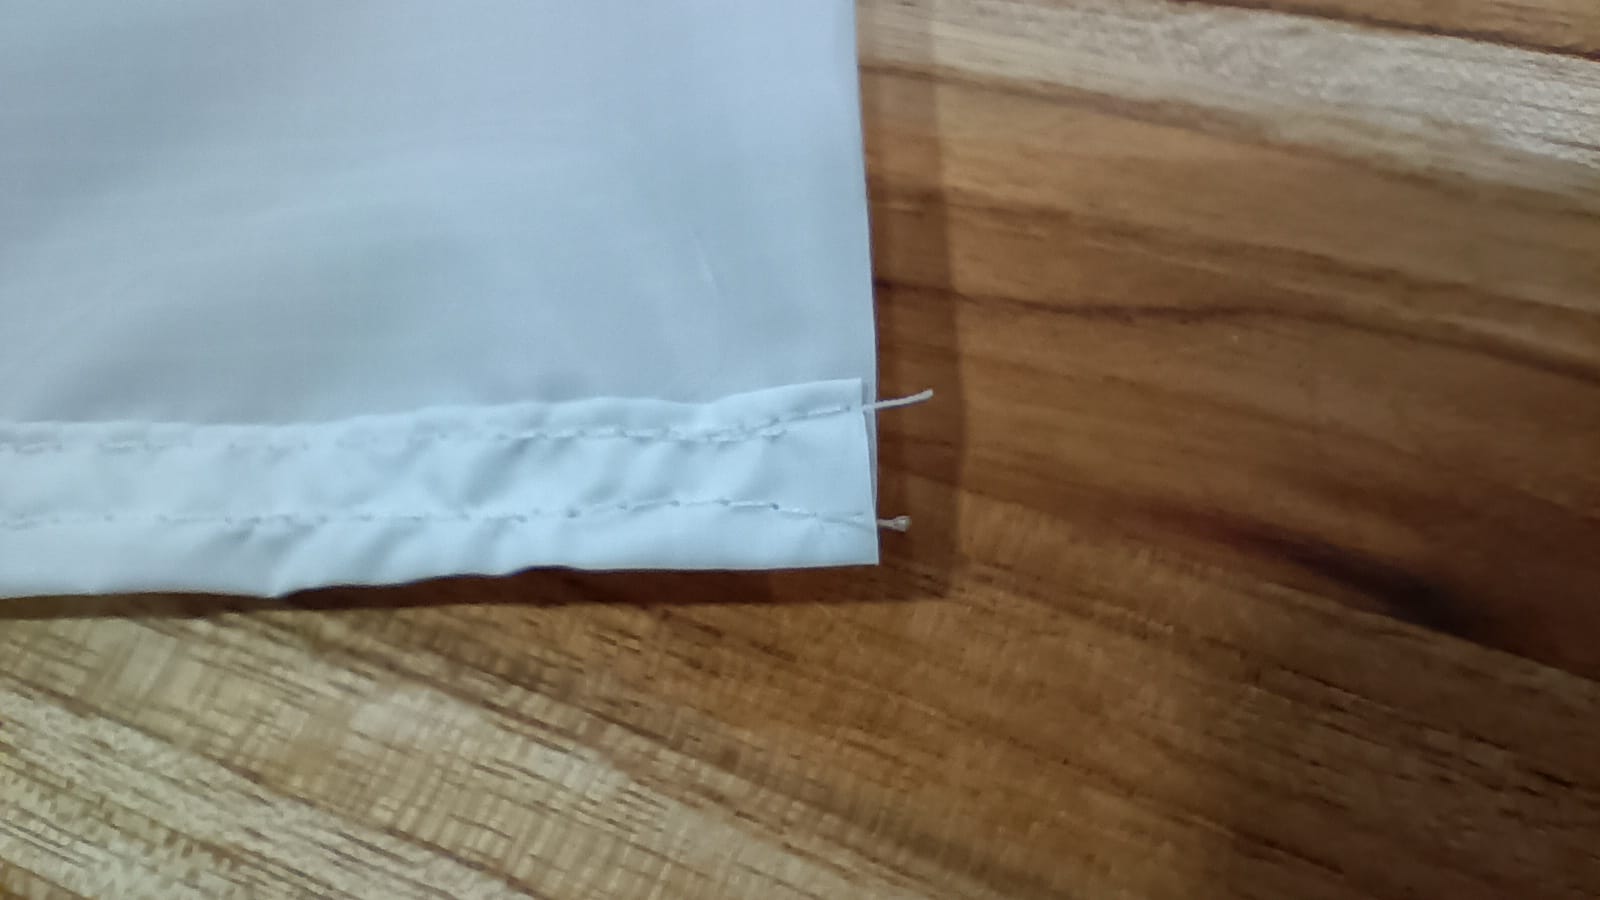
1) The top edge of the bag was not hemmed, and the material was a very loose weave. The result was that the plastic frayed/unraveled very quickly, creating a mess that had to be trimmed off. I had to trim my bag 3 times on a 9-day trek.
2) Philmont's approach to attaching bear bags was to tie a clove hitch or larks head hitch with the rope around the gathered neck of the bag. These knots were extremely difficult to remove the next morning, and was the primary contributor to the bag tops fraying. The difficulty of removing these knots contributed in a non-trivial way to the time it took to get out of camp in the morning.
At a minimum, Philmont's bear bags should be hemmed. It's like they took grain bags and just cut the top off of them. What's frustrating is that stock/unaltered grain bags are hemmed. The unfinished edges are simply negligence / laziness / penny-pinching. Making your own bags and bringing them to Philmont will help you avoid this annoyance and save time each morning.
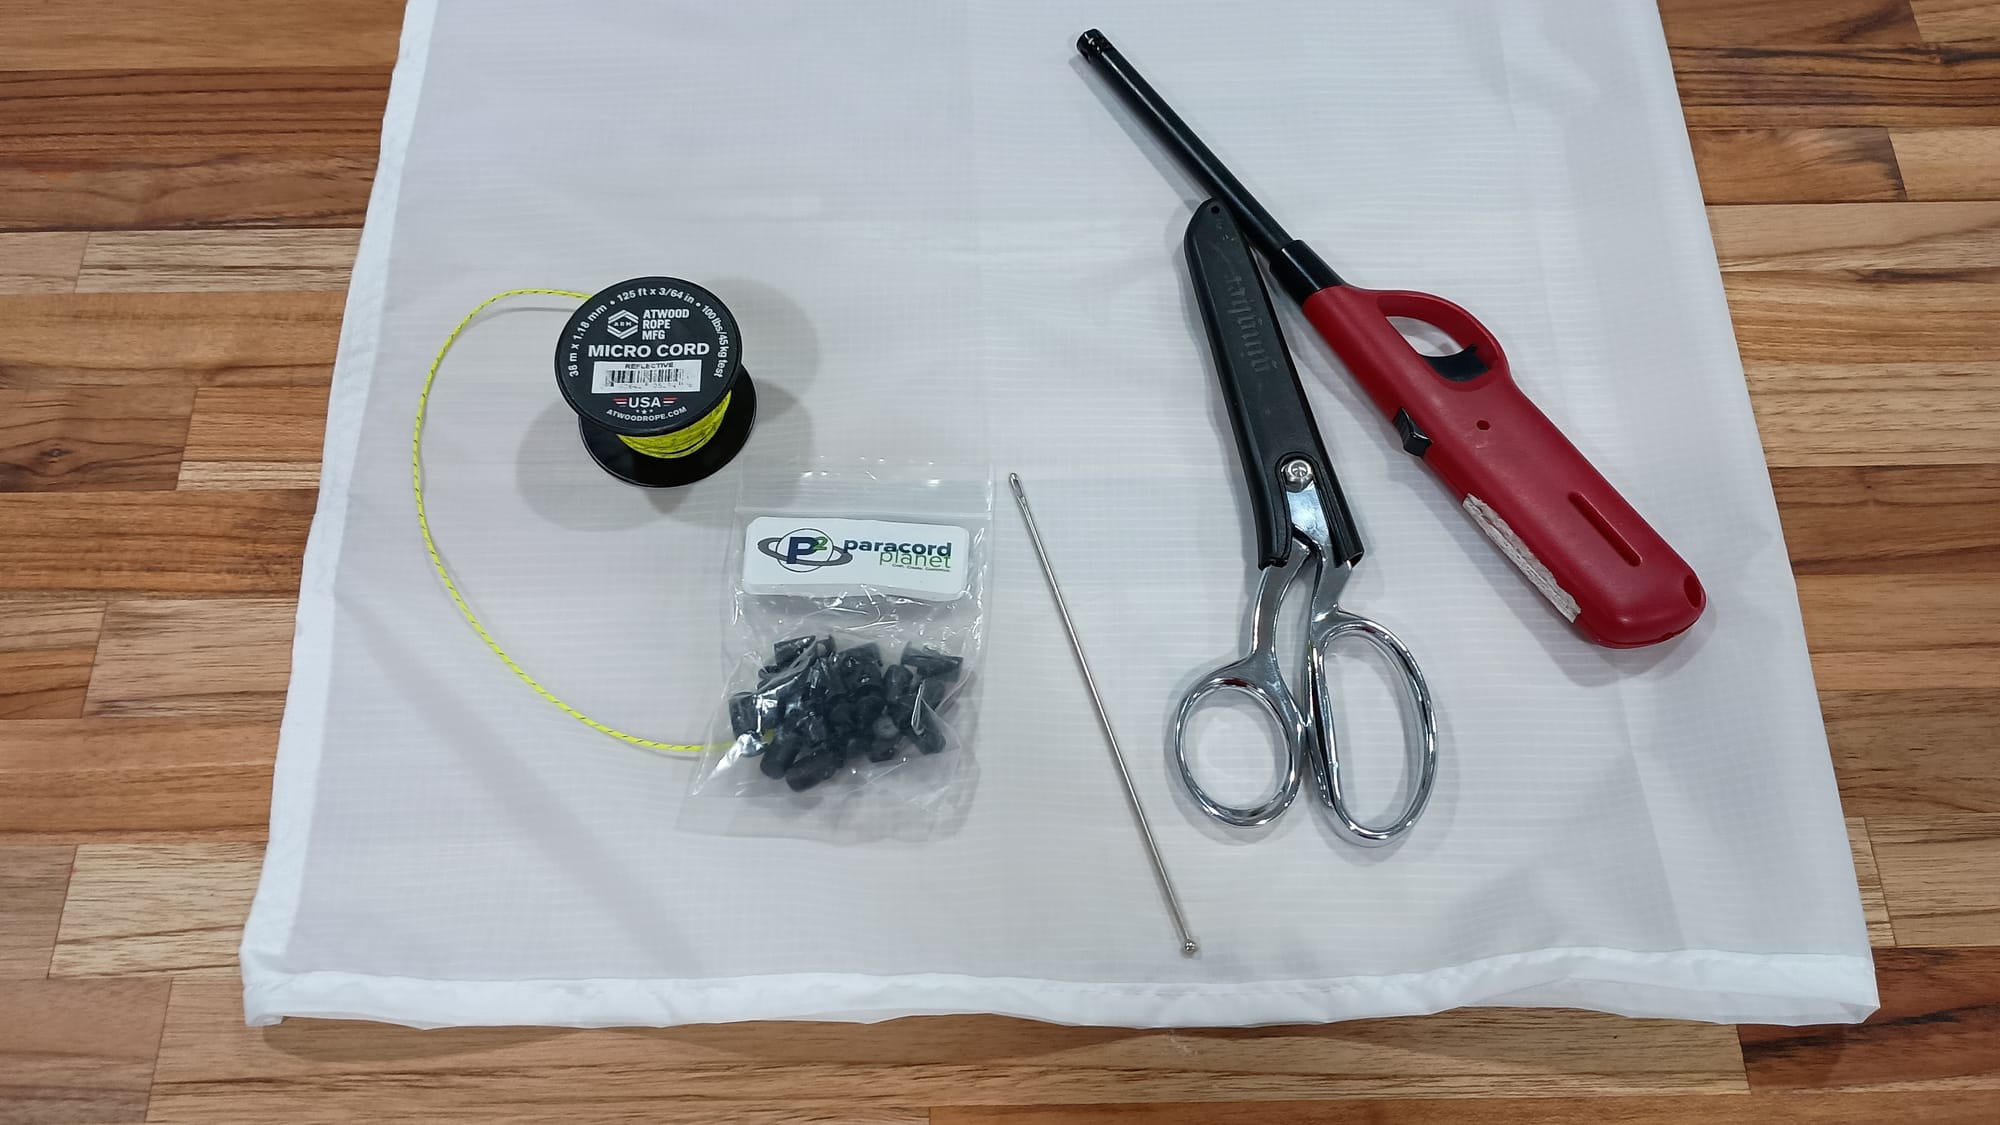
Materials and costs (cost as of 5/19/2025)
- 1/2 yard of 1.1 ounce-per-square-yard 60"-wide Ripstop Silpoly. Source: Ripstop by the Roll. Cost: $8.75**** (Alternate materials are acceptable - this is just what I used.)
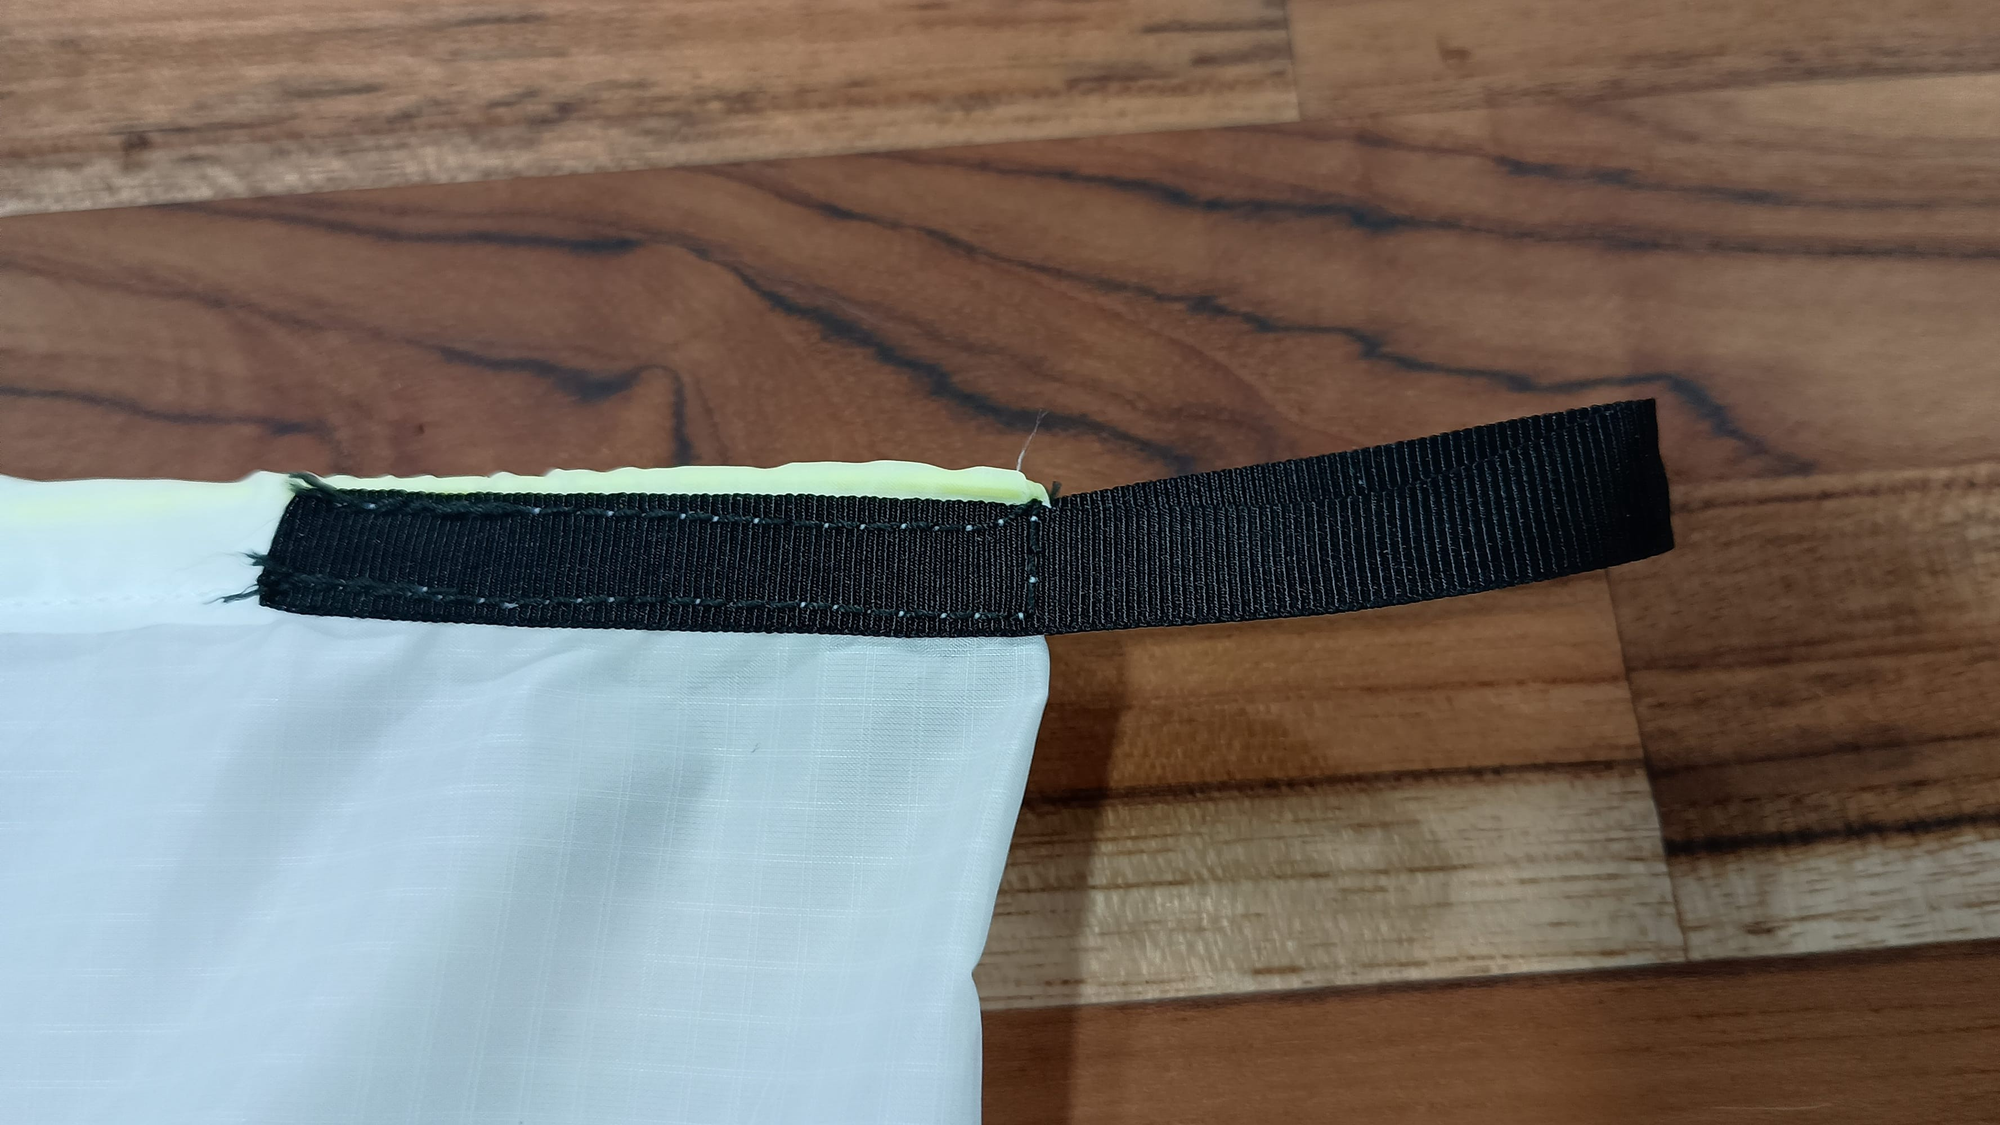
- 8" of 1/2" Grosgrain ribbon. Source: Ripstop by the Roll. Cost: $10 for 25 feet. ($0.27 for 8")
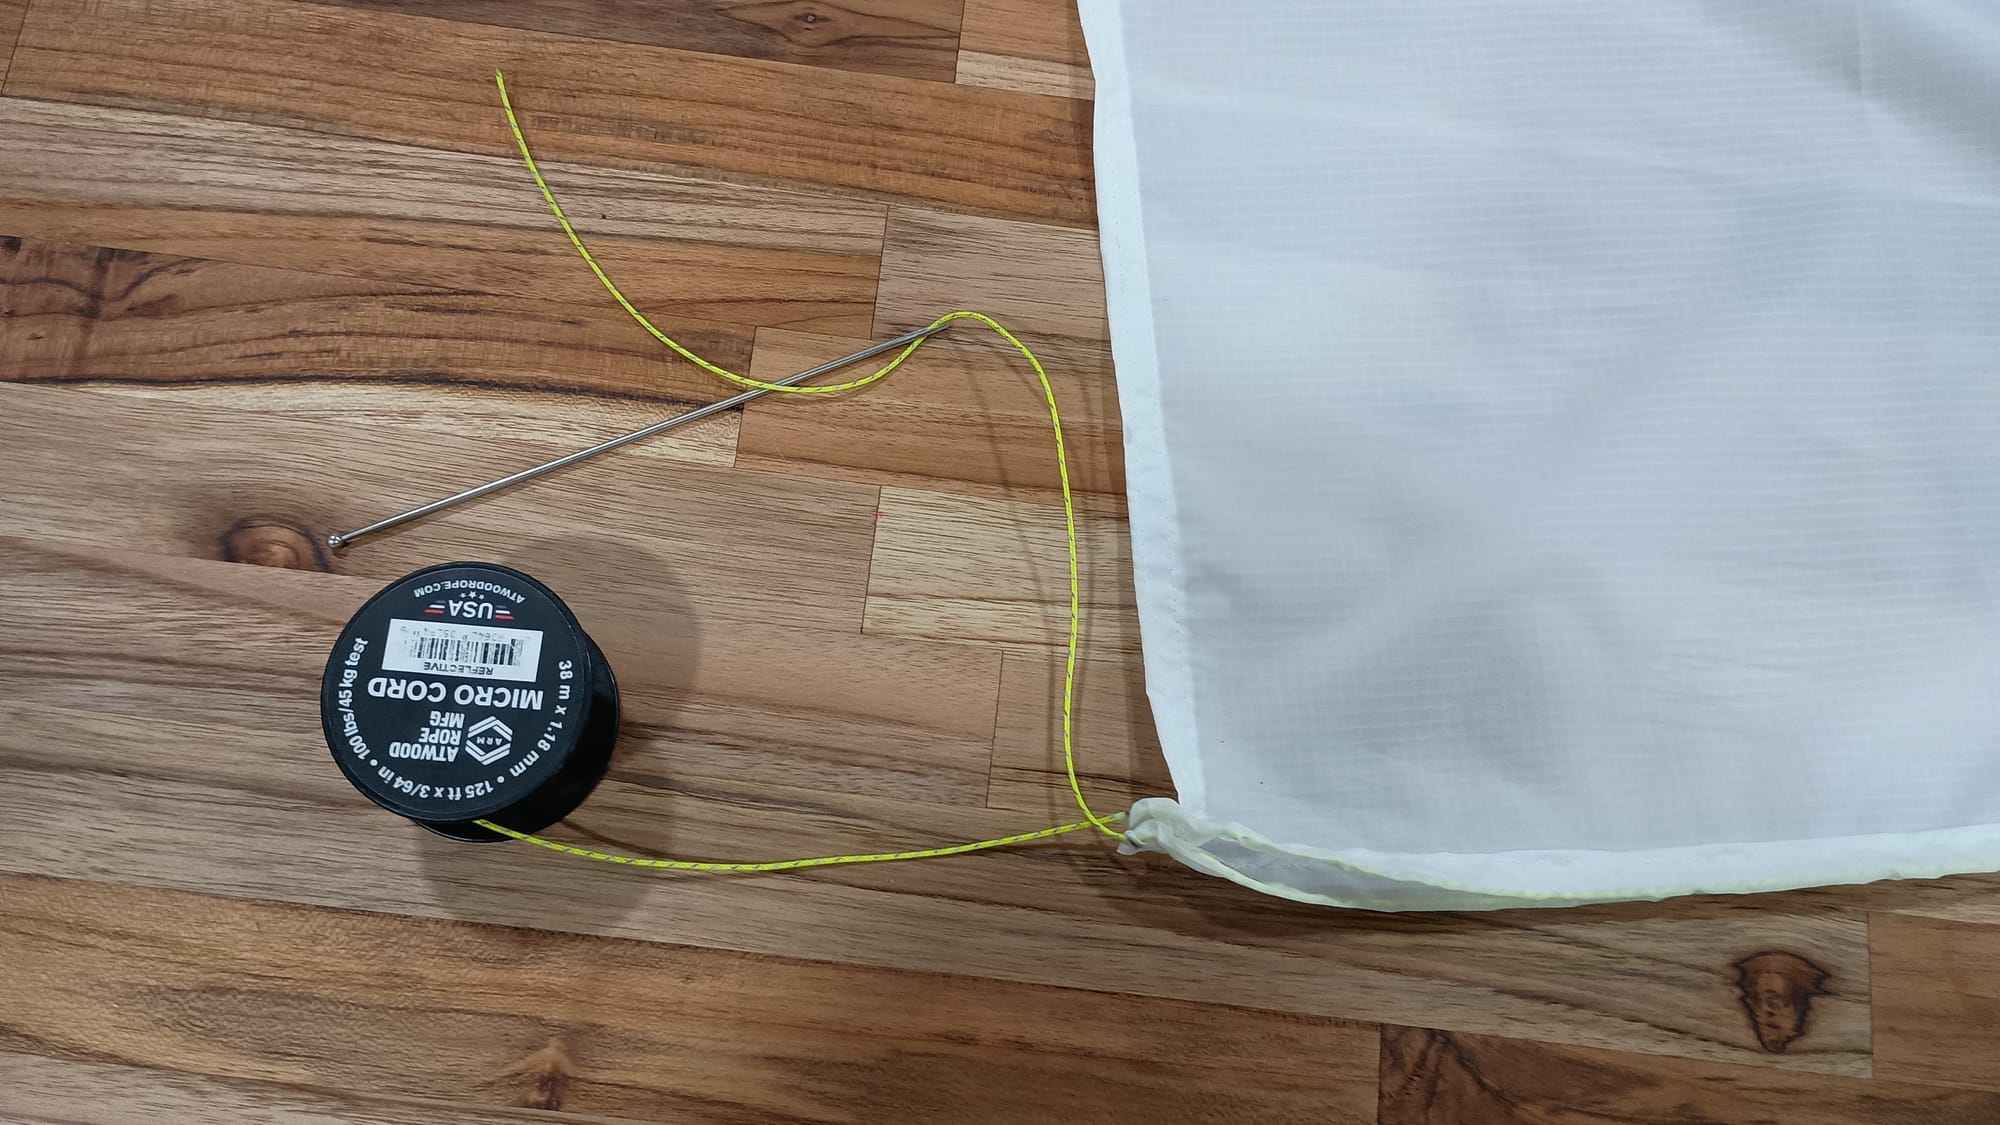
- 24" of 1.18mm Atwood Rope MFG Micro Cord. Source: Amazon. Cost: $8.77 for 125 feet. ( $0.14 for 24")
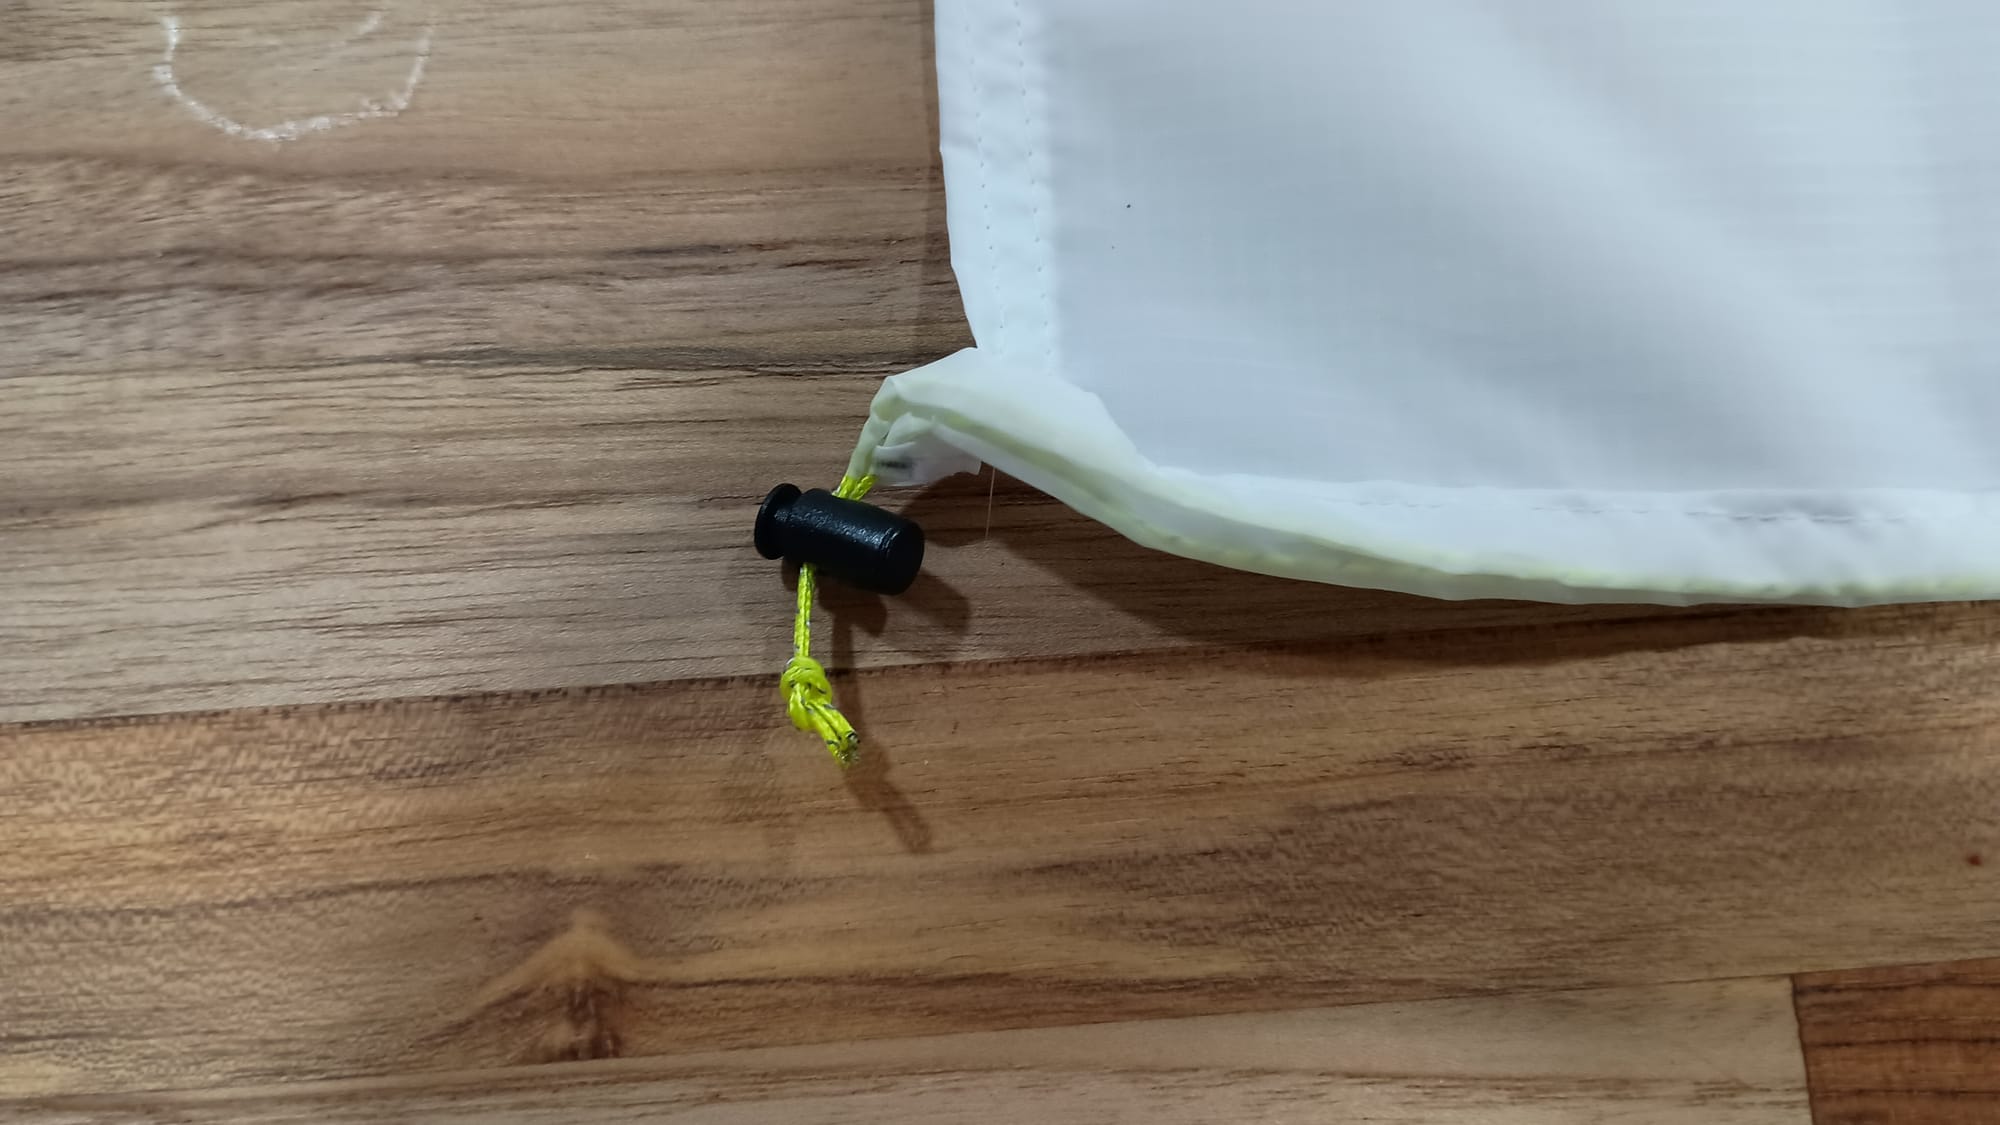
- Micro single barrel cord lock. Source: Amazon. Cost: $18 for a bag of 20. ($1.11 each)
- 2" Aluminum carabiner. Source: Amazon. Cost: $10 for 40. ($0.25 each)
- Thread. Cost assumed negligible.
**** When purchasing material, only purchase full-yard quantities. Each yard of material is cut in half warp-wise so that the 60" width yields two pieces 30" wide by 1-yard long.
Total cost per bag: $6.15 plus tax and shipping
Tools
- Large work surface
- Measuring tape or yard stick
- Sharpie marker
- shears/very sharp scissors
- sewing clips
- Sewing machine
- Drawstring needle
- Lighter
- Pool Noodle and straight pins (only necessary if dealing with several yards of fabric.)
Construction Steps
1) Prepare material. I purchased 7 yards to make a total of 14 bear bags. This much material was difficult to handle/maneuver. I rolled it into a cylinder using a foam pool noodle as the core. I stuck the straight pins through the fabric into the pool noodle to secure it in place. I could then unroll only what I needed at a time.
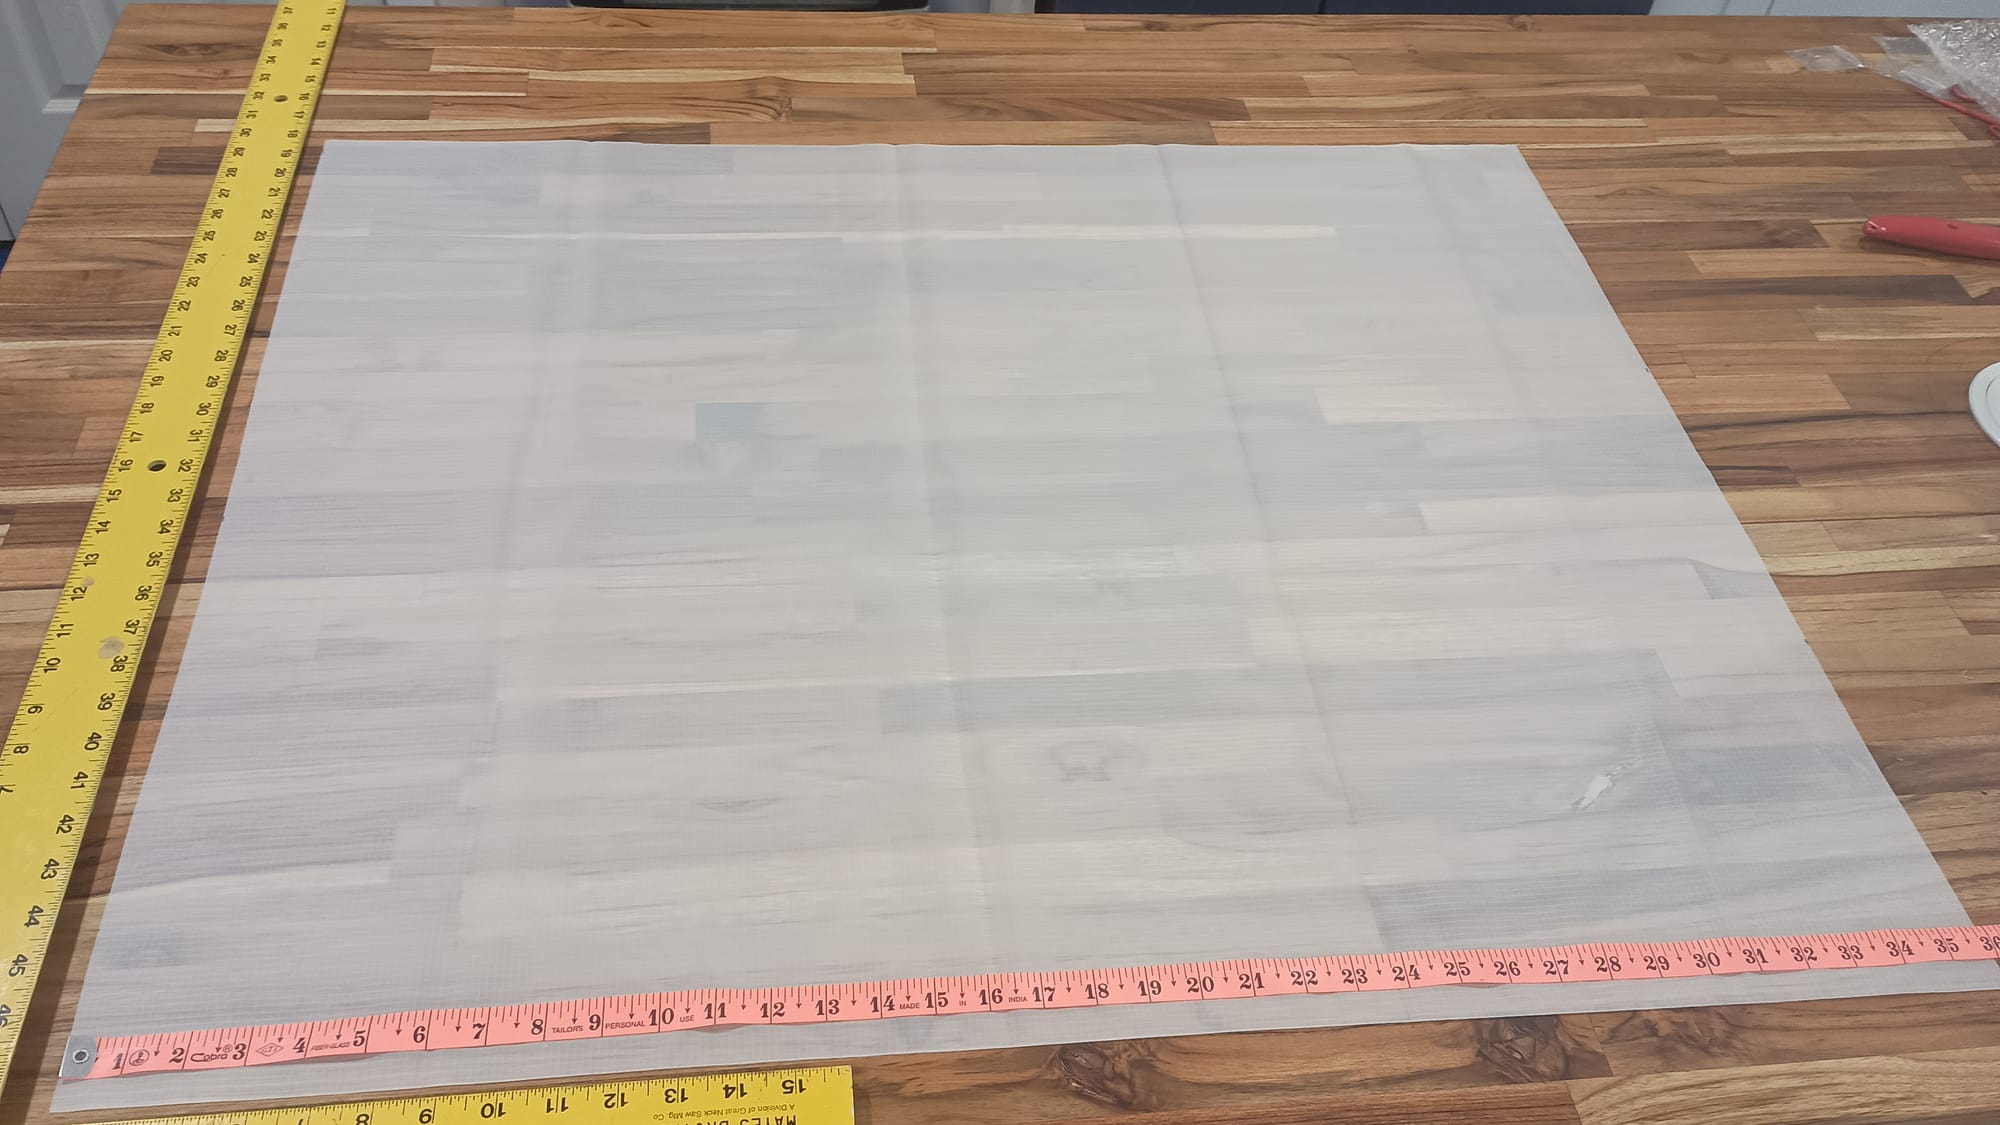
2) Measure and cut length. I am blessed with a 40" wide by 8' long kitchen island which I repurpose on project days. If you don't have such a wide work surface, clear a work space on the floor. Unroll material off of the pool noodle and, with another person's help, a ruler, and a sharpie, make a series of marks 36" from the cut edge. Then use your scissors to make a sliding cut, eyeballing between sharpie marks. Repeat this unroll, measure, mark, and cut process to transform your material into a series of 1-yard-long pieces.
3) Cut width. For this step you will want to find a table or work surface that is at least 30" x 36". Take one of the pieces from step 2, and with your assistant's help, fold it in half along the 60" dimension to create a 30" x 36" packet. Have your assistant hold the corners/sides and side together while you do a sliding cut along the fold to yield two 30" x 36" pieces.
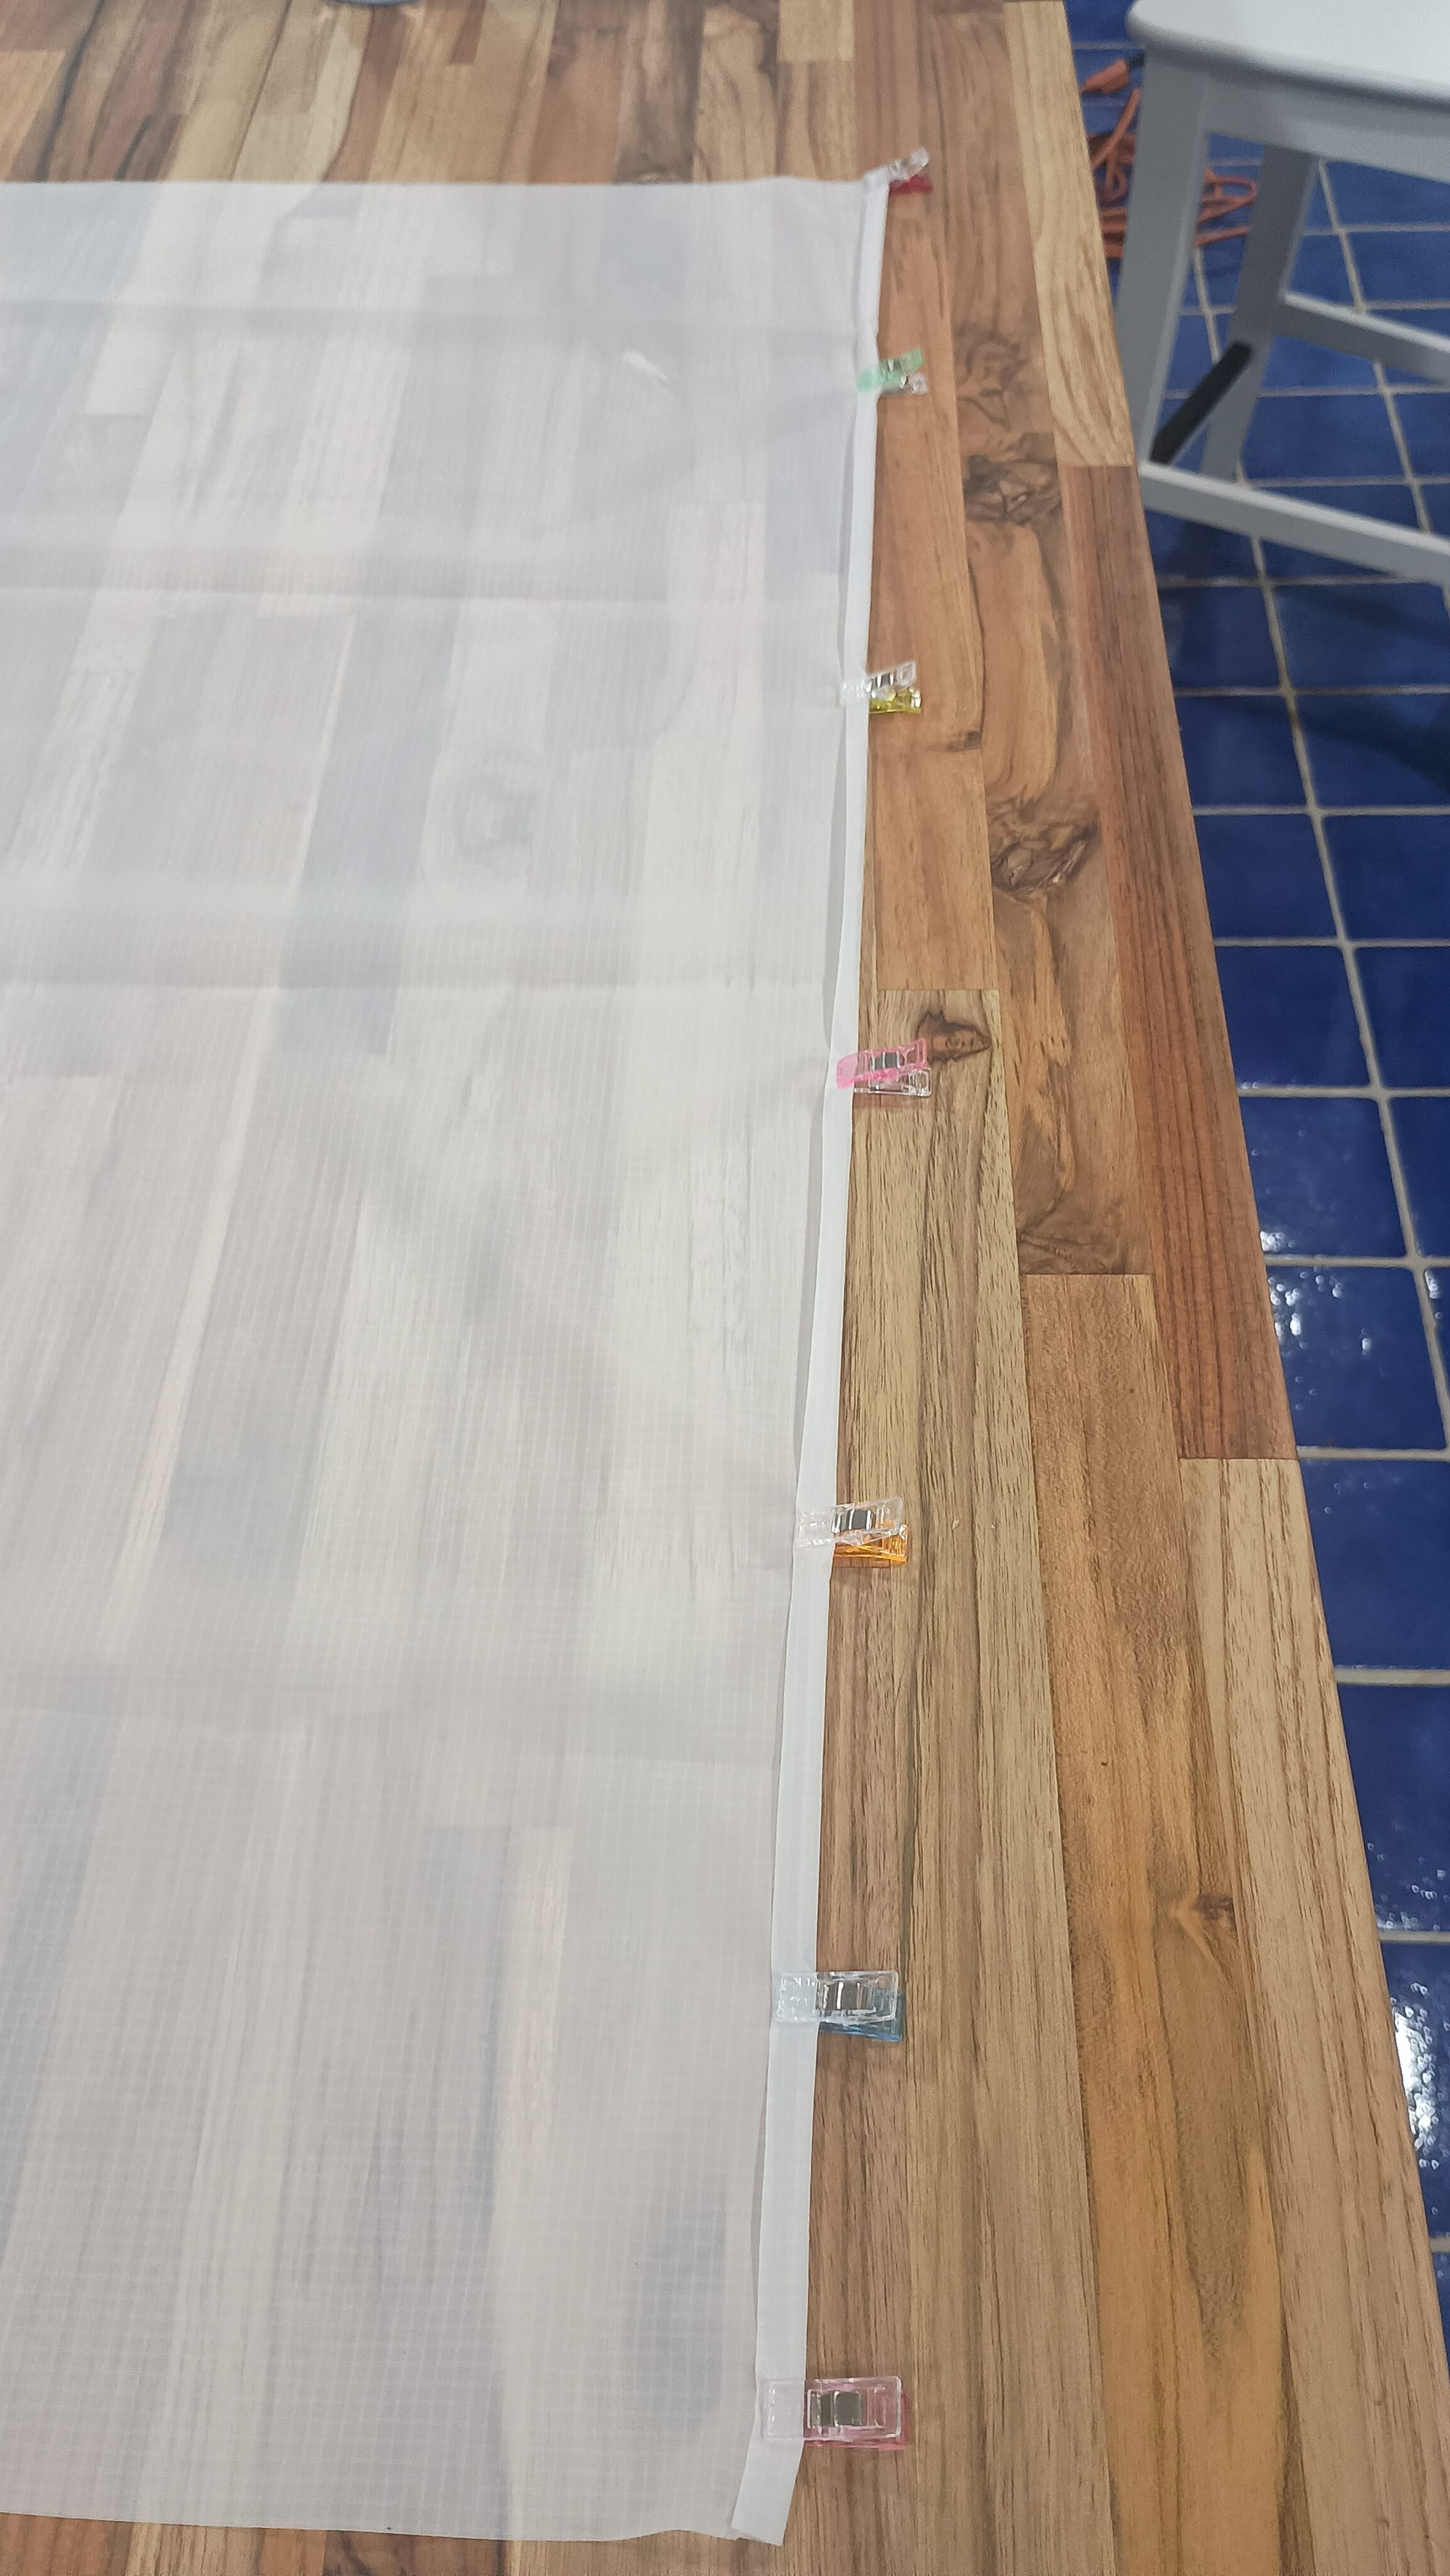
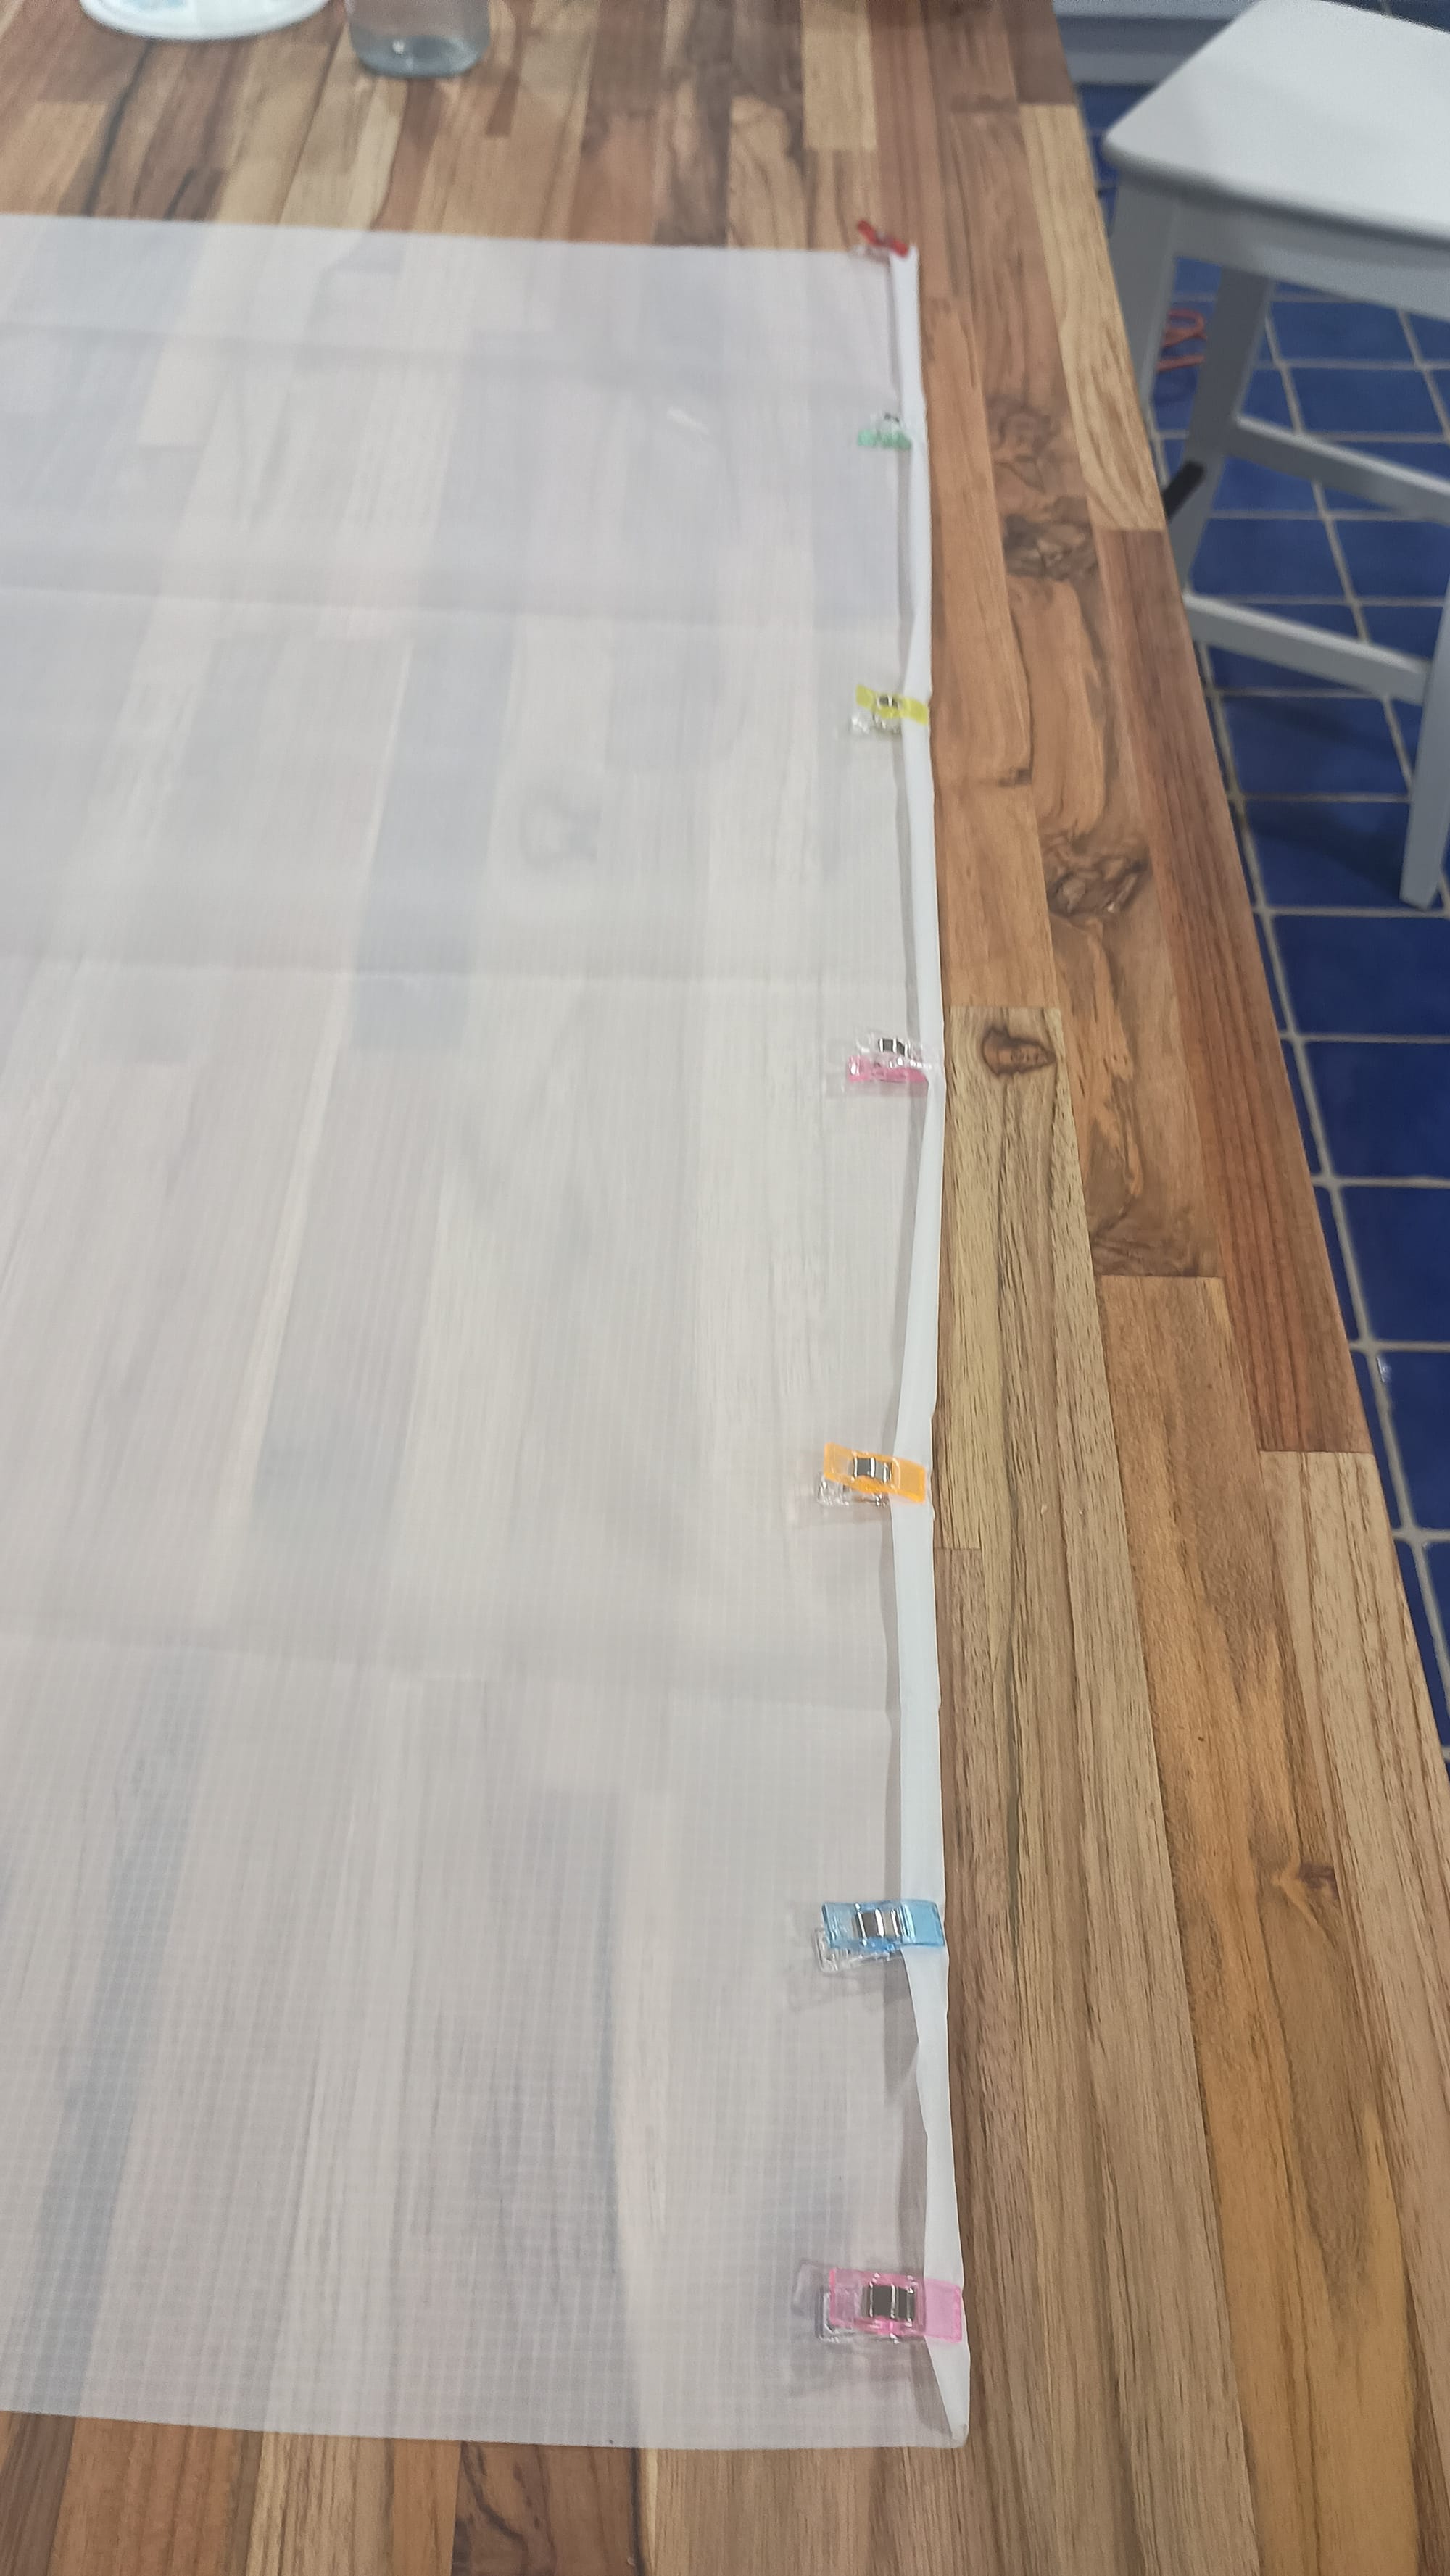
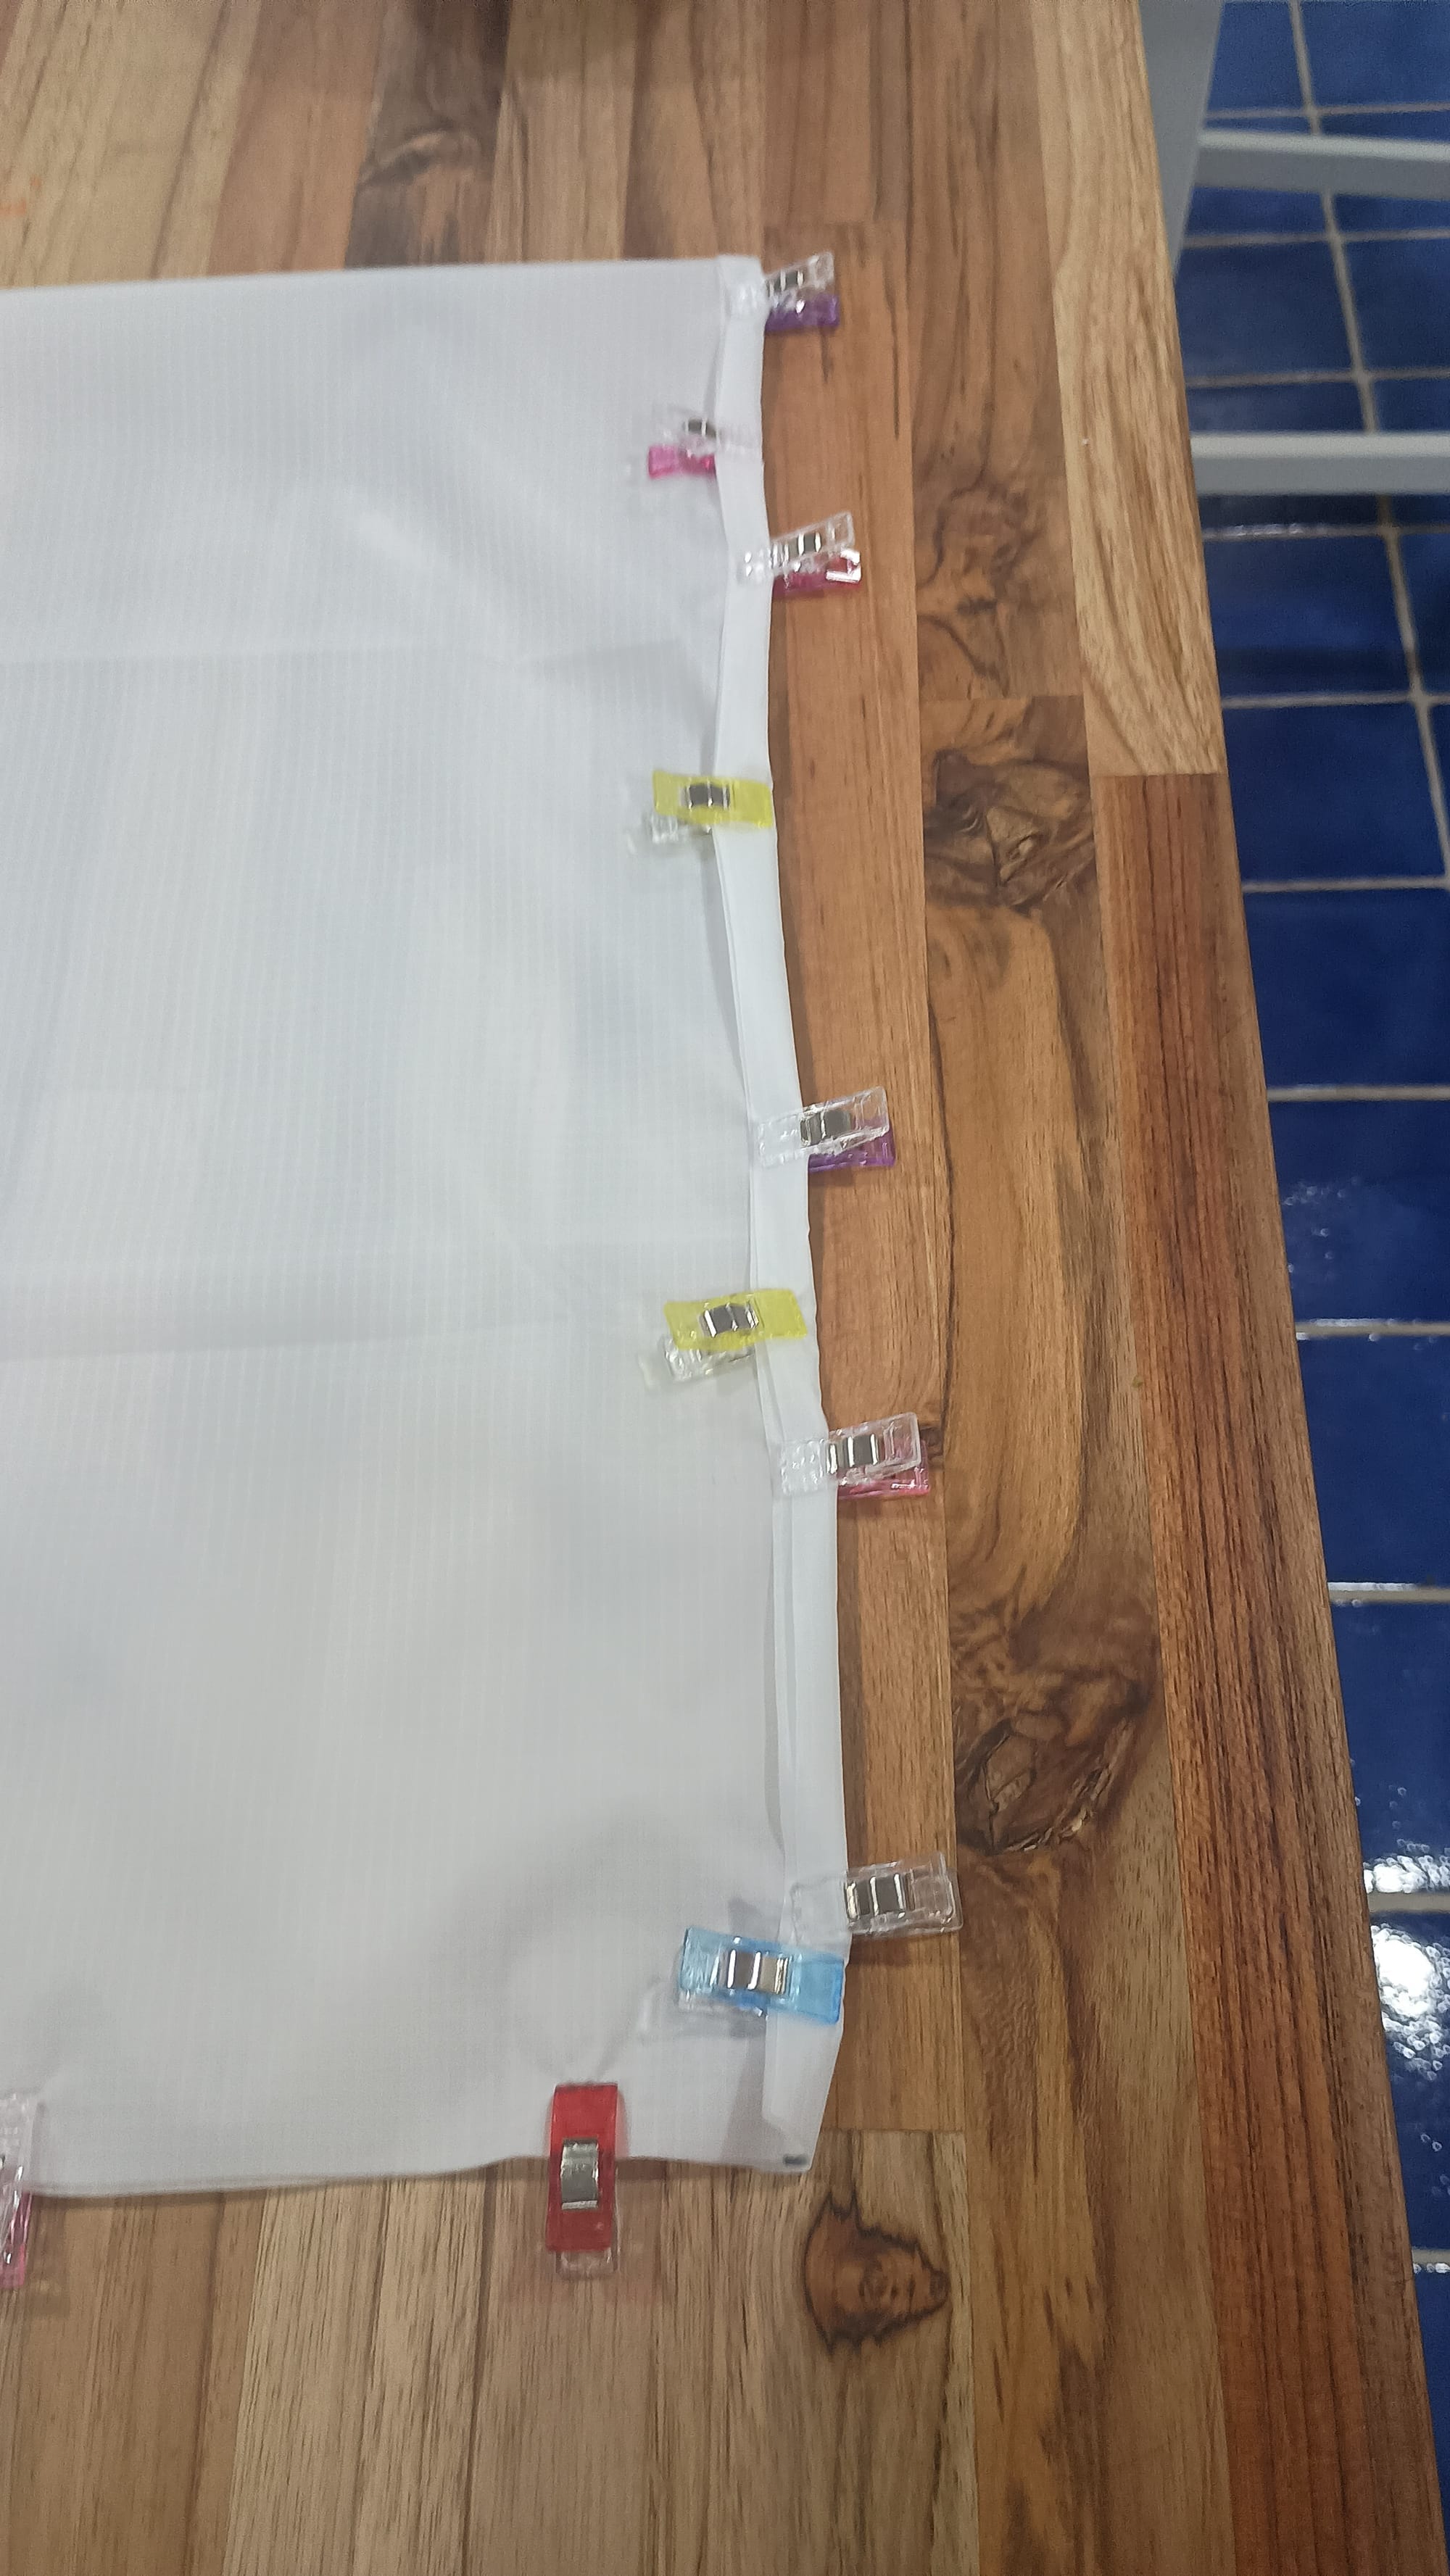
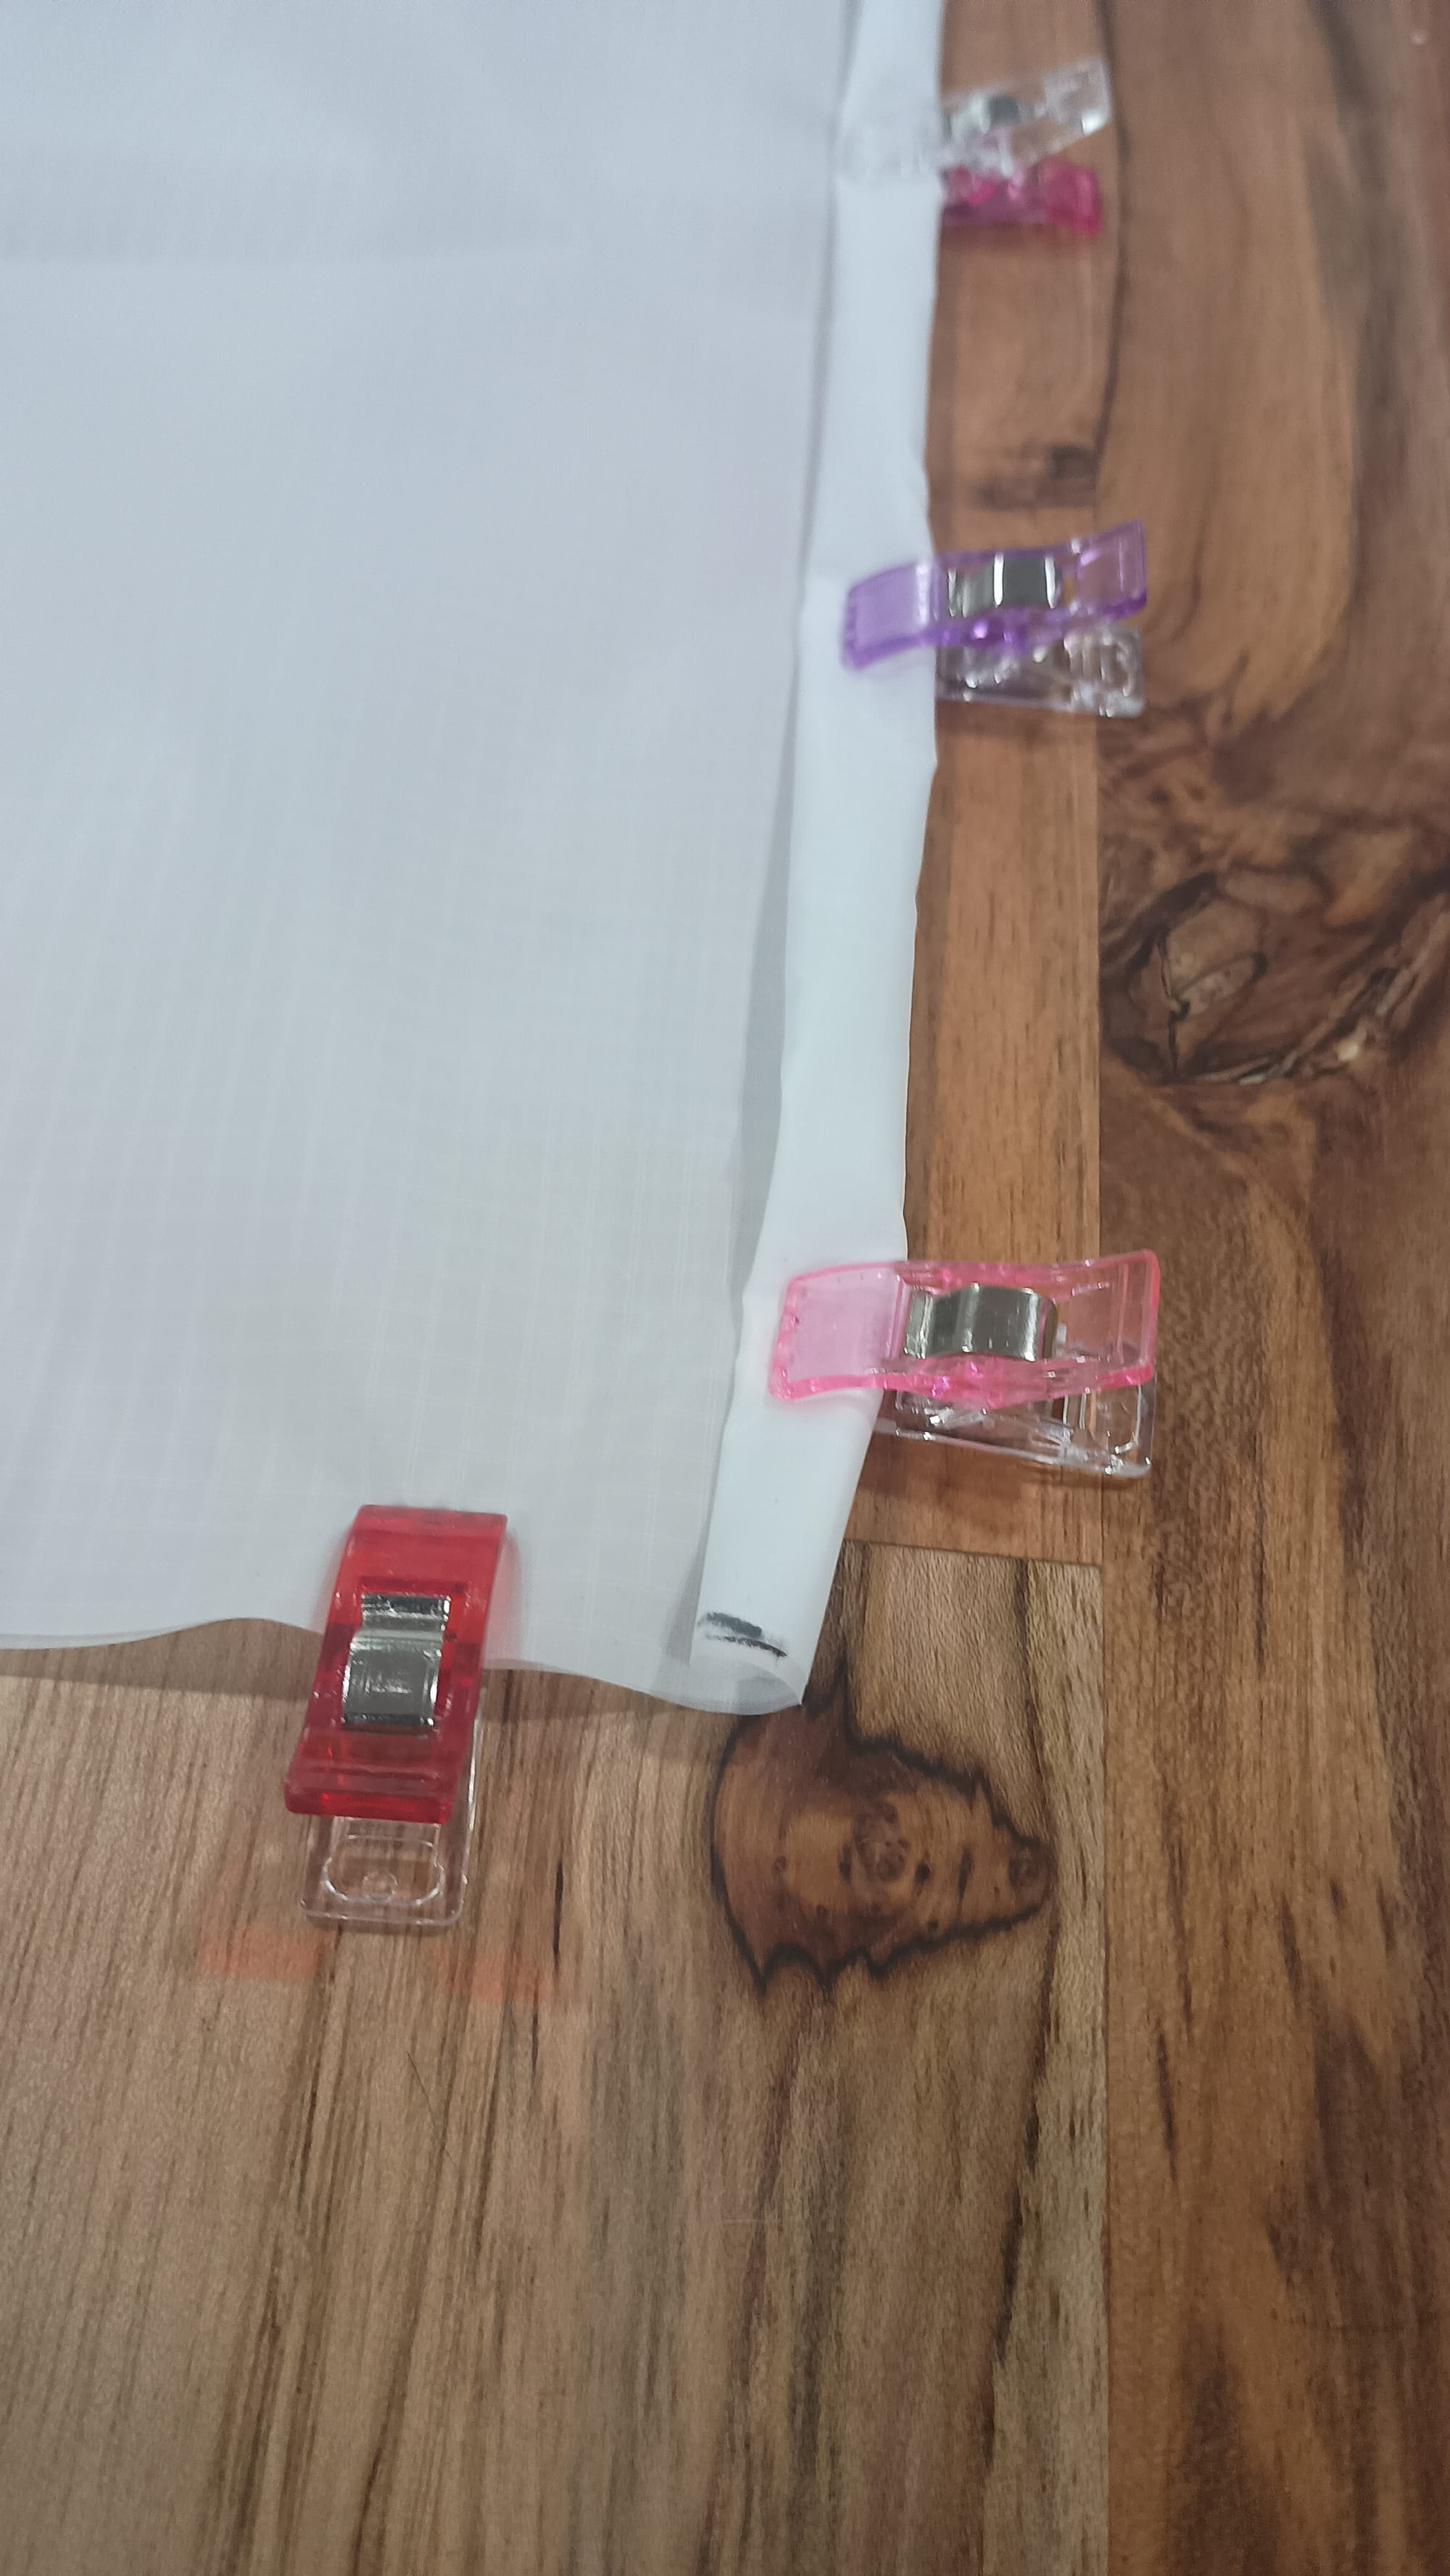
4) Fold a Hem along the drawstring edge. I used clips to make this process super easy. I start by putting clips every few inches on one of the 36" sides. Then flip the clips to produce the first fold in the hem roll. Add clips to hold the fold in place and remove the previously applied row of clips. Then repeat. The result is ready to be sewn. Make sure you are hemming one of the 36" length sides, not one of the 30" length sides.
5) Sew the hem. Sew the length of the hem, removing clips as you go. Be sure to do back stitches at the beginning and end of the run.
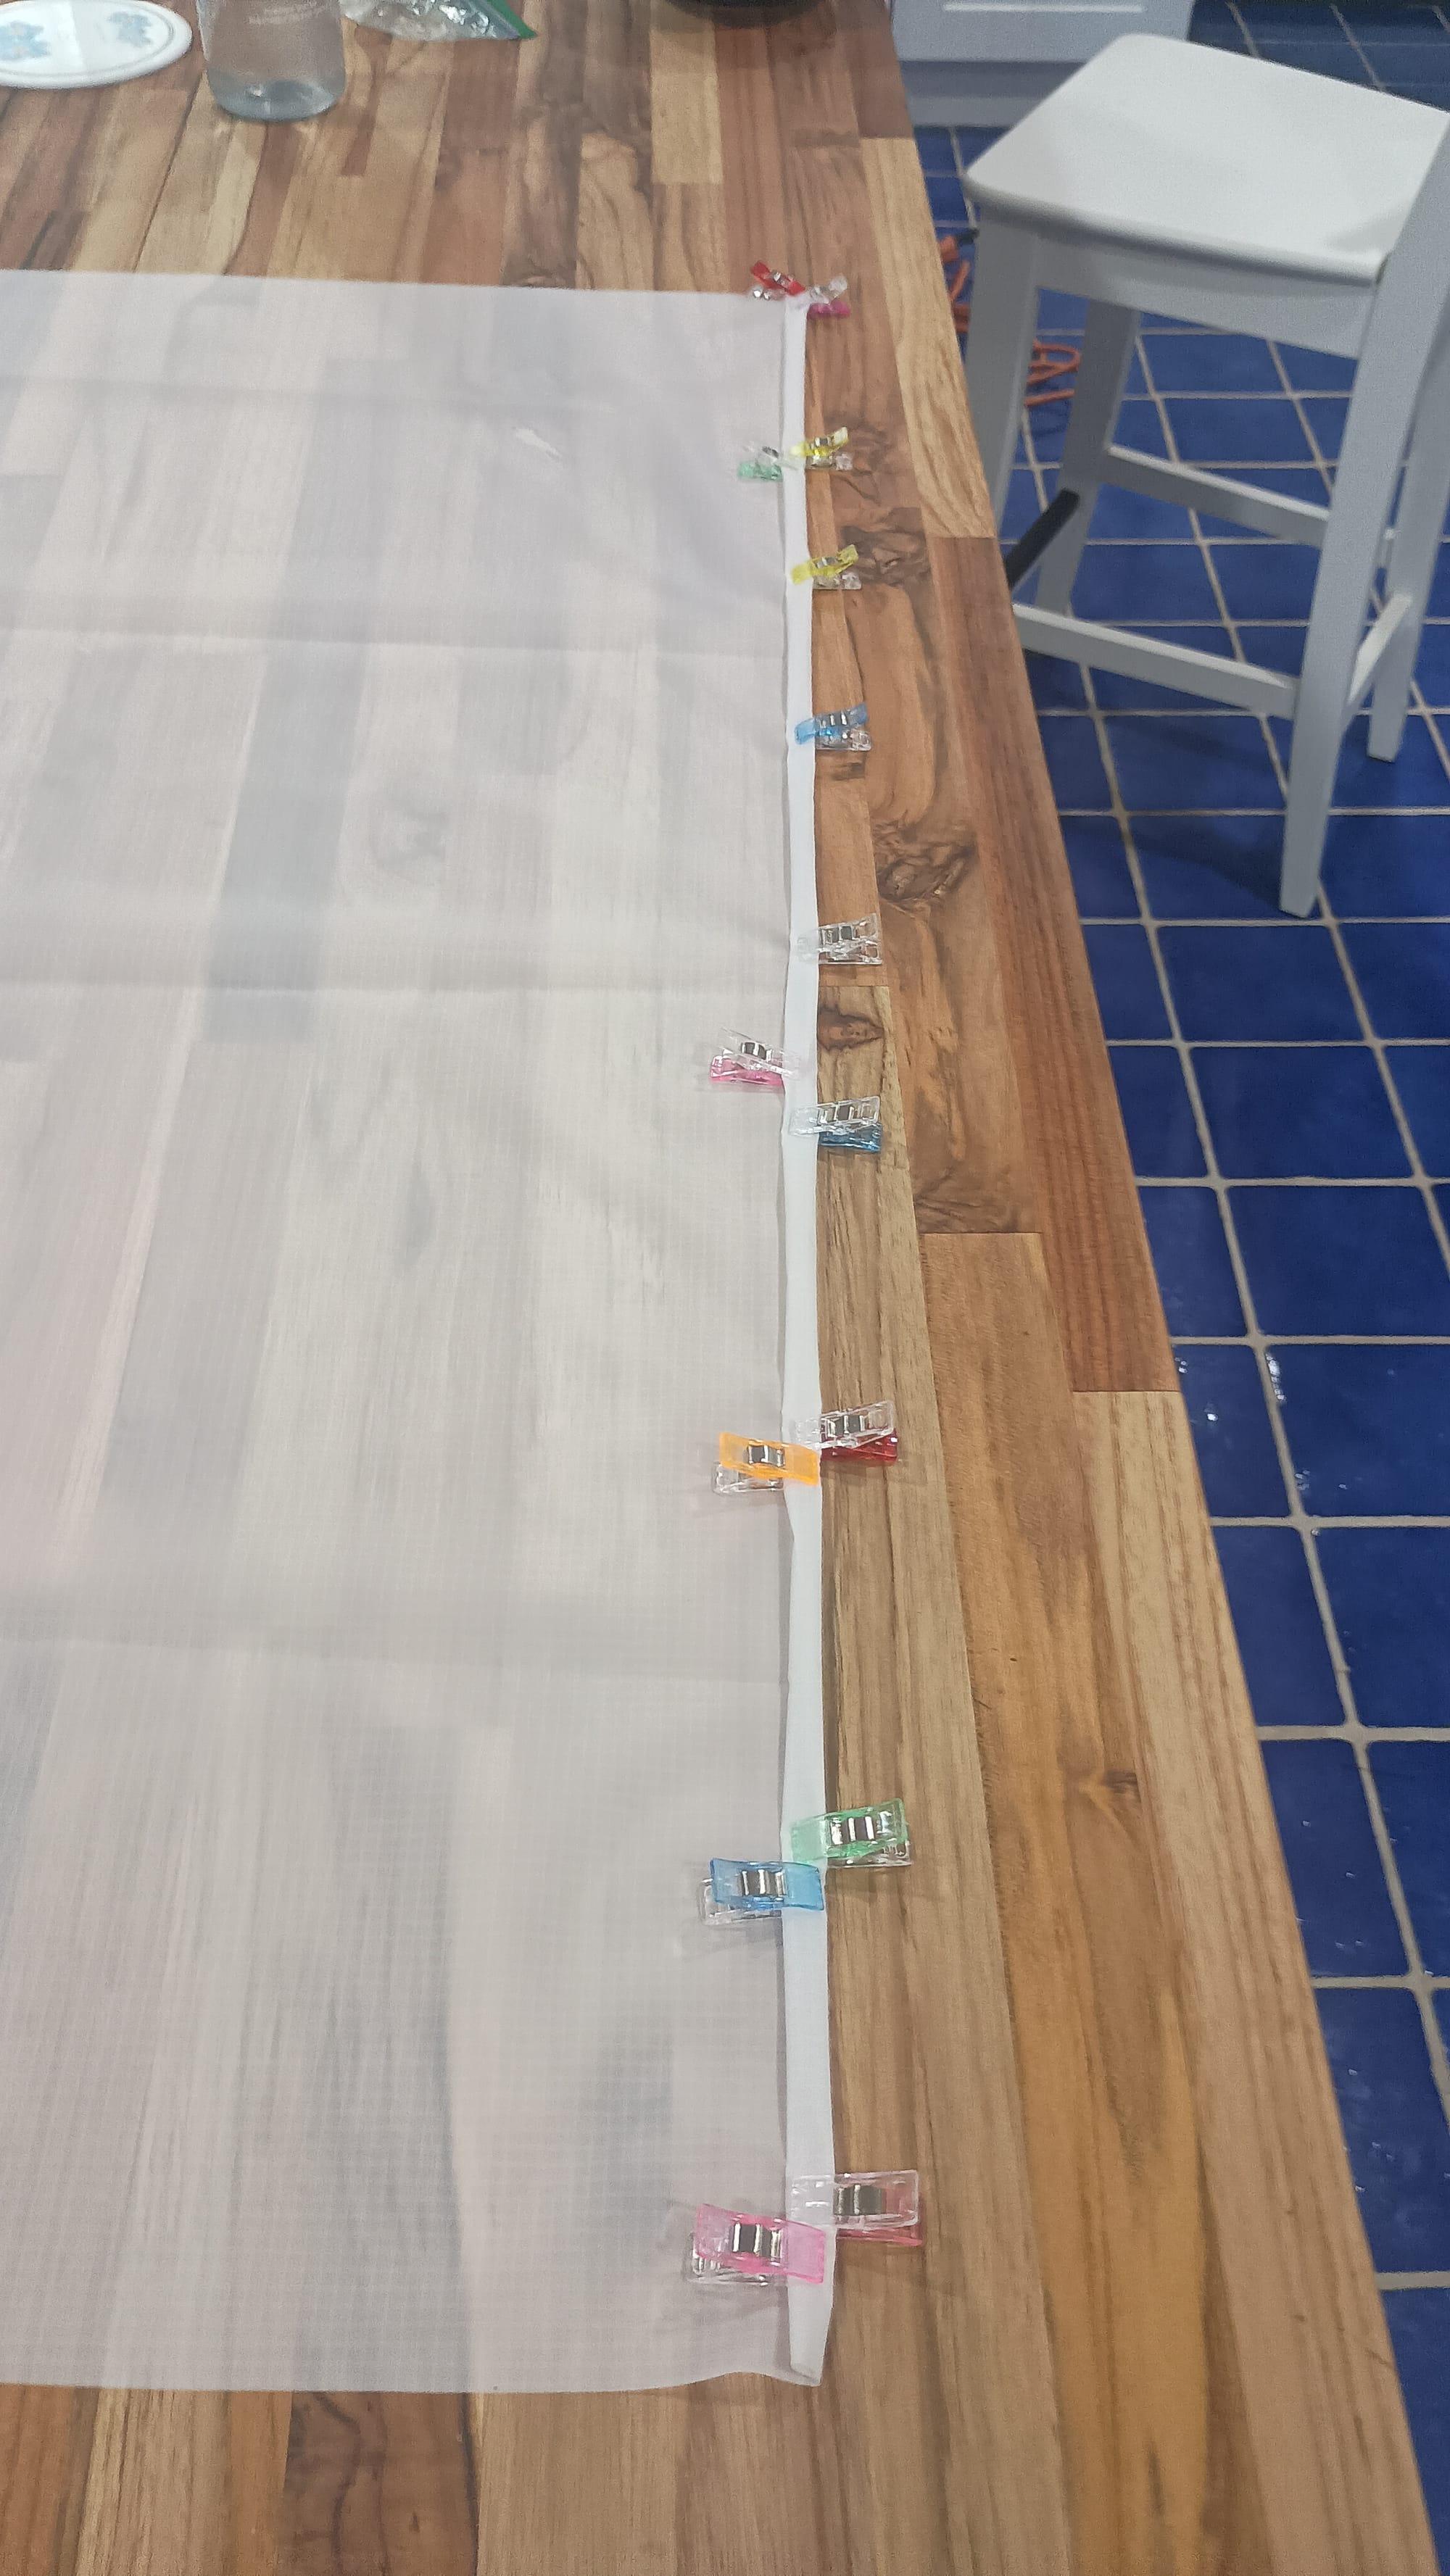
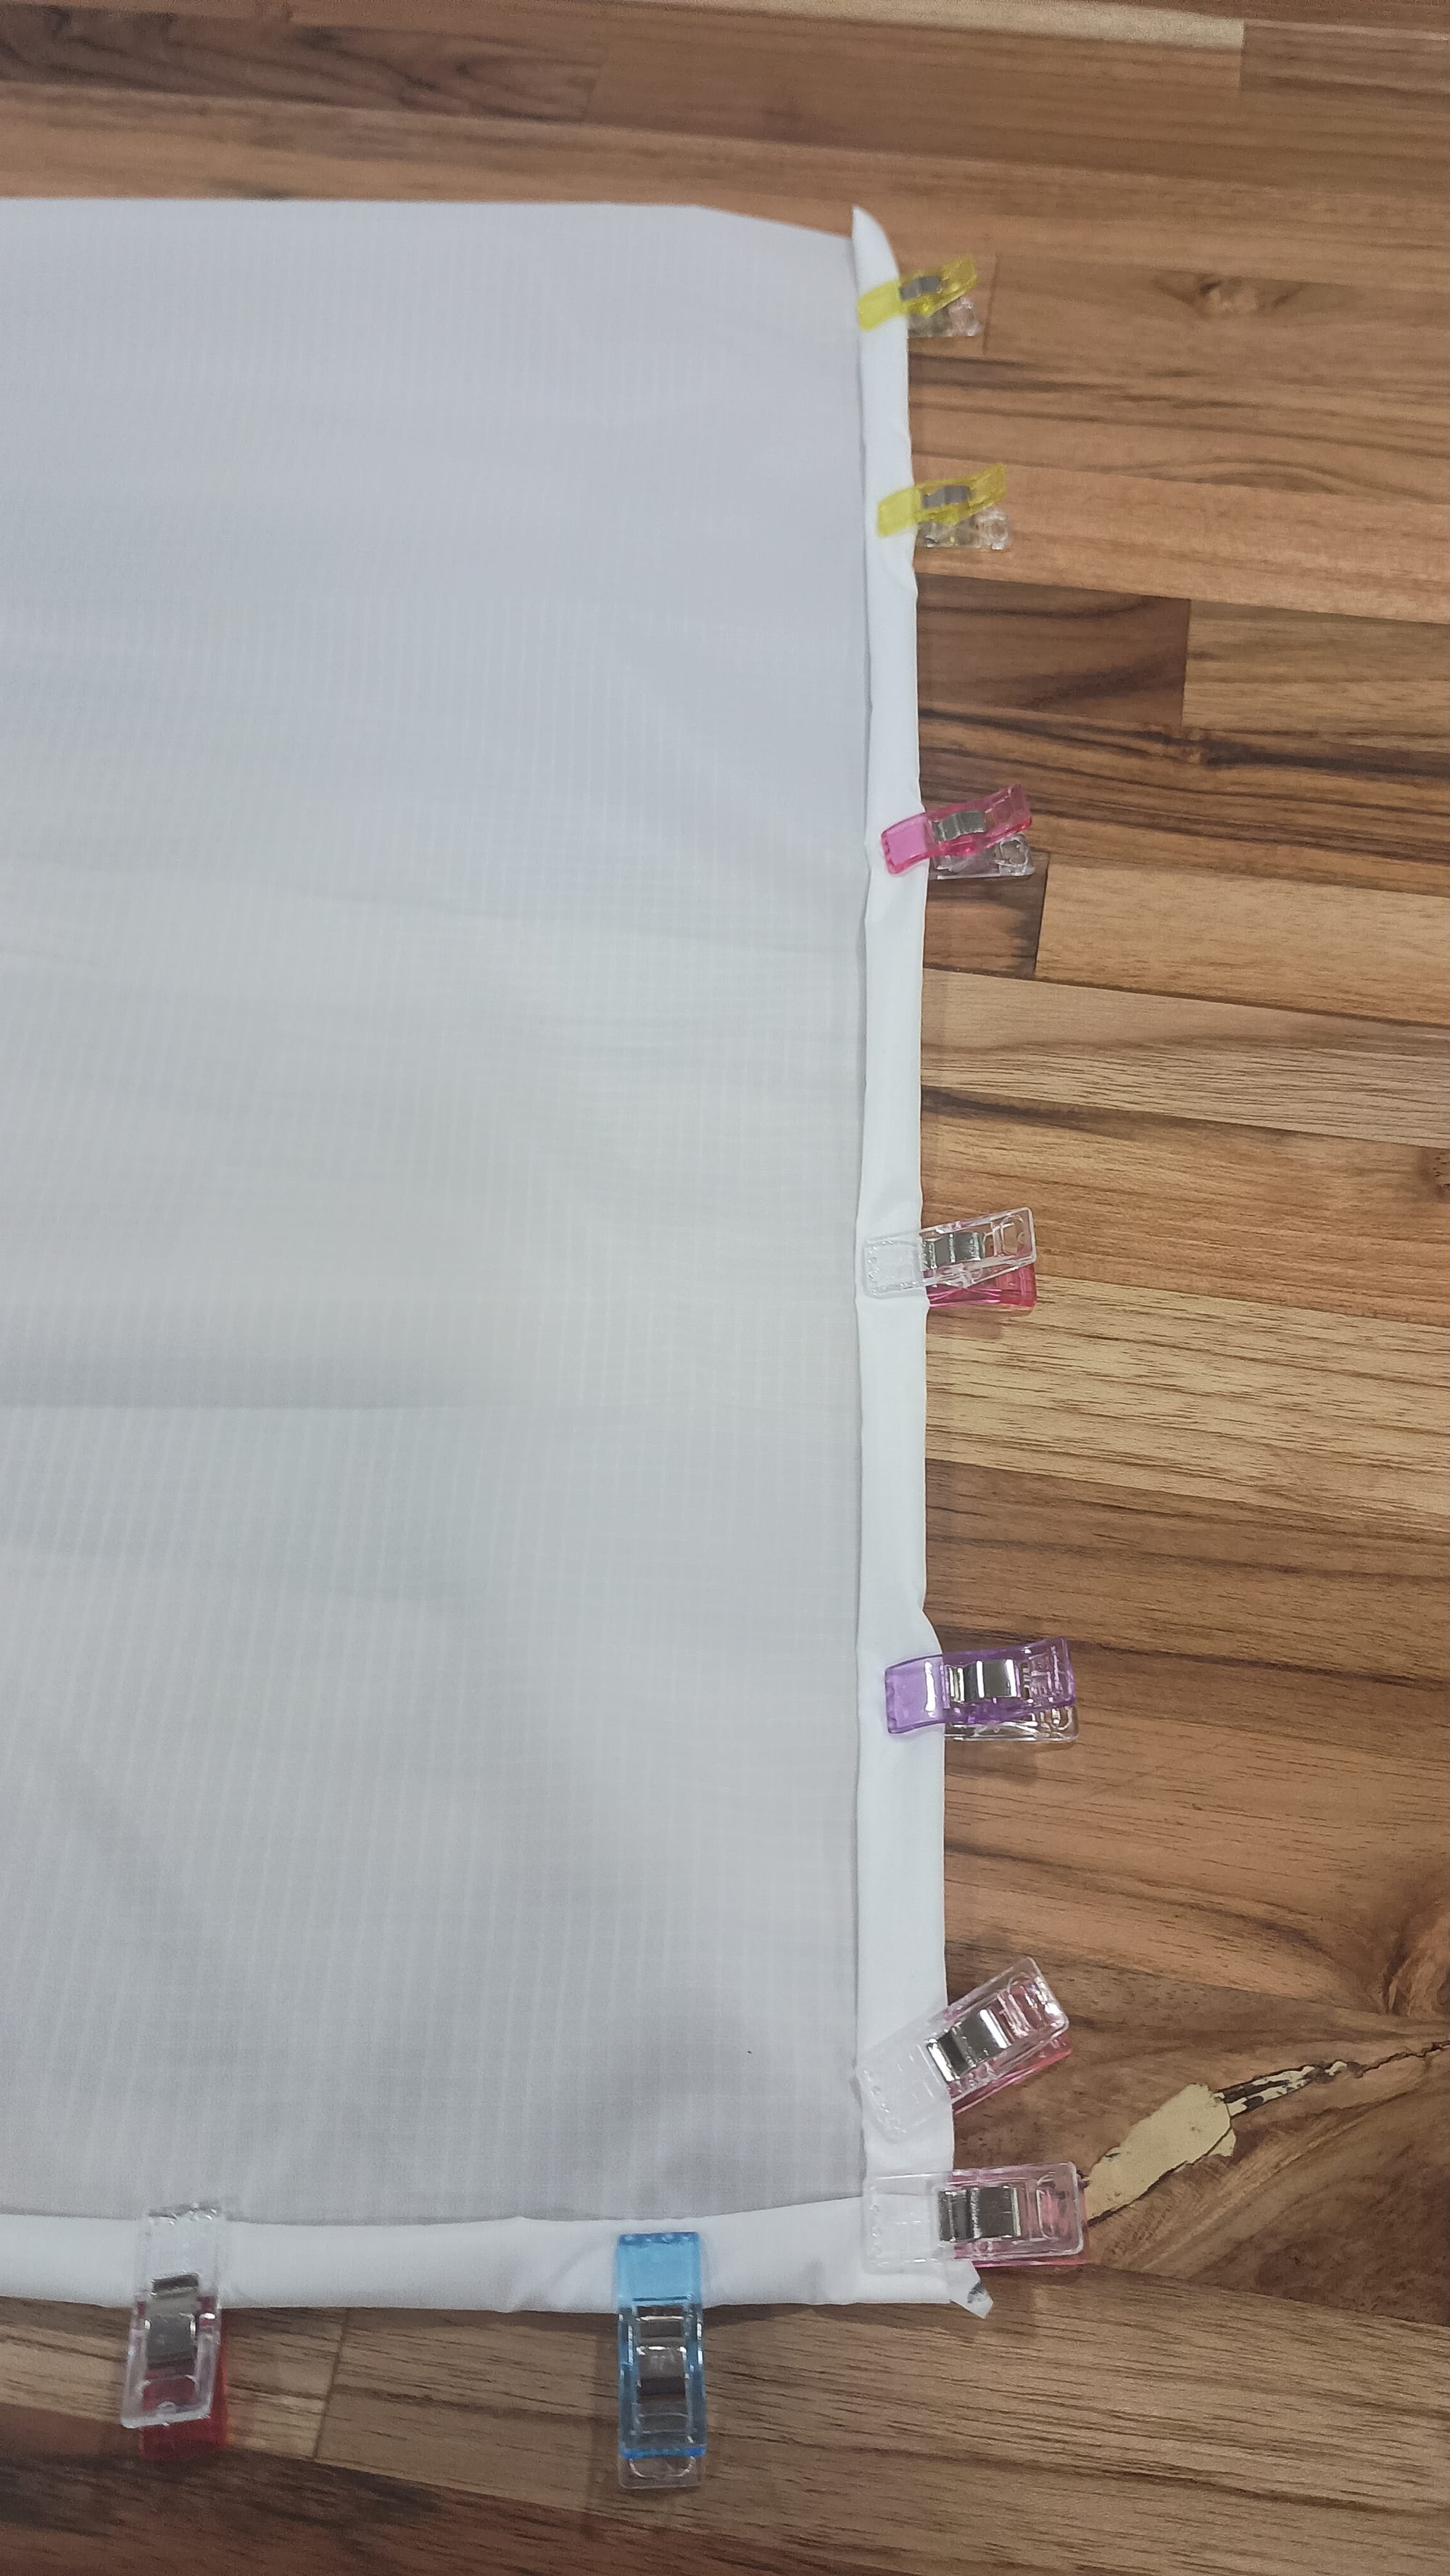
6) Roll side seams. Fold the bag along the 36" width, matching the edges of the just-completed hem. Place clips around the open side and bottom. Follow the same rolling procedure as in step 4, but this time with both layers of fabric to create rolled seams along the side and bottom.
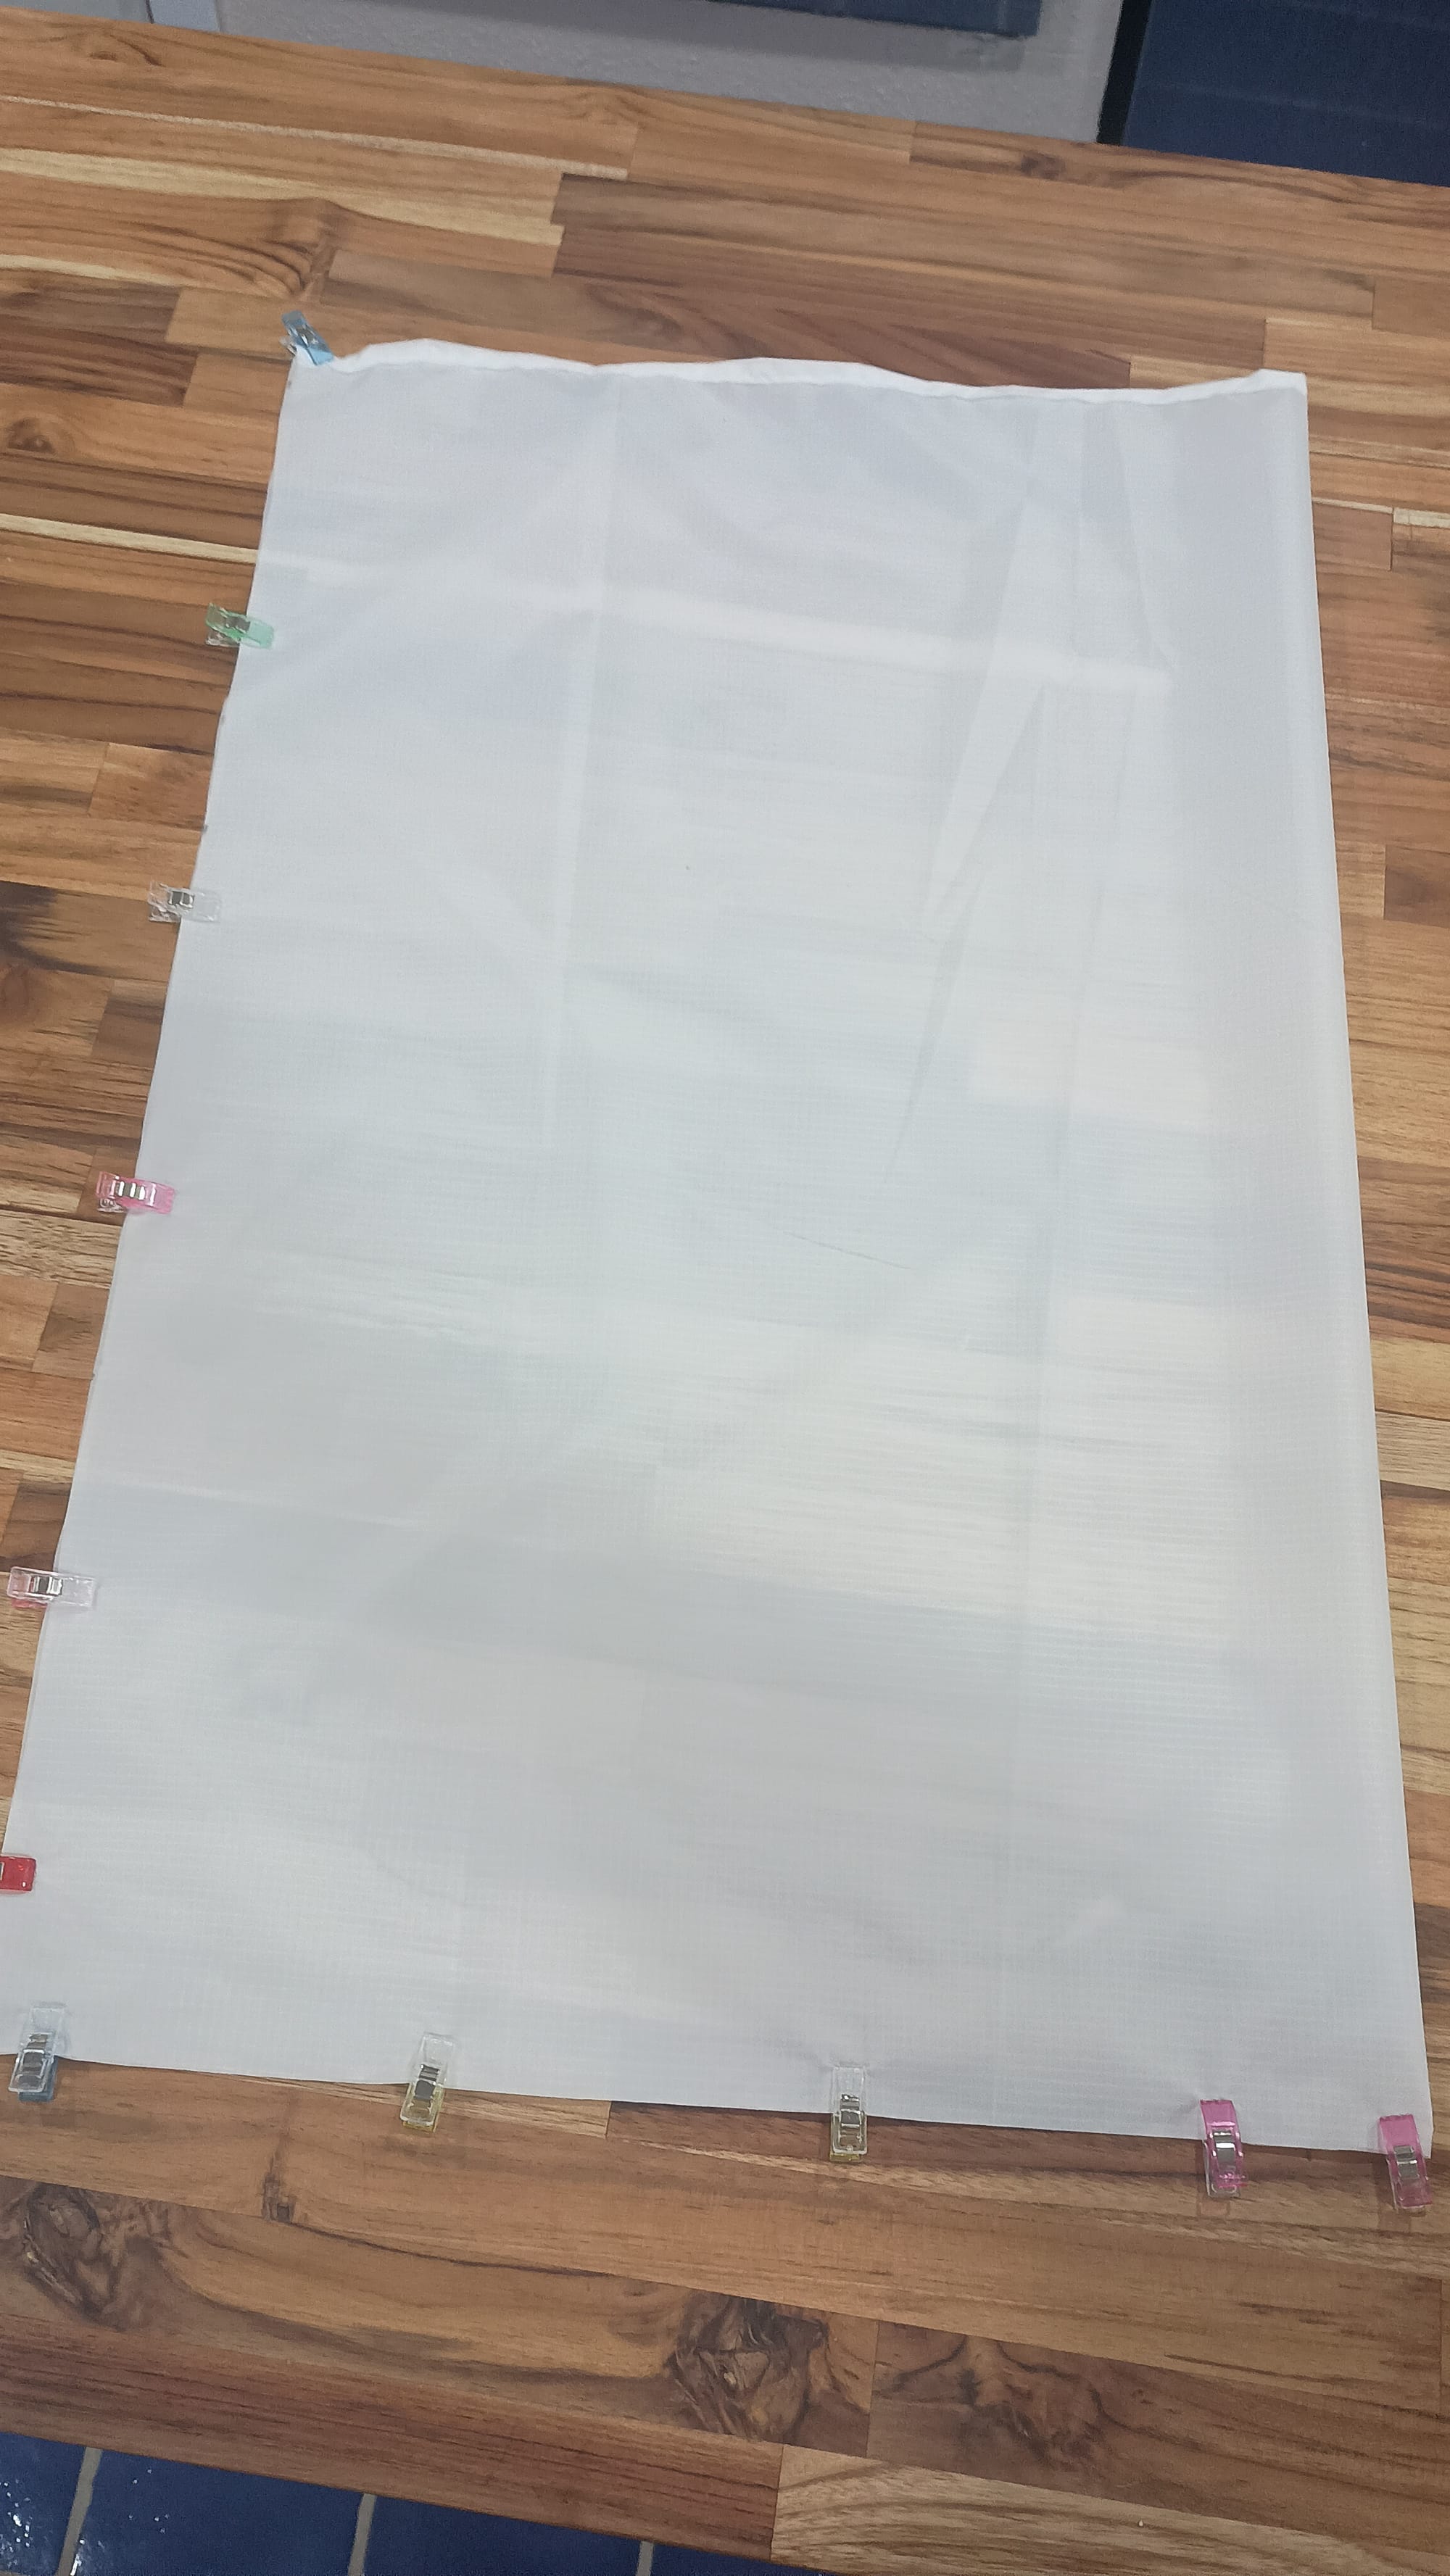
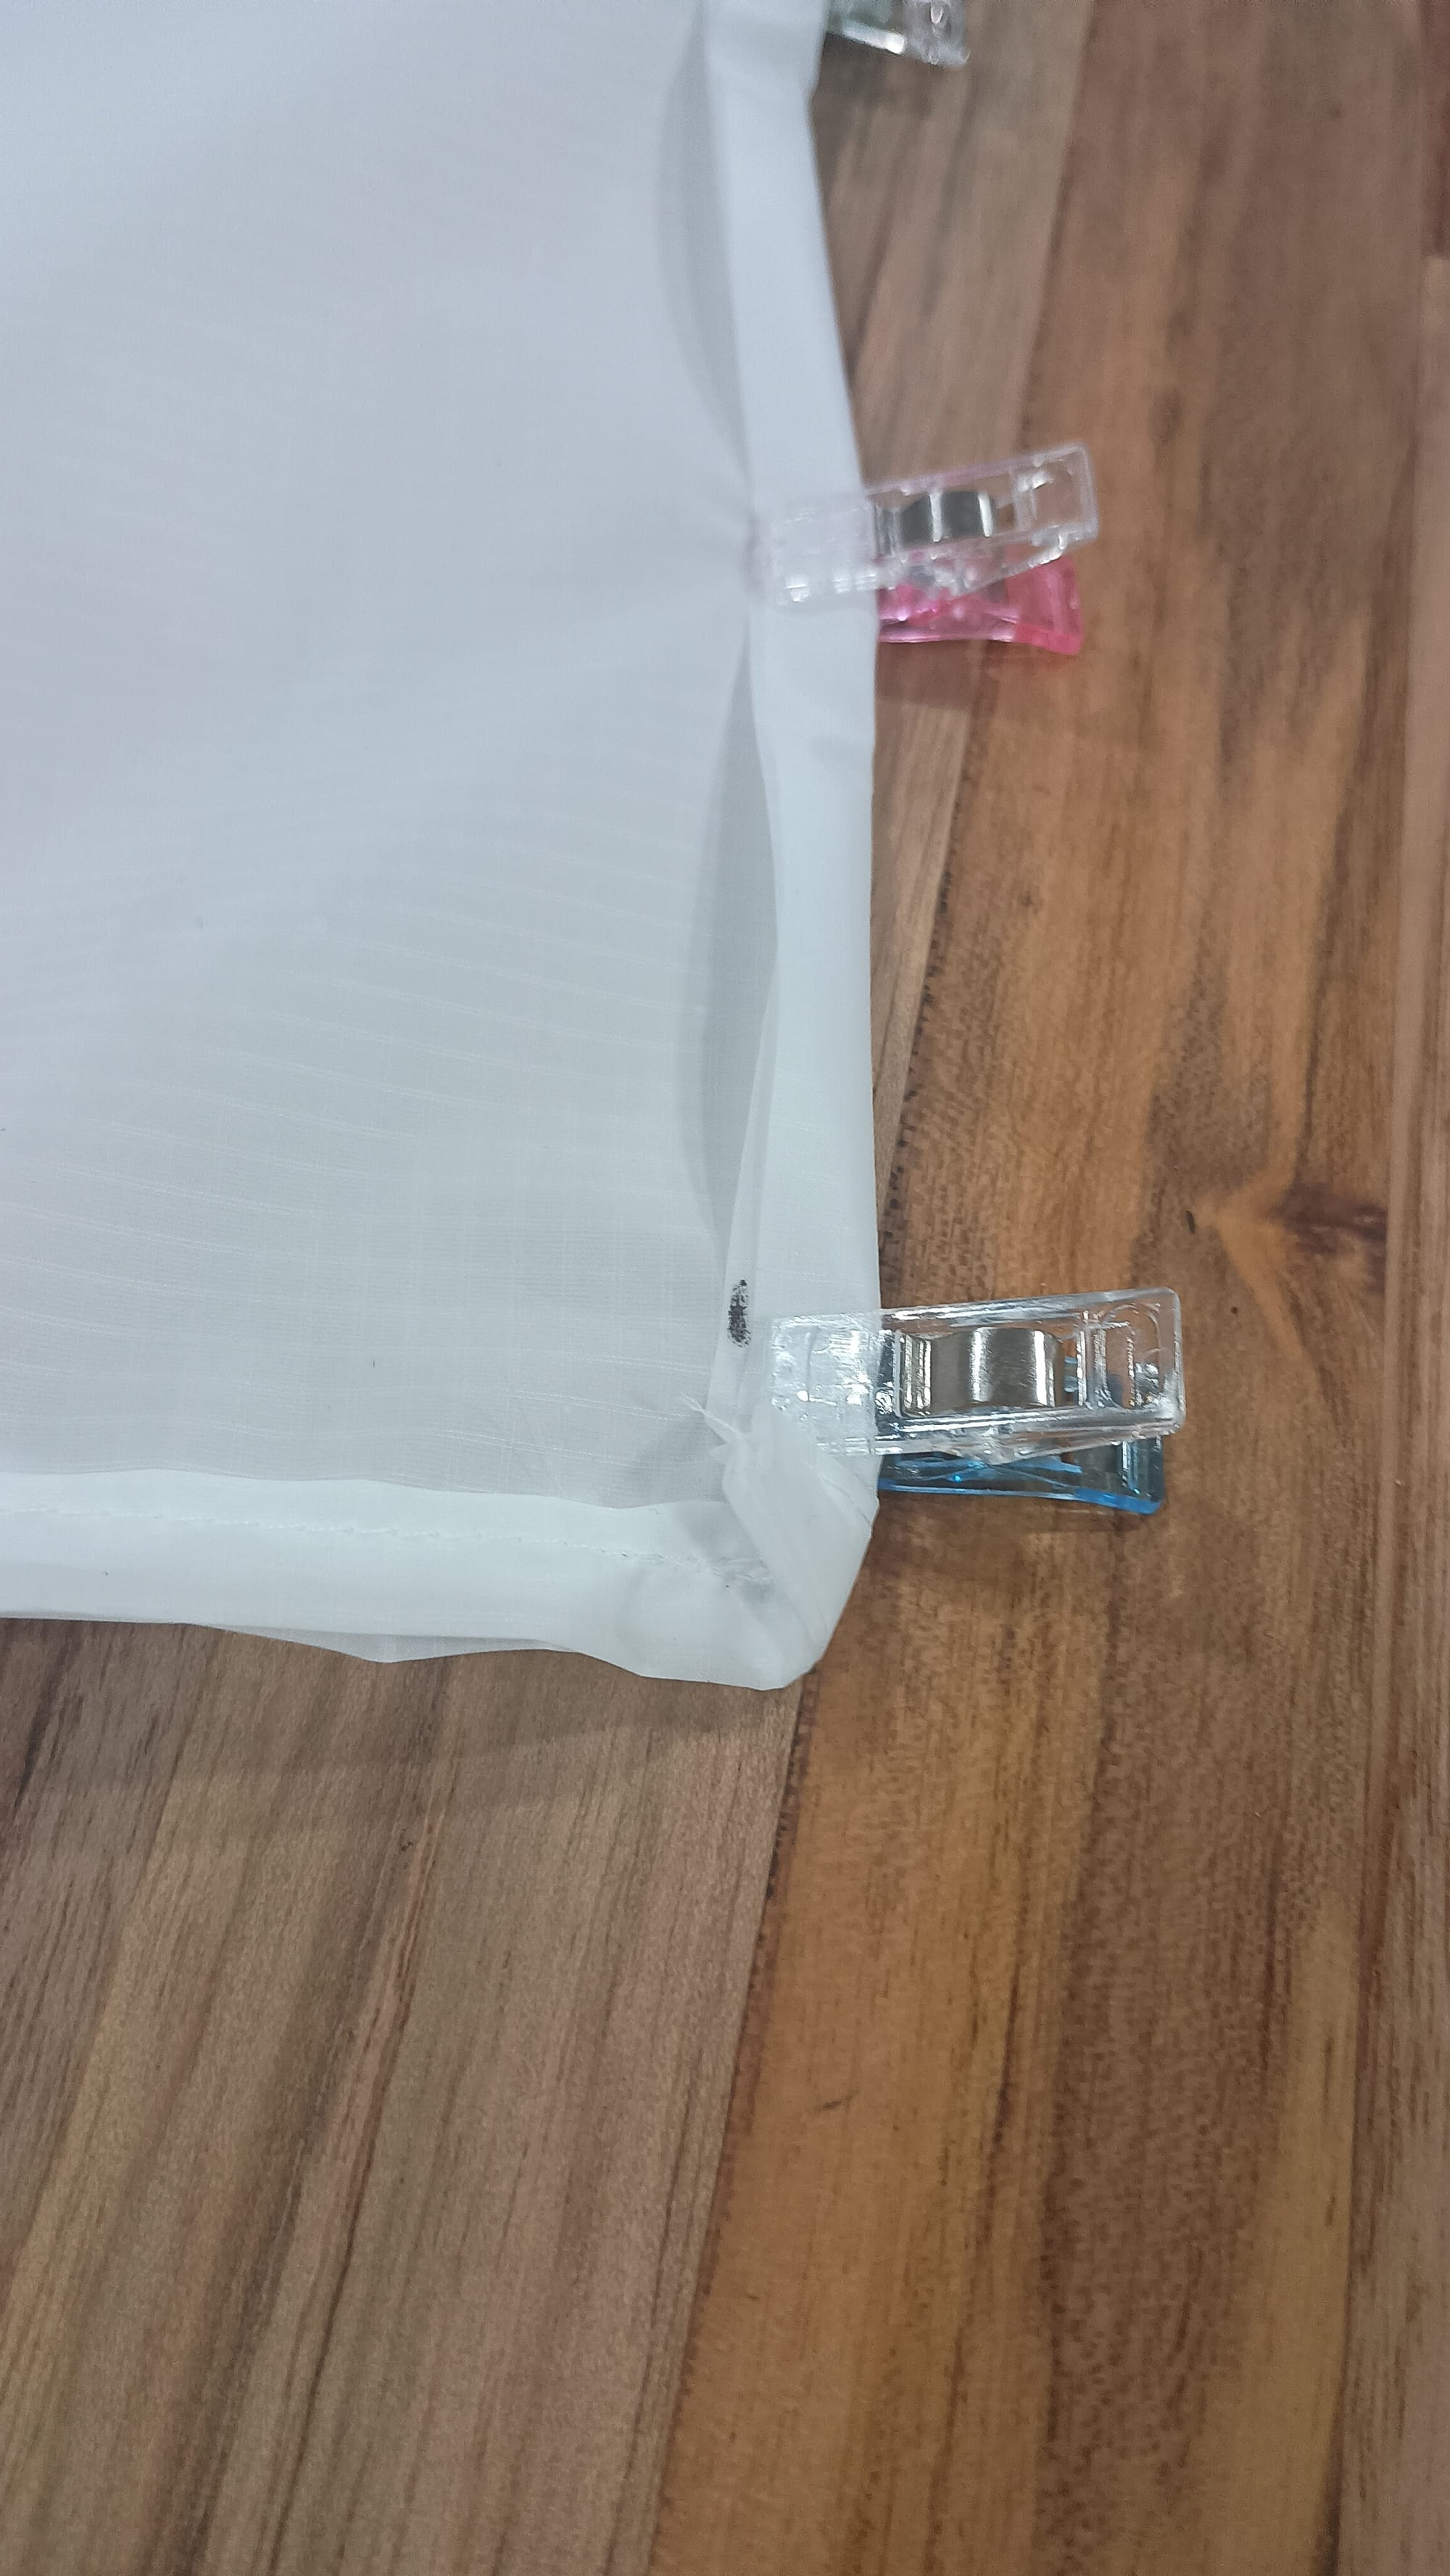

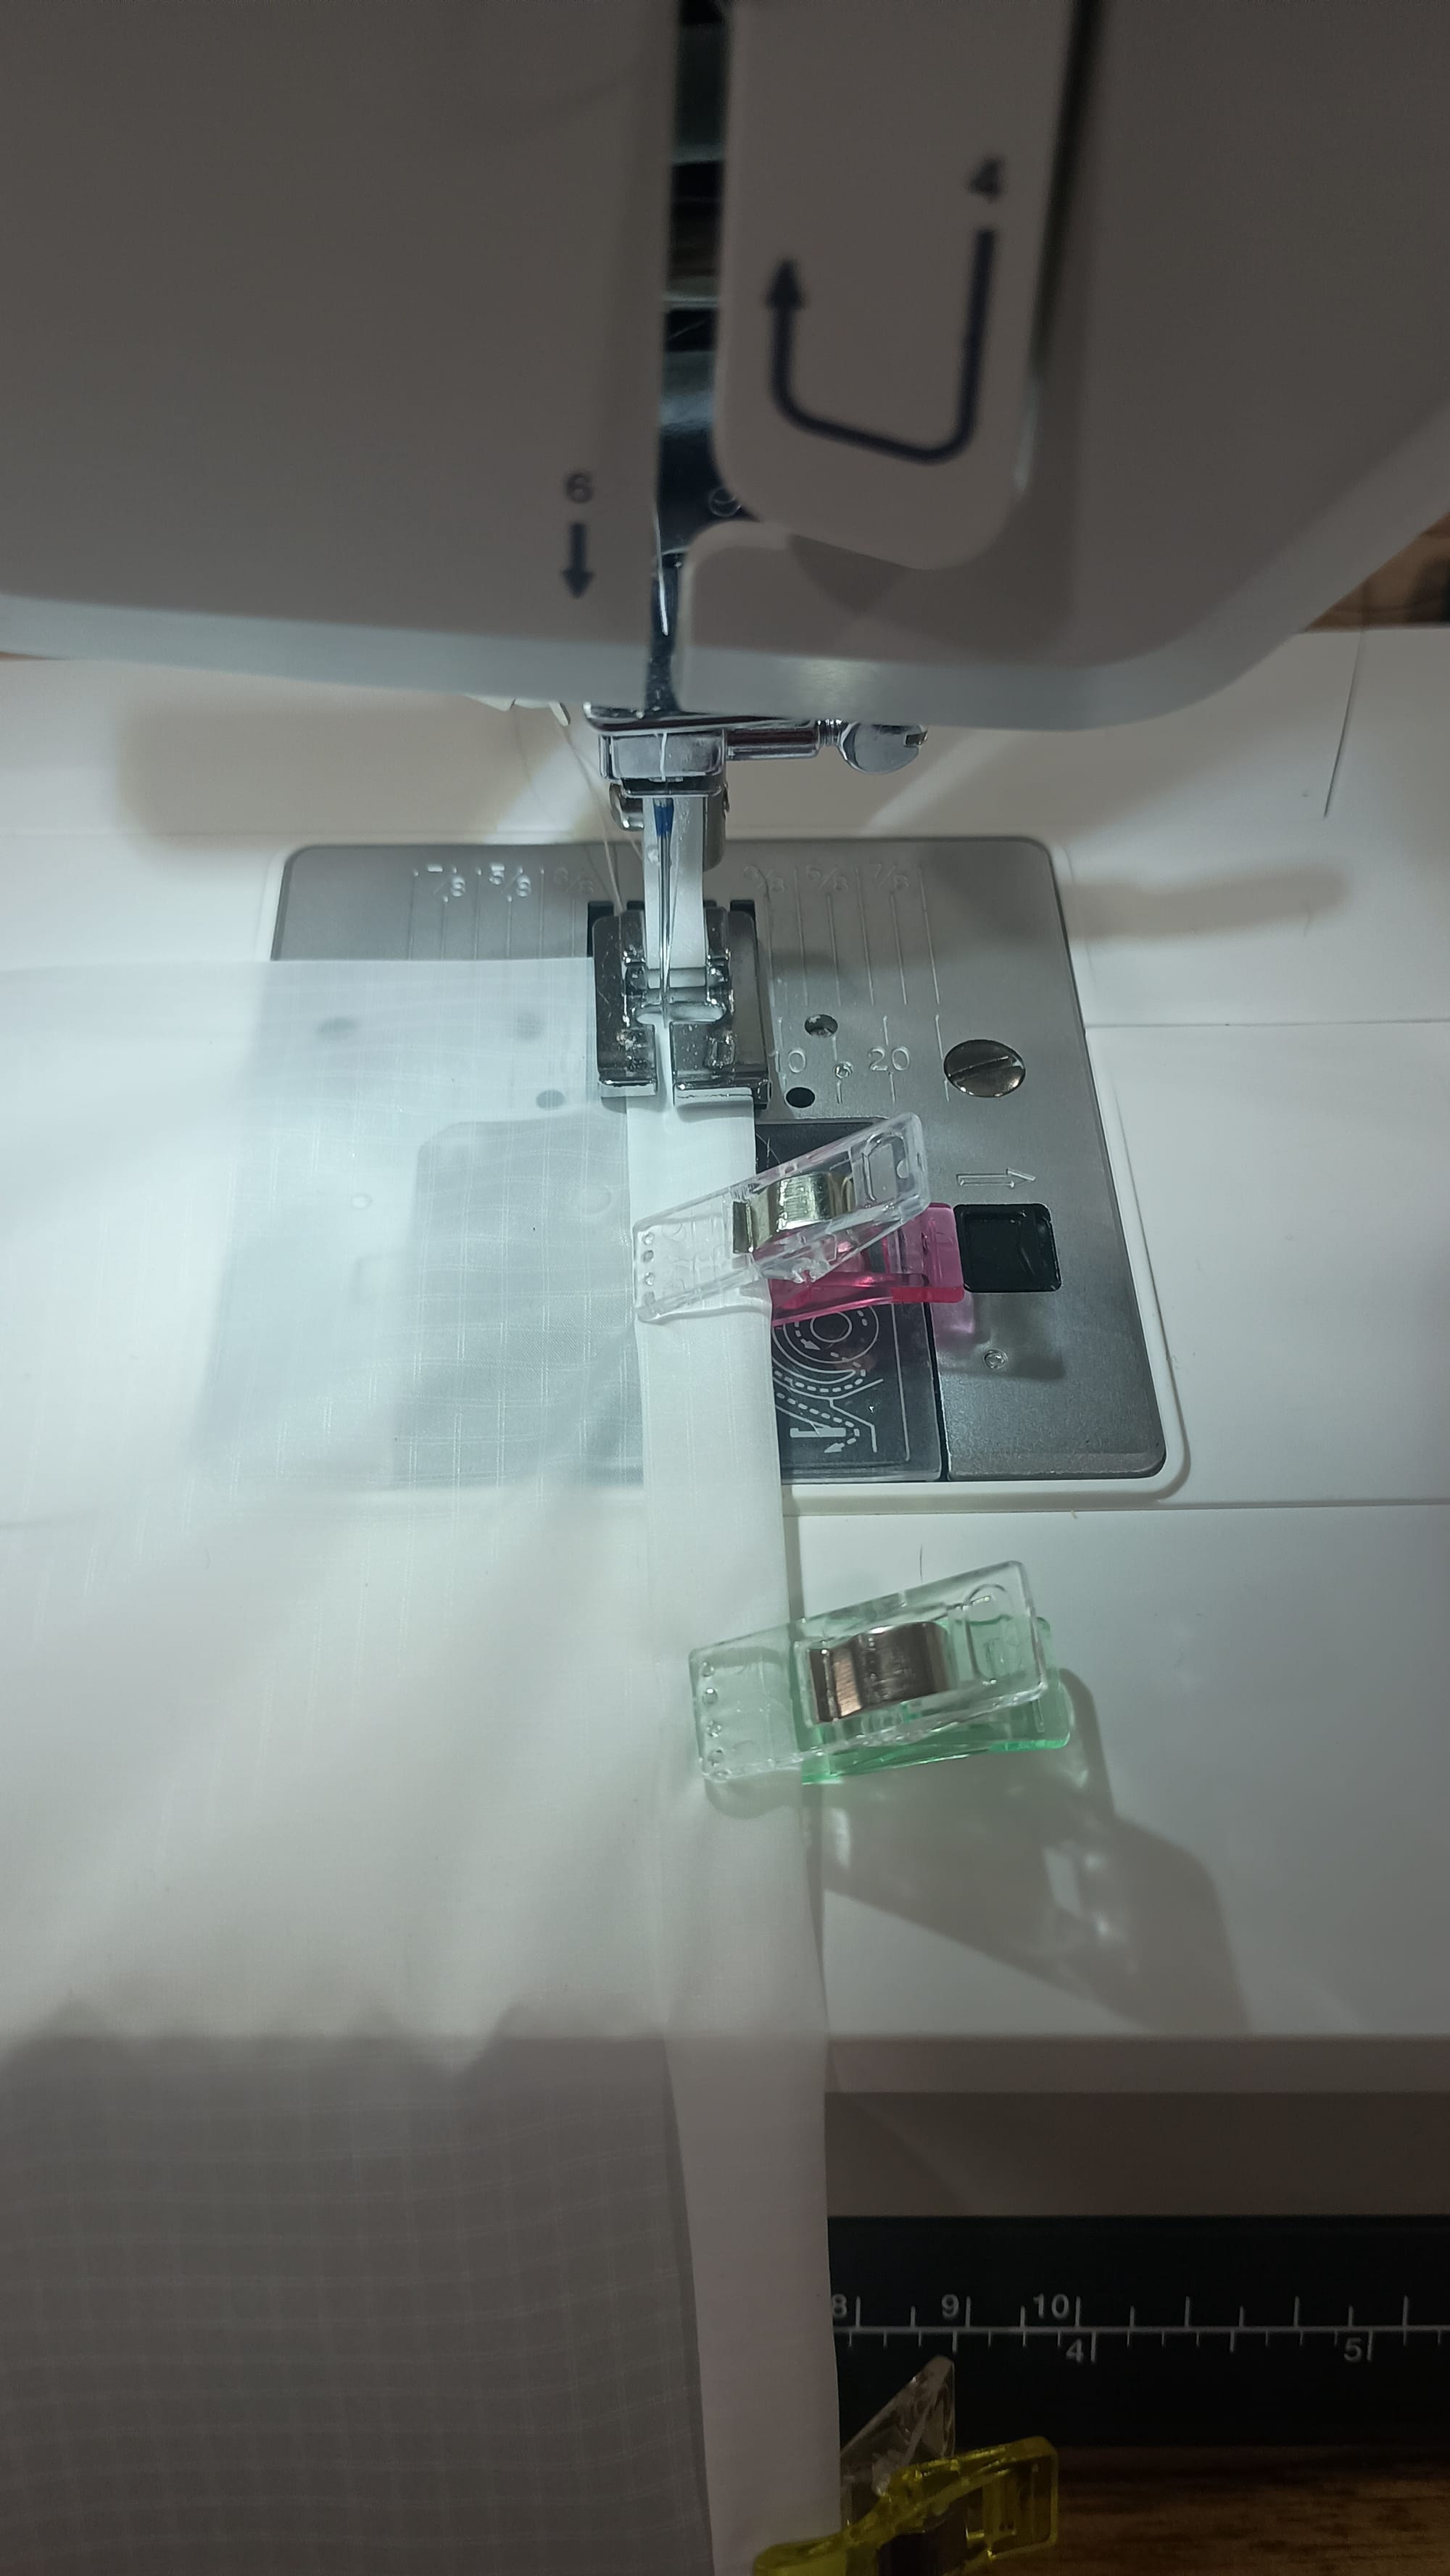
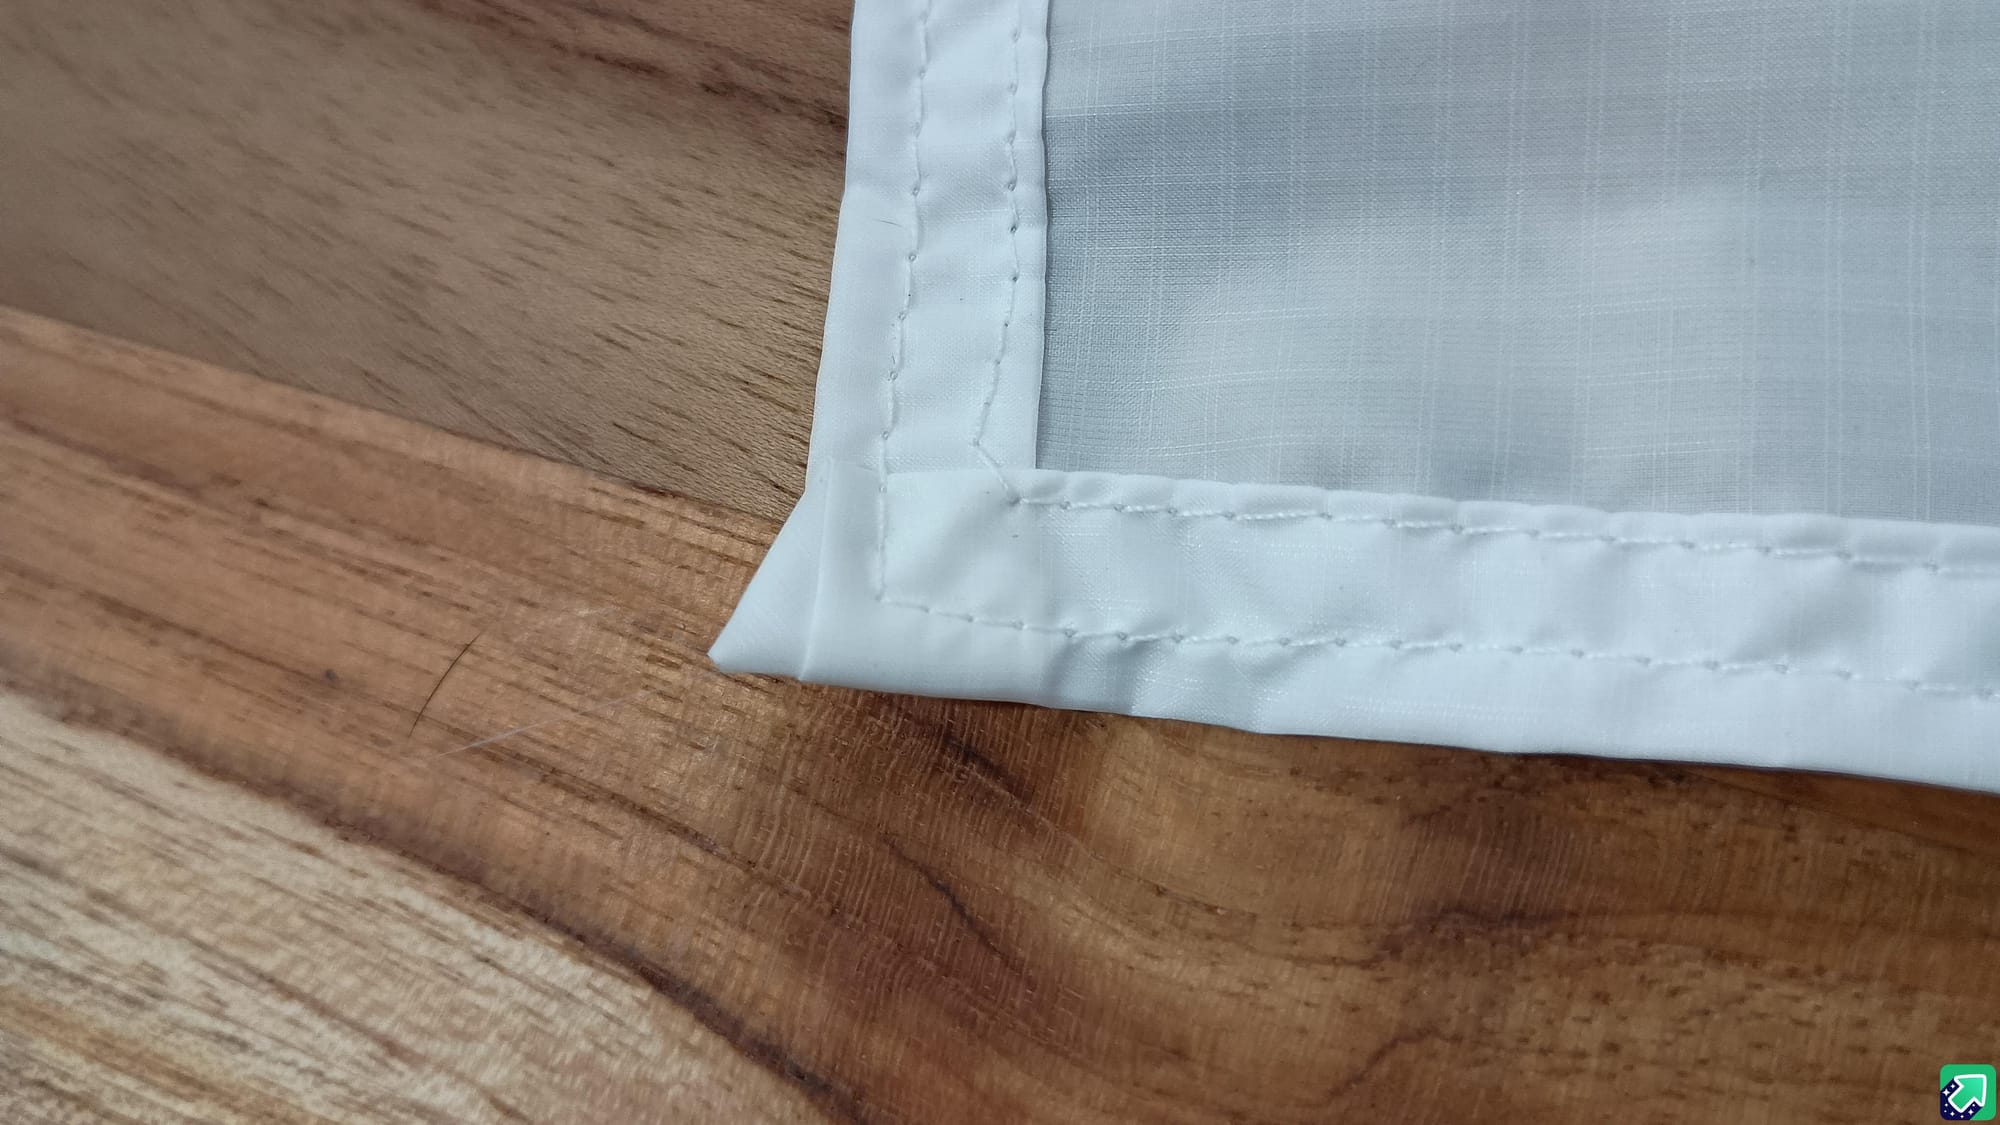
7) Sew bottom and side seams. For this I started on the bottom-corner-inboard-seam in the lower right of the photo below. After the back-stitch to lock the thread in, I proceeded to the corner in the bottom left, pivoted, and continued up the side. I did not completely sew up to the top. I stopped ~ 1/4" from the drawstring hem at the top, pivoted toward the outside, did 2 stitches, pivoted again, and retraced with a second line of stitching around the outside, parallel to the first, ending at the lower right with another back-stitch to lock things in.

8) Install Drawcord. Fuse the end of the Atwoods Micro Cord with a lighter so it can easily fit through the eye of your drawcord needle. With the cord still on the spool, carefully thread the needle through the drawstring channel. Flatten the fabric in order to get a good length estimate on the cord. Cut the cord ~4" longer than necessary when the bag is flattened. Fuse the cut end with a lighter. Thread both ends through the micro cord lock. Position the cord lock so that ~1/4" space exists between it and the flattened bag. Tie an overhand knot past the cord lock. Cut the two cord ends ~1/4" past the knot and fuse the two ends with a lighter.
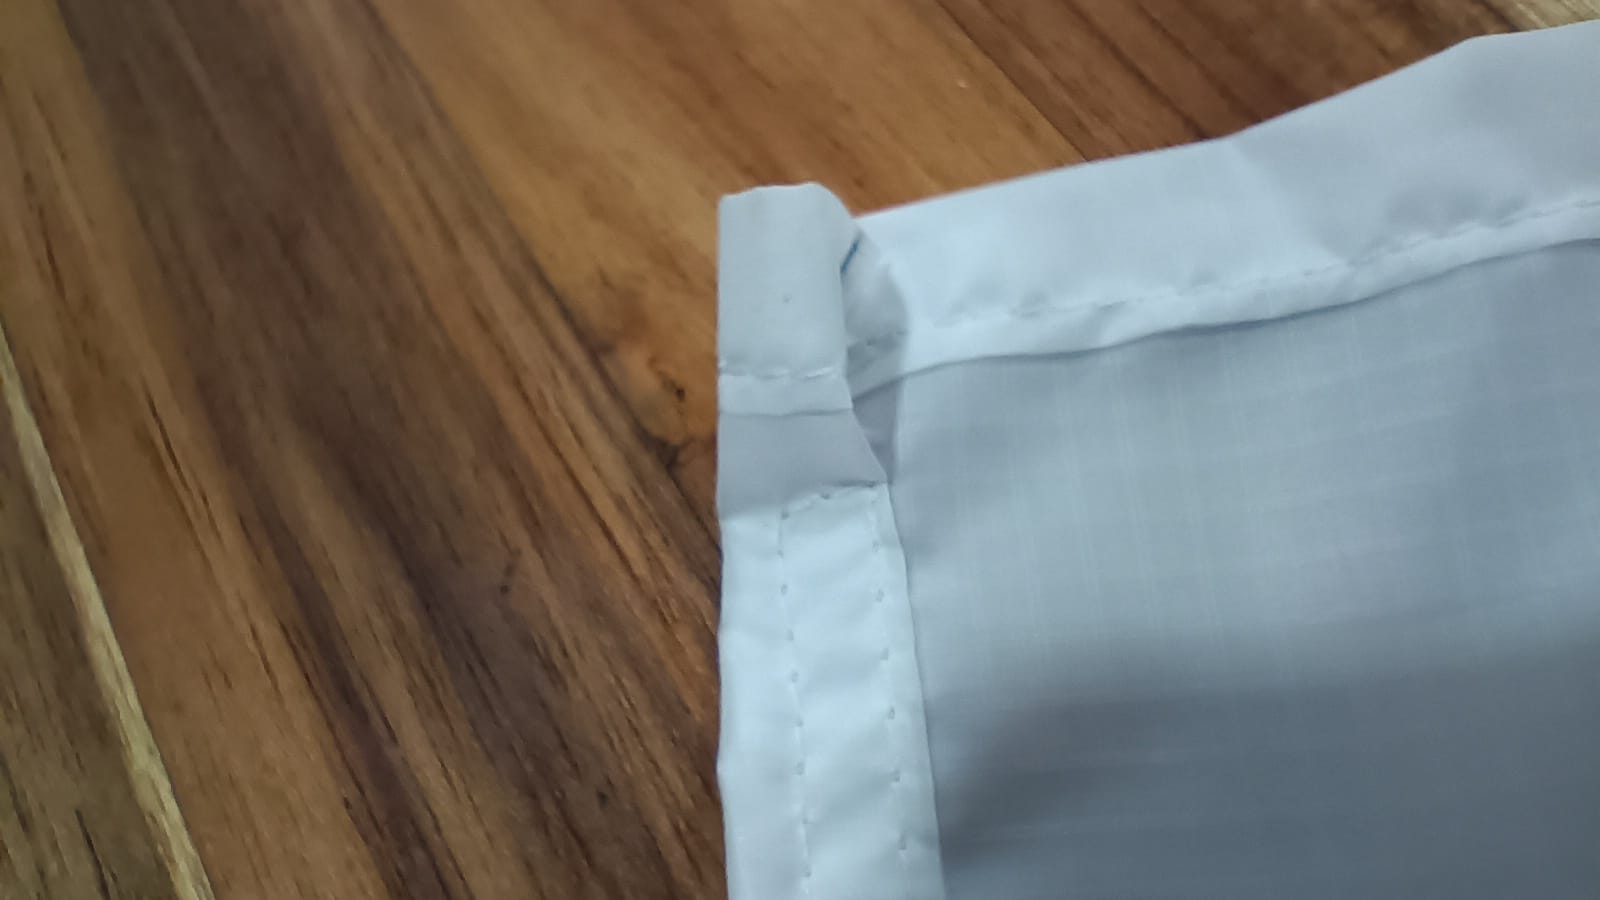
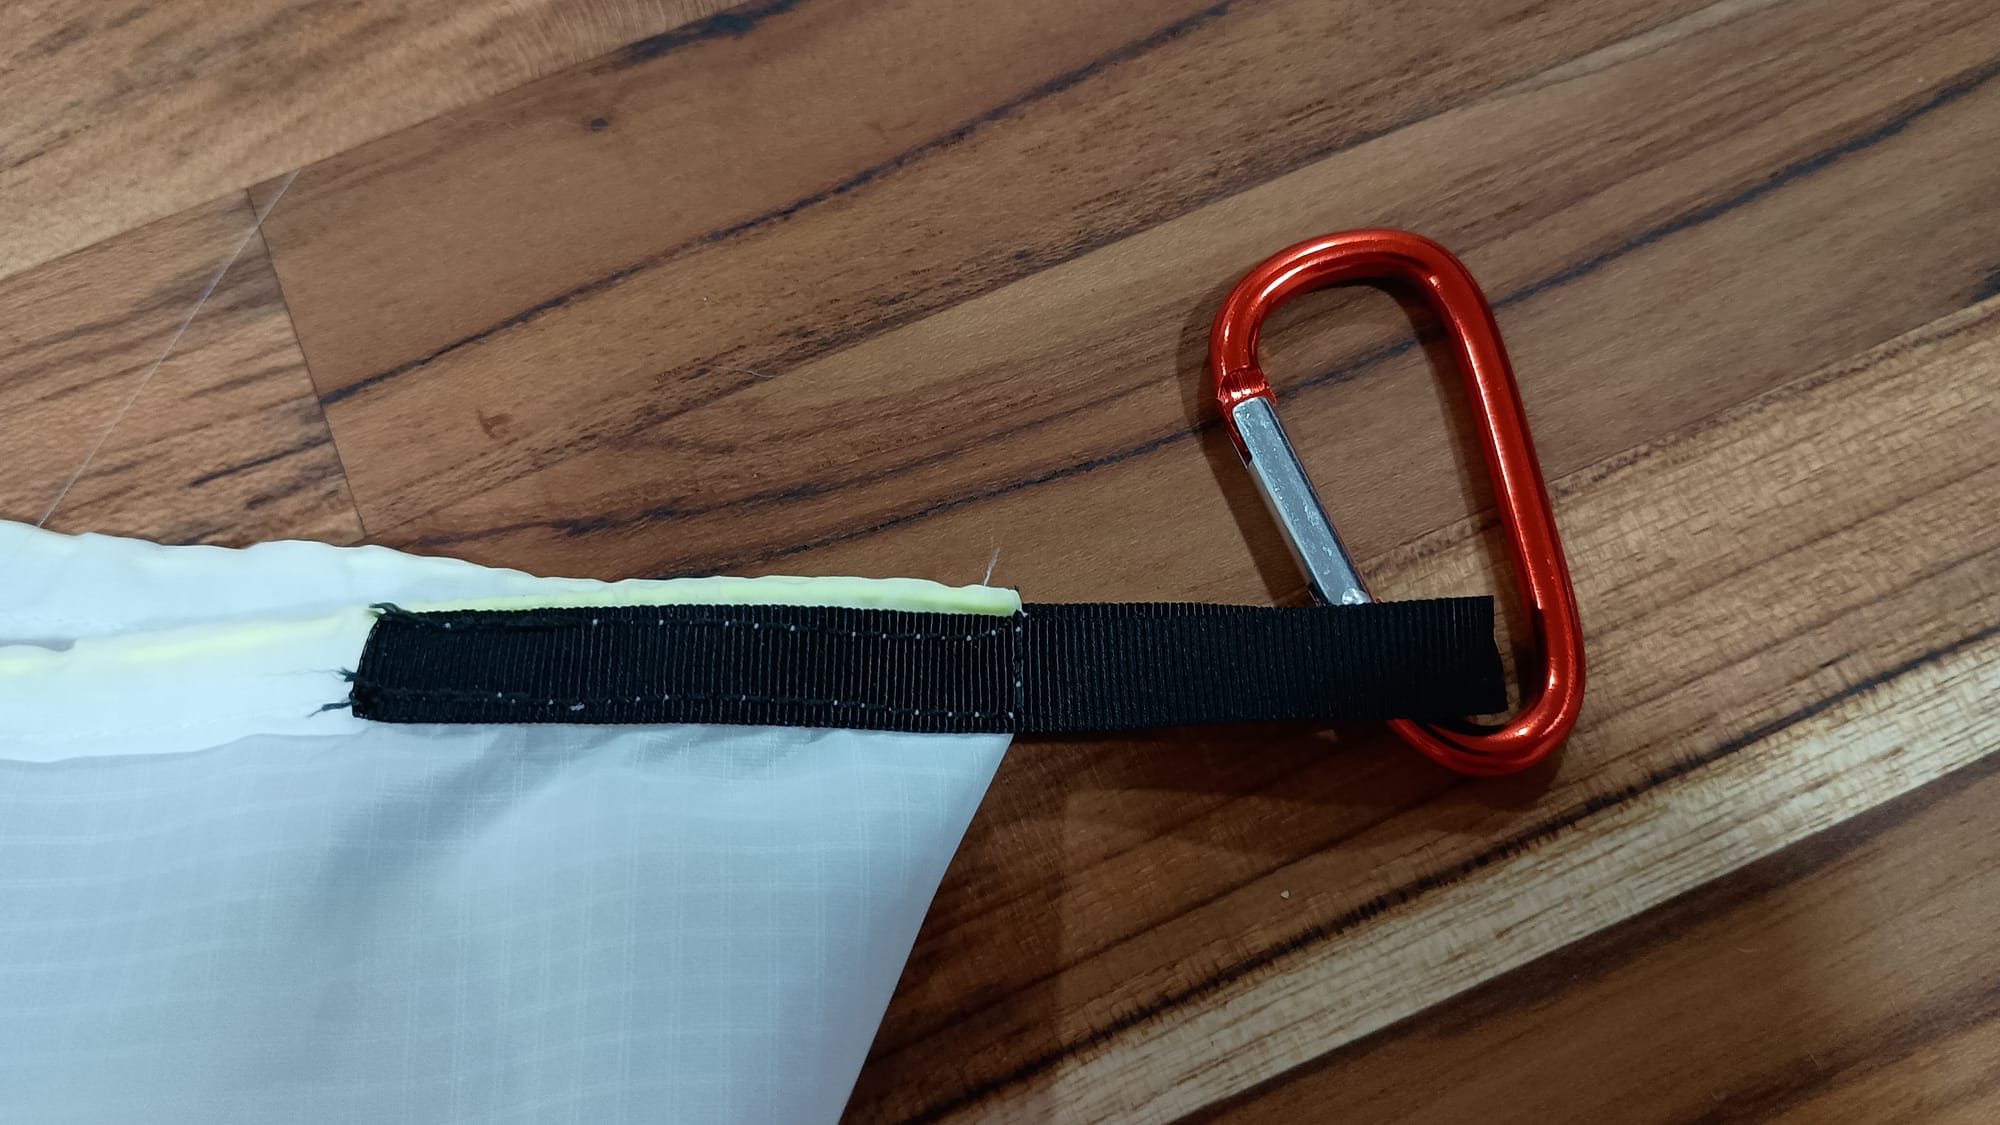
9) Cut and Install Grosgrain loop. Cut a strip of Grosgrain ~8" long. Fuse the cut end with a lighter. Fold bear bag in half to find mid-point of top channel. Use clips to affix ~2.5" of Grosgrain to either side of the marked point to create a loop centered on the mark. Sew this down, taking care to sew through the draw cord at the same time to lock it in place. Make sure to lock stitch each thread end carefully.
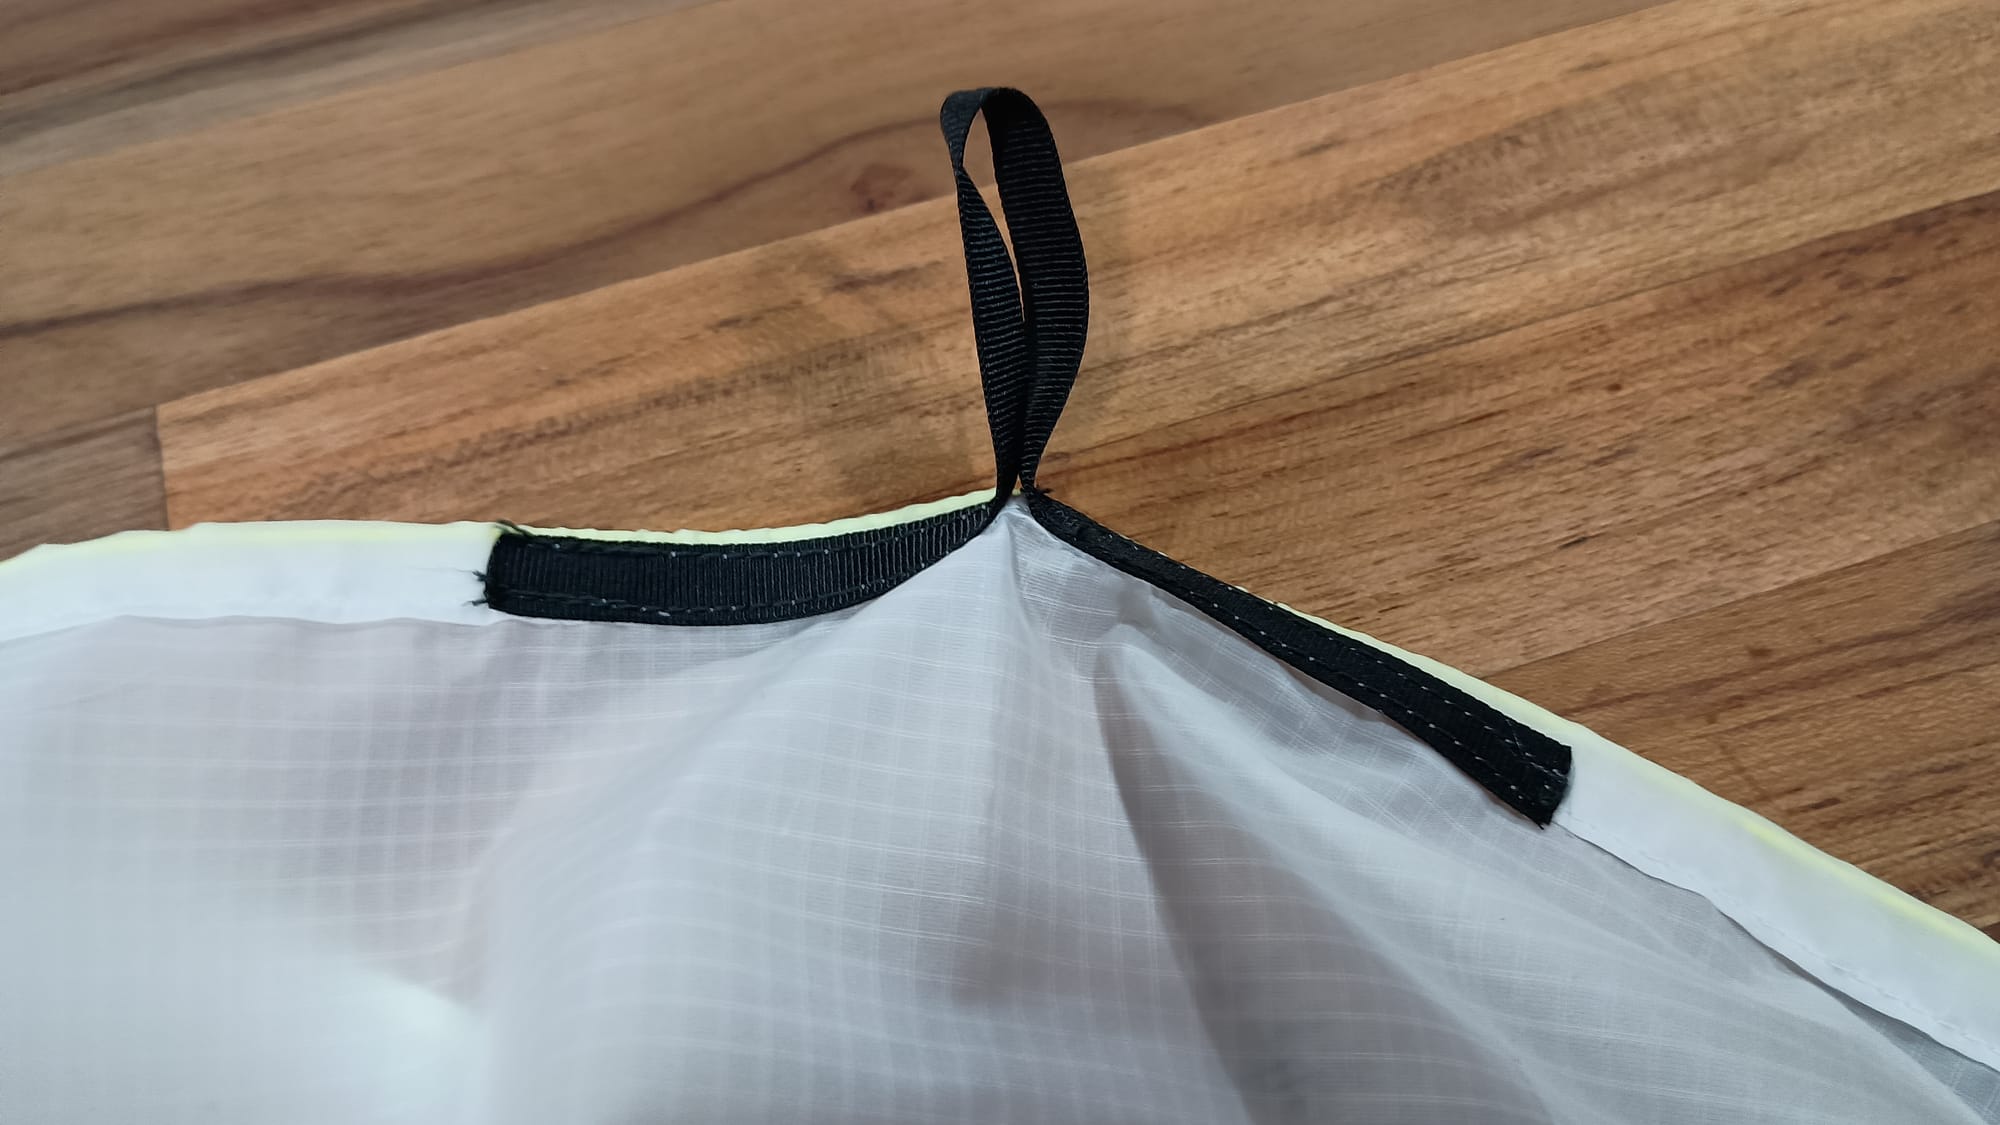
11) Add carabiner to loop, and now you're done!
Final Product and Usage
Philmont's bear bag ropes are ~100 feet long with a figure-8-on-a-bight/overhand-on-a-bight in the middle, creating a loop for a 3" carabiner. Each length from this midpoint is then run over the steel cable (see intro picture) and tied off so that the carabiner is suspended. Bear bags are tied either side of the carabiner with clove hitches or larks head knots. The carabiner is a place for an "oops" bag cord to run through.
The intent of the improved bear bag design is to clip one of these rings to that 3" carabiner. The 2" carabiners of each bear bag can then clip onto this ring, replacing the need to tie bear bags to the rope. (The oops bag cord will still run through the 3" carabiner as before.)
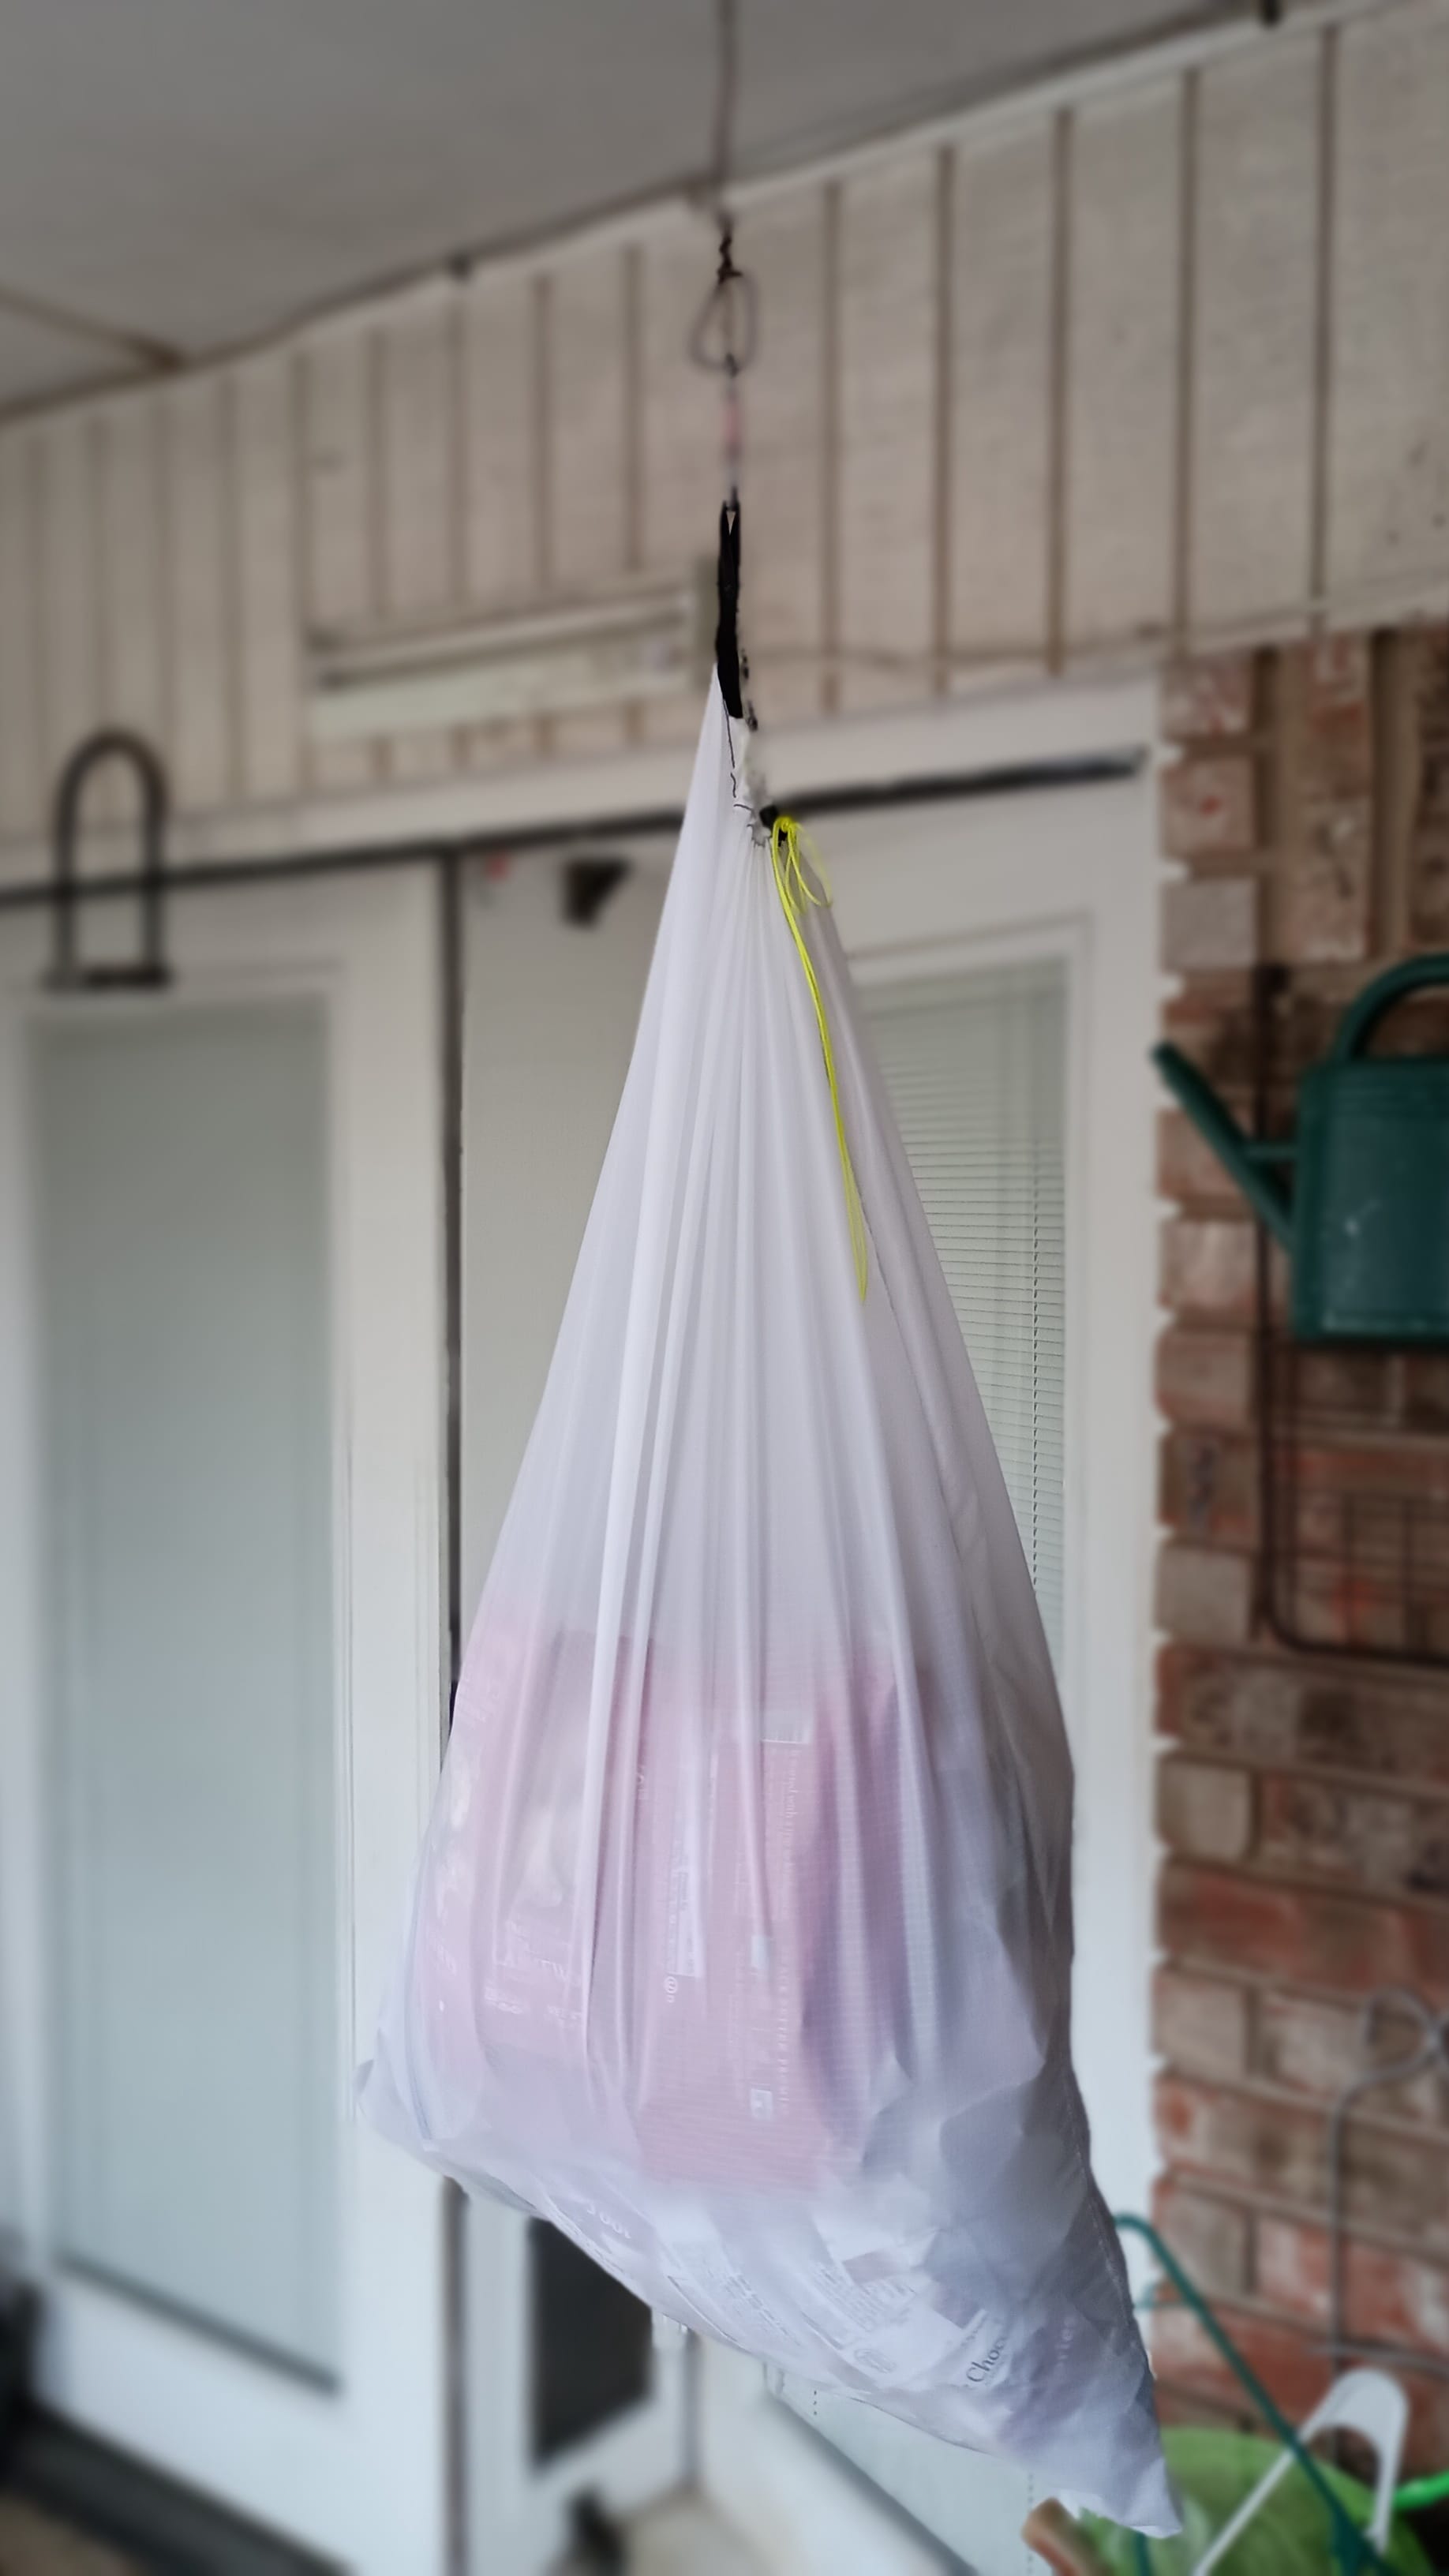
The above picture shows the prototype bag hanging from the 2" carabiner on my porch with ~15 pounds of food in the bag. Philmont food loads should be 10 pounds or less. At 15 pounds, the cordlock slipped on the cord. I resolved this by tying an overhand knot-on-a bight below the cord lock. This knot allows the end to be pulled to untie the knot when not needed. (It's a slip knot.)
I have not yet tested my bags on a crew trek to report on how well this works. My Venture Crew is planning a return trip to Philmont in 2026. I'll update this site with a review of this system once I've got some experience with it.
Keep Hiking my Friends