Cost Effective Functional UL Rain Jacket


Rain gear is one of the 10 Scout Essentials. This article is not a missive on the pros/cons of different types of raingear, rather it's a cost-effective approach to resolve a drawback for one of the backpacking community's biggest bang-for-the-buck rain gear items.
Frogg Toggs UL jackets have been a staple of the Appalachian Trail thru hiking community for years. For just $20 they provide a surprisingly effective solution. While not the most durable (they tear), they are easily repaired with simple duct tape, and when they to fail, they are cheap and easy to replace. Many AT thru hikers report that they were able to complete the entire 2200 mile / 6 month ordeal using just 1 or 2 sets. However, they come with a well-known drawback: they don't breathe (even though their marketing says they do.)
There are 2 basic approaches to raingear:
- Multiple layer permeable membrane technology, like Goretex. In this category a material that will allow water vapor to pass thru but not allow liquid water is laminated, layered, or affixed to a structural layer, like nylon.
- A Single layer impermeable solution, like a plastic bag.
The name of the game is moisture management: keeping you dry from the outside (falling rain) whilst also keeping you dry from the inside (sweat.) The first approach does this through careful engineering of the membrane and treatments of the structural layer. The second approach does this through mechanical ventilation. Neither approach is effective 100% of the time, and both require user-knowledge to apply effectively. While either approach can get to be very expensive, the second can be very inexpensive. Plastic garbage bags or dollar-store "emergency ponchos" can be legitimate budget solutions. Stepping up slightly from that is the ubiquitous Frogg Toggs.
Frogg Togg's Basic Problem
It has poor ventilation. A poncho has excellent ventilation because it has open sides. A very common technique for higher end jackets is a feature called "pit zips." These are zippers in the underarm/arm pit to provide that same type of ventilation a poncho has. Frogg Toggs don't have these. But what if they did?
Project Objective: Add pit zips to a Frogg Toggs Jacket
Step 1 - acquire the materials. For this I have used the basic Frogg Toggs UL jacket available for $20 on Amazon, and a pair of 22 inch #3 YKK zippers, also available on Amazon. These zippers are $11 per dozen. They are the same zippers I used on my premium MYOG DCF rain jacket, which is why I had extras lying around.
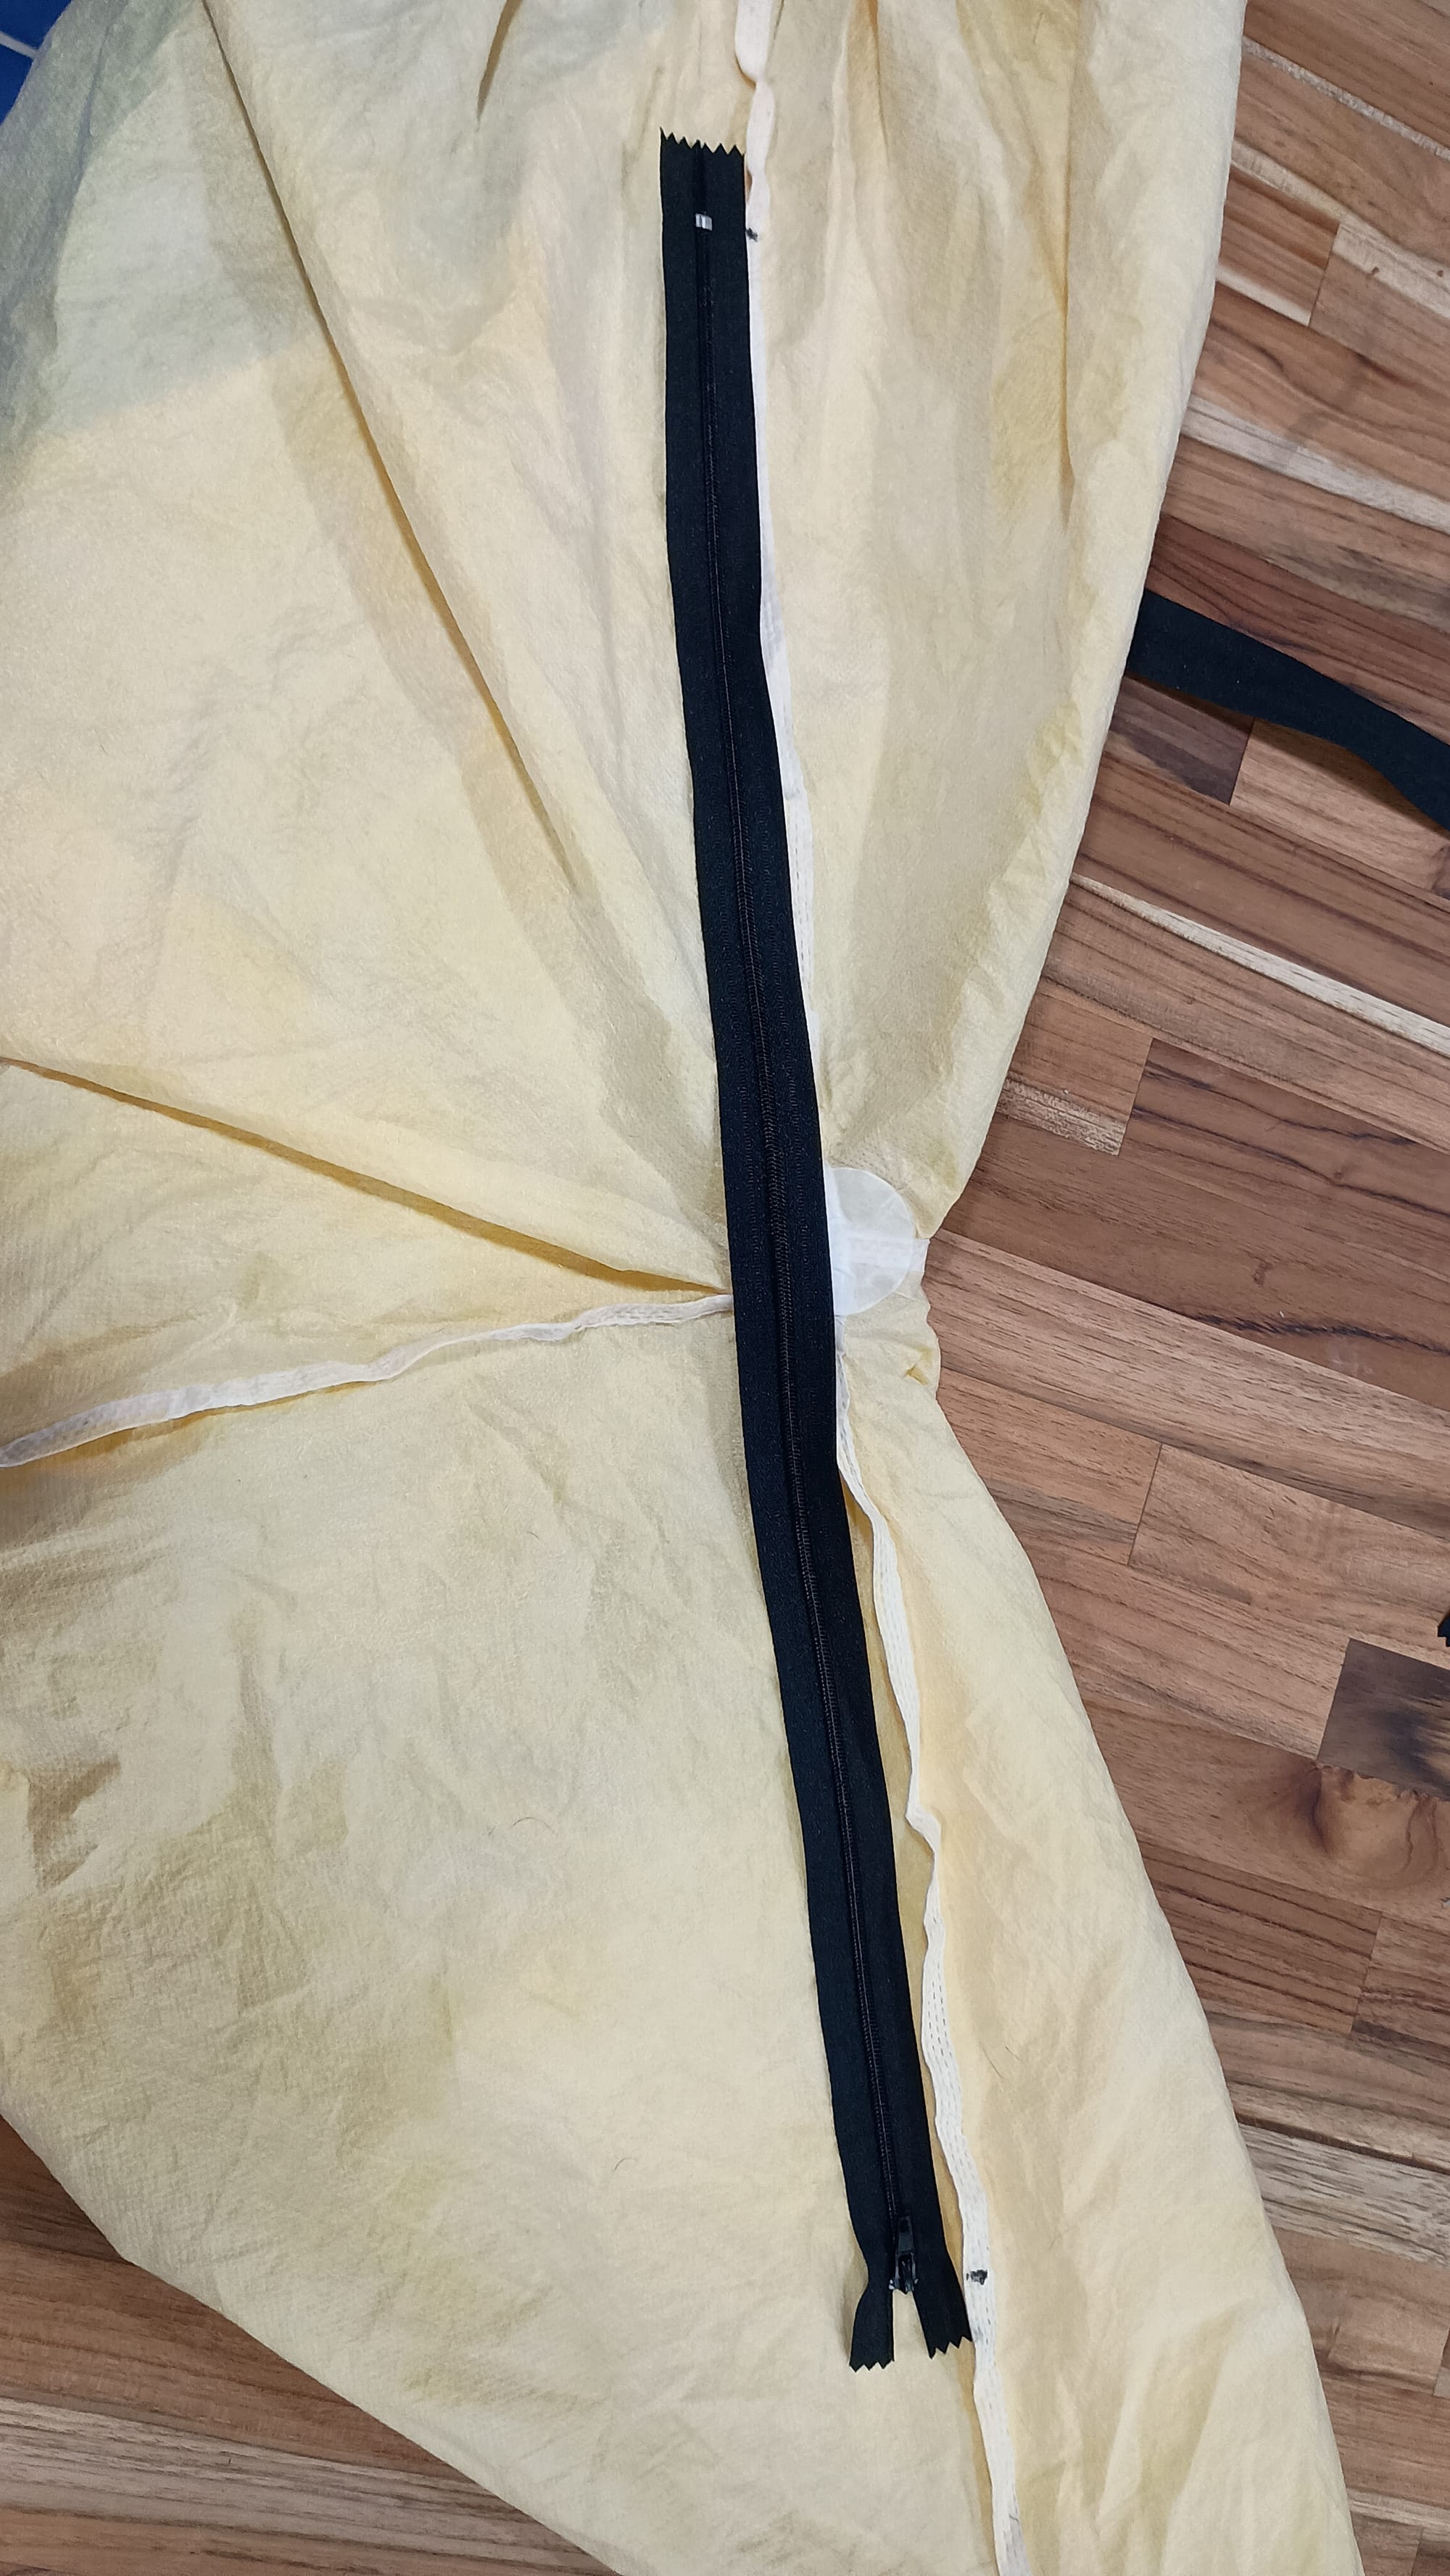
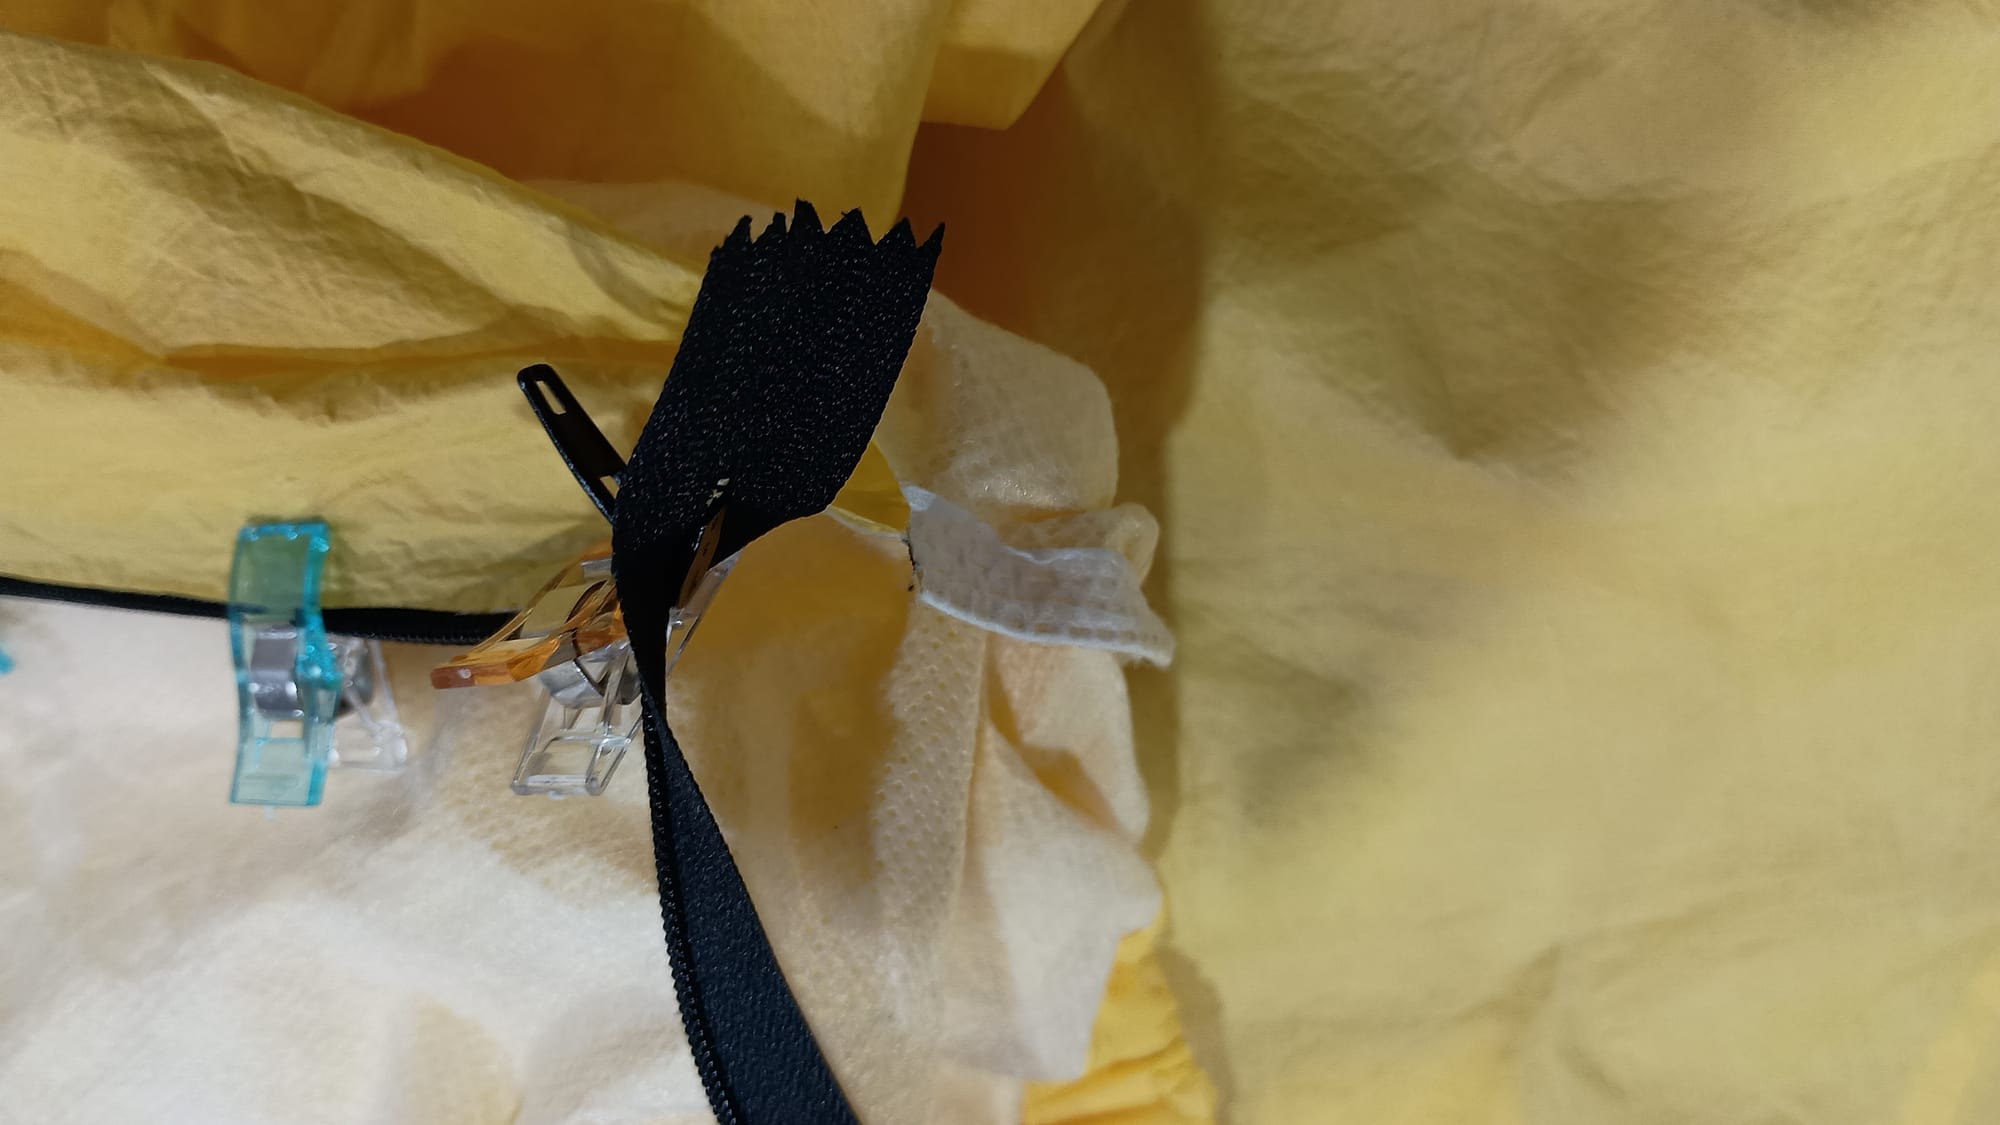
Step 2 - measure & mark. For this step you want to use a sharpie marker on the inside of the Frogg Toggs to mark where the zipper will end up, as shown in the pictures below. Turn your jacket inside out. I found the center point of the zipper by folding it in half lengthwise, then placing this midpoint at the seam junction in the arm pit.
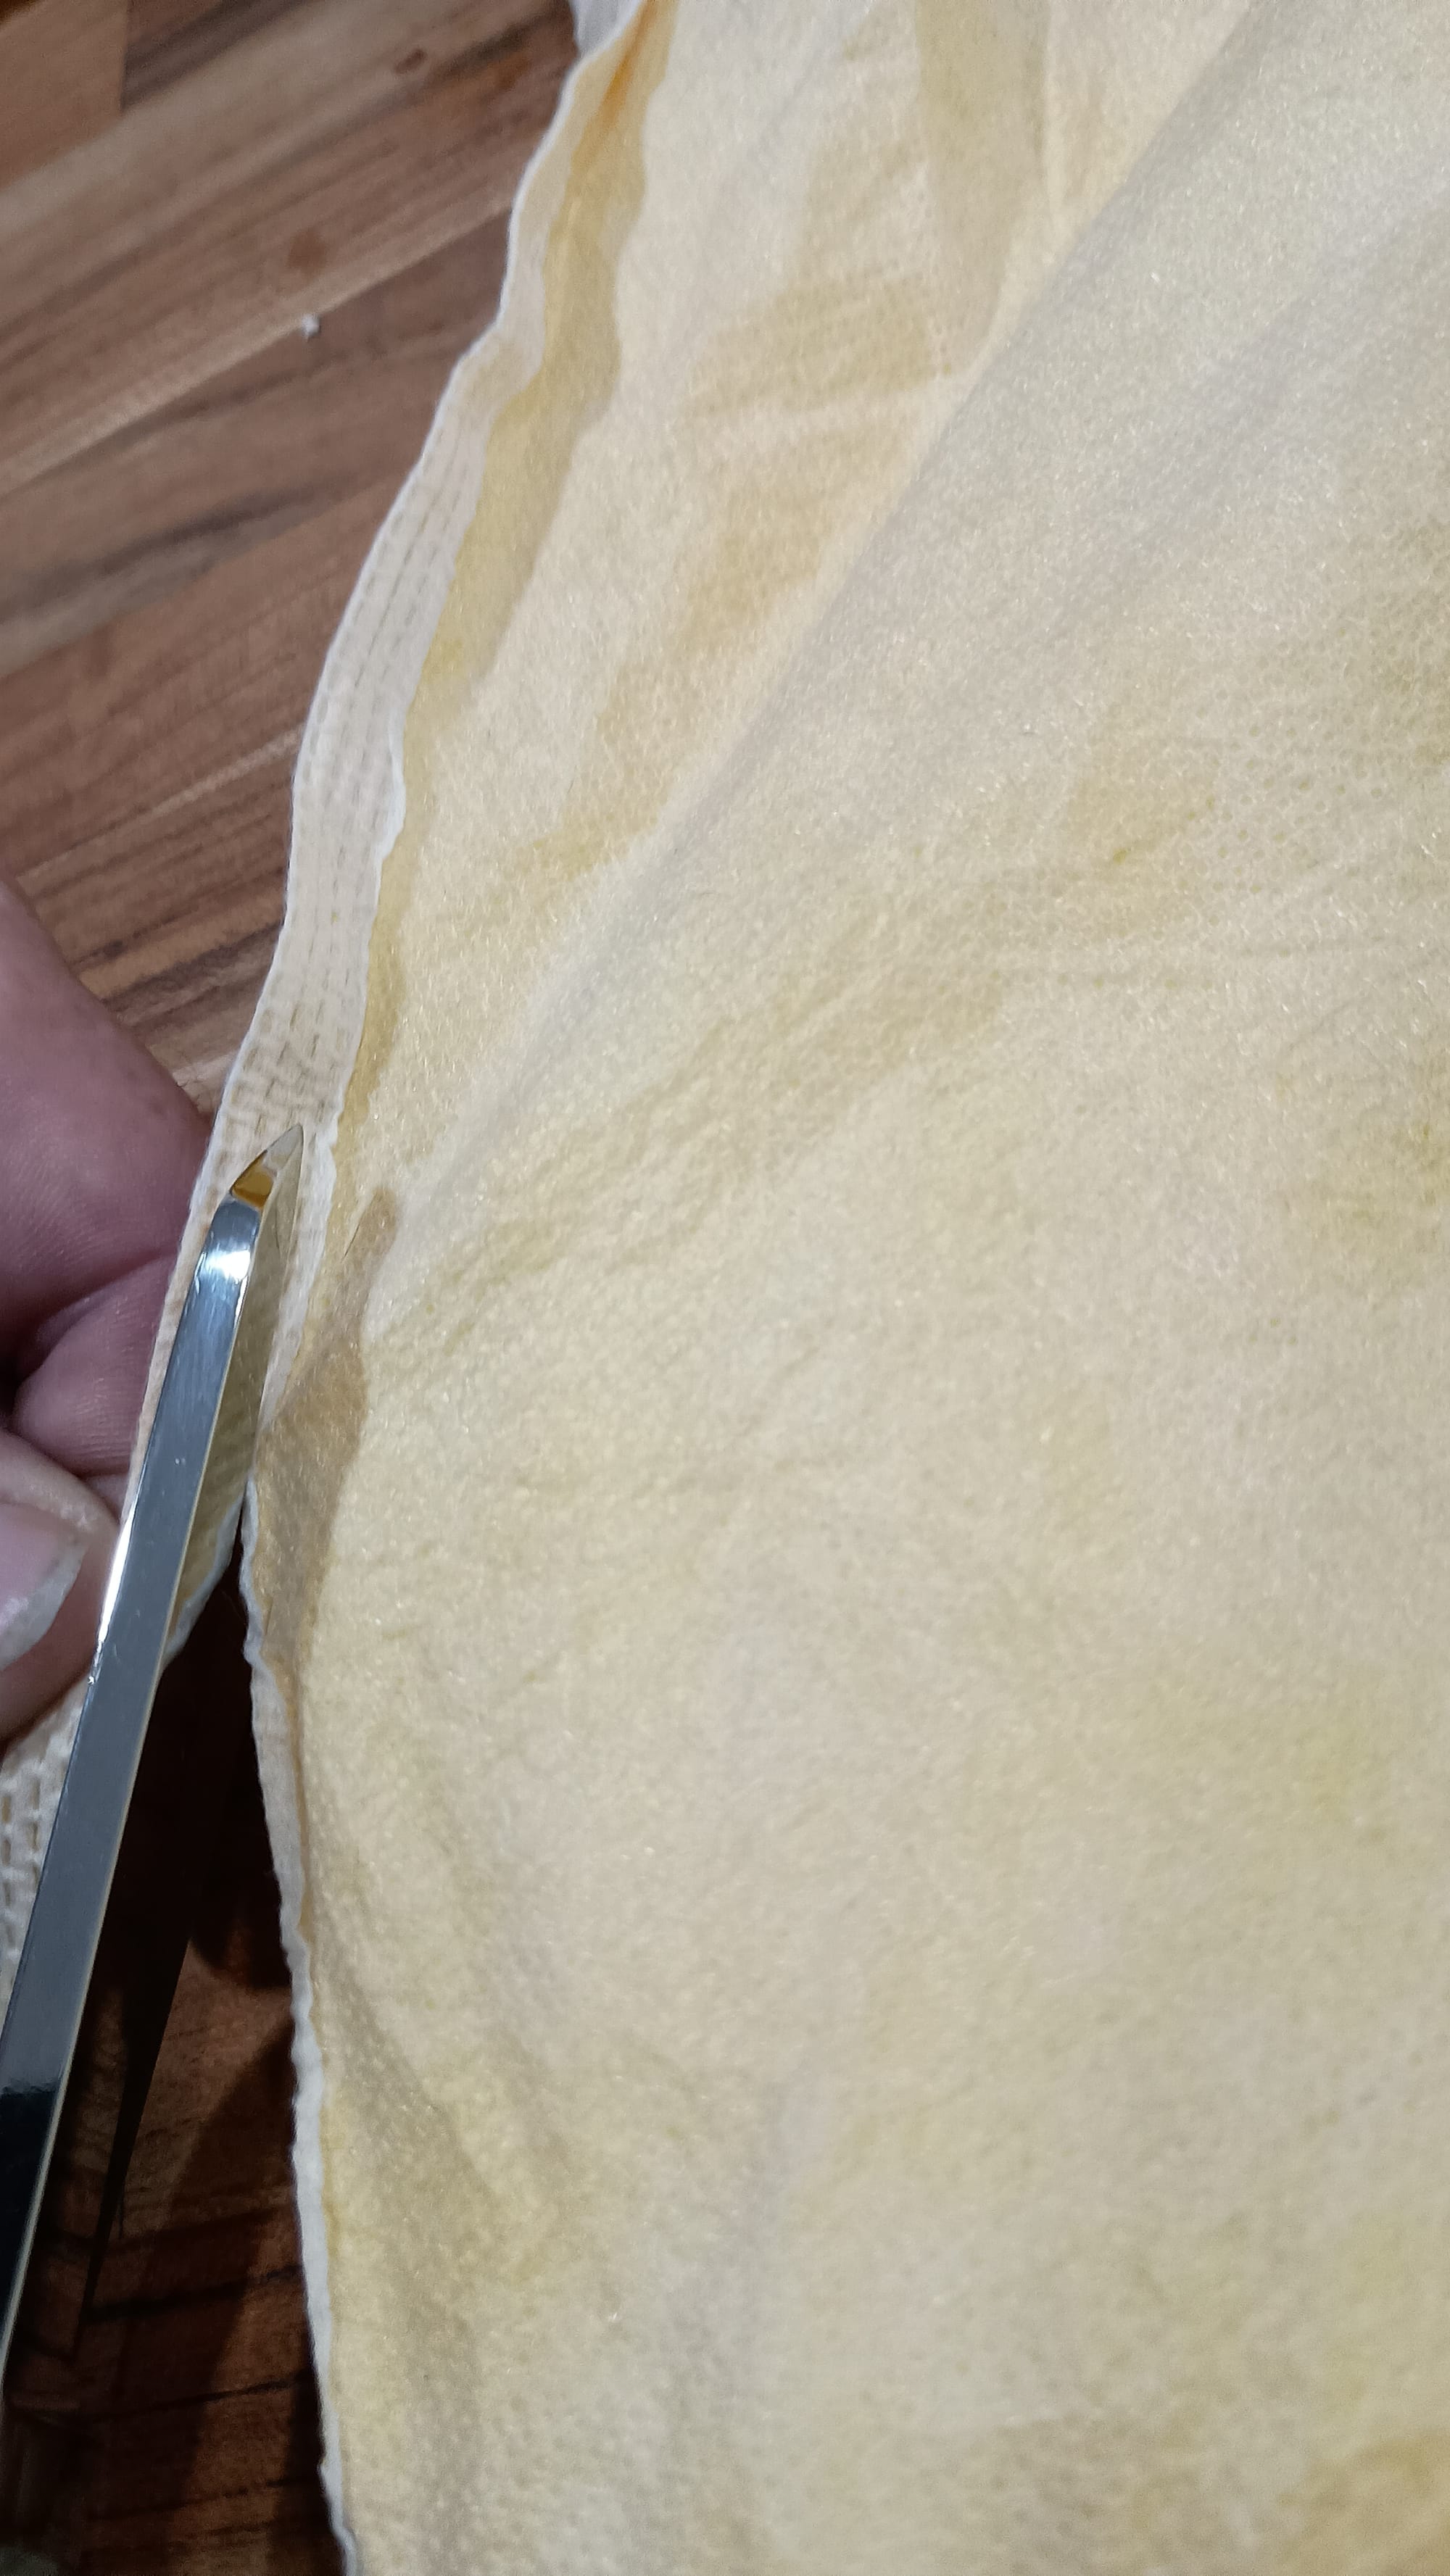
Step 3 - Cut. Cut along the very edge of the fused seam section where the fused and unfused portions of the fabric meet. Err on the side of the fused seam (i.e. don't cut too much.)
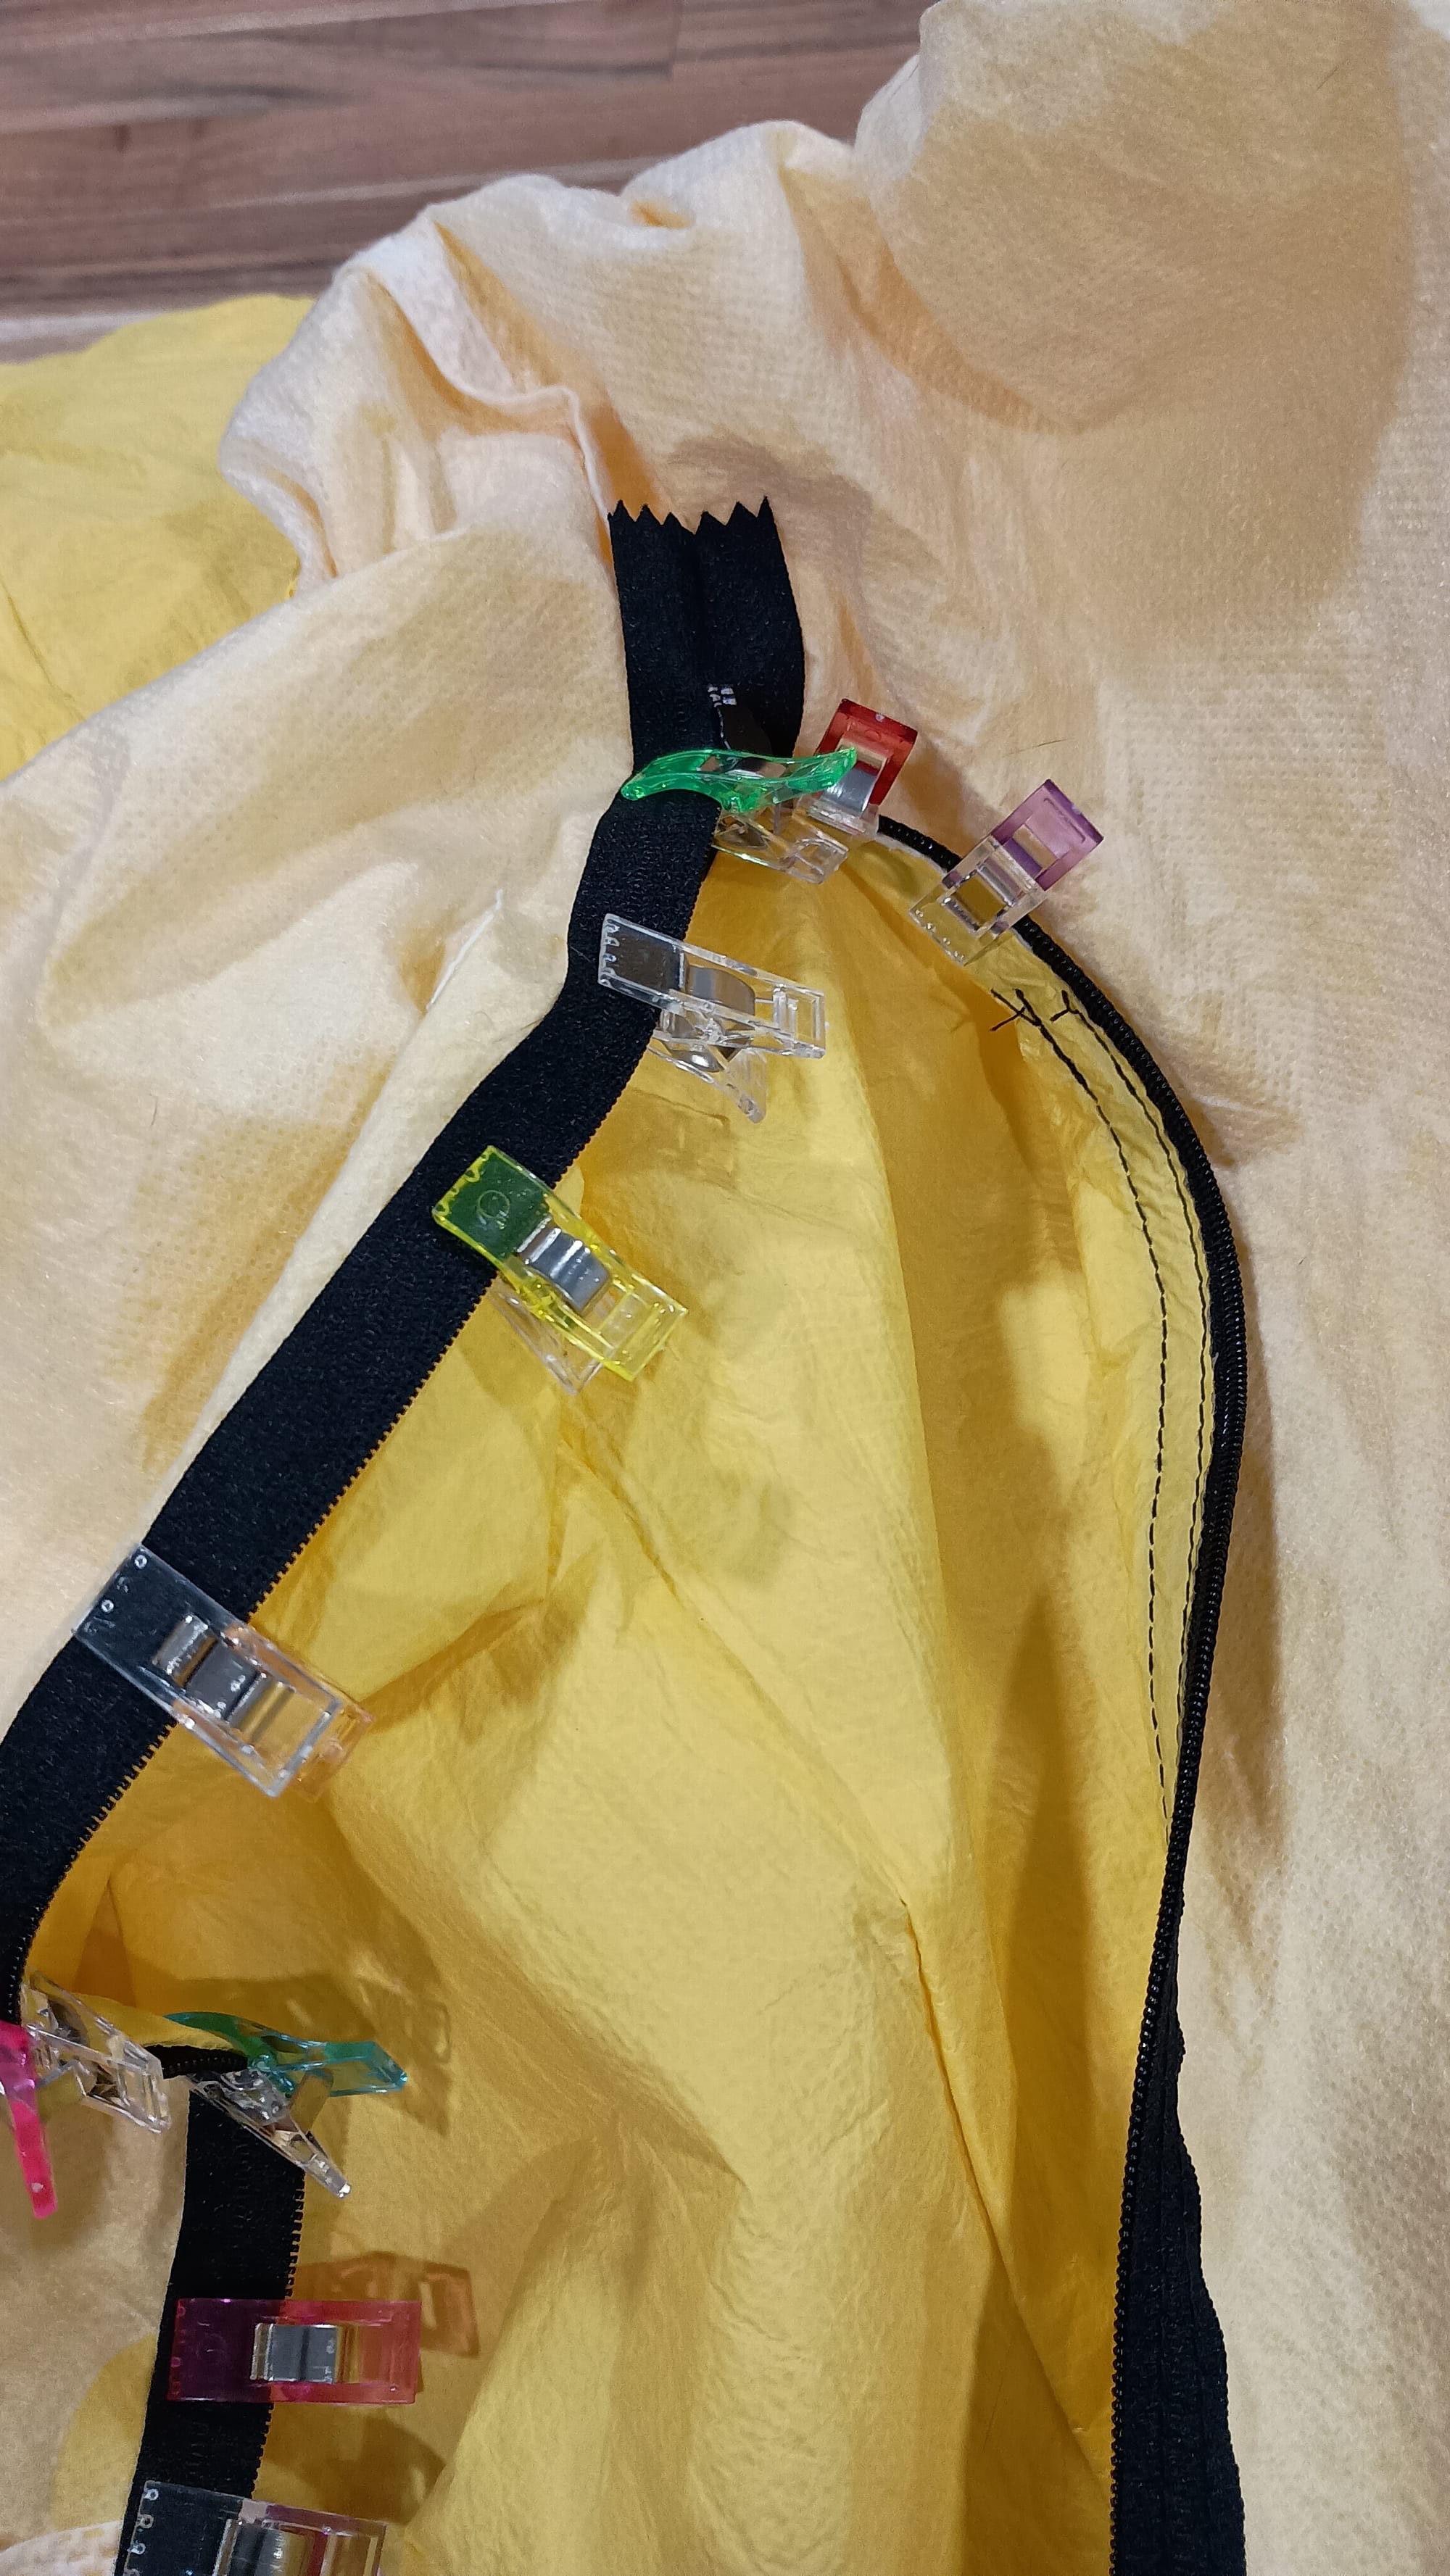
Step 4 - Unzip the zipper. Clamp or pin one side in place. Make sure that the zipper tab is on the proper side (outside.)
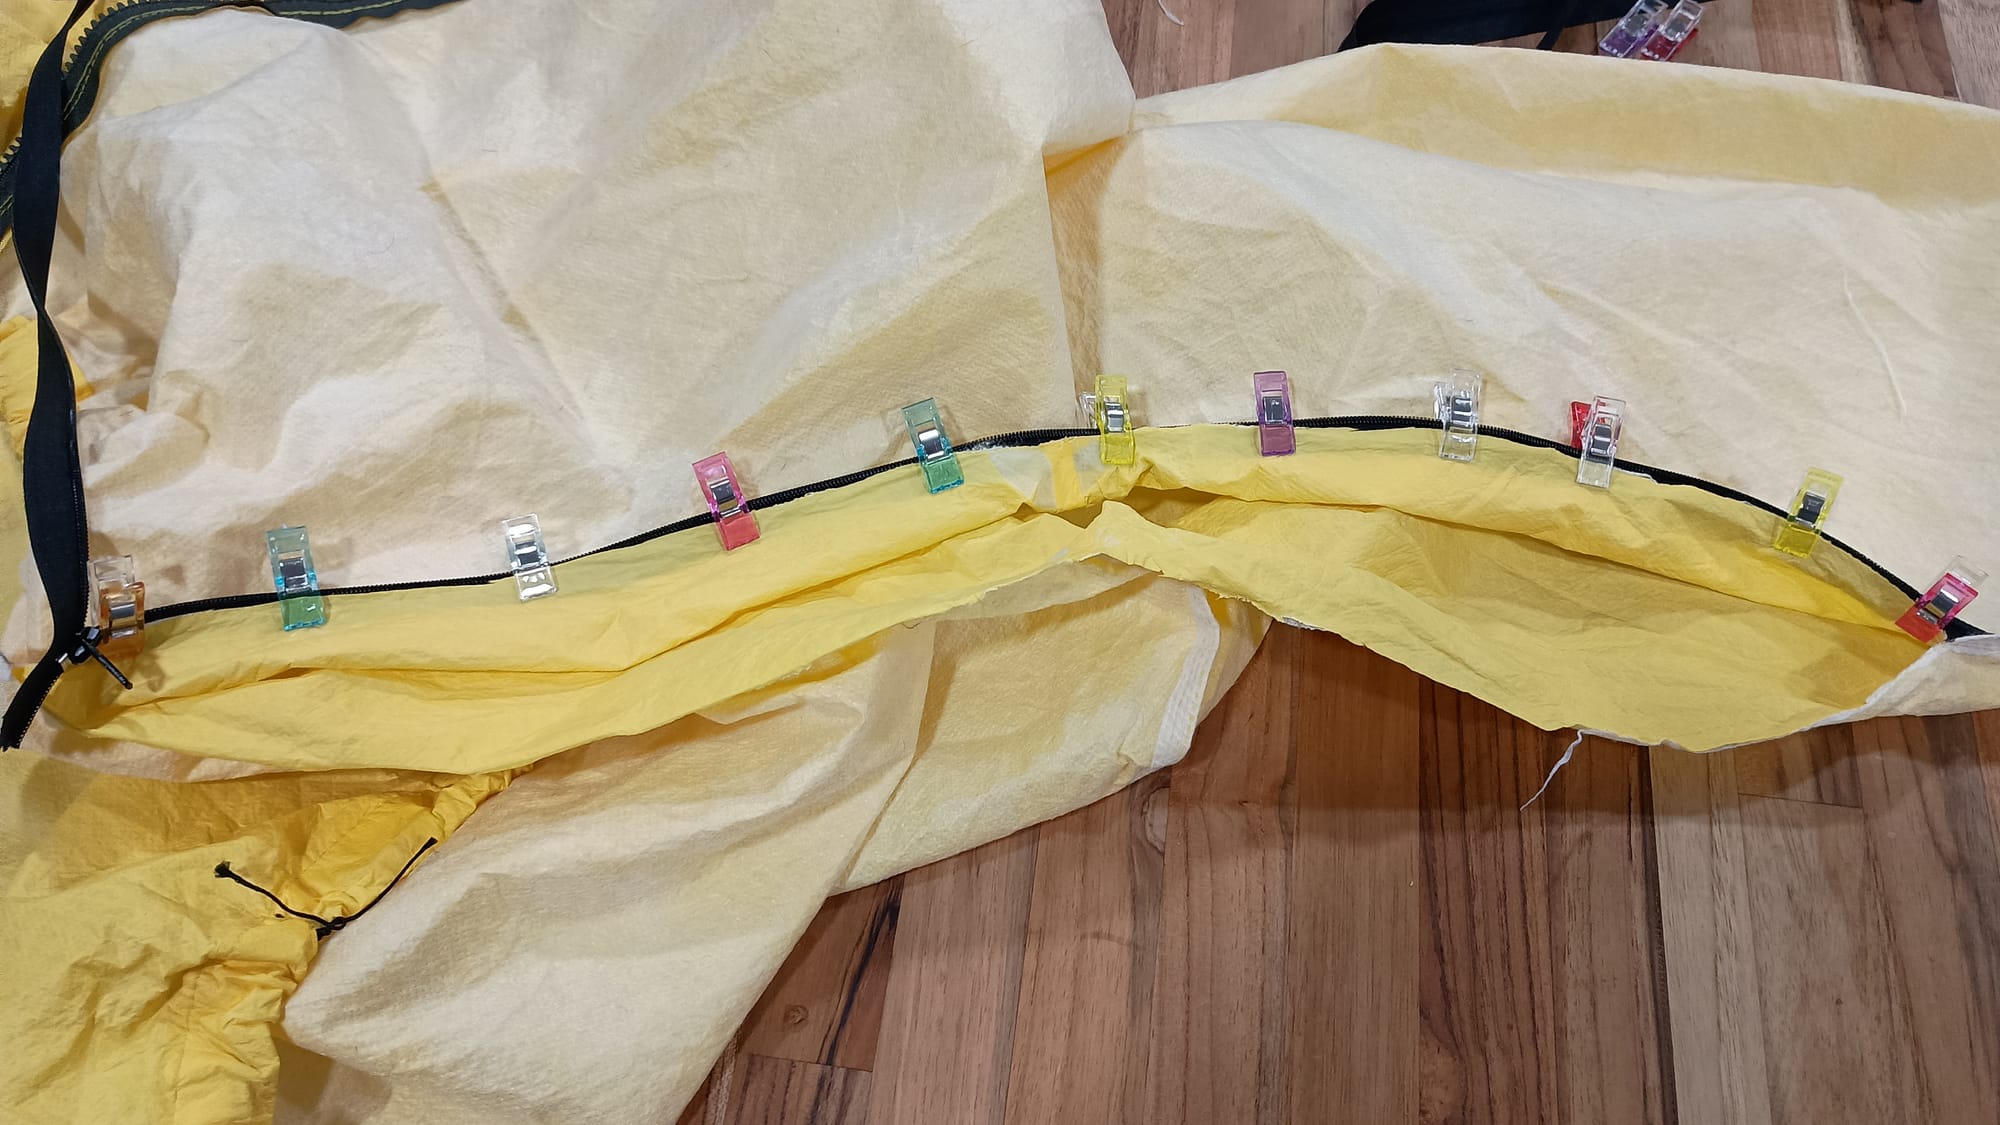
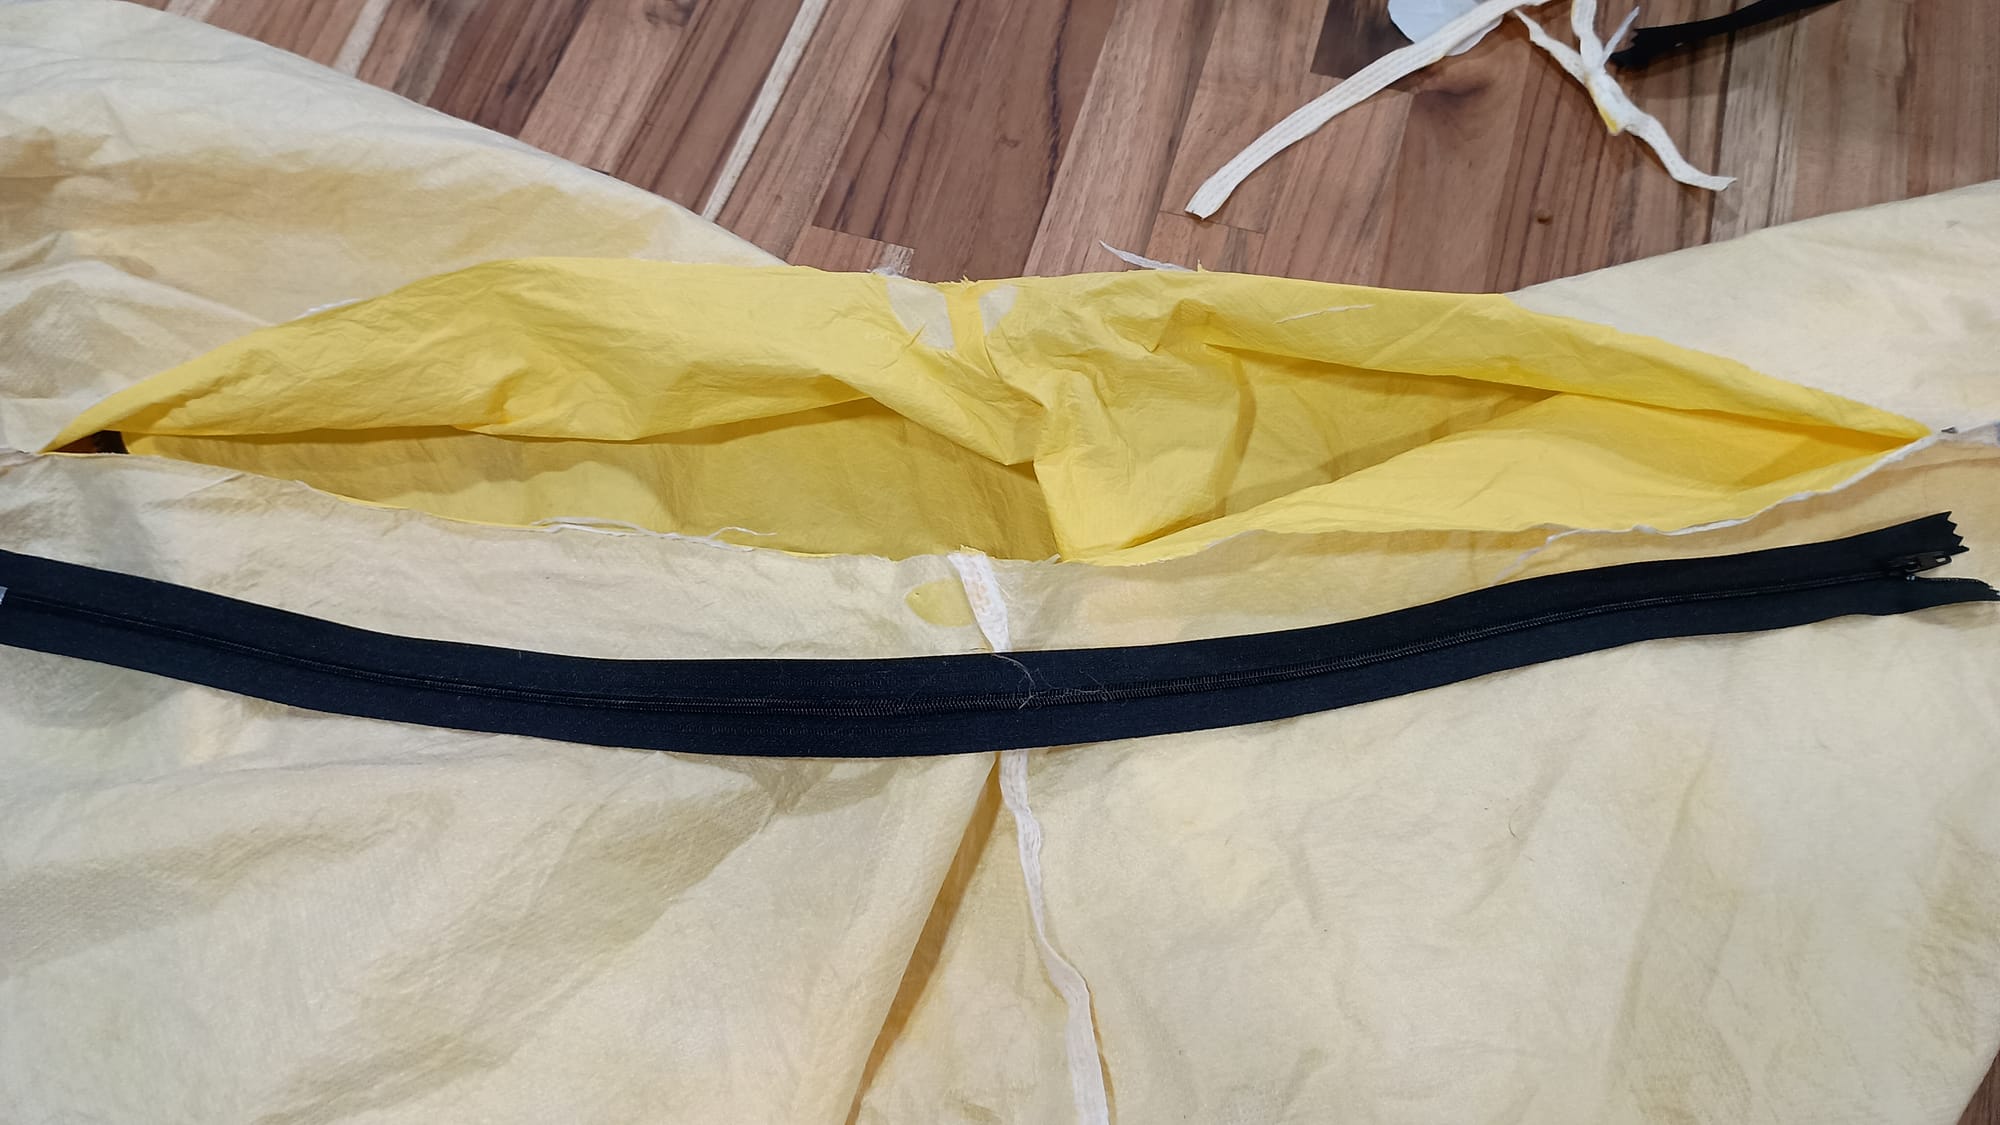
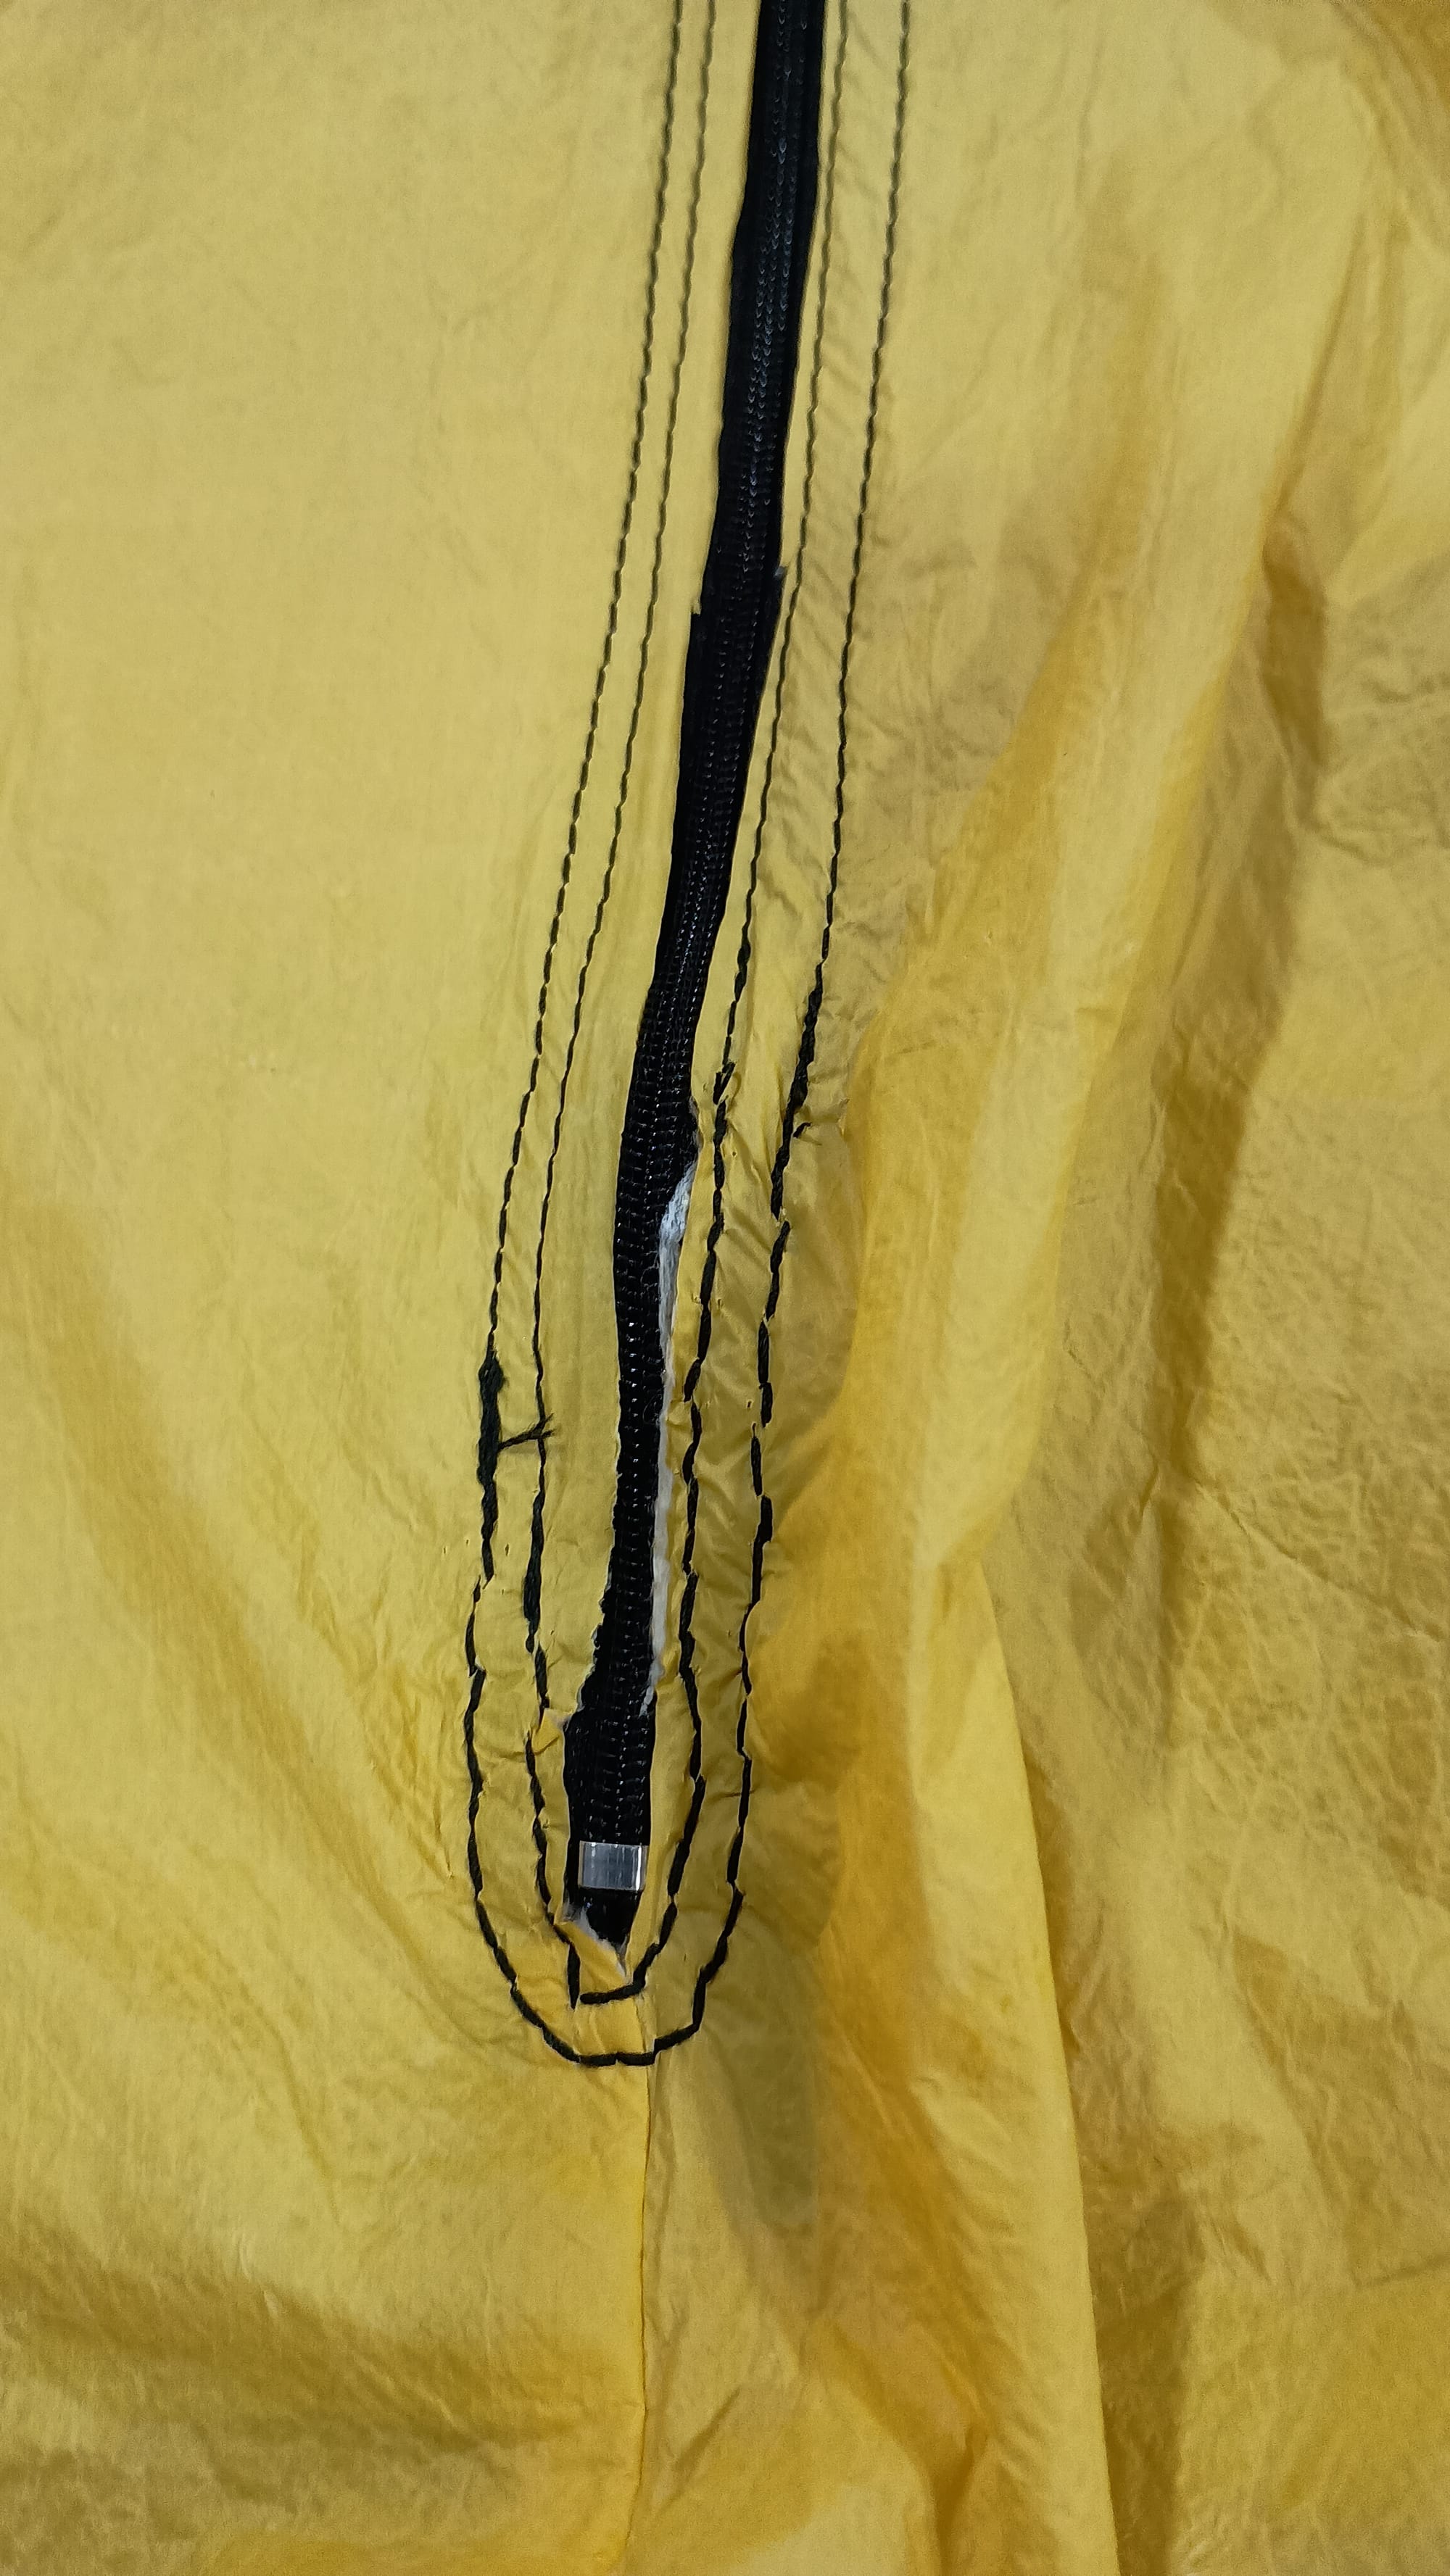
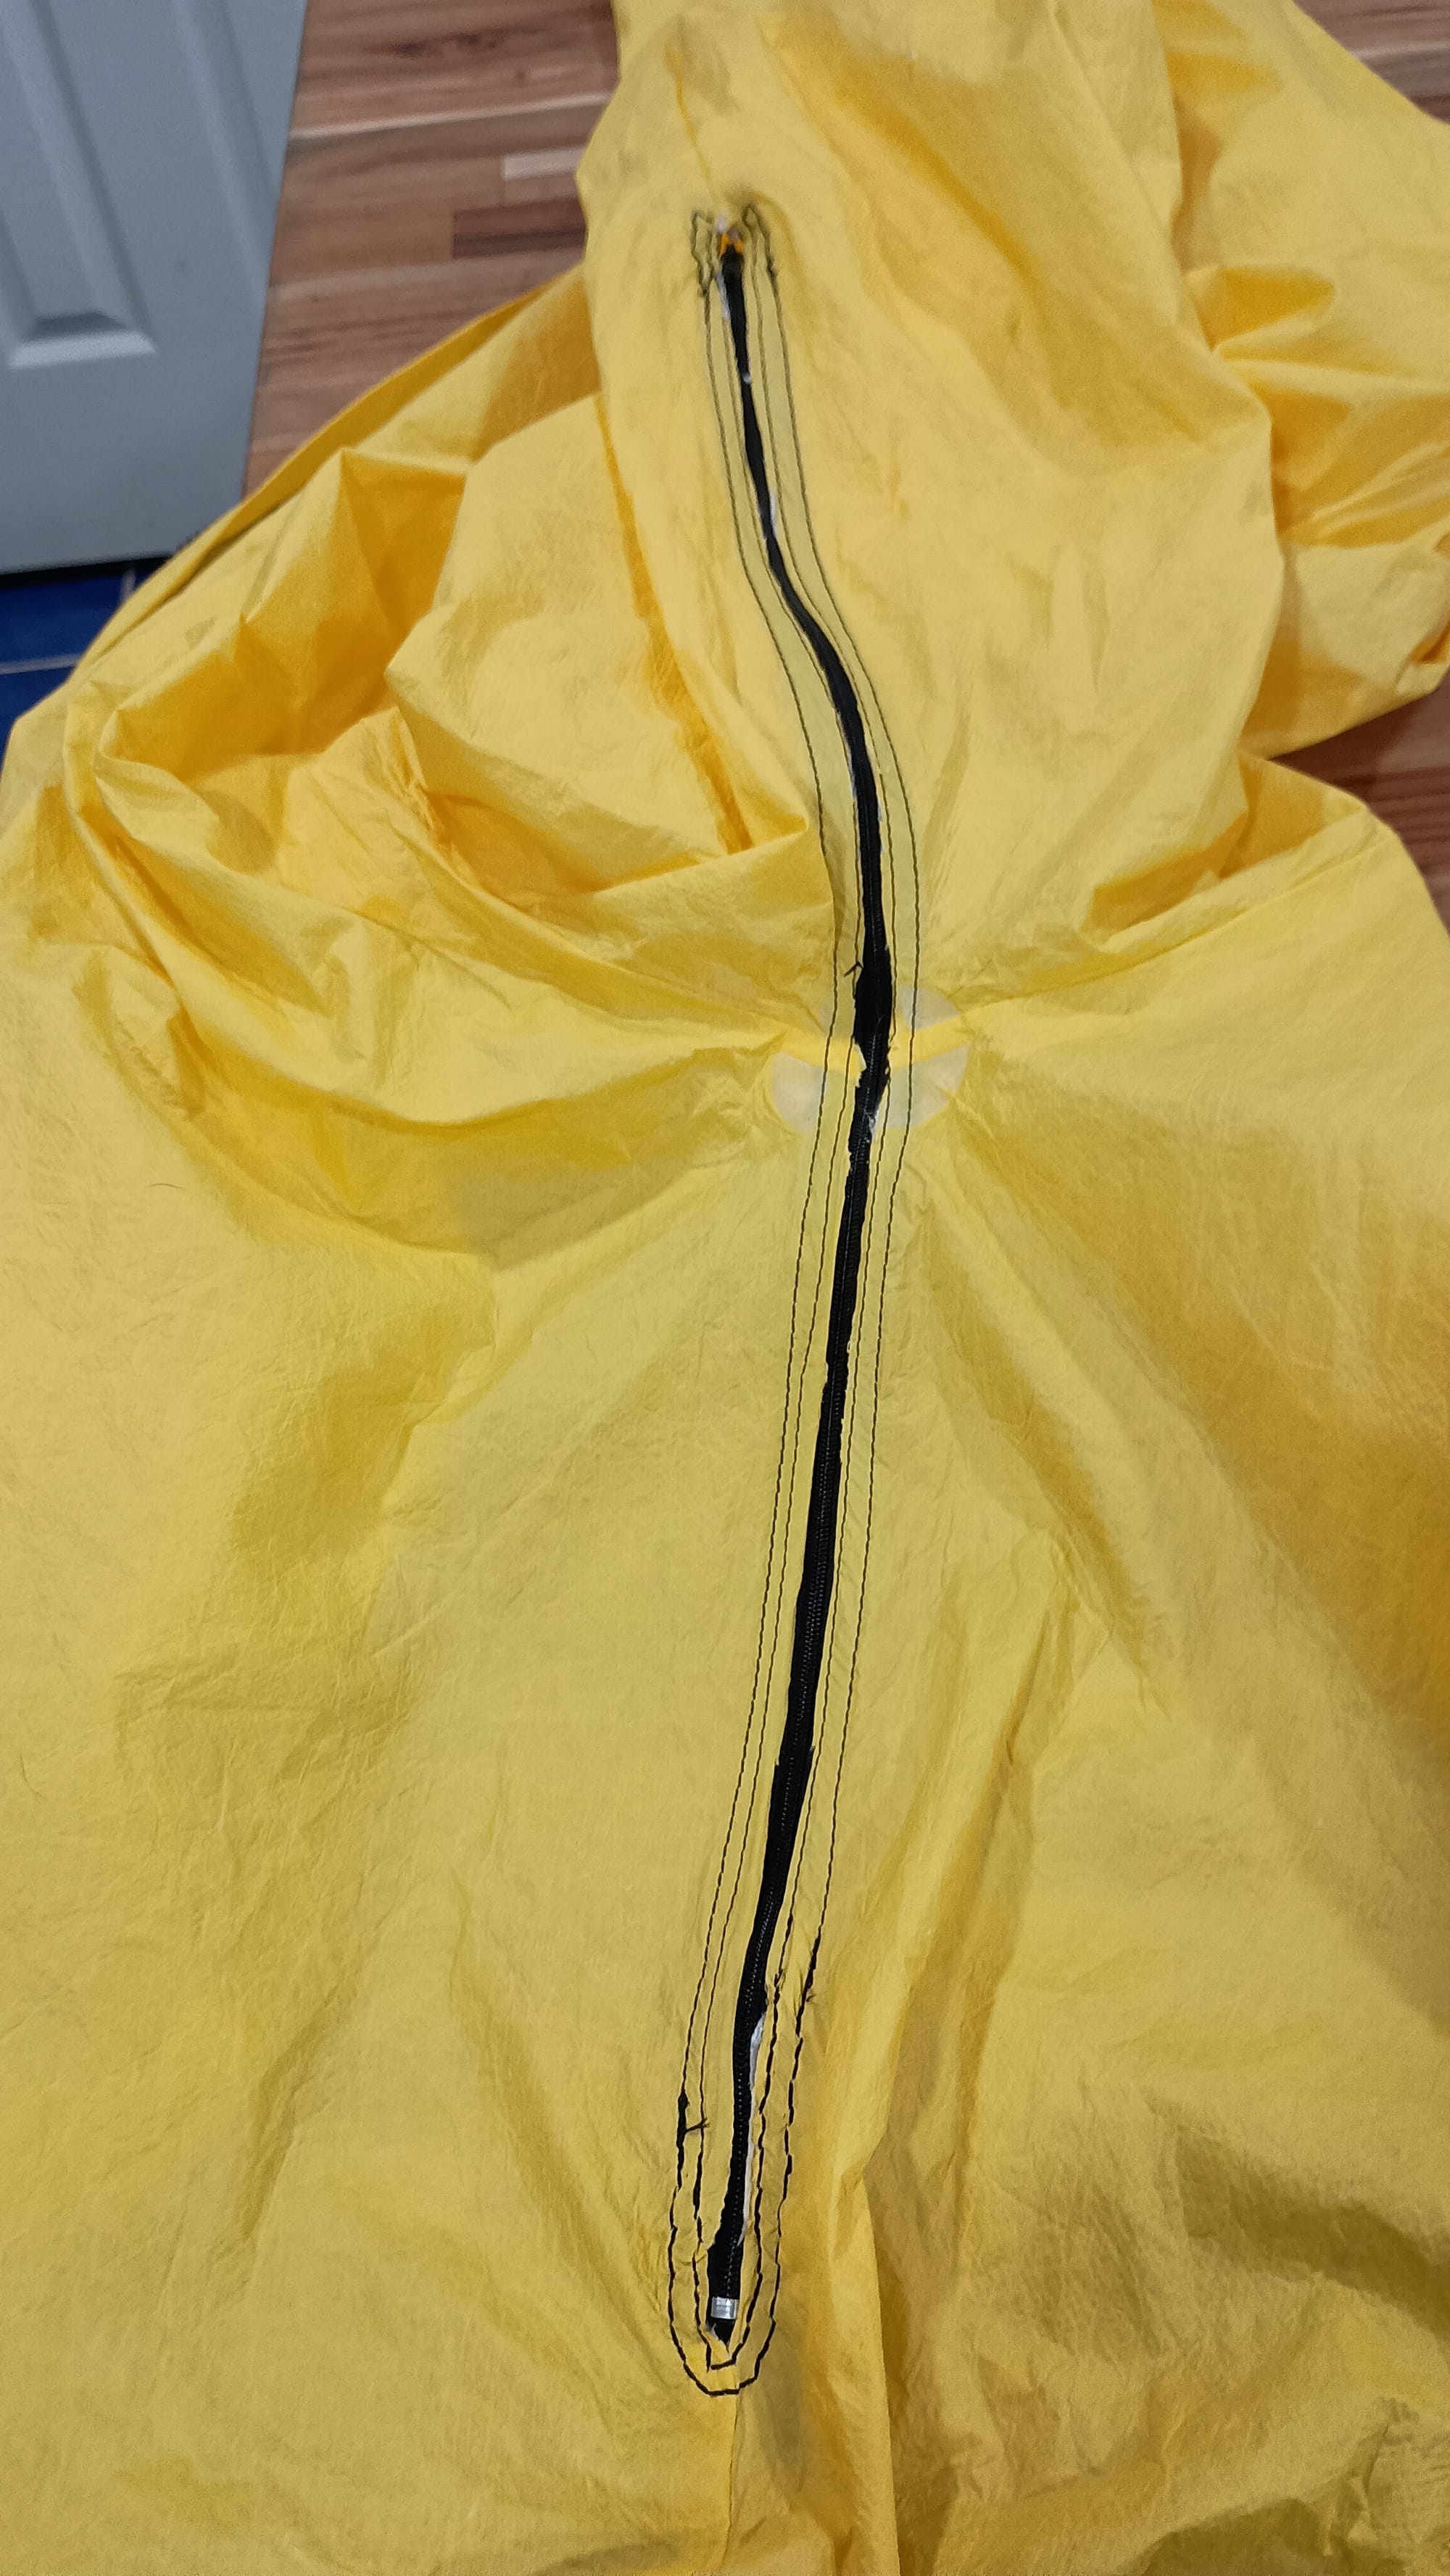
Step 5: Turn the jacket right side out and stitch this leg of the zipper in place, carefully following along just inside the cut edge of the Frogg Toggs material as shown below. Because of clamps/pins and other bits, it is highly probable you won't be able to either start at the very beginning, or end at the very end. That's OK. It will be finished by hand stitching later.
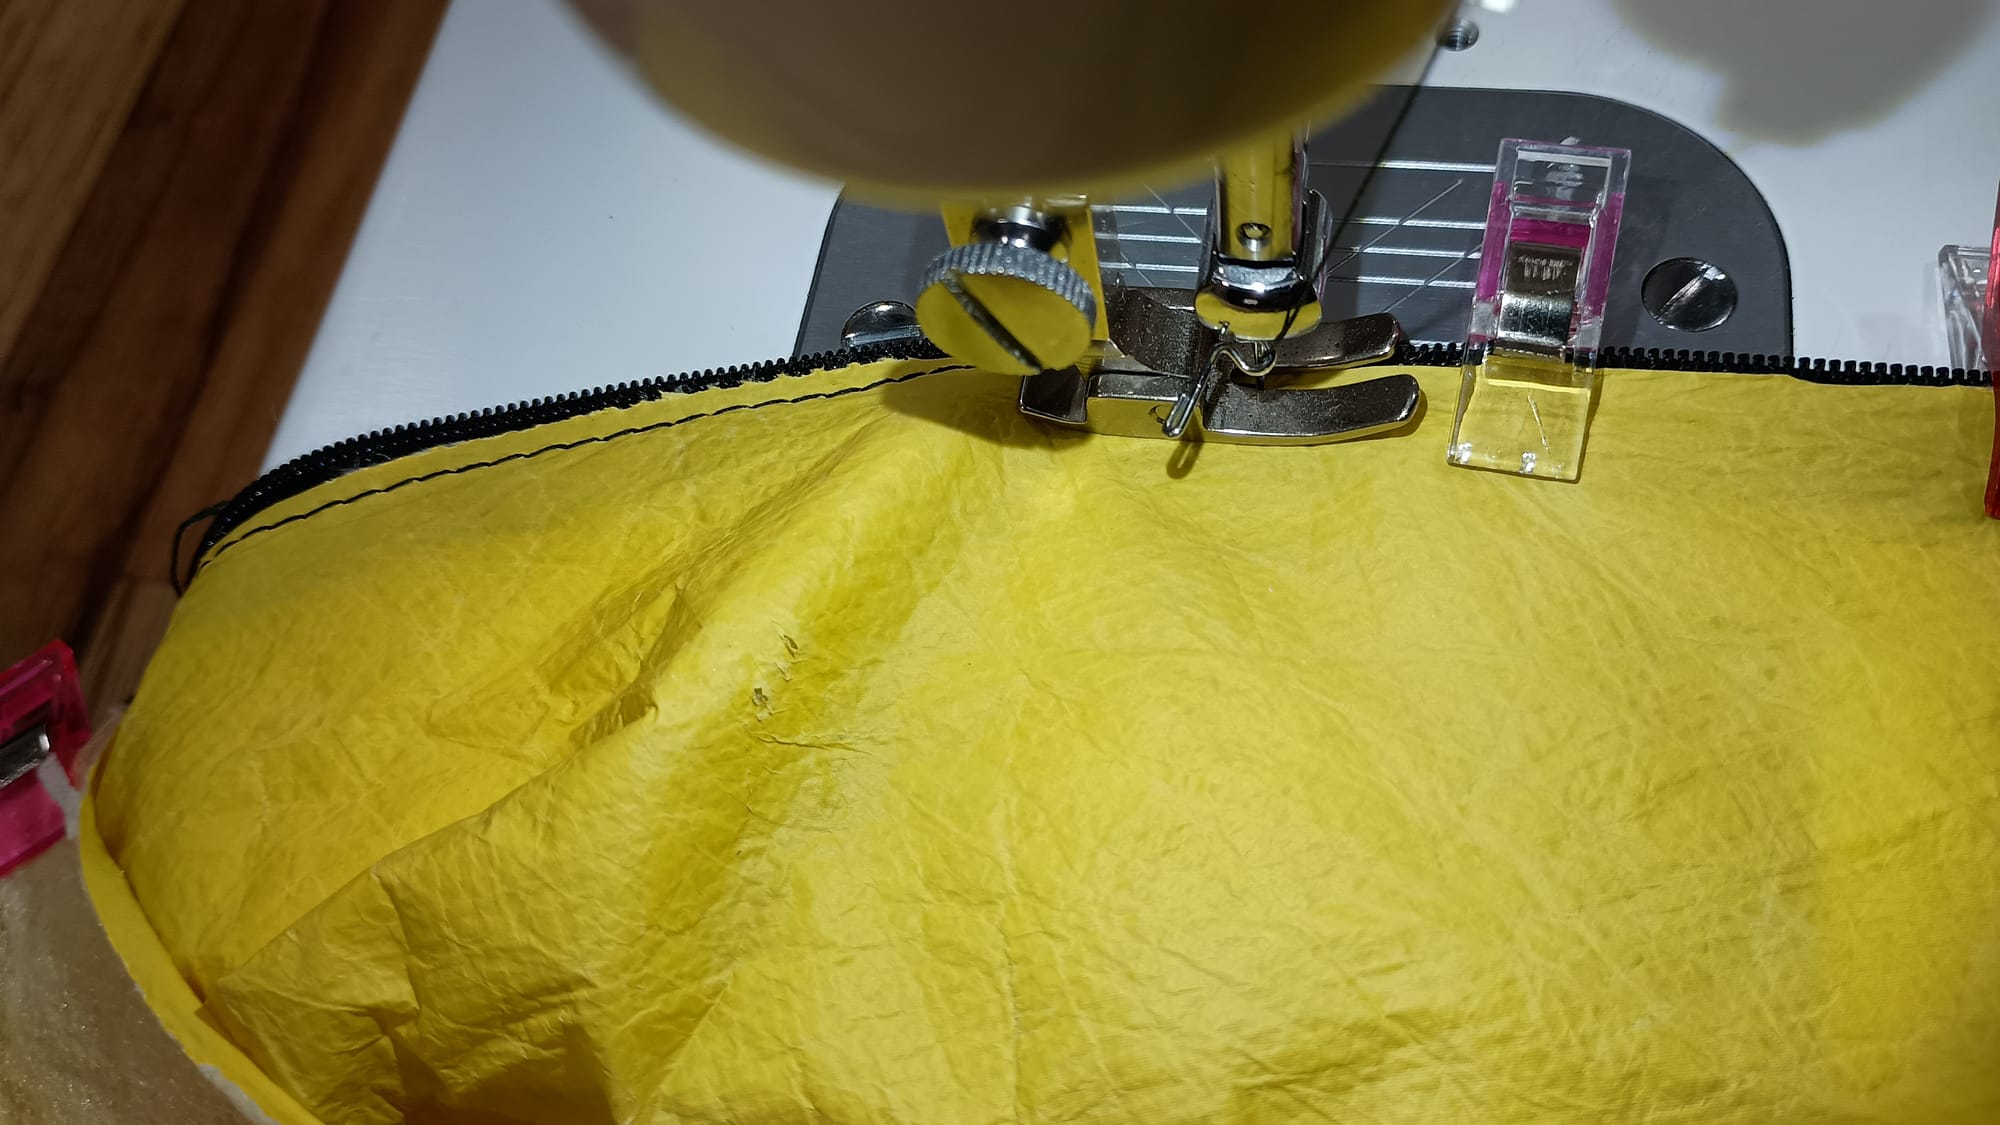
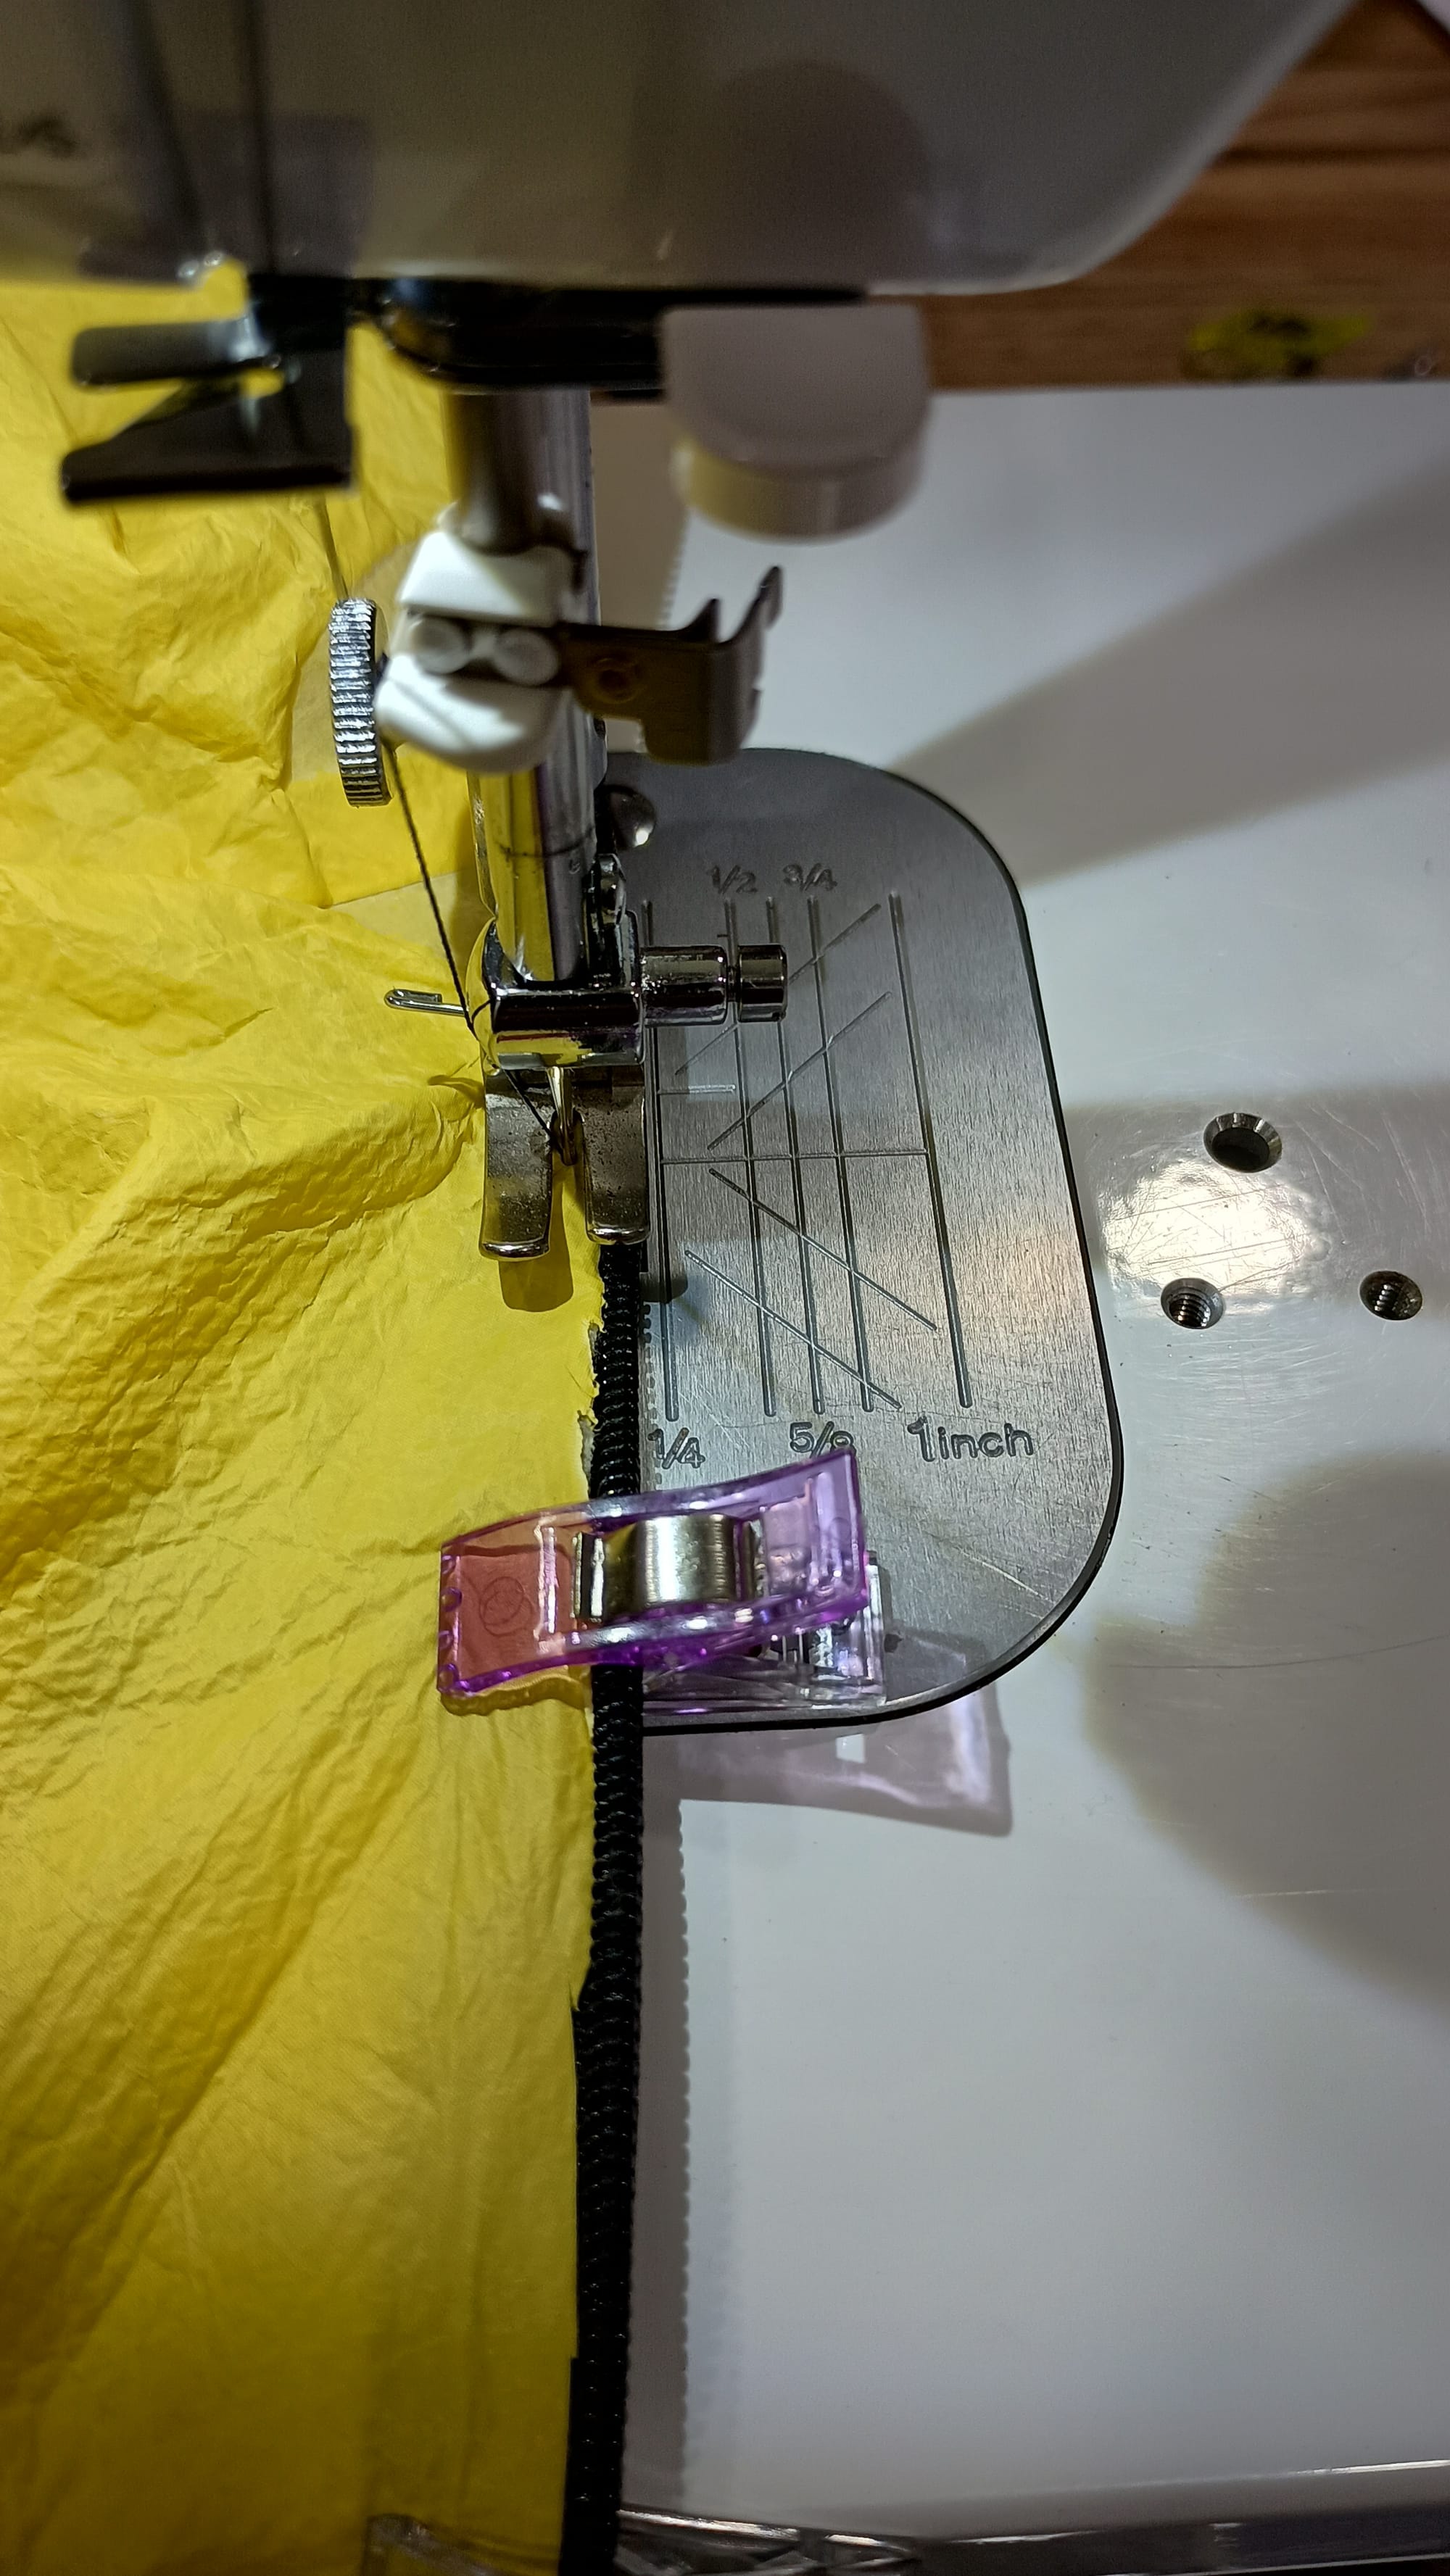
Step 6: Turn the jacket inside out again and put a second row of stitching along the outermost edge of the zipper leg as shown below. When complete you should have 2 parallel rows of stitching separated by ~1/4"-3/8".
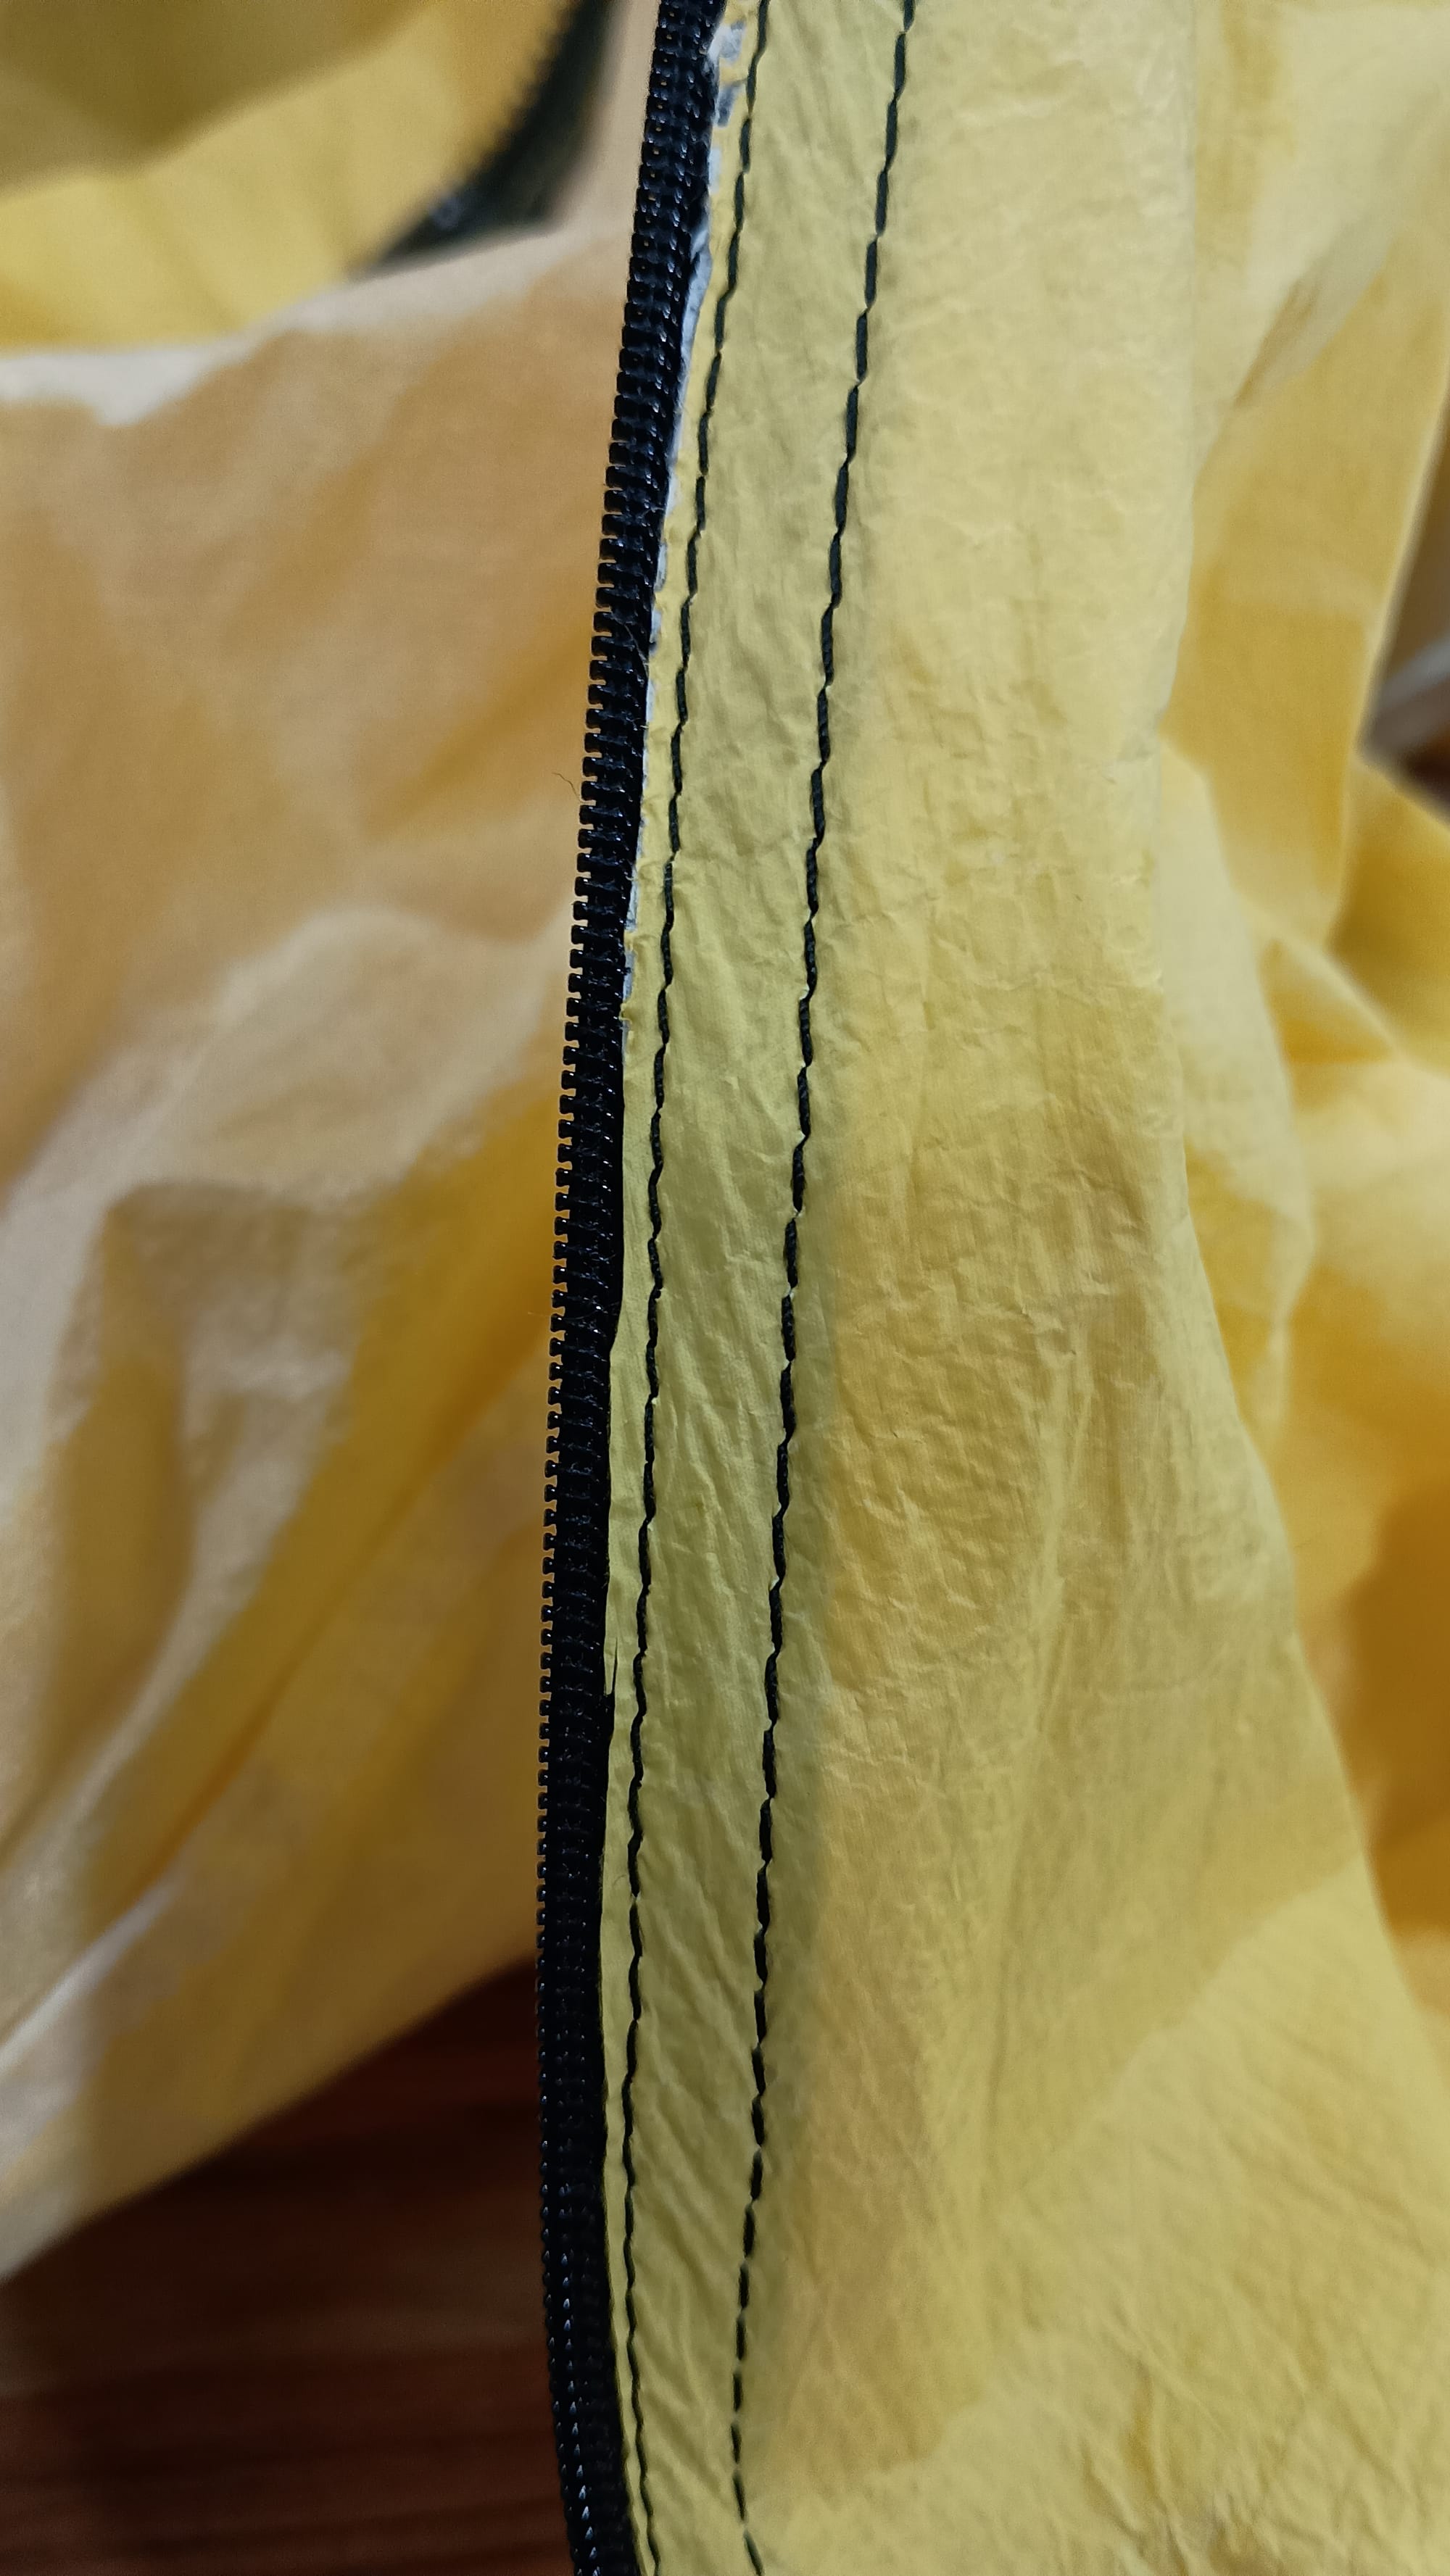
Step 7: Repeat steps 4 thru 6 for the other leg of the zipper, as shown below
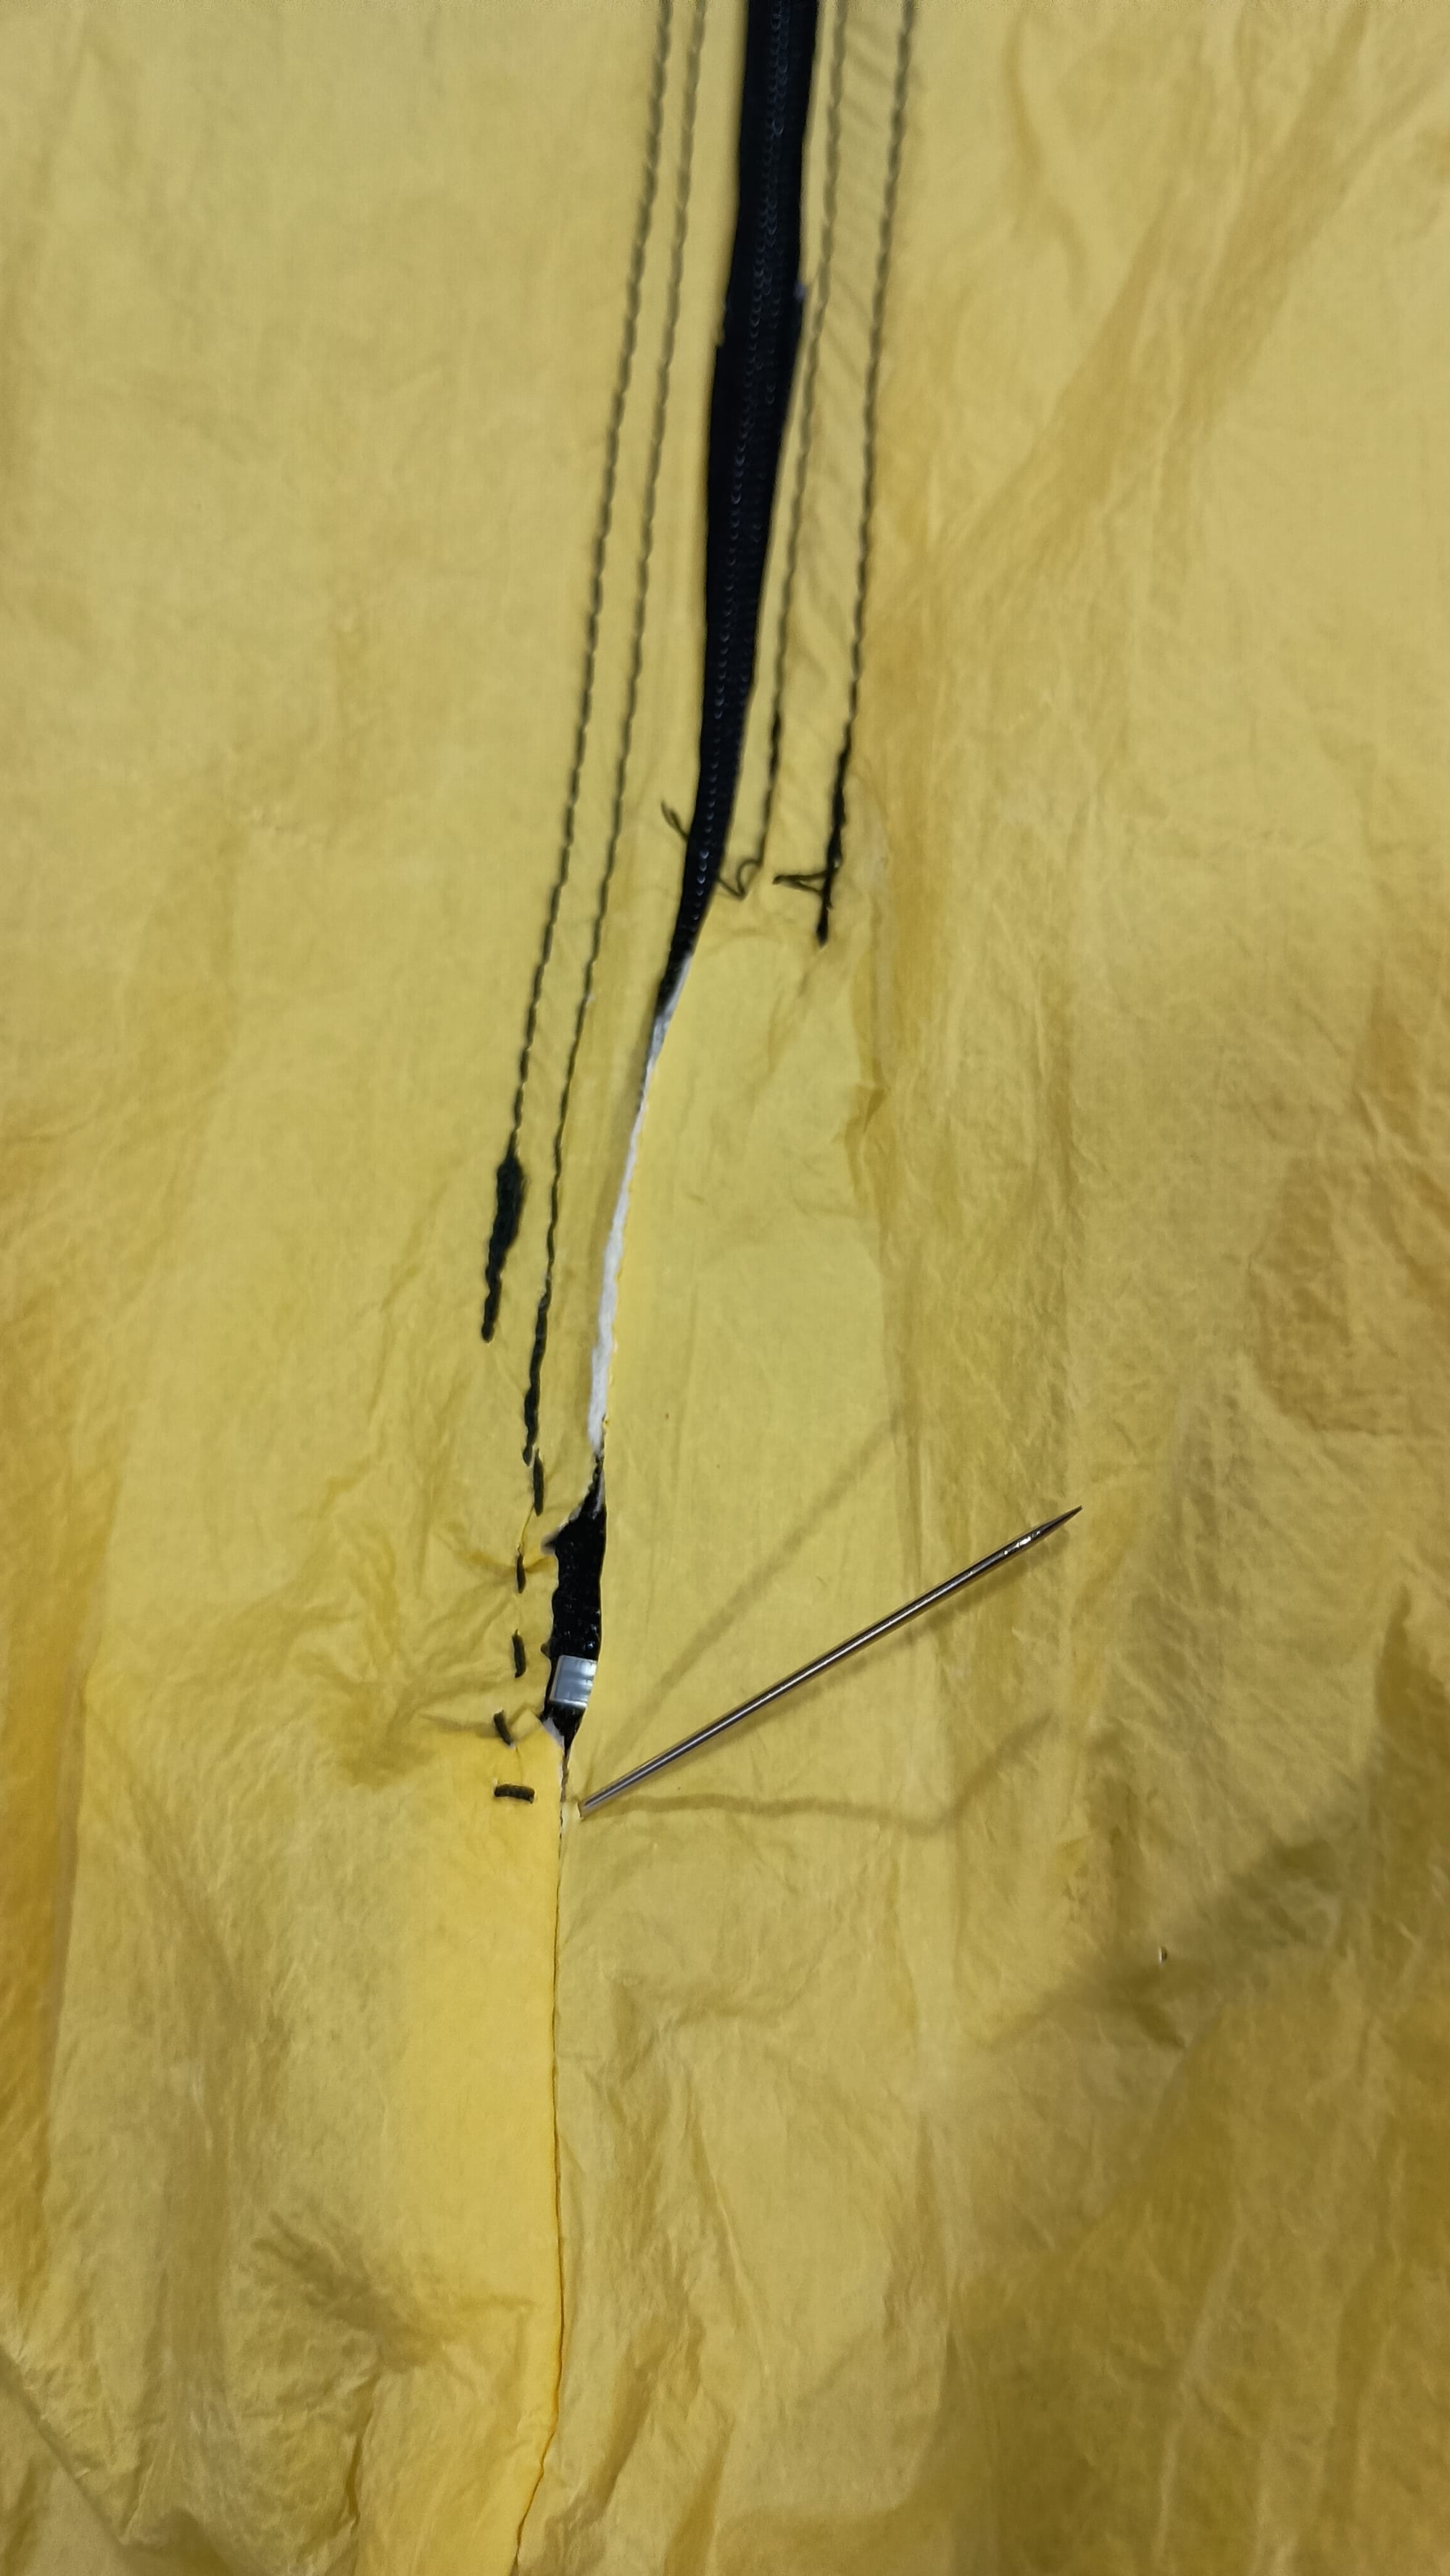
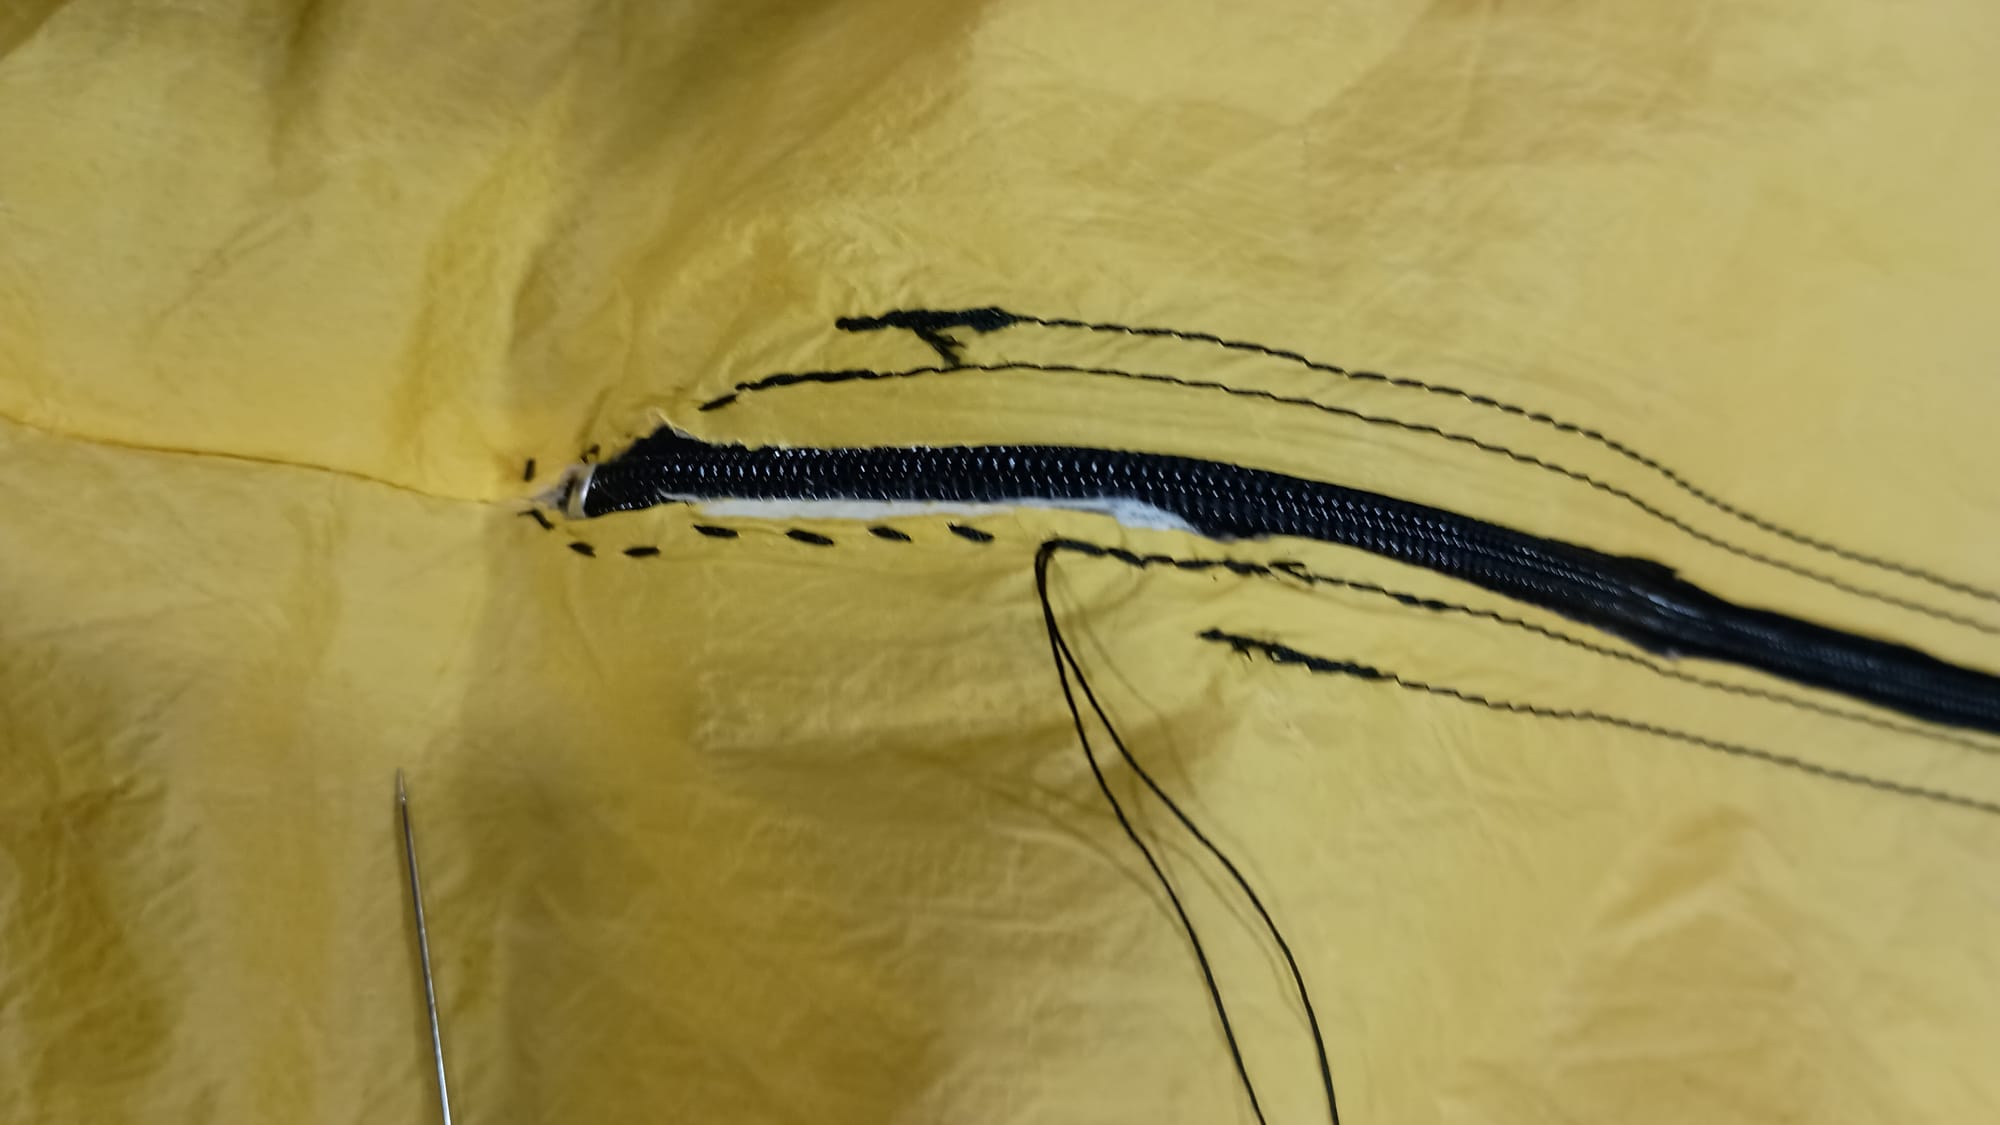
Step 8: Then hand stich both end portions. This is the part that takes the longest.
Step 9: Repeat steps 2 thru 8 for the other arm/armpit.
Step 10: Clean up thread ends and the white inner facing of the cut fabric.
Step 11: Gloat, post pictures to your friends, and enjoy.
Is this Ultralight?
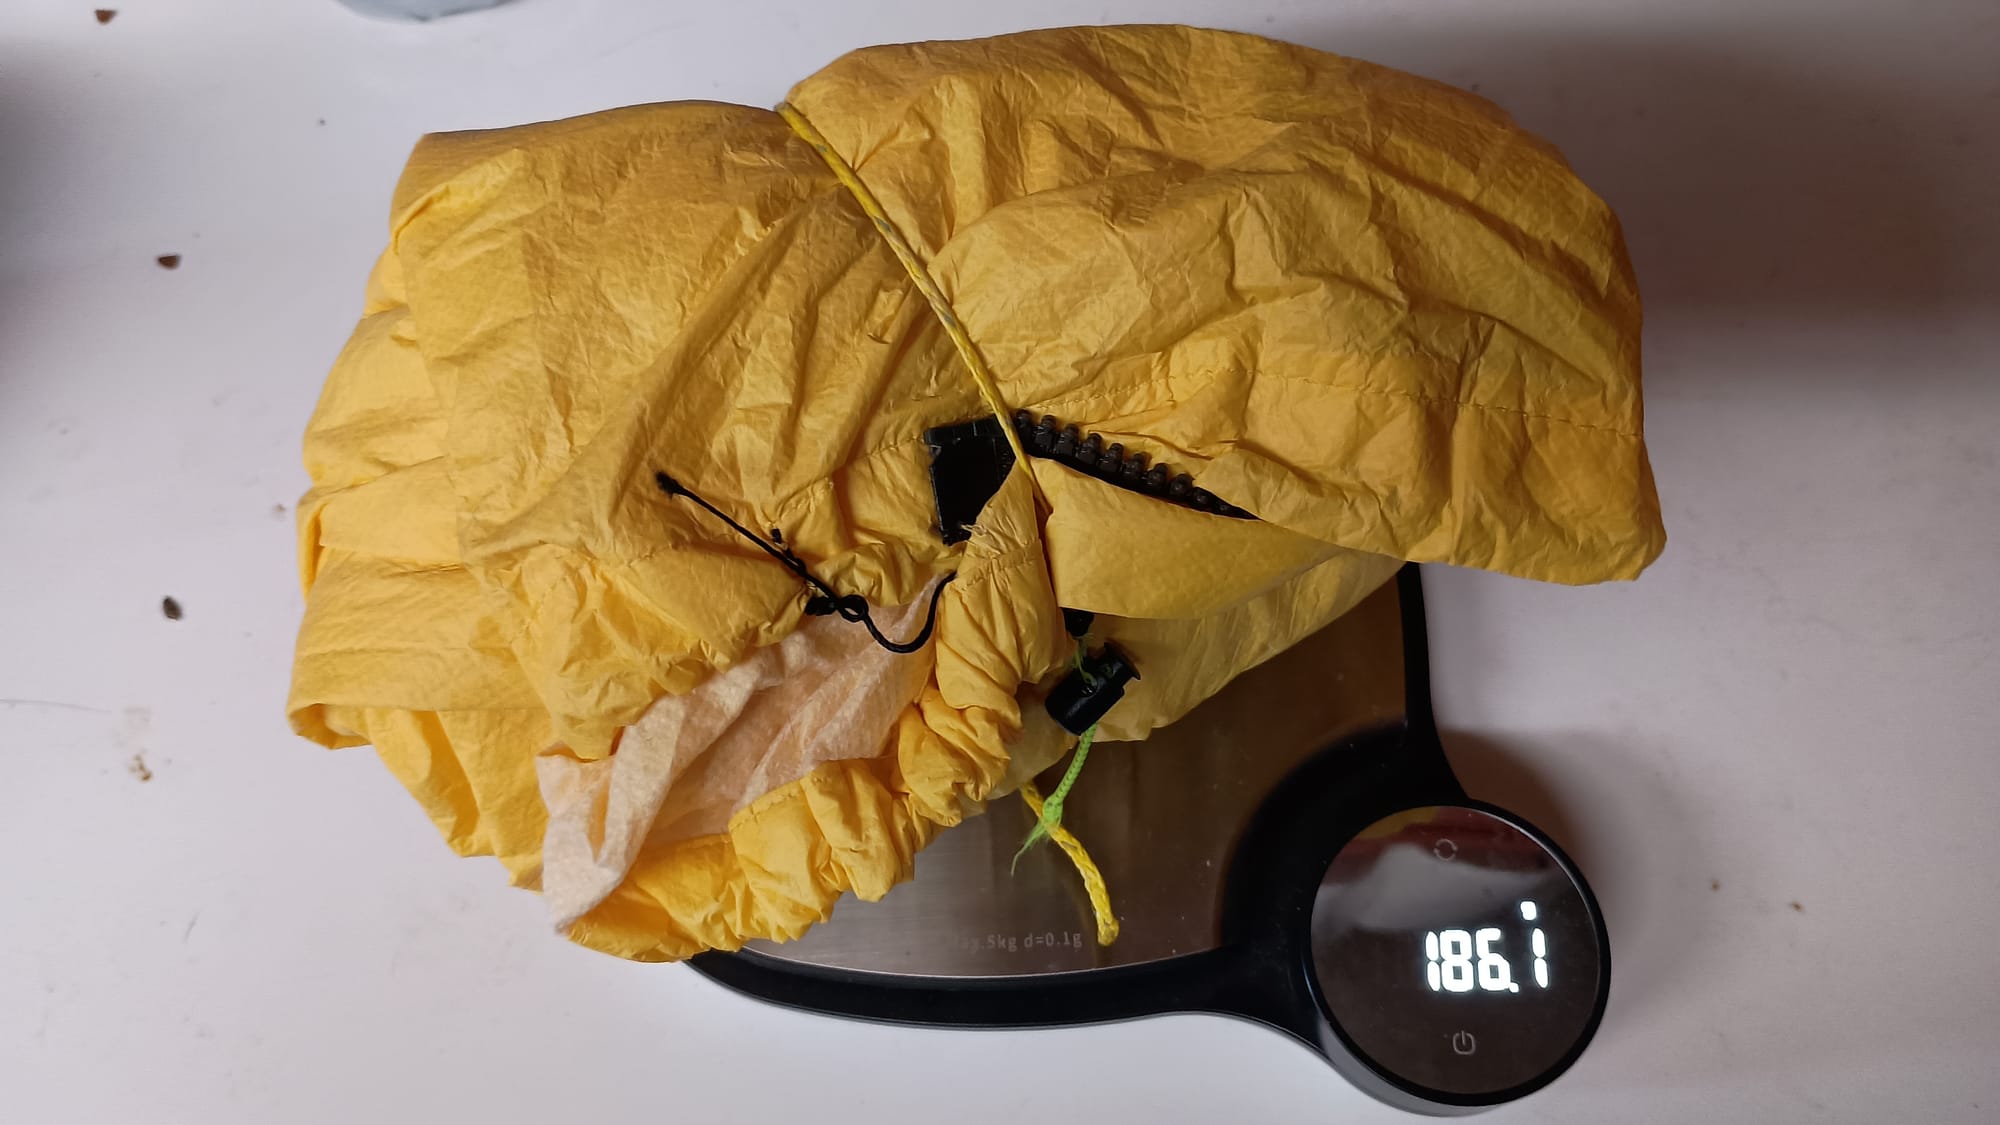
Yes. It's not the lightest solution, but it's pretty darn good. The zippers weigh 8 grams each. My finished item weighs 186 grams (6.56 ounces.) Not too shabby. Getting lighter than this while matching functionality will require significantly more investment than $30/2 hours of time.
Keep hiking my friends