Down the Rabbit Hole

Ultralight is many things. A mindset. A set of principles. A goal. A quest. One thing that can't be disputed - by anyone who has tried a "true" UL pack/load - is how much different it is than "traditional" backpacking. And by traditional here, I mean the type of backpacking that was common in my youth, where 30-50 pound packs were common, and bragging rights went to those who had the heaviest packs, not the lightest. The first time I hiked with what I consider a "true" UL pack - where my entire load for a weekend trip was 16.16 pounds (see here), I remember thinking "this is cheating!" Now I get it.
If I wasn't a gear geek / gram weenie before, I sure am now. I have a Lighterpack list for every trip, and scrutinize every item. I am always looking to see where things can be improved yet keep the same function. I do not go "stupid" light, but I do challenge my own assumptions. I've drunk the cool-aid so to speak.
UL can be exceedingly expensive - I have certainly spent a lot on it. One common and less costly alternative is to make your own gear (MYOG.) I was intimidated by that at first and rejected the concept out of hand. However, as I continue to look for ways to reduce weight I've been finding that in many cases I can make things lighter, less expensive, or with different features than things I could purchase. I have slowly eased into the MYOG world, starting with the simple stuff, only to find that this is not as difficult as I thought it would be, and that maybe I should have taken this up earlier and saved a bunch of money.
My first MYOG Project
It started by buying really high price custom gear. I paid these prices because the gear allowed me to push my pack weight lower and allowed me to get features not available outside the cottage industry. But that stuff was REALLY expensive, took a long time to get, and when I got it, I found that I wasn't really happy with it. Yeah, it was what was advertised, but I wished I could tweak it and/or fix some issues. But, being custom made, I couldn't send it back. When I looked at what I actually got for what I paid, I was embarrassed. The guy making it has a good reputation, and the stuff is well made, but man was it simple for what I paid. That guy is got a good business model - people waiting a long time for (he's got a big backlog) and his return-on-time-spent has got to be exceptional - this stuff could not have taken that long to make.
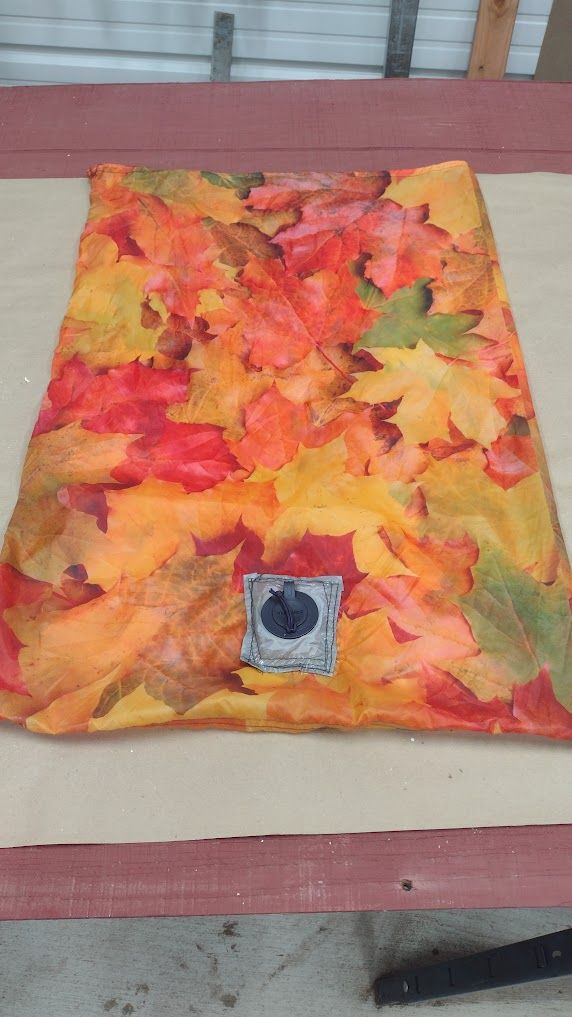
My first MYOG project was the pump sack that I detailed here. To do that project, I borrowed a sewing machine from a friend of mine. To date, I've built 3 fabric pump sacks robbing the fittings off of stock pump sacks: the prototype and final ones described in the article, and one for Tina with the fitting to fit her Sea-to- Summit sleeping pad. AFter I constructed the first pump sack, I went out and bought a pretty good sewing machine off Craigslist - old school one with a table and all sorts of accessories.
My second MYOG project
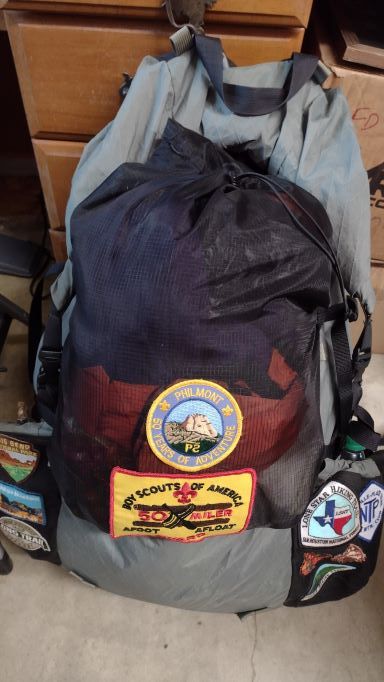
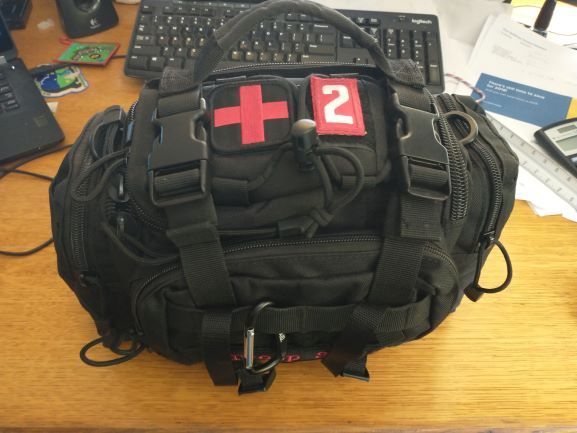
Then I got invited to go with Troop 485 to Philmont. I had the perfect pack for that (or so I thought.) My Seek Outside is a beast! One of it's amazing features is this "talon" system where there is this compression panel that serves as a back pocket allowing you to put all sorts of things like rain jackets in it. However, I almost never use it because it is SO heavy. It weighs 5.5 ounces all by itself - without the straps to hold it on! Seek Outside is built super rugged. It's a hunter's backpack, not a backpacker's backpack. What I really wished was that I had a lighter talon. I really wish I had basically the same thing, but made out of something lighter weight.
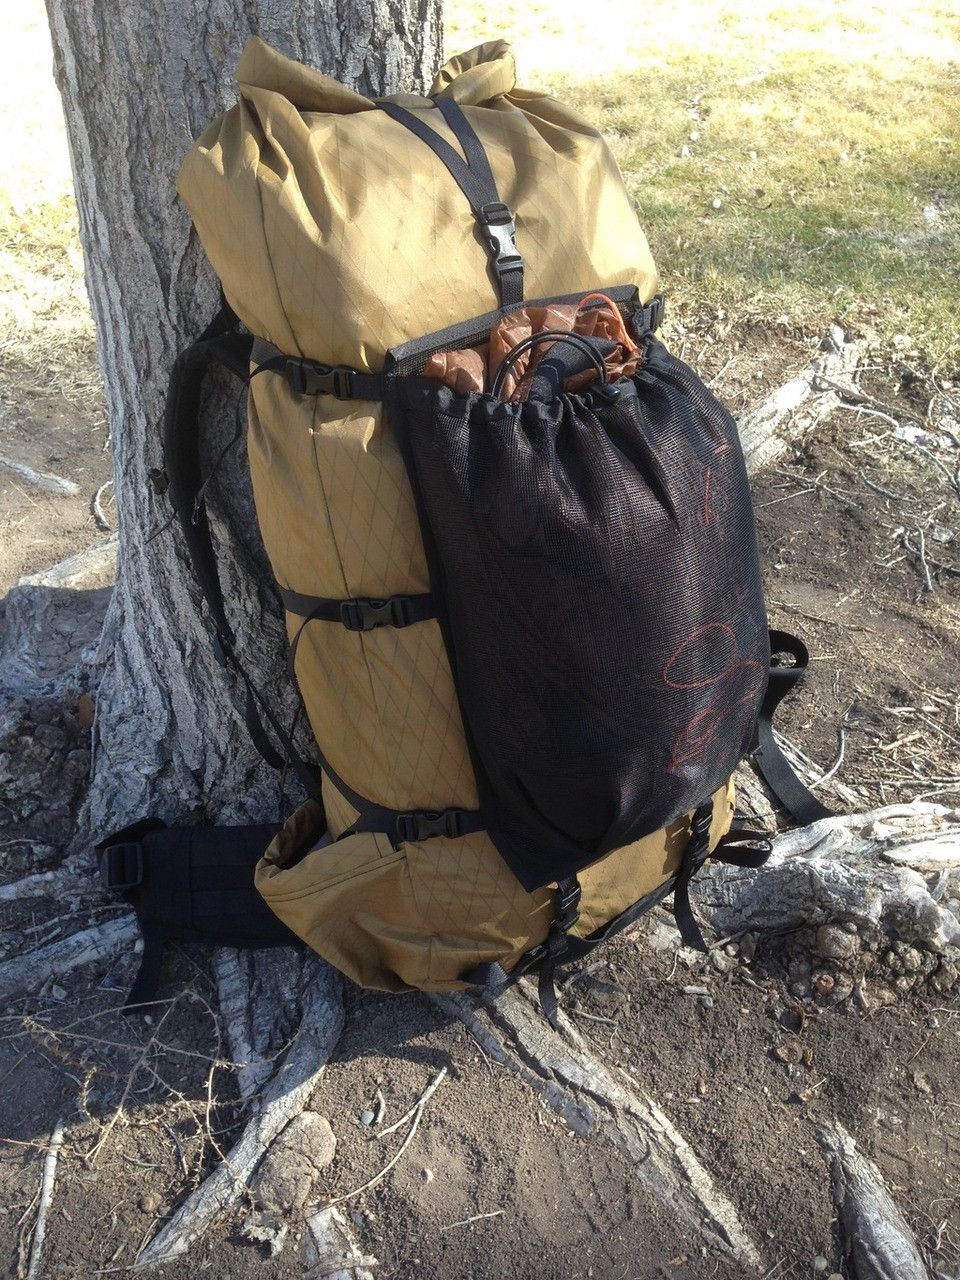
I reviewed what a custom pack maker makes his products out of, contacted him, and got specifics and details on one particular material then ordered some. (1.0 ounce per square yard Monolite from Ripstop-by-the-Roll, $9.50/yard plus shipping.) I designed mine to be the same size as the Seek Outside version, but I integrated the straps into the design so that I could reduce weight of the overall system by eliminating half of the buckles (6 vs 12.) I tried going super-duper UL by using some Tyvek as the back panel rather than this UL mesh material. I couldn't get the Craigslist sewing machine to work, so I ended up hand-sewing the entire thing. It ended up saving 4.5 ounces, but Tyvek was a poor design choice, and I skimped in one area I should not have. But I did it, and it was cool! It was fun!
I really wished that sewing machine worked. I needed to find some place to get it serviced. OR, I could just buy a cheap one off Amazon and get it repaired later. Only $200. Yeah, I bought one.
The second talon one turned out fantastic, and the new machine made it SO easy. I think the whole thing, from concept to completion, was less than 2 hours. If you discount the price of the machine and my learning curve, 2 hours and $10 to save 4.5 ounces? Yes please!
Bags, Bags, and more Bags
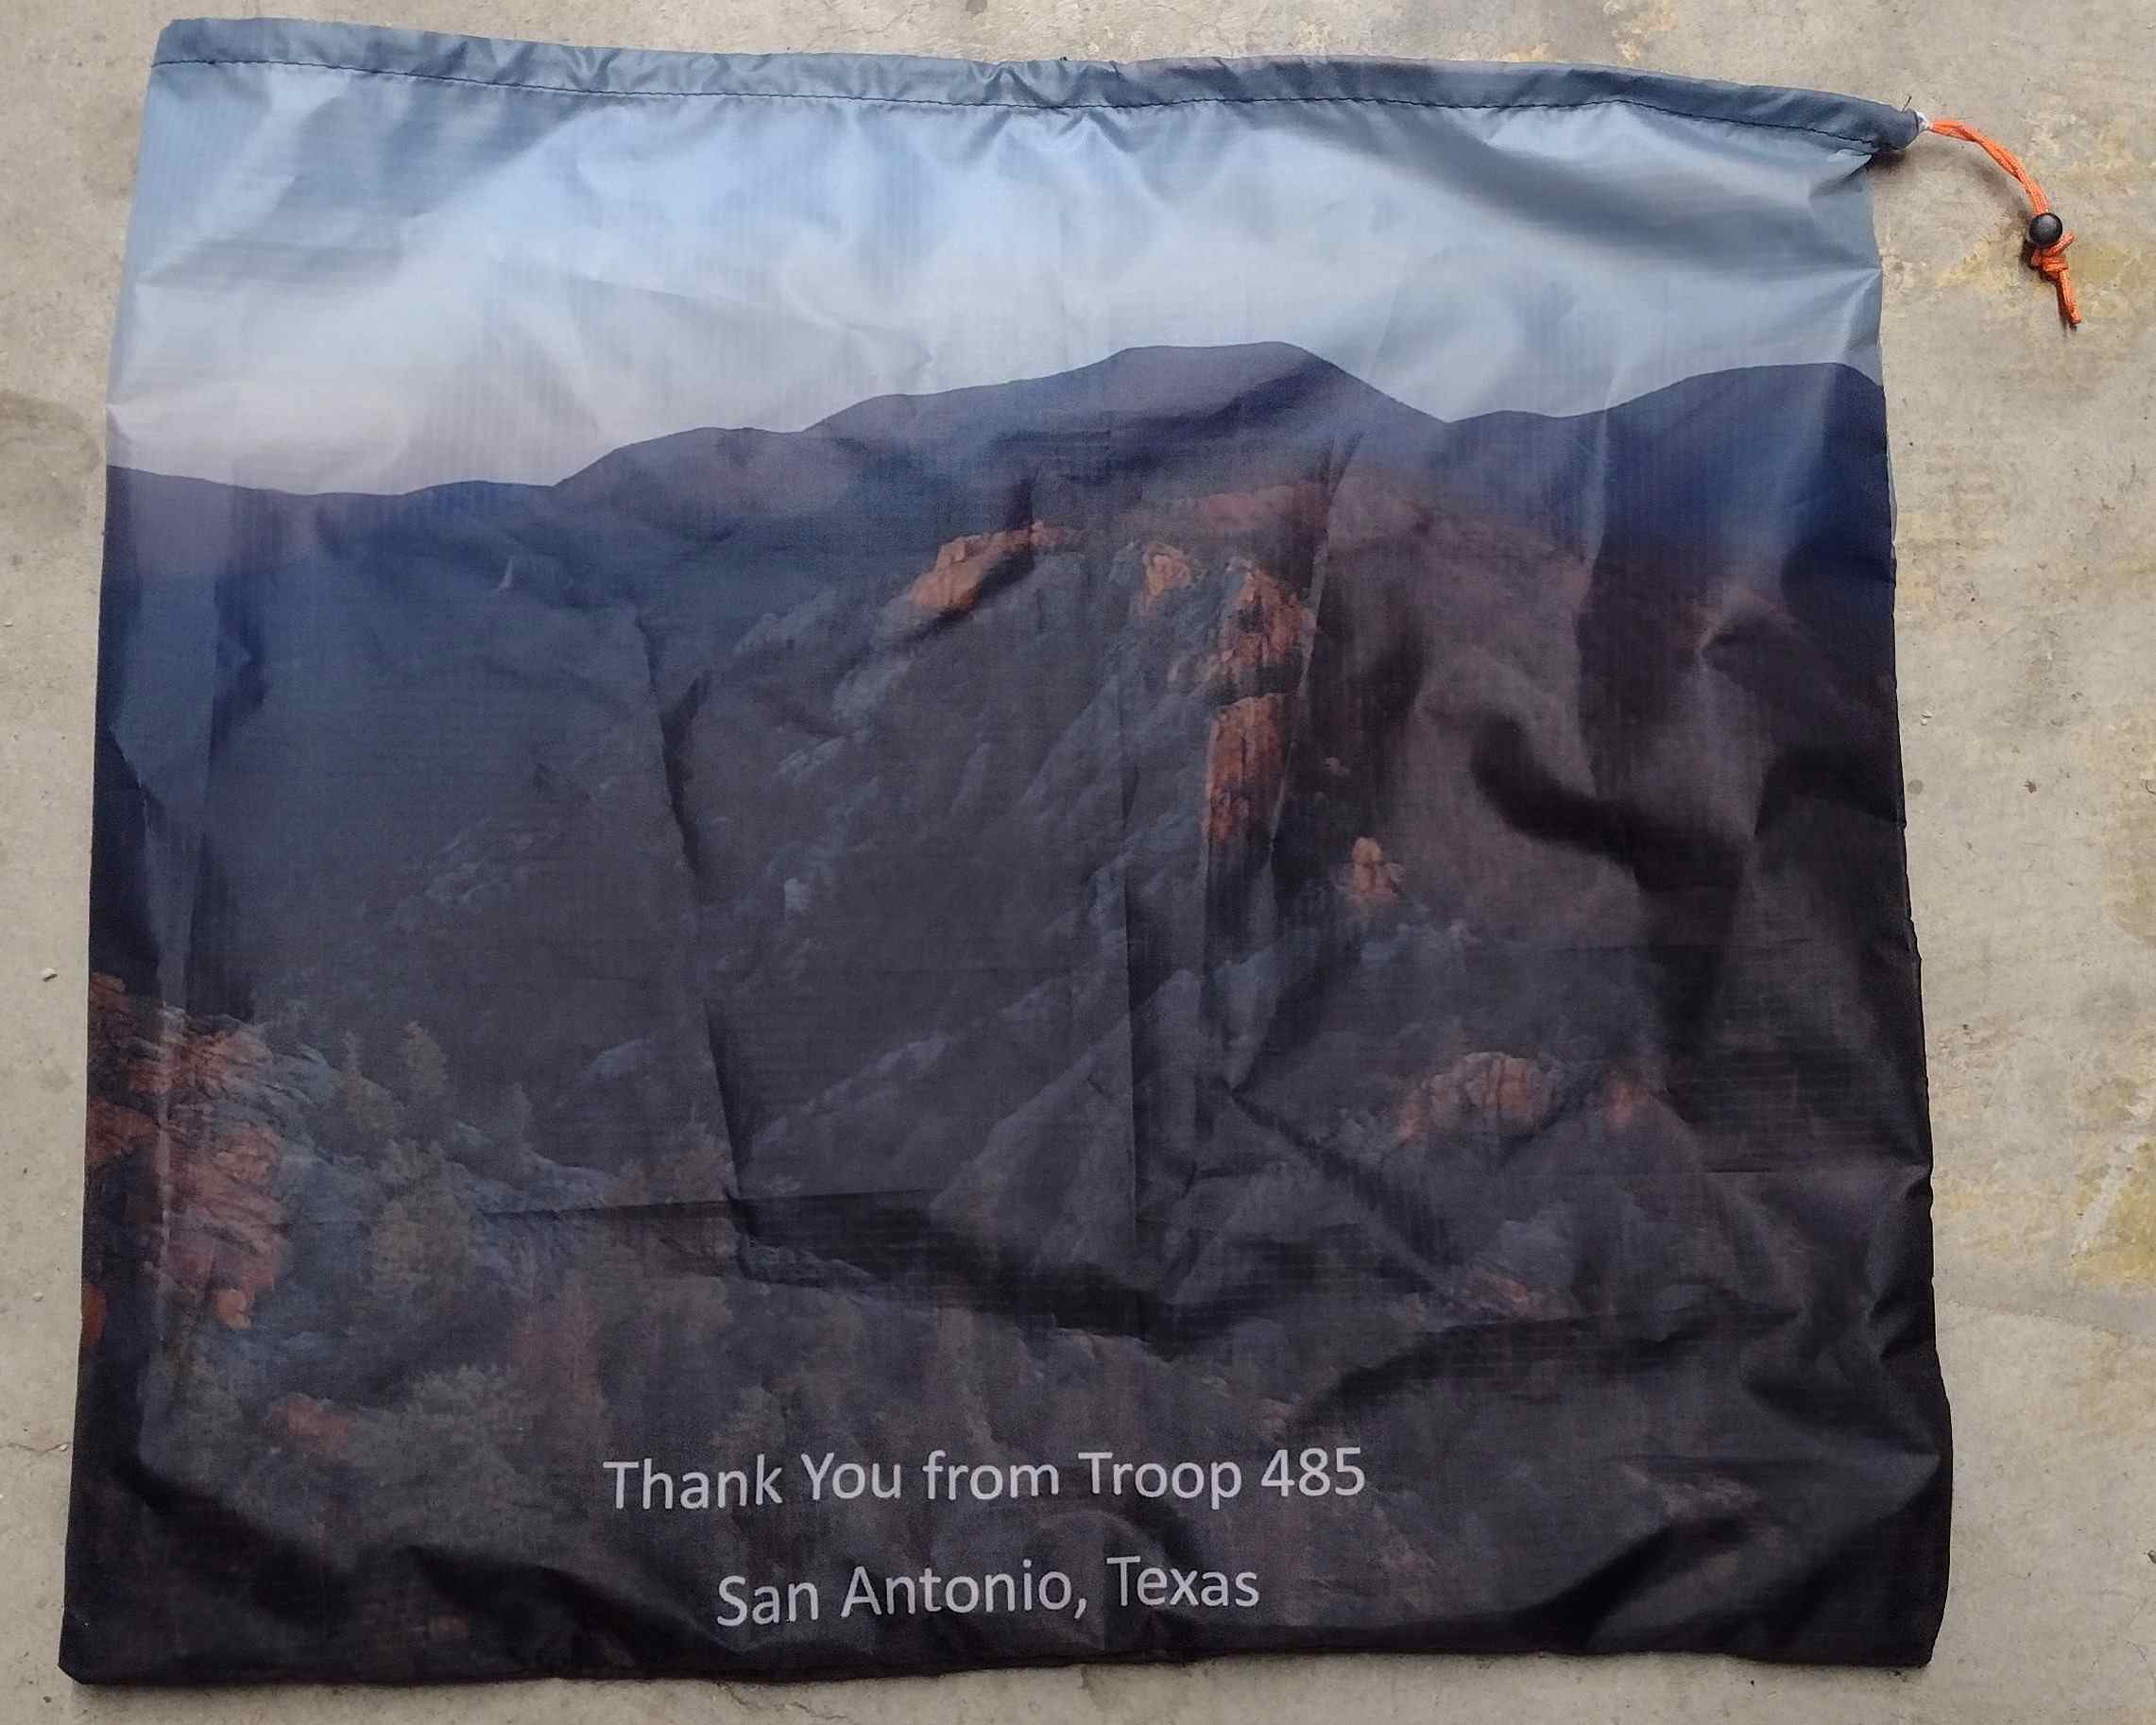
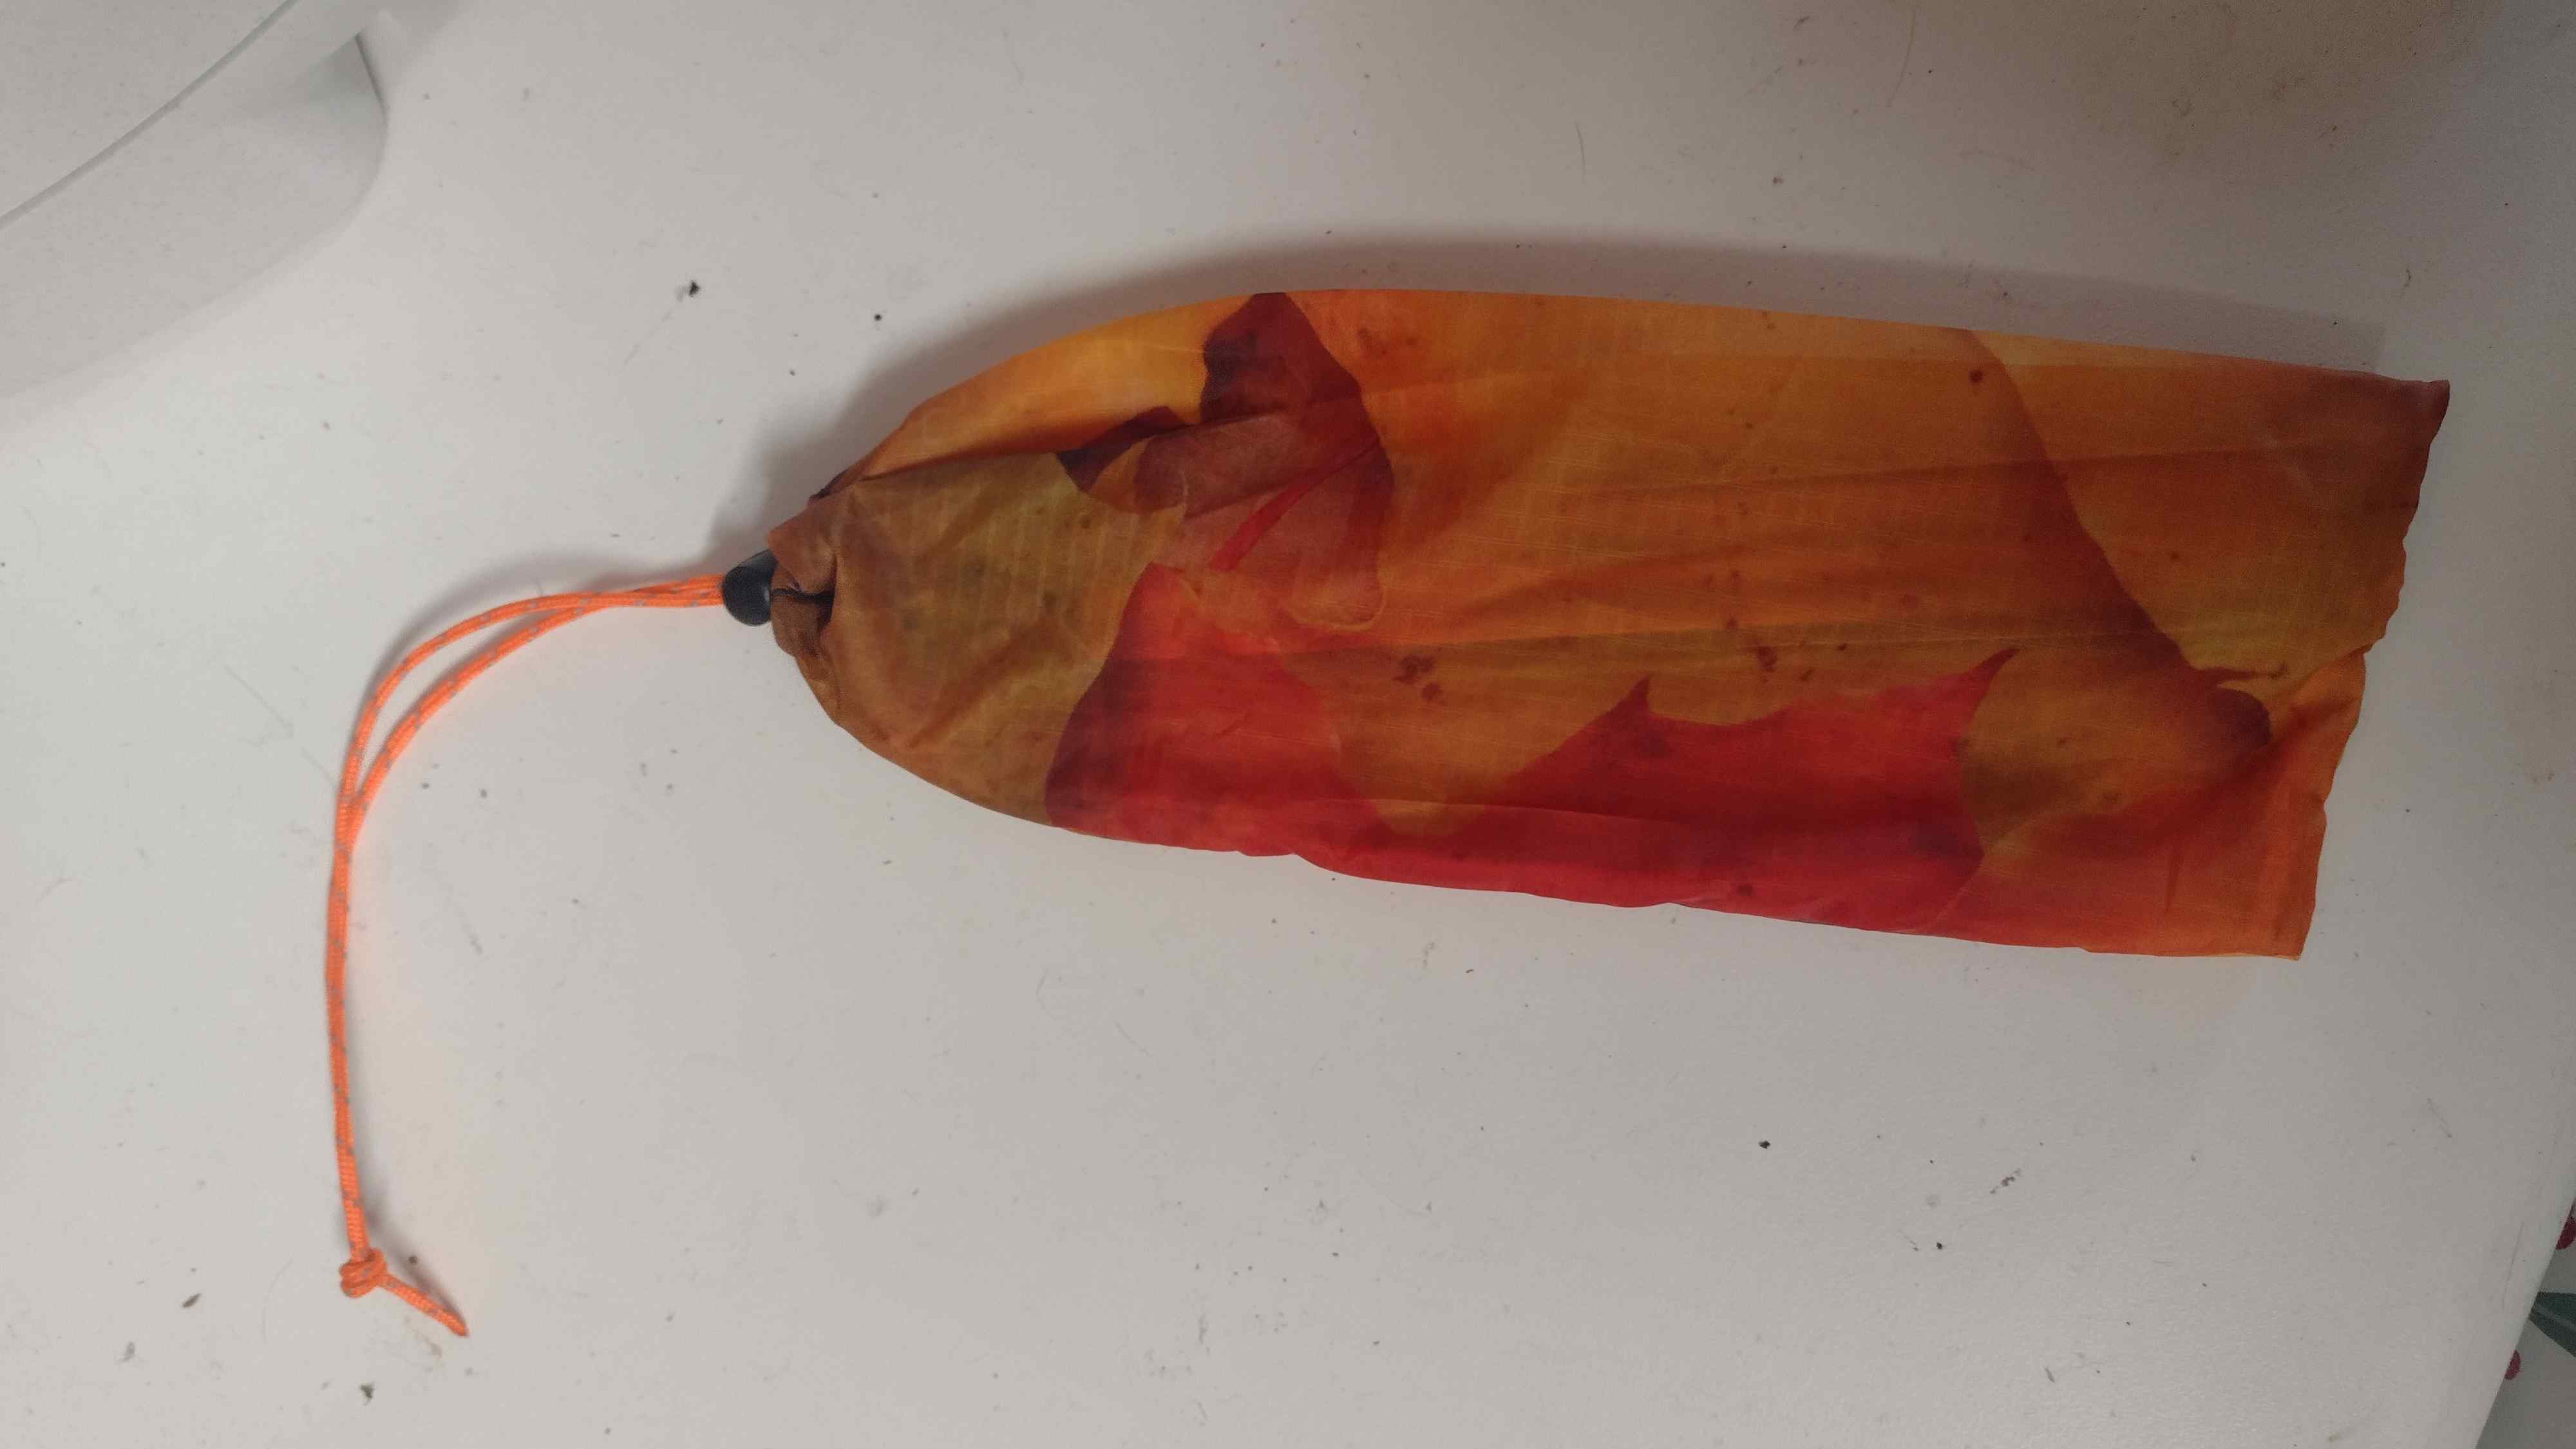
Once I found out about the ability to print images onto material for a modest upcharge, the game was on with respect to making cool stuff. I mean, $10 a yard for ultralight sil-poly, or $21 a yard for the same material with a custom image printed on it? I started looking for things to make.
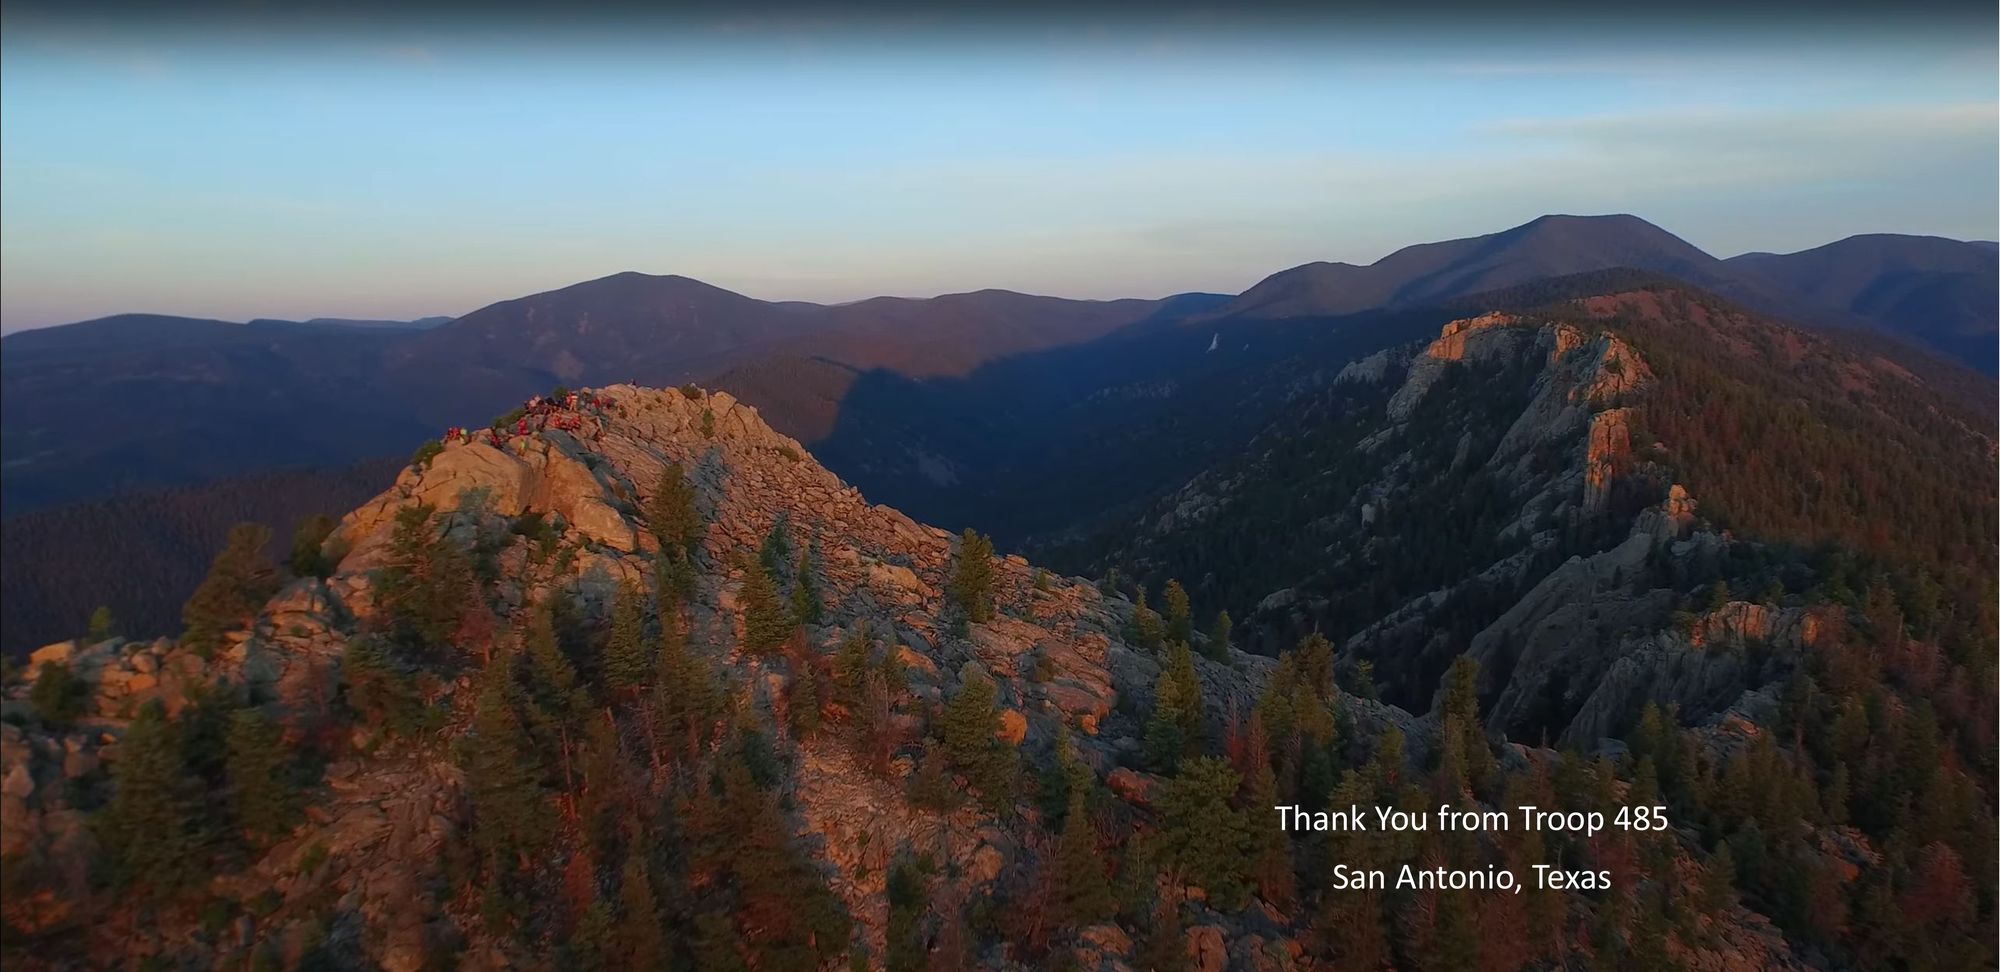
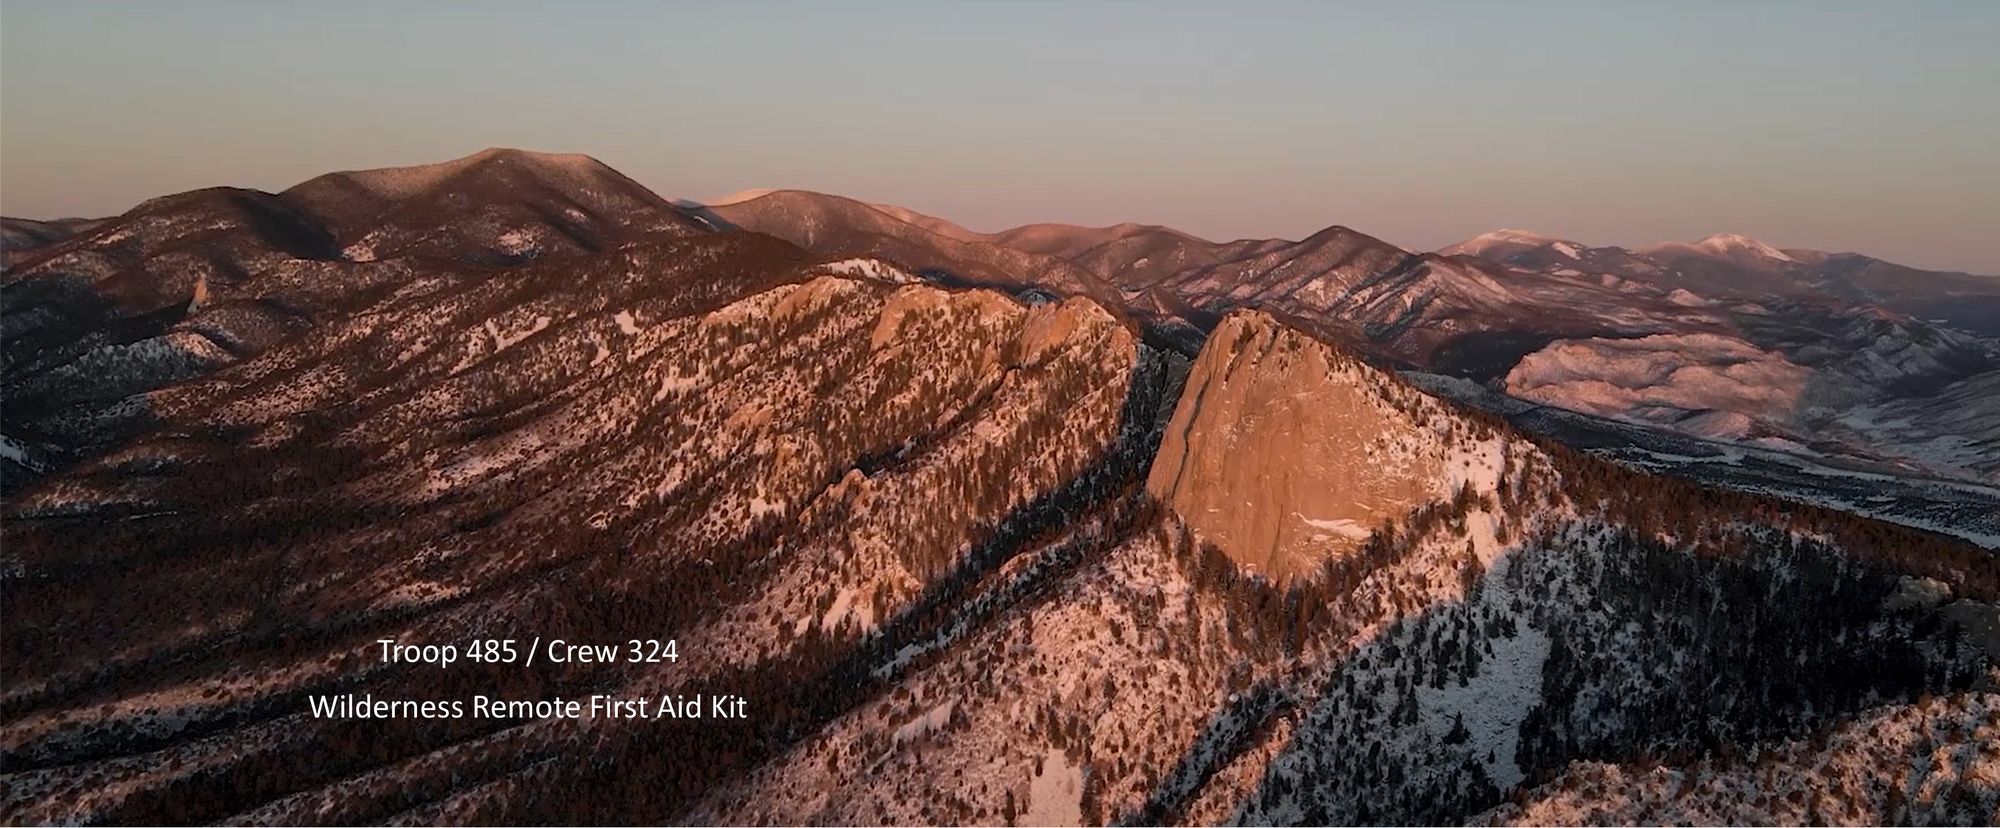
I made some bags for the Philmont crew. I bought 1 yard with the first image below, and 1 yard with the second image. The first image made 3 larger bags while the second image made 6 smaller bags. The larger bags are slated to be gifts for the Philmont Rangers who guide us around our first couple days on the trip. The smaller bags are slated to be a UL replacement for the heavy Wilderness Remote First Aid kit bag.
I made a UL food bag for myself, (no picture), a lighter stuff sack for the REI tarp (saving an ounce, also no picture), and used scraps to make tent stake bags.
Ground cloths / Footprints
I've been on all sides of the ground cloth/footprint debate. For a while I thought they were dumb/useless since the floors of tents are water proof already. Many "professional hikers" (i.e. AT/PCT/CDT thru hikers) don't bother with them so why should I? Then I started to see how rolling up my tent got it all covered with mud, dust, dirt, leaves, etc. So, I came around to the idea of a foot print. In my opinion, the purpose of a footprint is not ot prevent wear on the tent floor fabric or keep the tent floor fabric dry - it's to keep crap off the tent when rolling it up.
One of the biggest debates in the backpacking world is "what is the best footprint?" There are generally 3 different categories of answer: 1) Polycro, 2) Tyvek, 3) cloth footprint, either commercially made or MYOG. Each option has pros and cons. To make a long story short, I think the best balance of the various factors (cost, weight, durability, functionality) is a MYOG solution made out of the lightest material you can get for an amount you can afford. After looking at several options, I've come to the conclusion that the best value out there is 0.93 OSY Membrane Silpoly available from Ripstop-by-the-Roll. This stuff is $10/yard, 58" wide, pretty durable, and waterproof. There are lighter options, but they are either WAY more expensive (like Dyneema Composite Fabric, DCF), aren't waterproof, or are only marginally lighter than 0.93 OSY Silpoly but at twice the price.
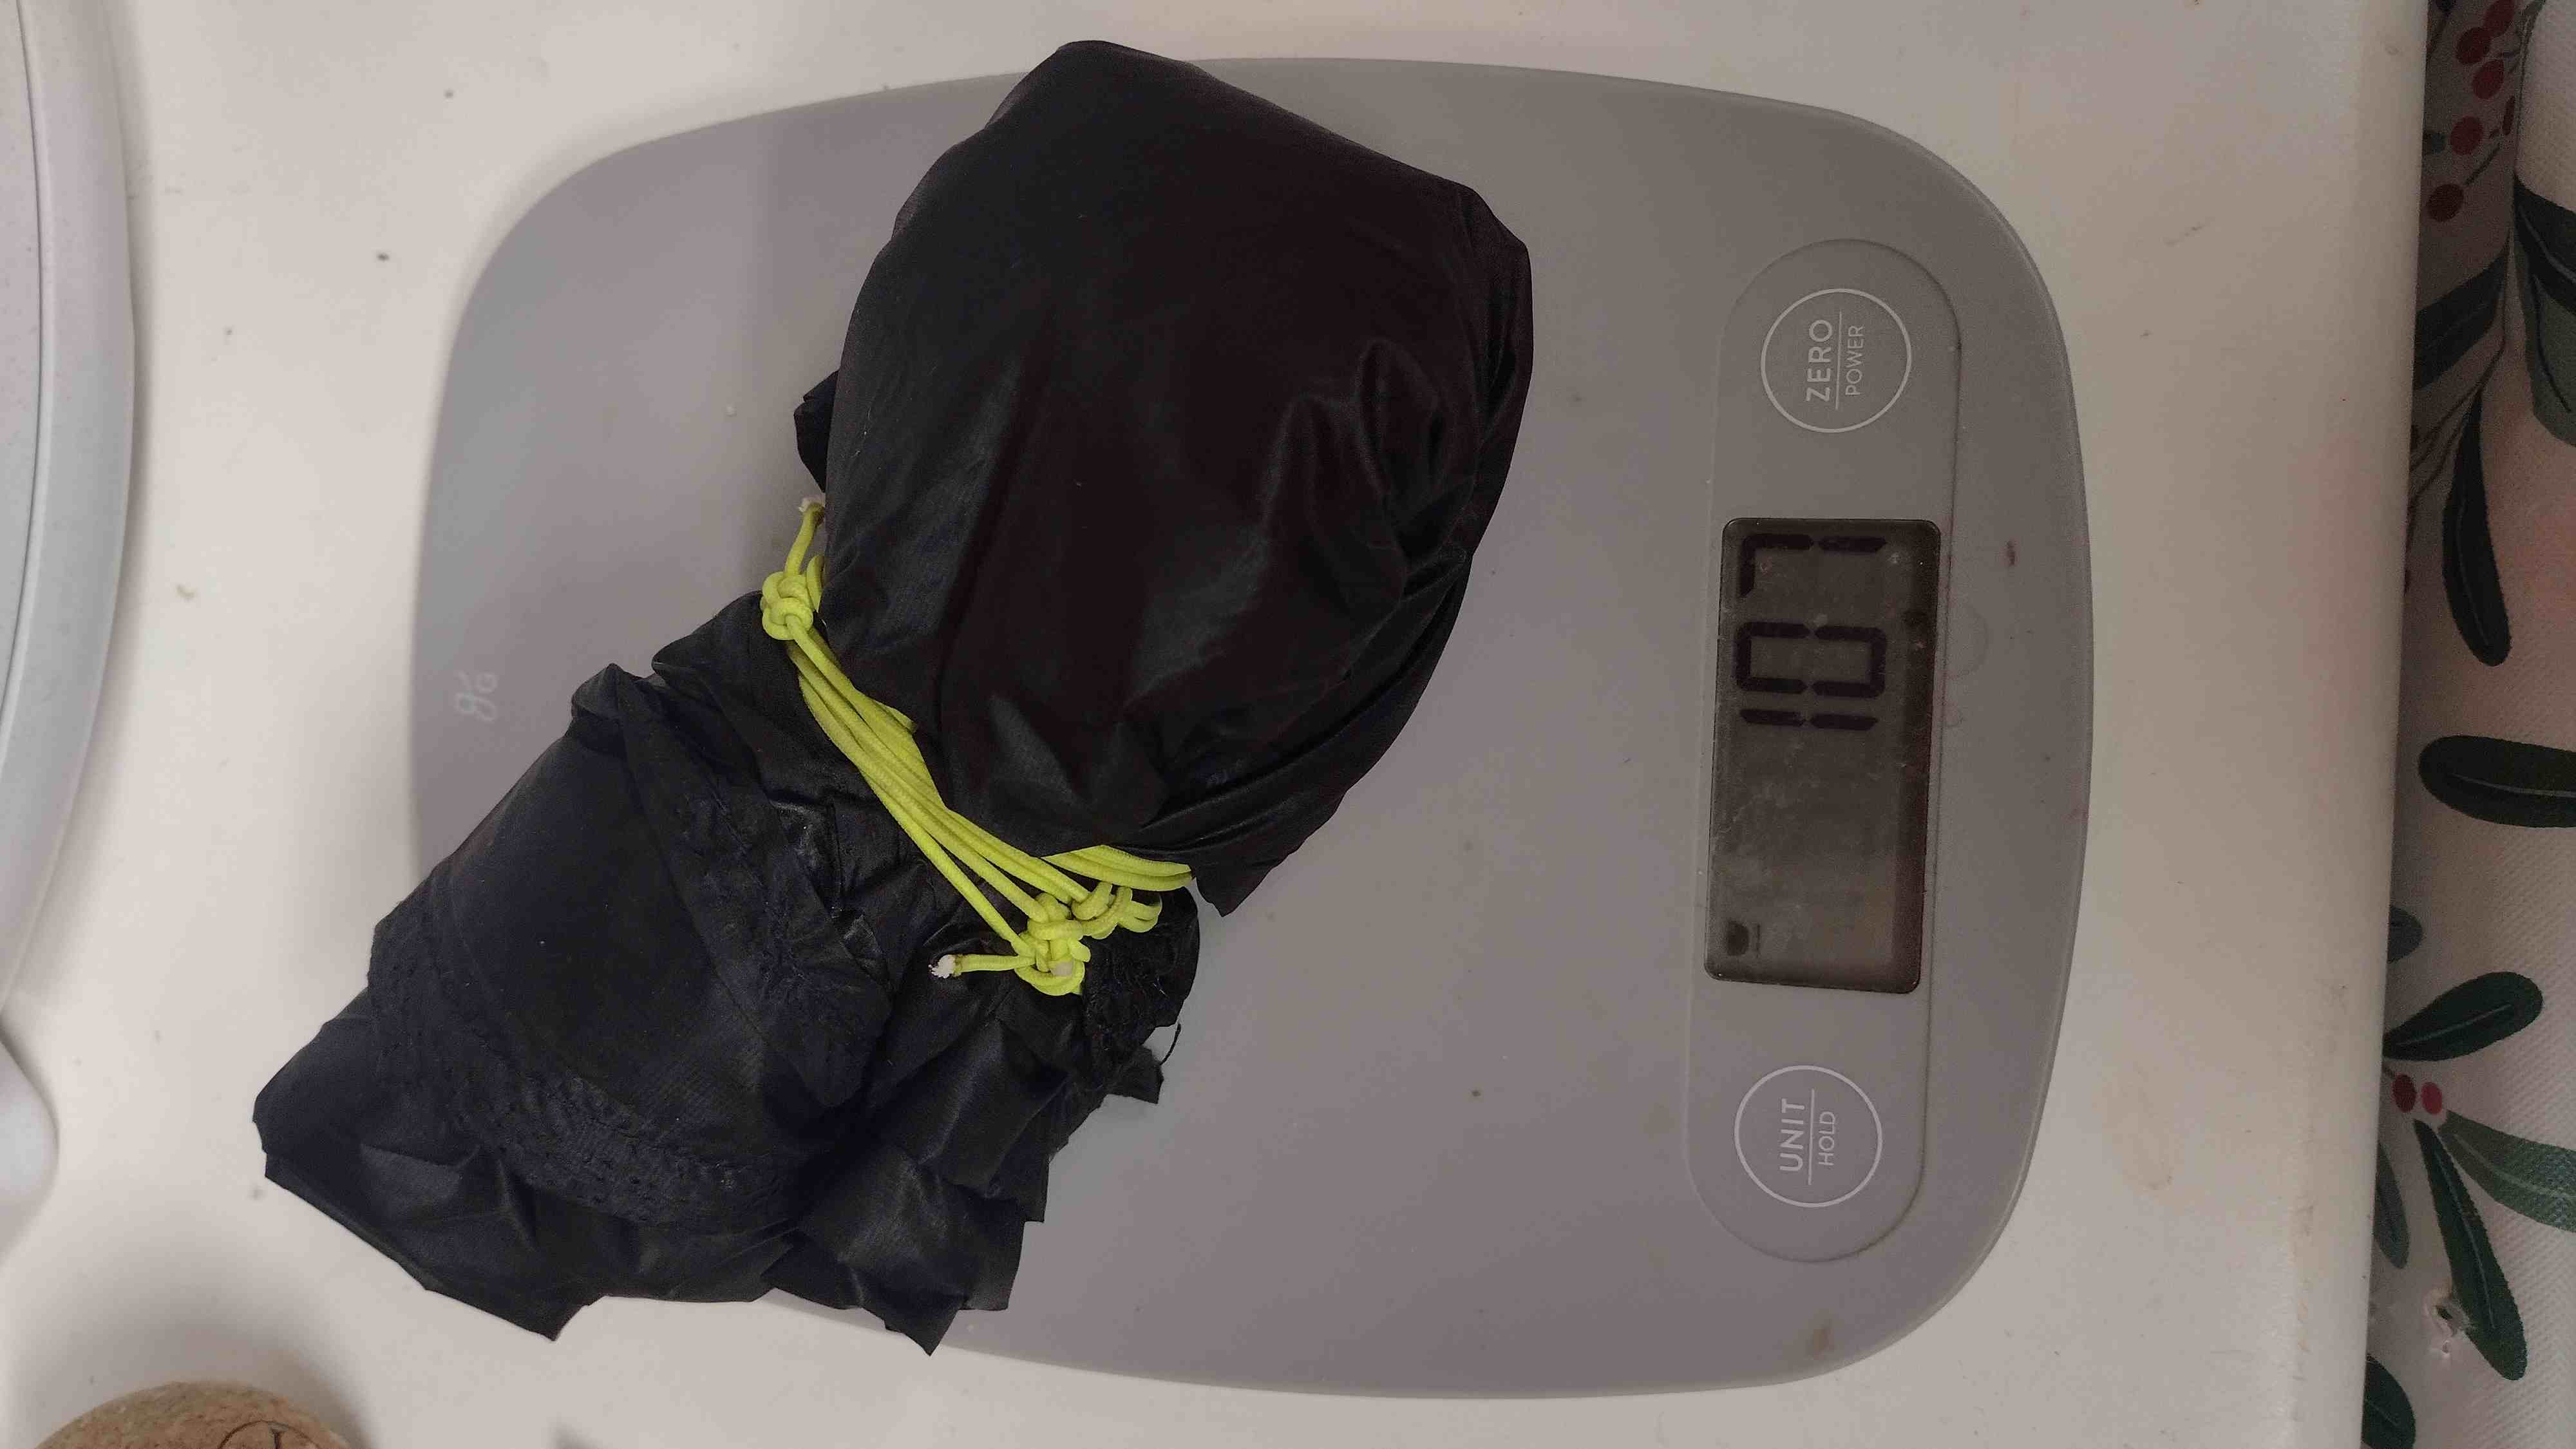
So far I've made myself two footprints. The first was made out of the Membrane material. The second was the twice-the-price-but-not-much-lighter material. These are trivial to make. Just cut to size, hem the edges, and sew some cords to the corners so the foot prints can be staked out. Weights: 119 grams and 107 grams.
What about clothing?
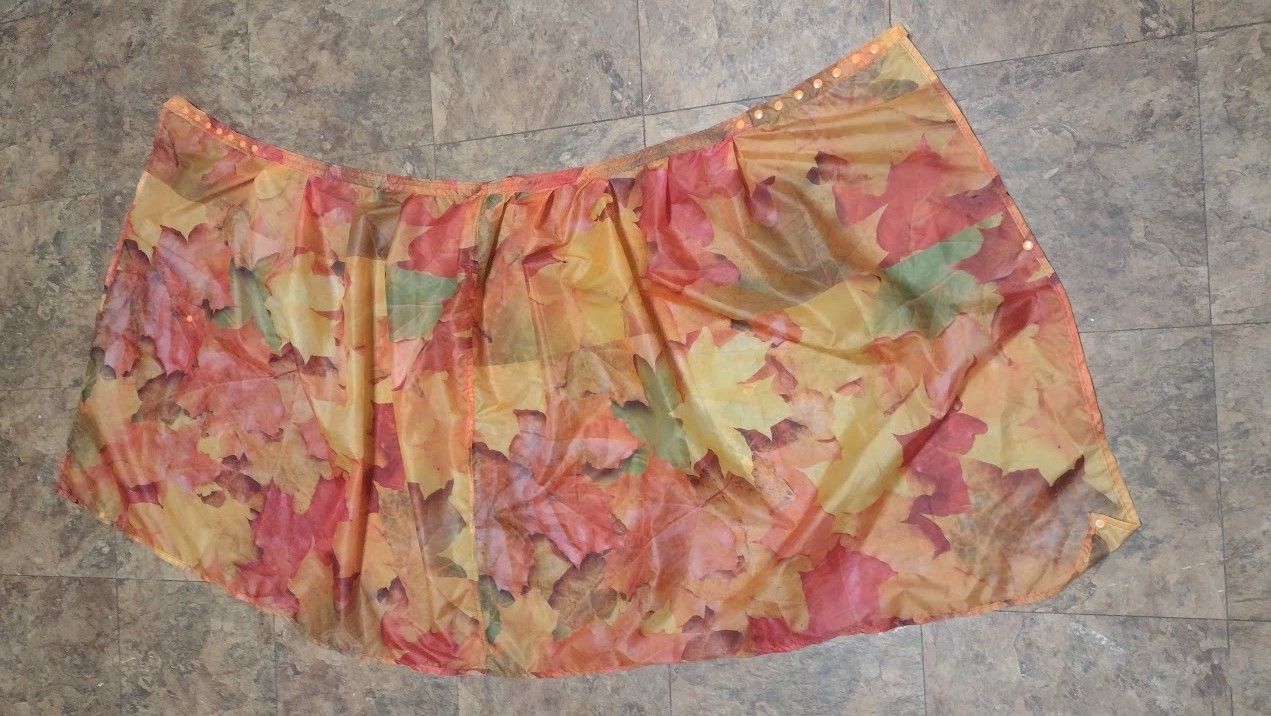
Now we're getting advanced. I'm slowly easing my way beyond basic bags and square objects. My first garment attempt was a rain kilt following some instructions/pattern I found online. After having made it, I understand why the originator of the design did it like he did, I just don't like it. It's a conical style, meaning that it tapers from top to bottom. Meh. To me it was more complicated than it needed to be, and I didn't make it long enough.
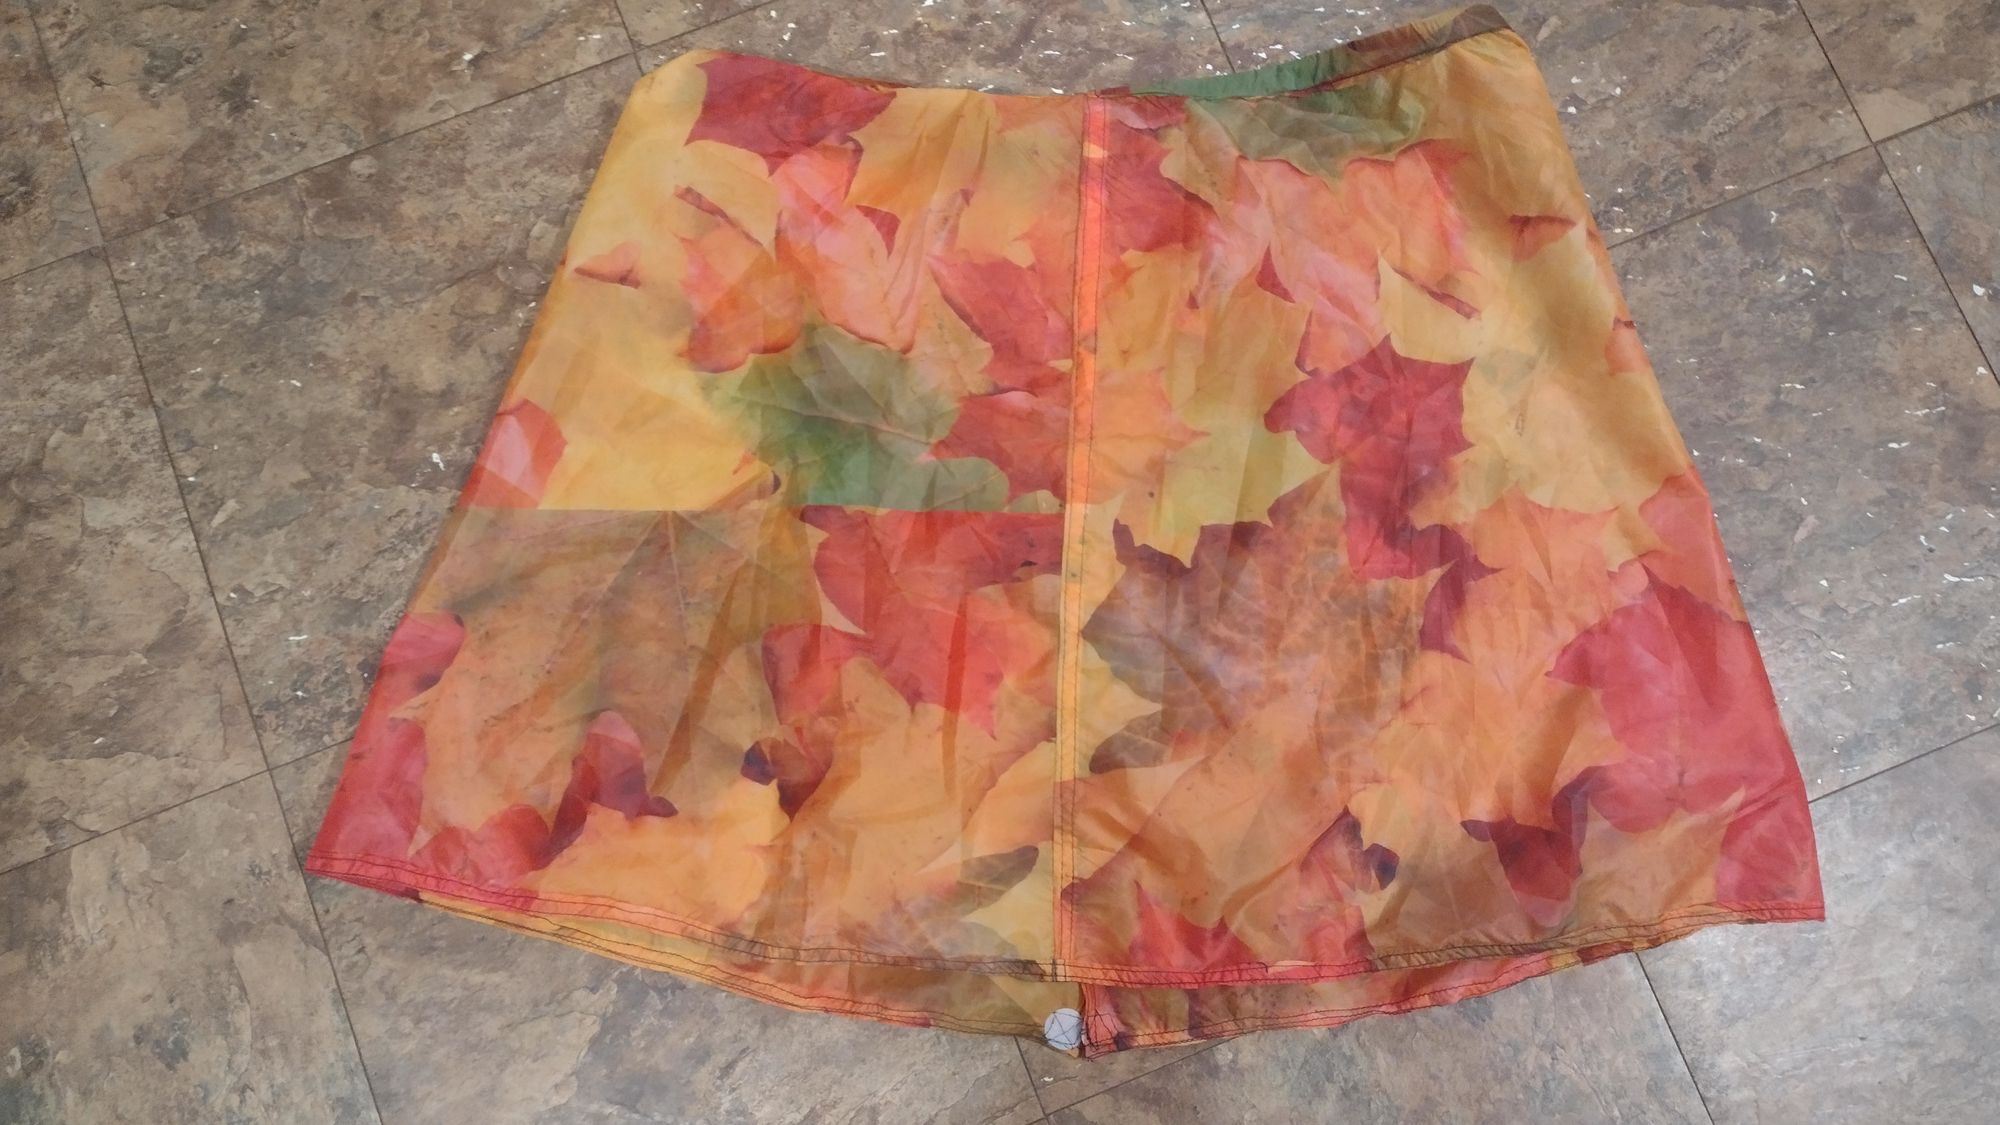
So I made up my own pattern using all of the remaining leaf-printed silpoly (1 yard) in a rectangular pleated pattern. This one worked out much better - more comfortable, and still only 50 grams!

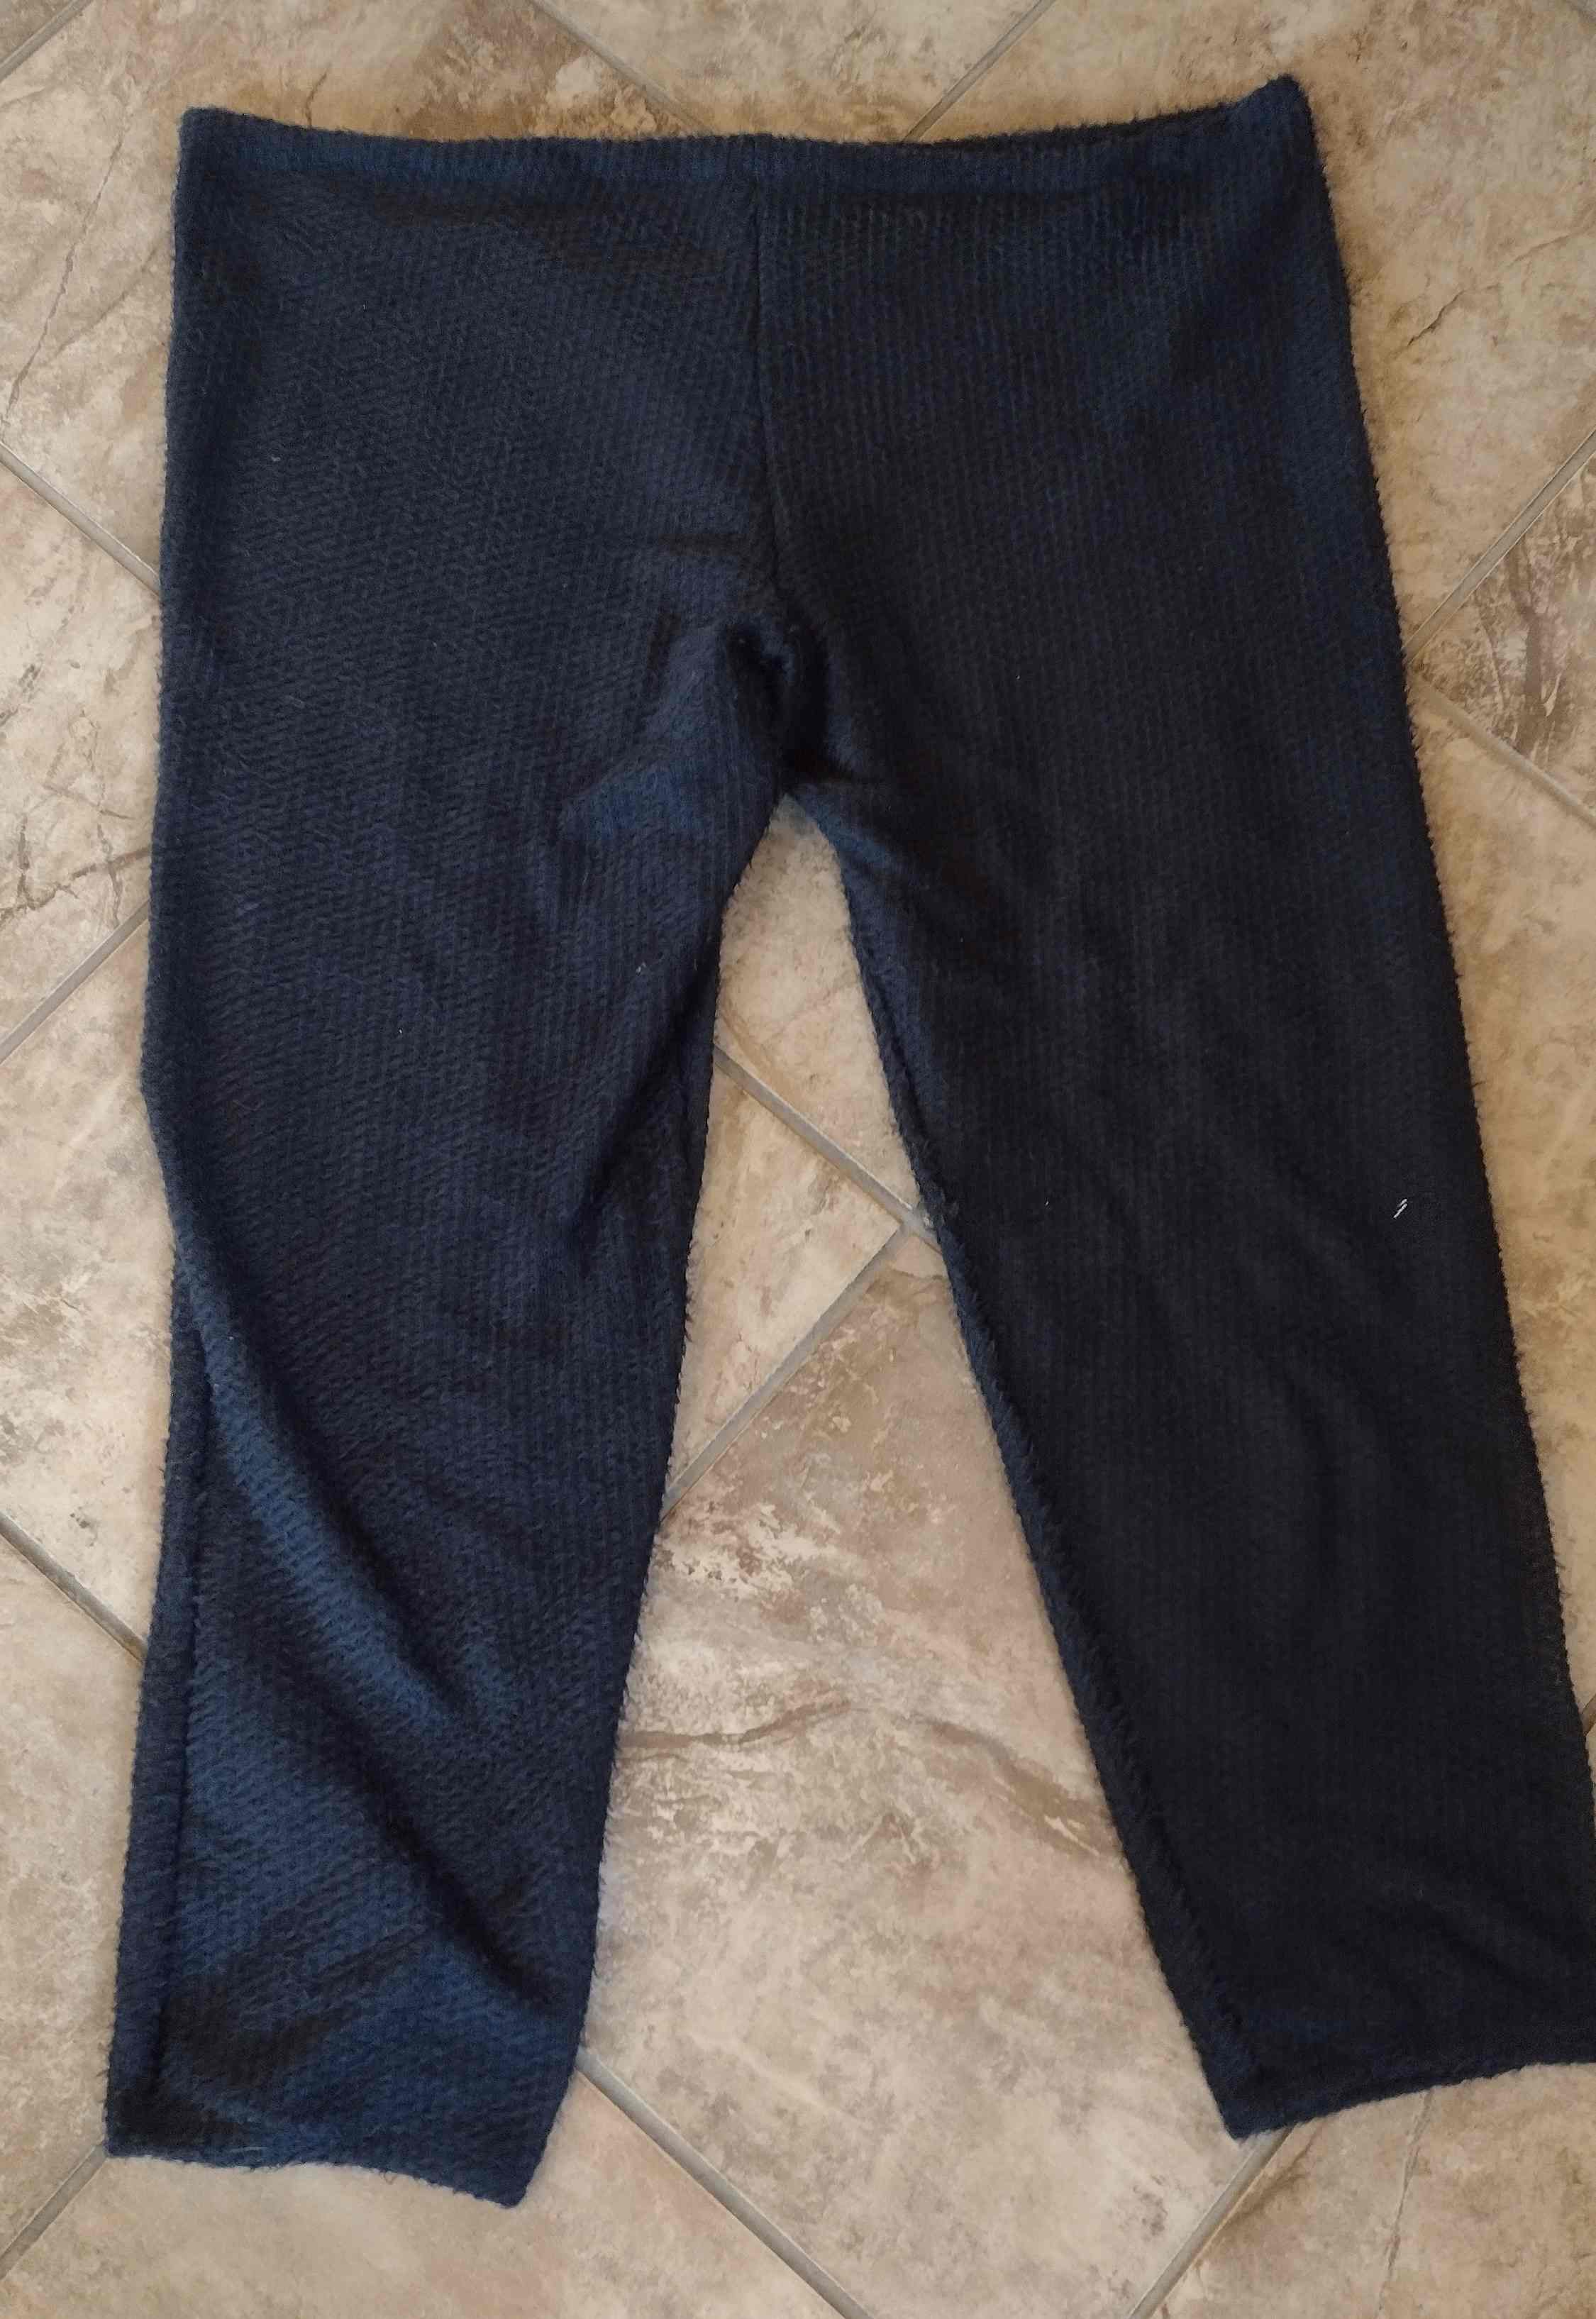
Now this is getting really fun! What else can I make? Well, a friend of mine bought some Alpha Direct (AD) material and made her own AD hoodie. But I already have a hoodie (from that same guy who charged me an arm and a leg.) But what about pants? A really UL pair to go under wind pants would be awesome! The expensive guy is like $100 and 4 months for them. The price on Ebay for the material? $20 a yard, and I'd need 2 yards.
I took a pair of old sweatpants and a seam ripper and carefully disassembled them. I laid the sweatpants pieces out on construction paper, traced around it, then cut the pieces out to make a pattern, then cut out the parts. My friend graciously let me learn how to use a serger by watching her assemble them for me. Got to get one of those! So, for $40, some time patterning, and an hour one Sunday afternoon I came up with these beauties:
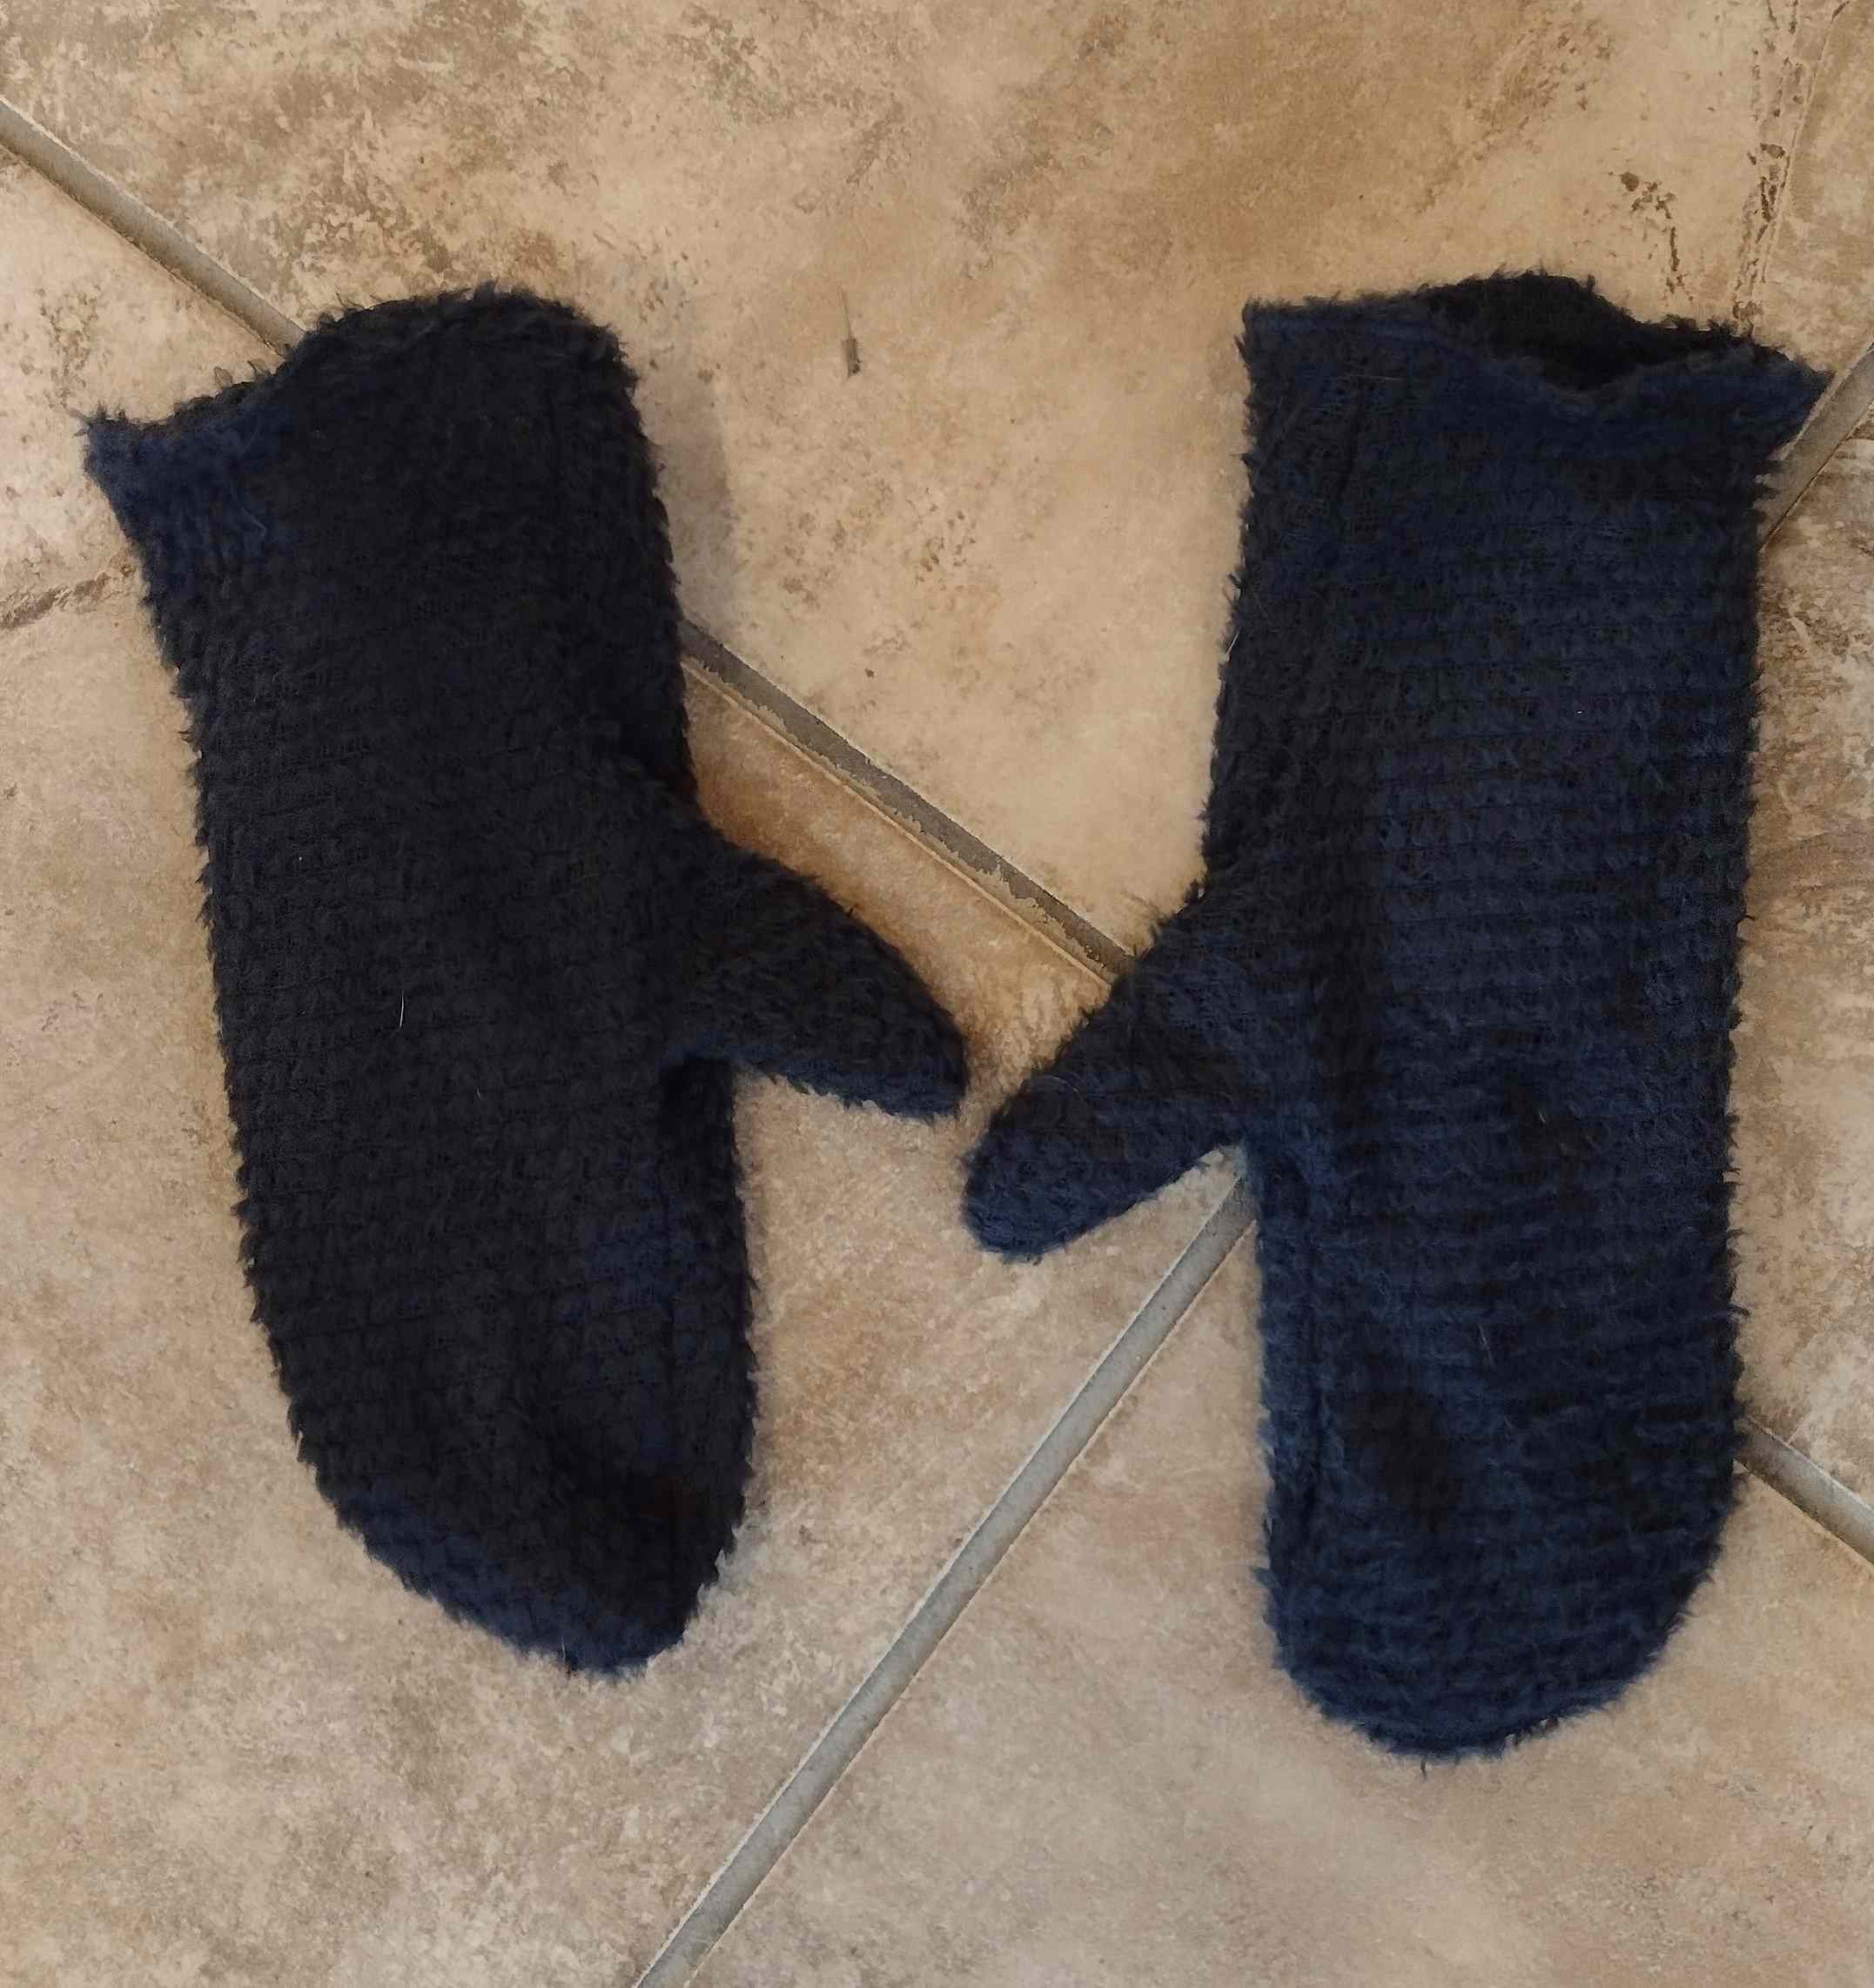
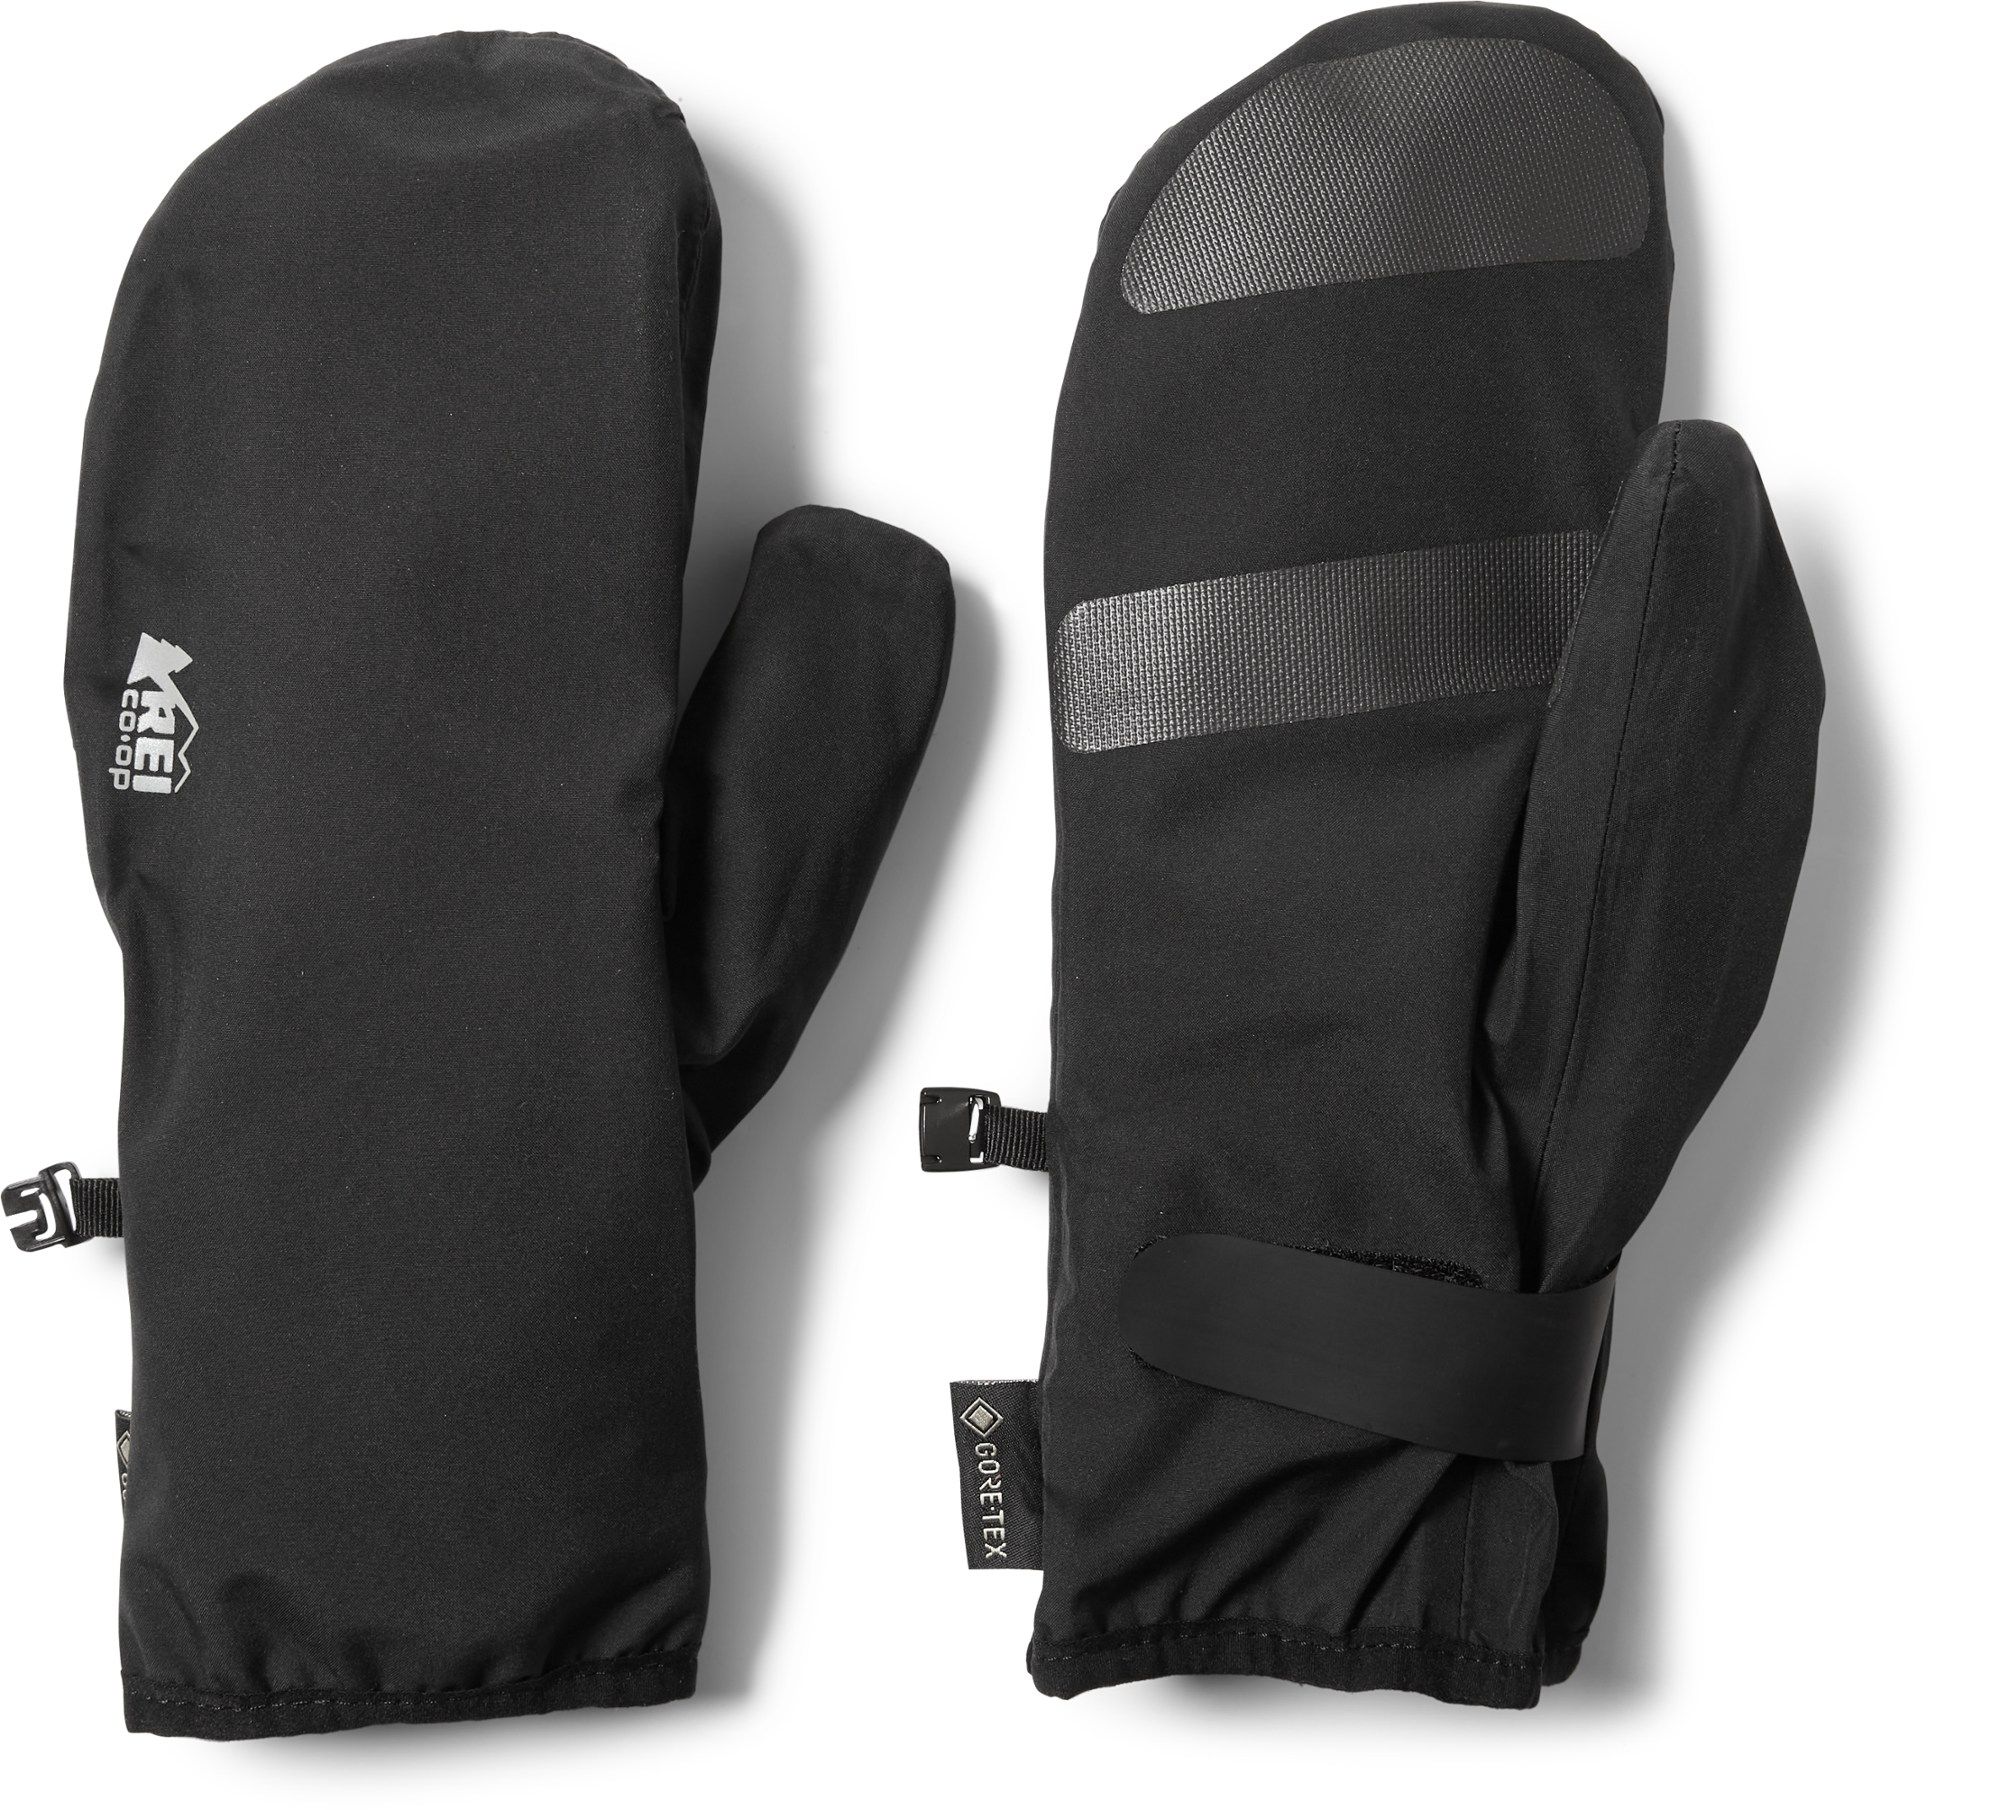
But wait - there was some AD left over! I patterned and cut out liners for a pair of REI UL rain mittens. We serged them closed, put one inside the other, and serged two layers together to make a VERY comfortable liner for the mittens at only 20 grams for the pair! This turned out so well that we made a second pair for Tina, and Tina ordered her own pair of REI rain mittens!
I really wish I had bought a different quilt.....
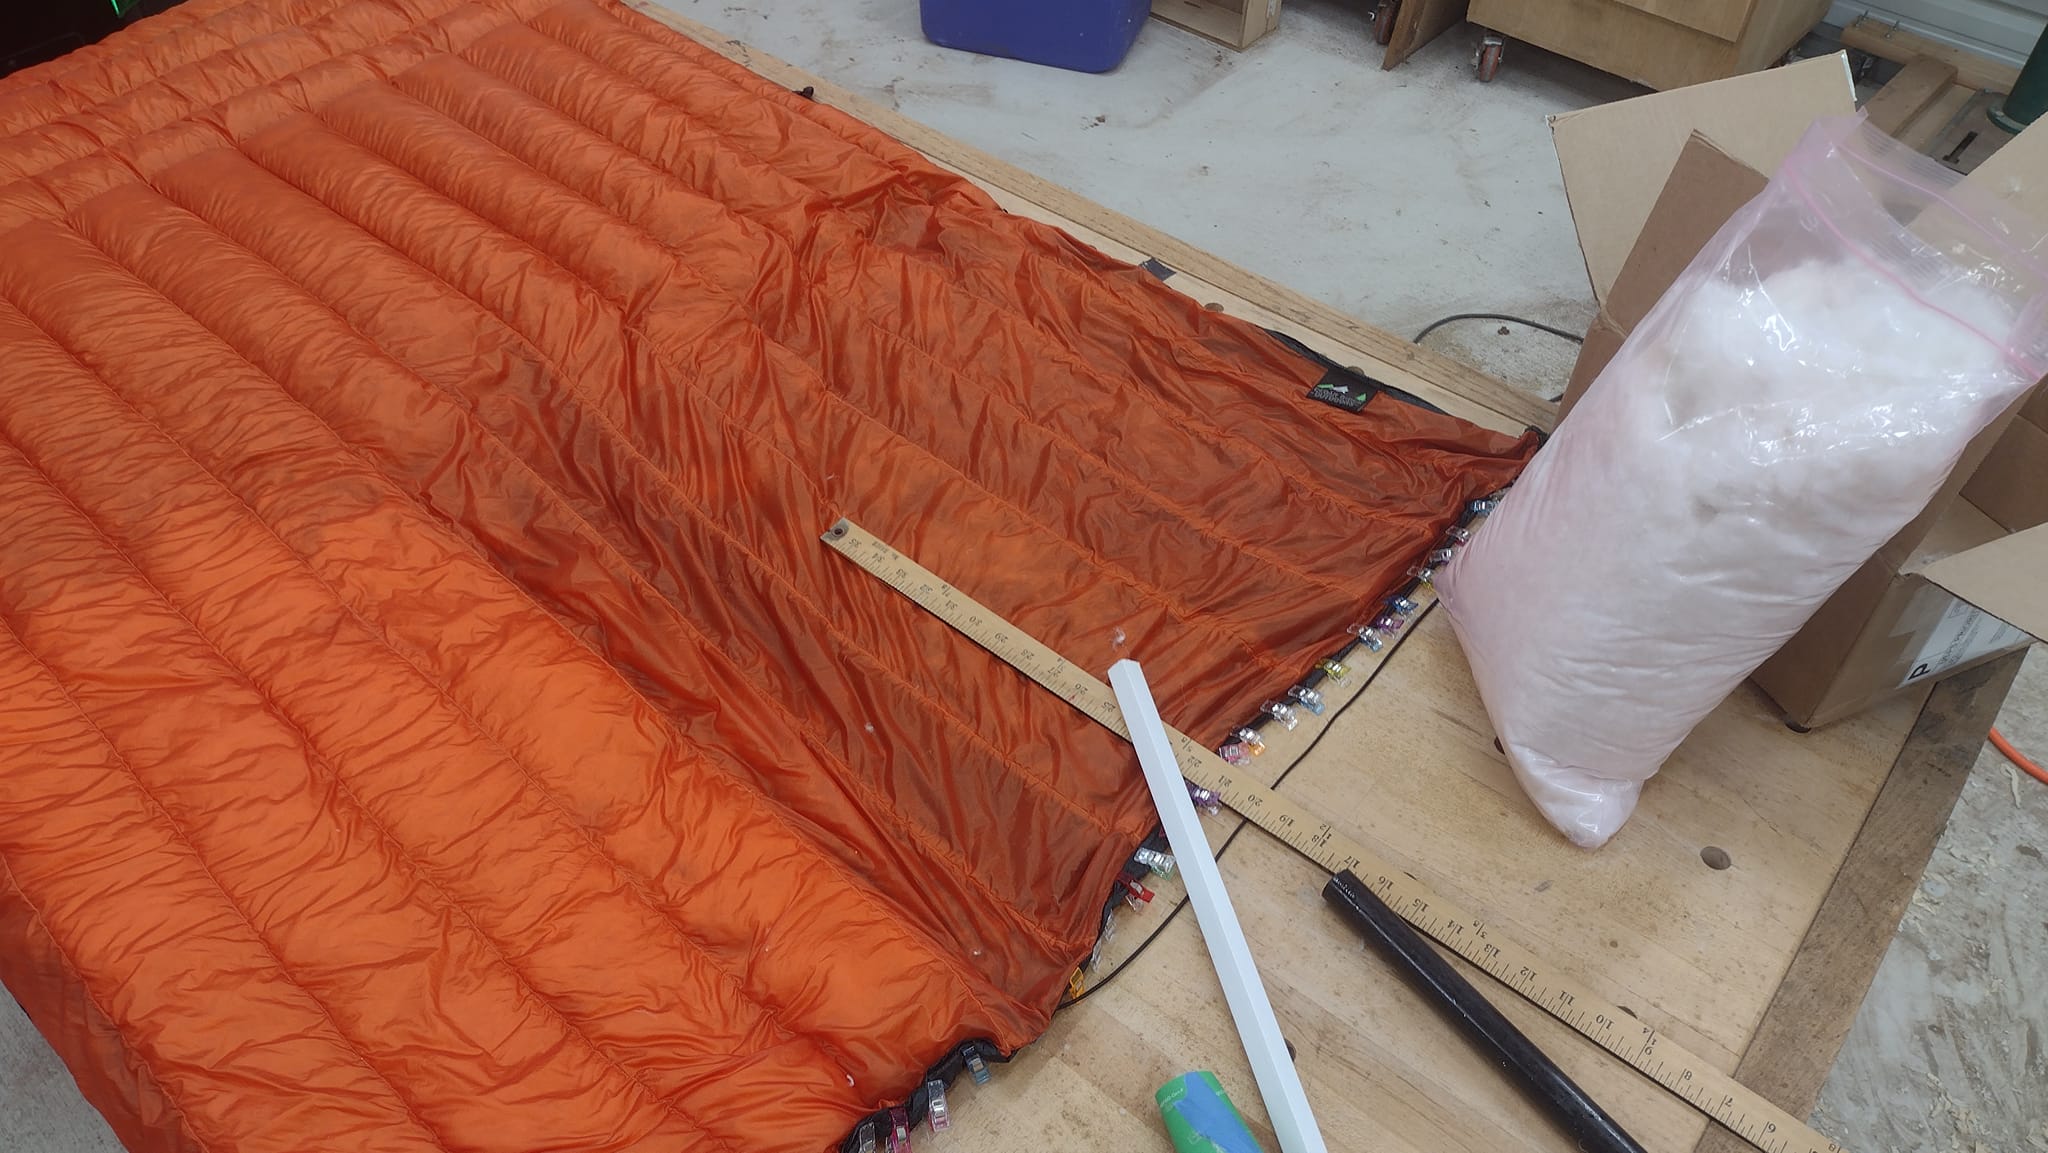
Last year I splurged and bought a top-of-the-line Cedar Ridge Outdoors Helium quilt. This quilt pulled out all the stops: 7d inner and outer, DCF baffles, and 1000 fill power down. I bought it in the 40 degree "comfort" rating range. It met the advertised ridiculously low weight of 272 grams. Unfortunately, it was no where near "comfortable" at 40. The down was so wispy that it bunched together easily and formed cold spots. I was relegated to layering it with an over-quilt any time the temp got below 50, or else have to wear base layers to bed.
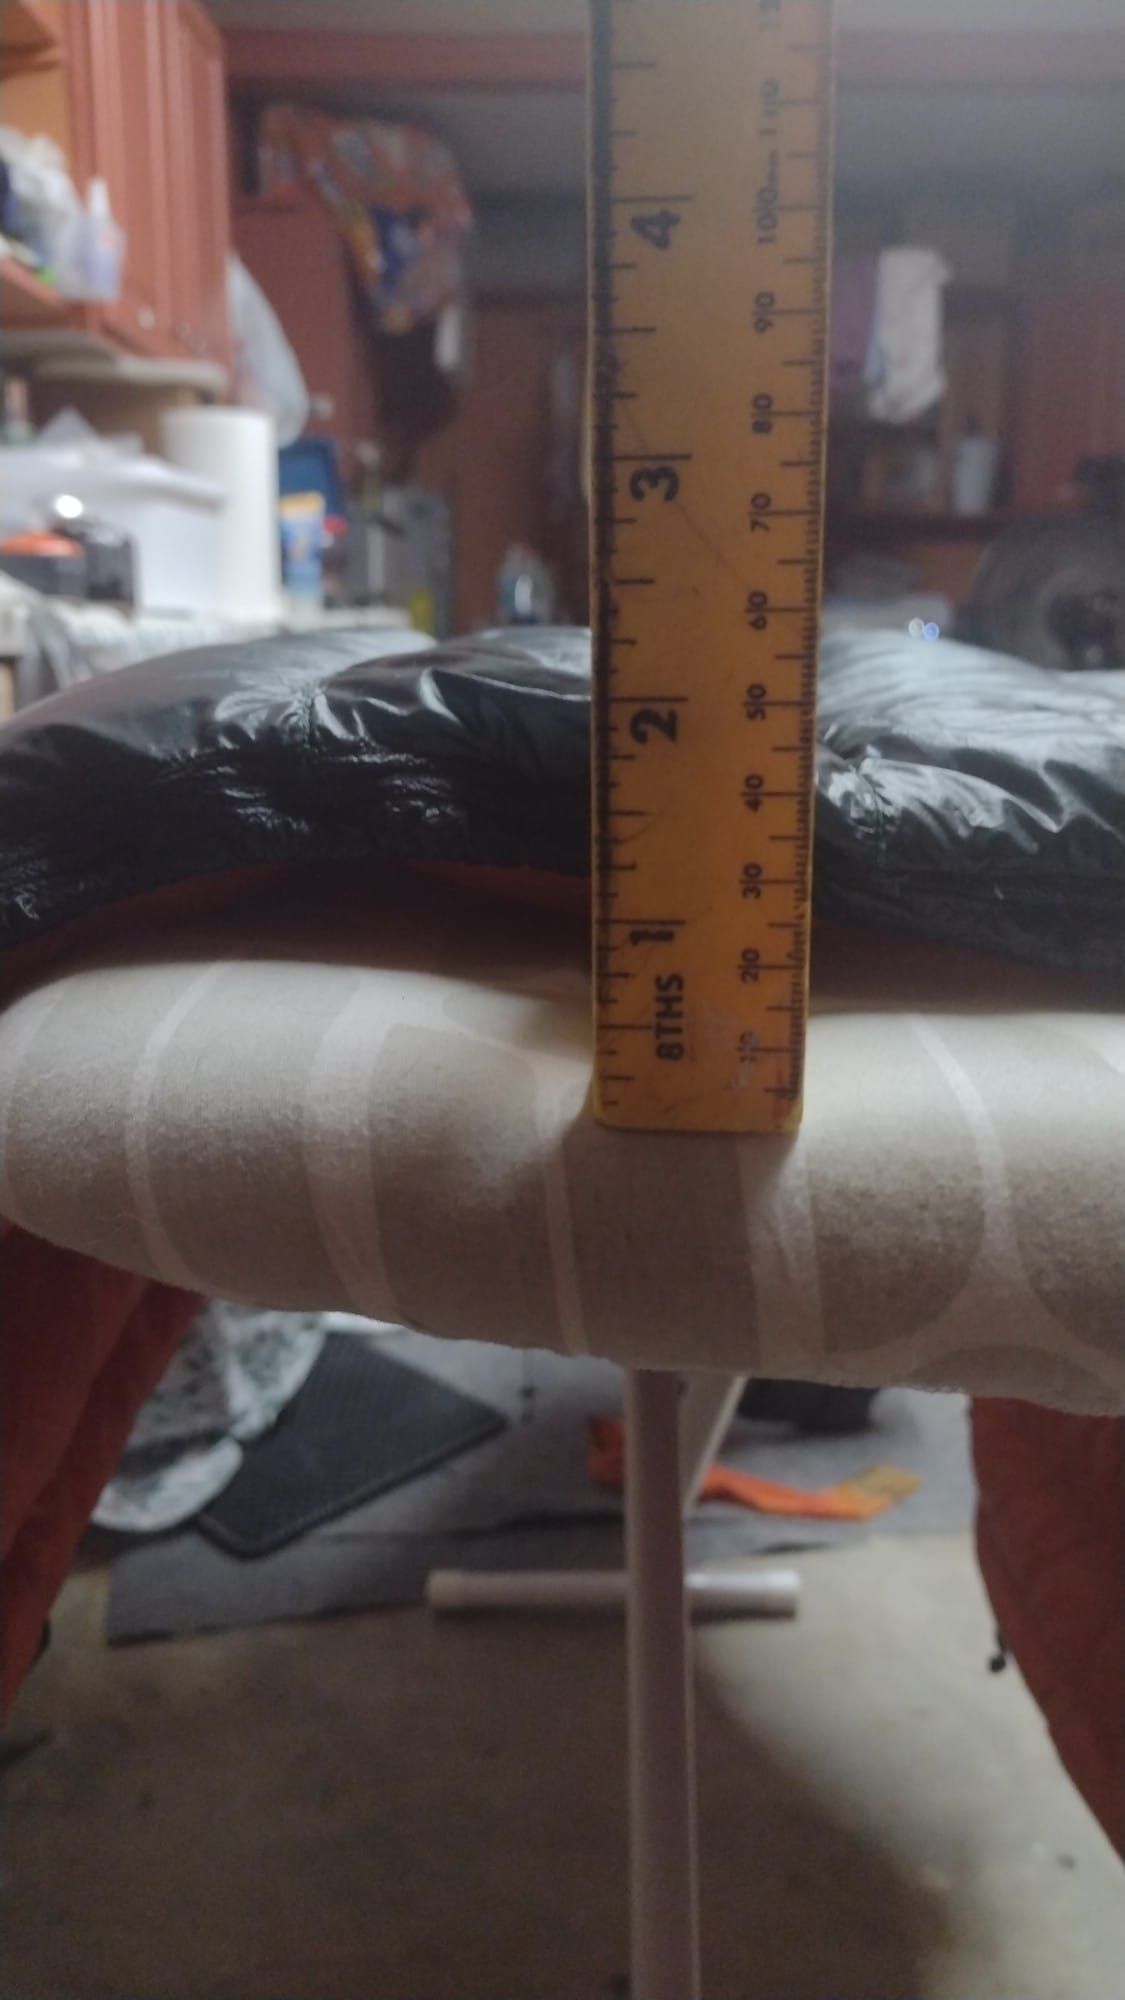
I bought 4 ounces of 900 fill power Hyper-Dry from Loose Goose Down Supply. I hung the quilt from one end for a couple days and shook it so all the down would settle on one end. I then carefully seam ripped the closure stitching, then added those 4 ounces of additional fill, stitched it back shut and ran it through the dryer with tennis balls to even everything out.
The result: a very poofy/solid 2" loft with no anemic spots. According to various charts, it is now probably a 25-30 degree quilt. Not bad for $60 and an afternoon of work. This should eliminate the need for an over-quilt until it gets considerably colder. Net weight savings by eliminating the over-quilt: 12 ounces.
Don't Stop Me Now! I'm having such a good time, I'm having a ball!
Where will this lead next? Well, I'll be picking up a serger soon. There's a pair of UL shorts I'd like to try. Who knows after that. I'm sure something will inspire me.
Keep hiking my friends