Durston Xmid 2P Setup Template / Footprint

About a year and a half ago I wrote up this on the making of a footprint/setup template for the Durston 1P/1Pro tent, complete with a video on how to use it to make setup of a Durston 1P trivial. At the end of the article, I mention general instructions for making a similar item for a 2P tent. This article documents my construction of a footprint/template for my 2P.
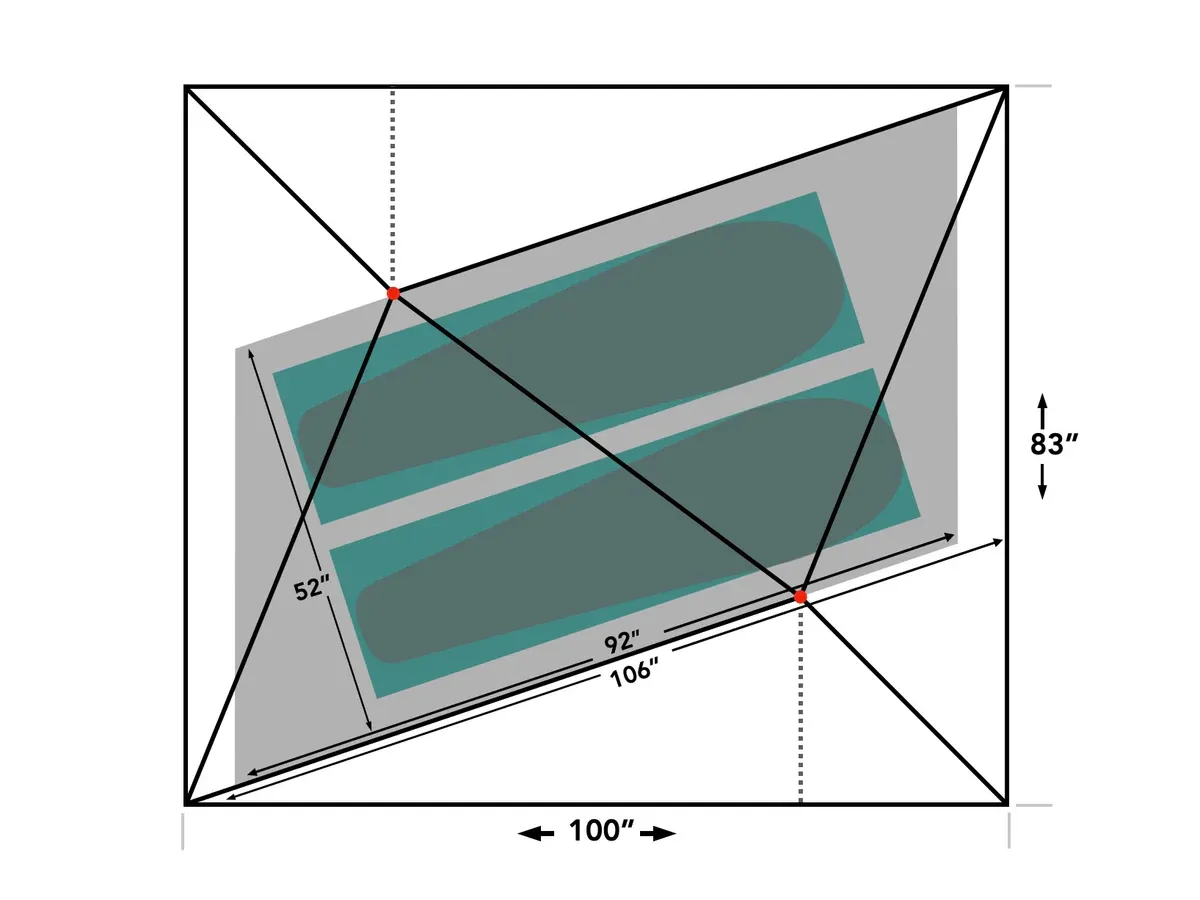
The desired footprint should be inset from the dimensions listed above 3" all the way around. For the 1P tent, which is based on the same 100" long-side length, I cut the fabric at 96" so that it ended up ~94" finished, giving a 3" overhang, and that turned out perfectly. For this project, I need a rectangle of fabric 96"x79". Typically, fabric is 58"-60"wide selvage-to-selvage, meaning that I will need to edge join 2 pieces the long dimension, each cut ~40" wide, so that the when joined the resultant piece is ~79" wide. If I join the cut edges, the resultant outside edges should be selvage.
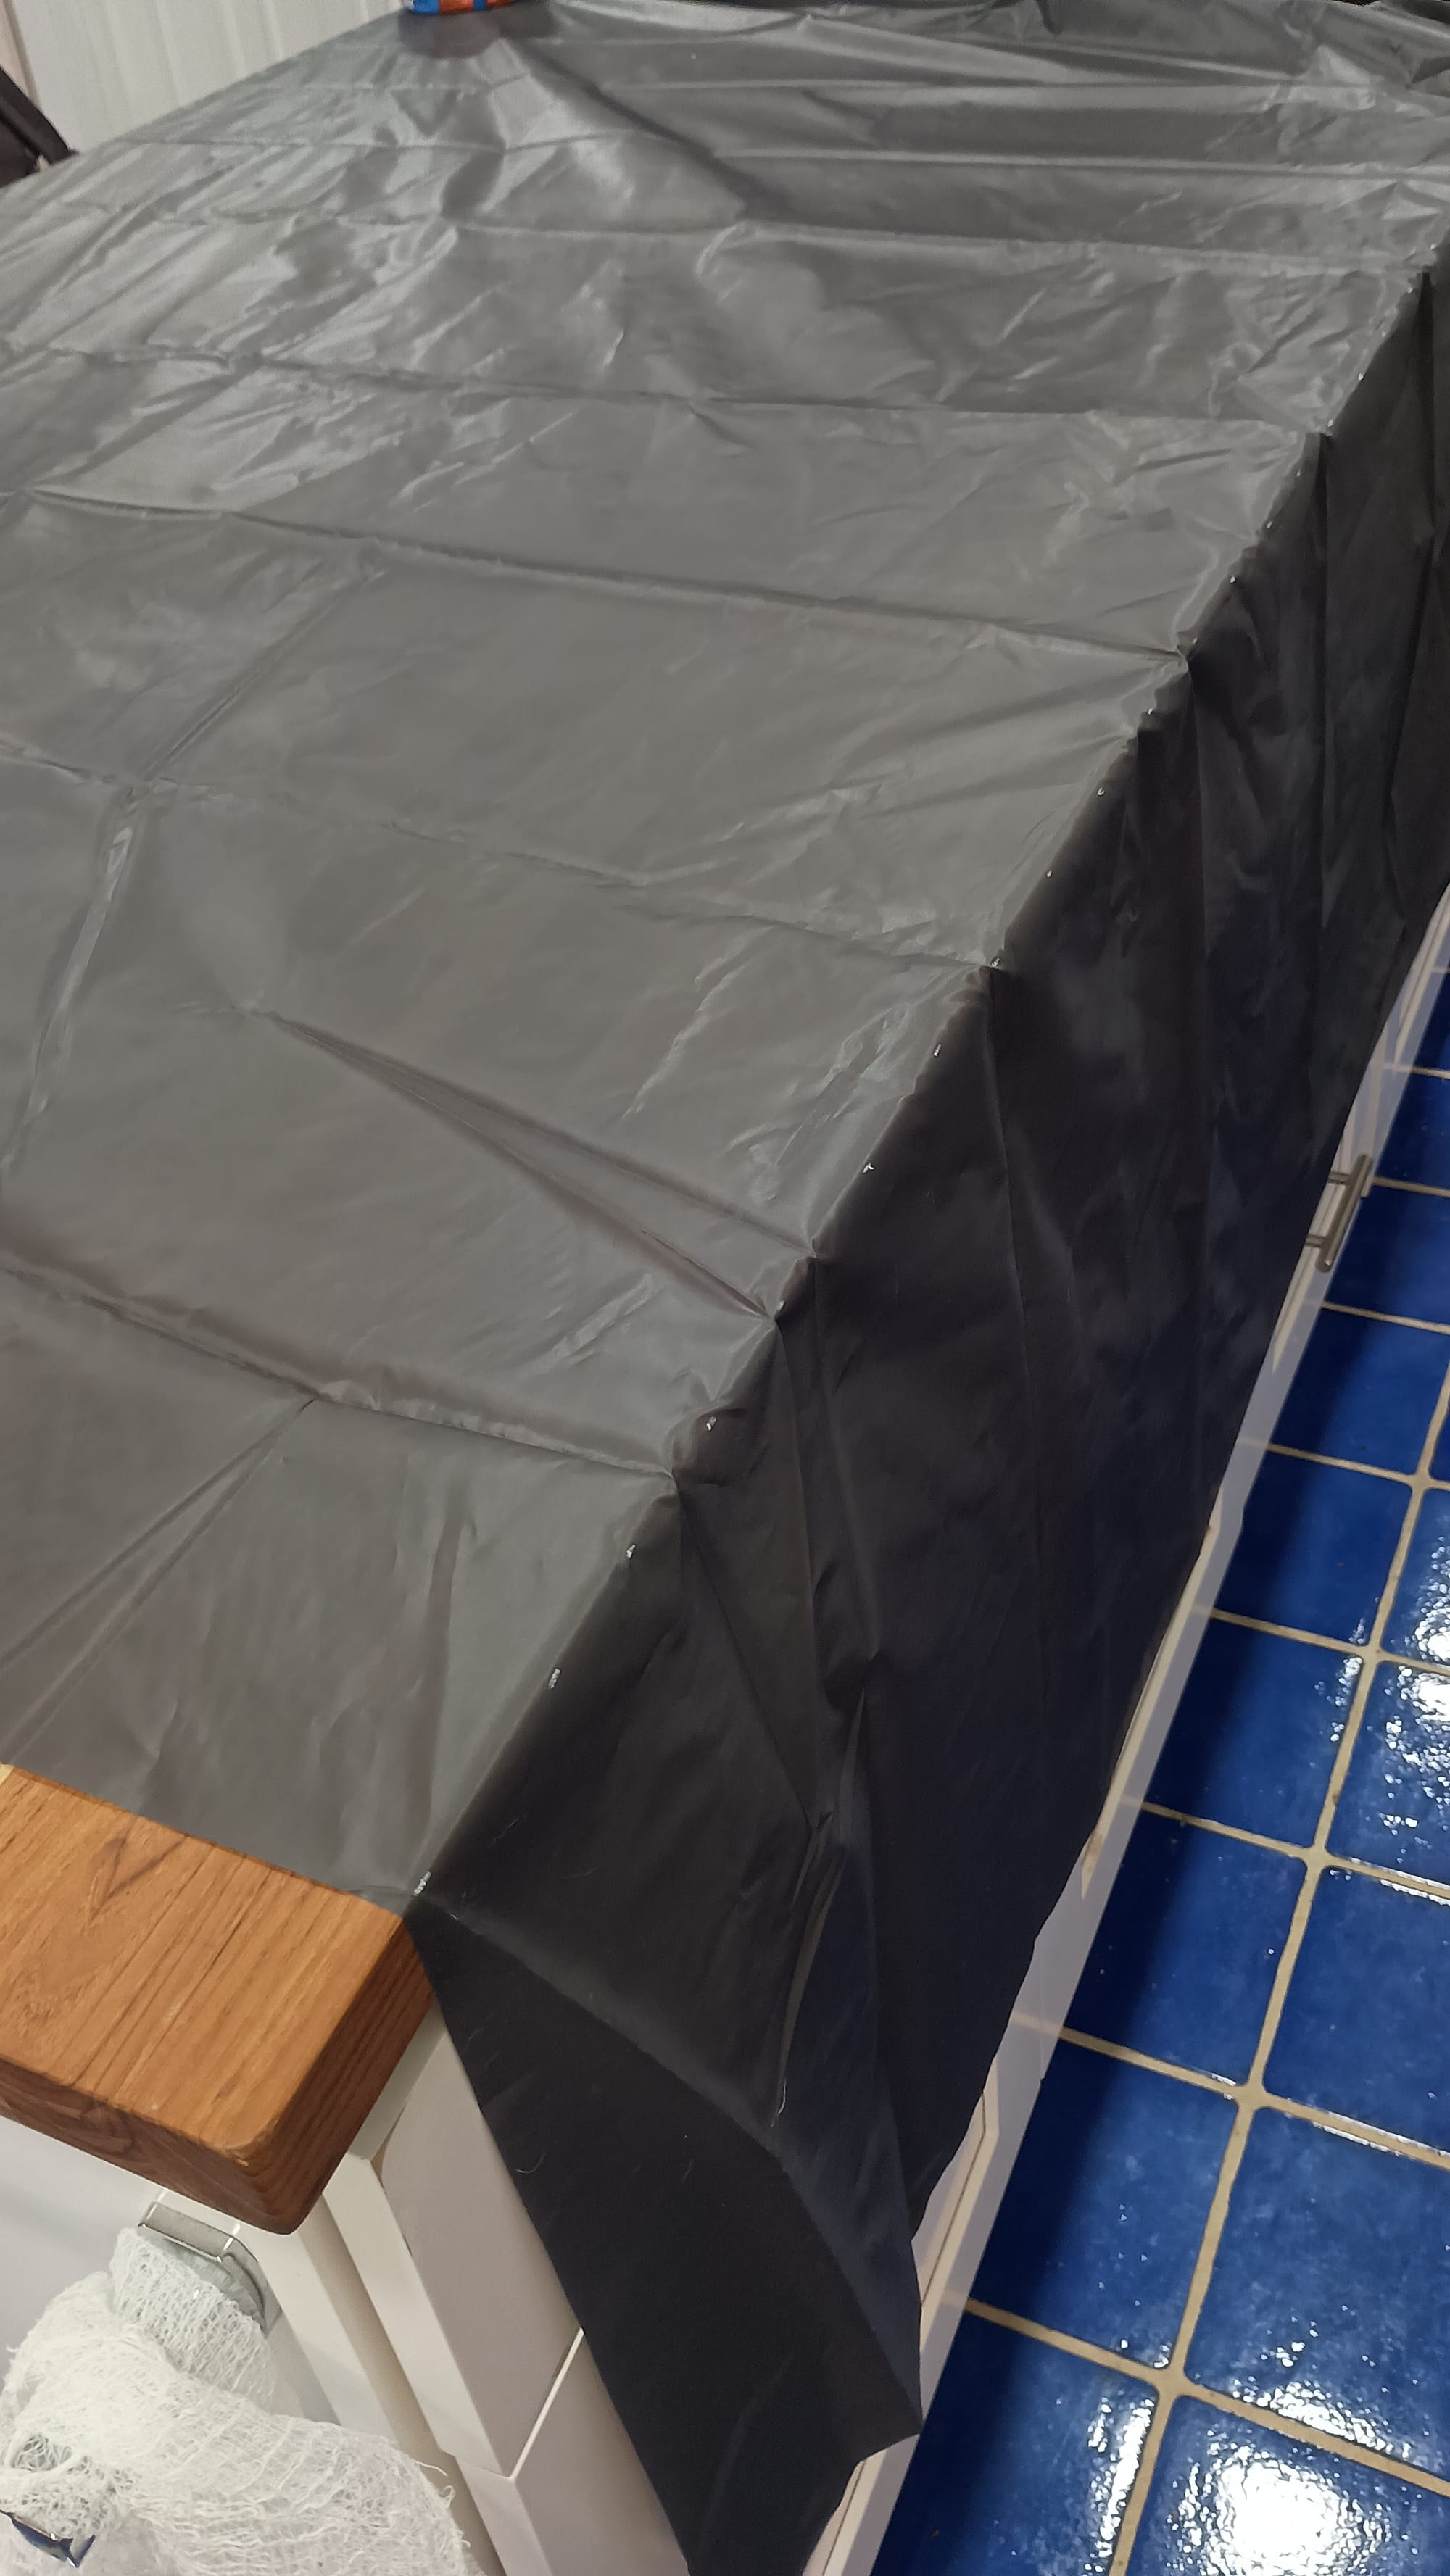
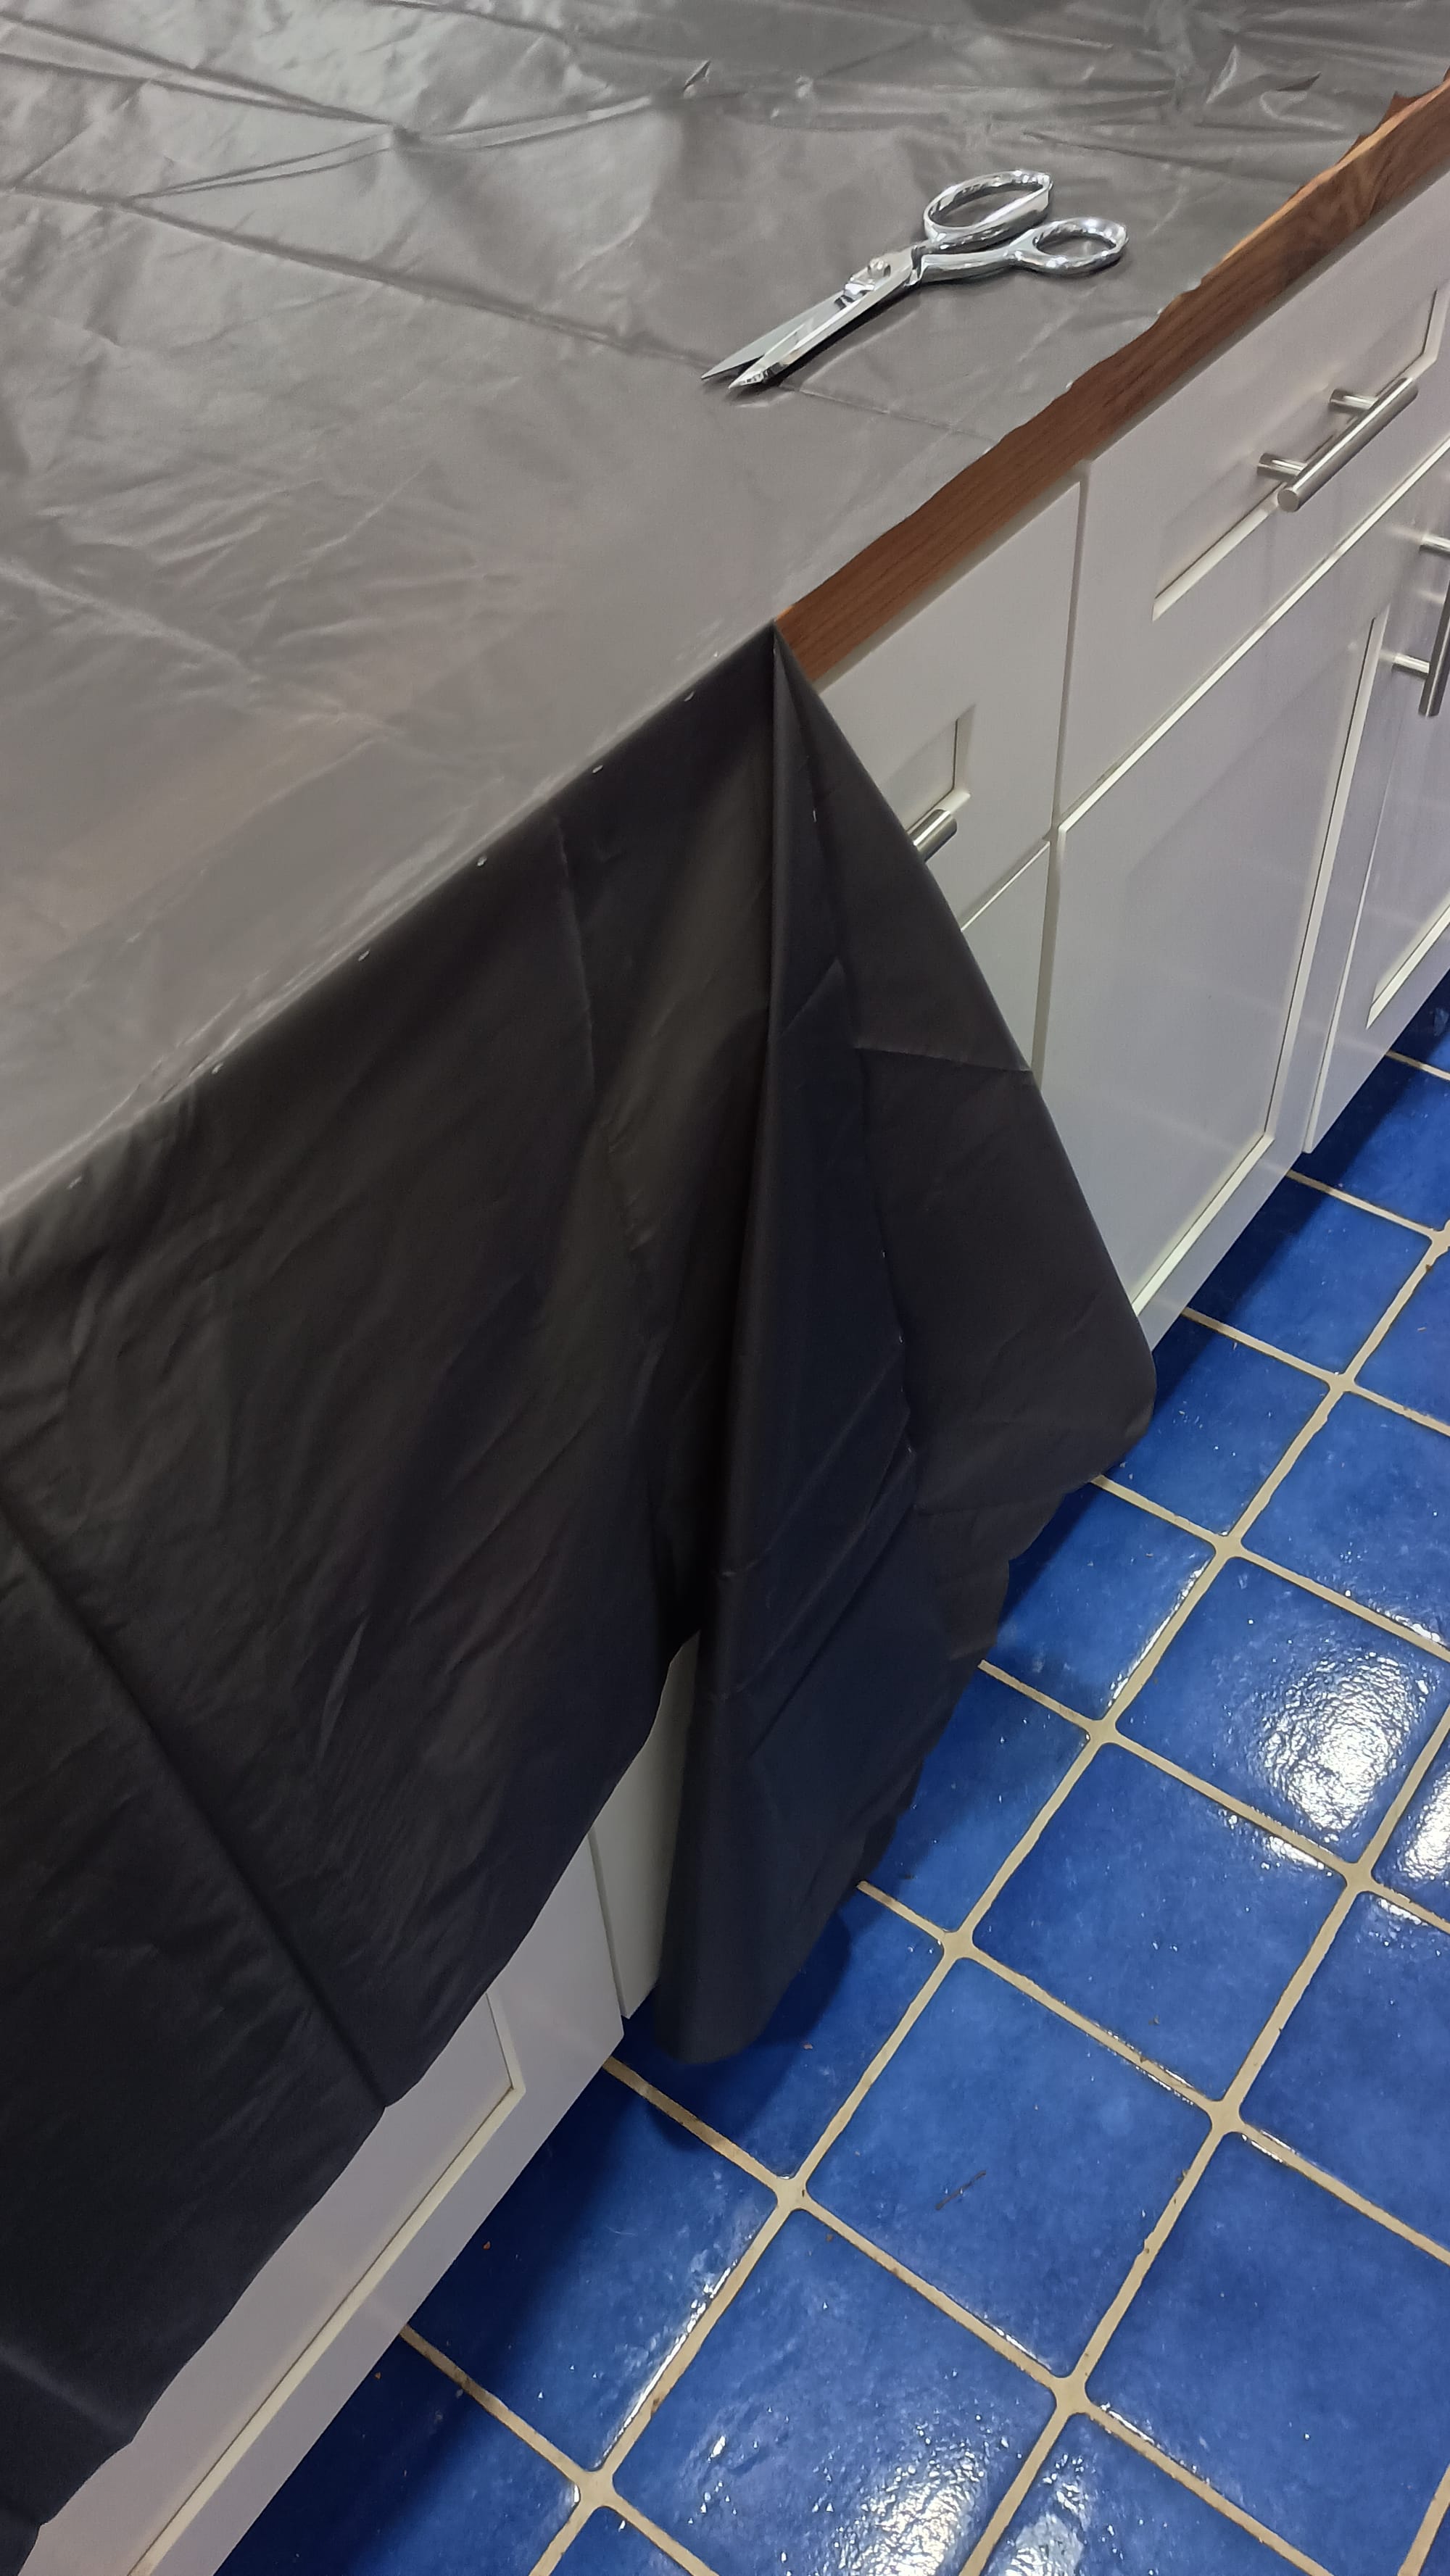
The material I used for this project is 0.93 ounce per square yard Membrane SilPoly from Ripstop by the Roll. This is a pretty durable and inexpensive material ($8.00/yard when I purchased, now up to $9.25/yard with inflation). The only problem with this material is that it is VERY slippery. In several of the pictures below you will see items placed on the fabric. These items were weights to keep it from sliding off of the table.
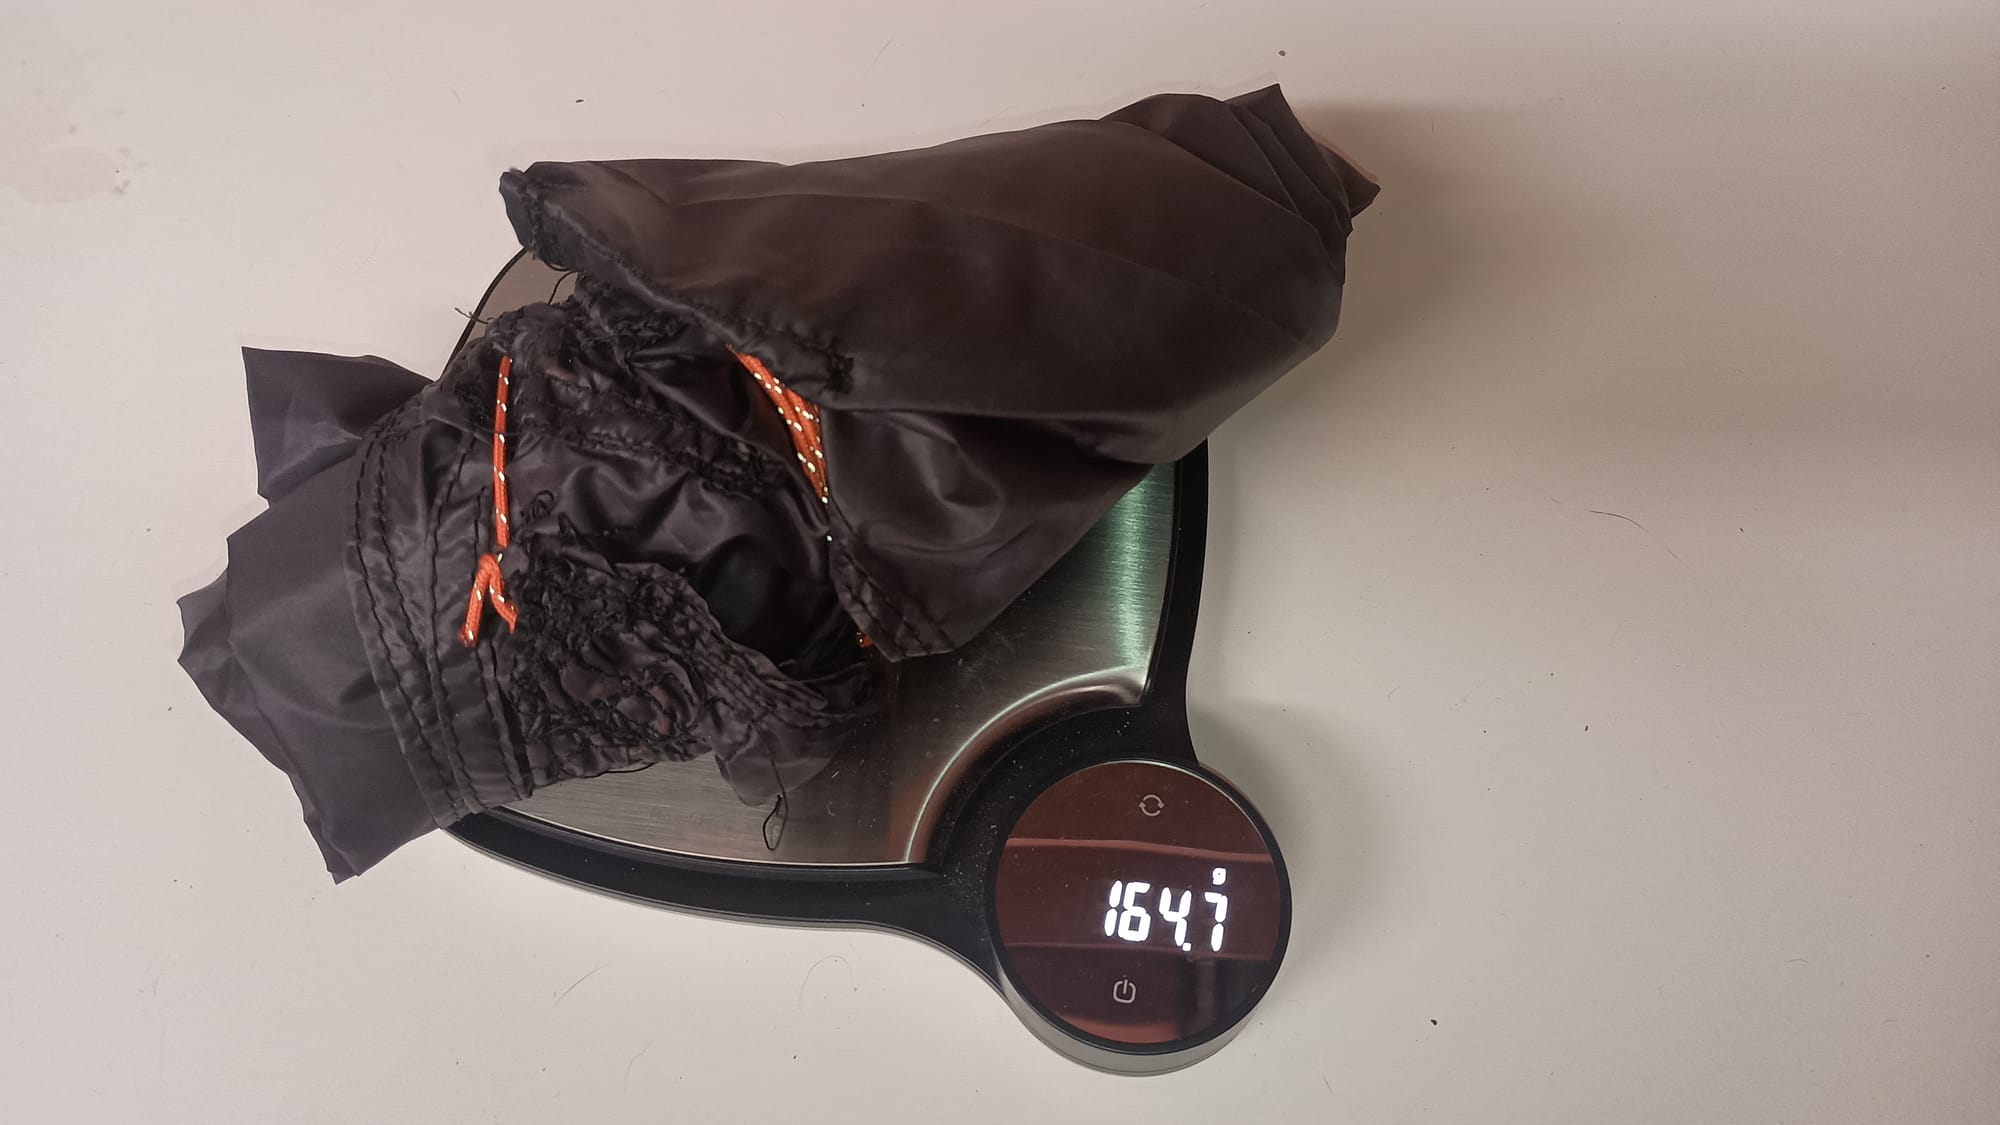
- I should note that this is not an MYOG project to save money or weight, as the off-the-shelf footprint from Durston Gear is both cheaper ($48 vs $55) and lighter (146 grams vs. 164) than this will end up being. However, the Durston footprint is a different shape than this will be. The Durston footprint is trapezoidal shaped to cover only the bottom of the tent inner. It does not provide coverage for the vestibules, and it does not serve as a template for setting the tent up.
Making the footprint.
Cut list: 2 pieces of fabric 96"x40". This will require 6 yards of fabric, cut in half, to yield 2 strips 108" long. Each of these strips then needs to cut down to 40" wide. Conveniently the top of my kitchen island is exactly 40" wide, which made measuring and cutting my pieces easy.
Once both pieces are cut, the first step is to join the two long-side cut edges (so that the selvage on both pieces is the outside edges.) I joined them with a French seam.
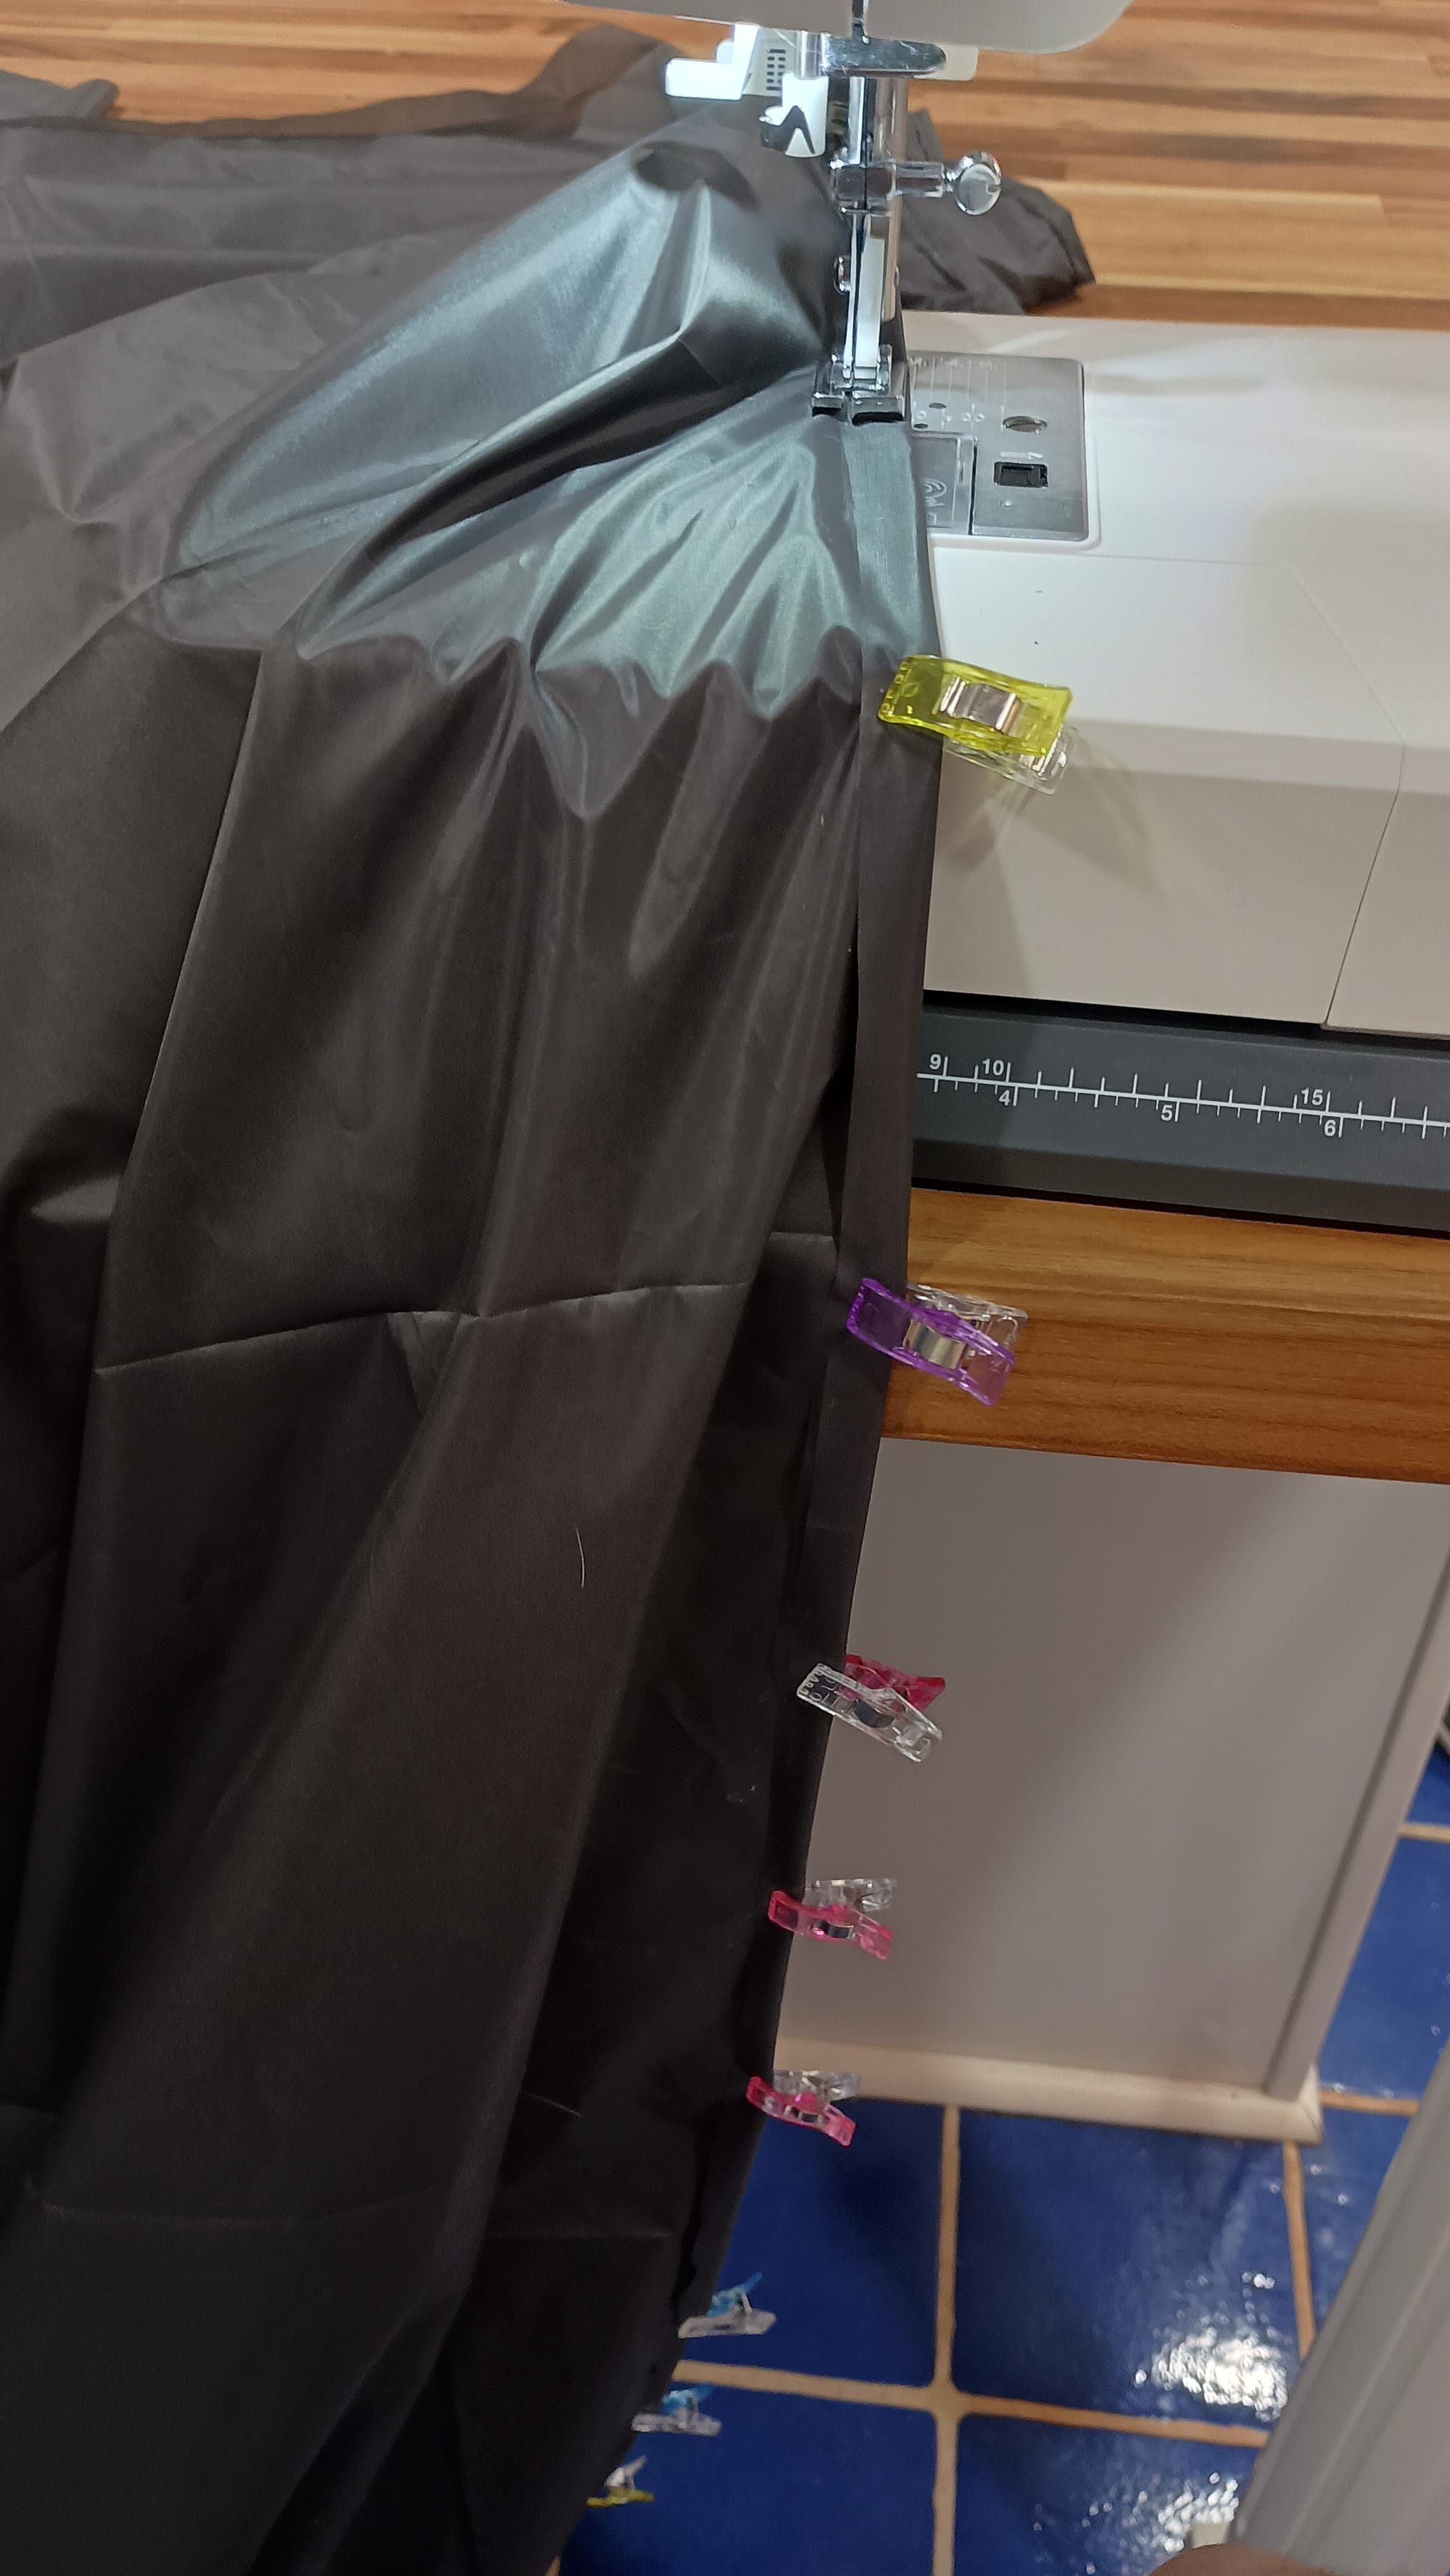
After the first pass on the sewing machine, I opened the item up, rolled up one side, and clipped it so that it could fit through the arch of the sewing machine, then ran the second and third lines of stitching on the French seam. Unfortunately, I didn't get pics of this.
Next I used a big T-square and my table to mark and cut to length the 96" dimension.
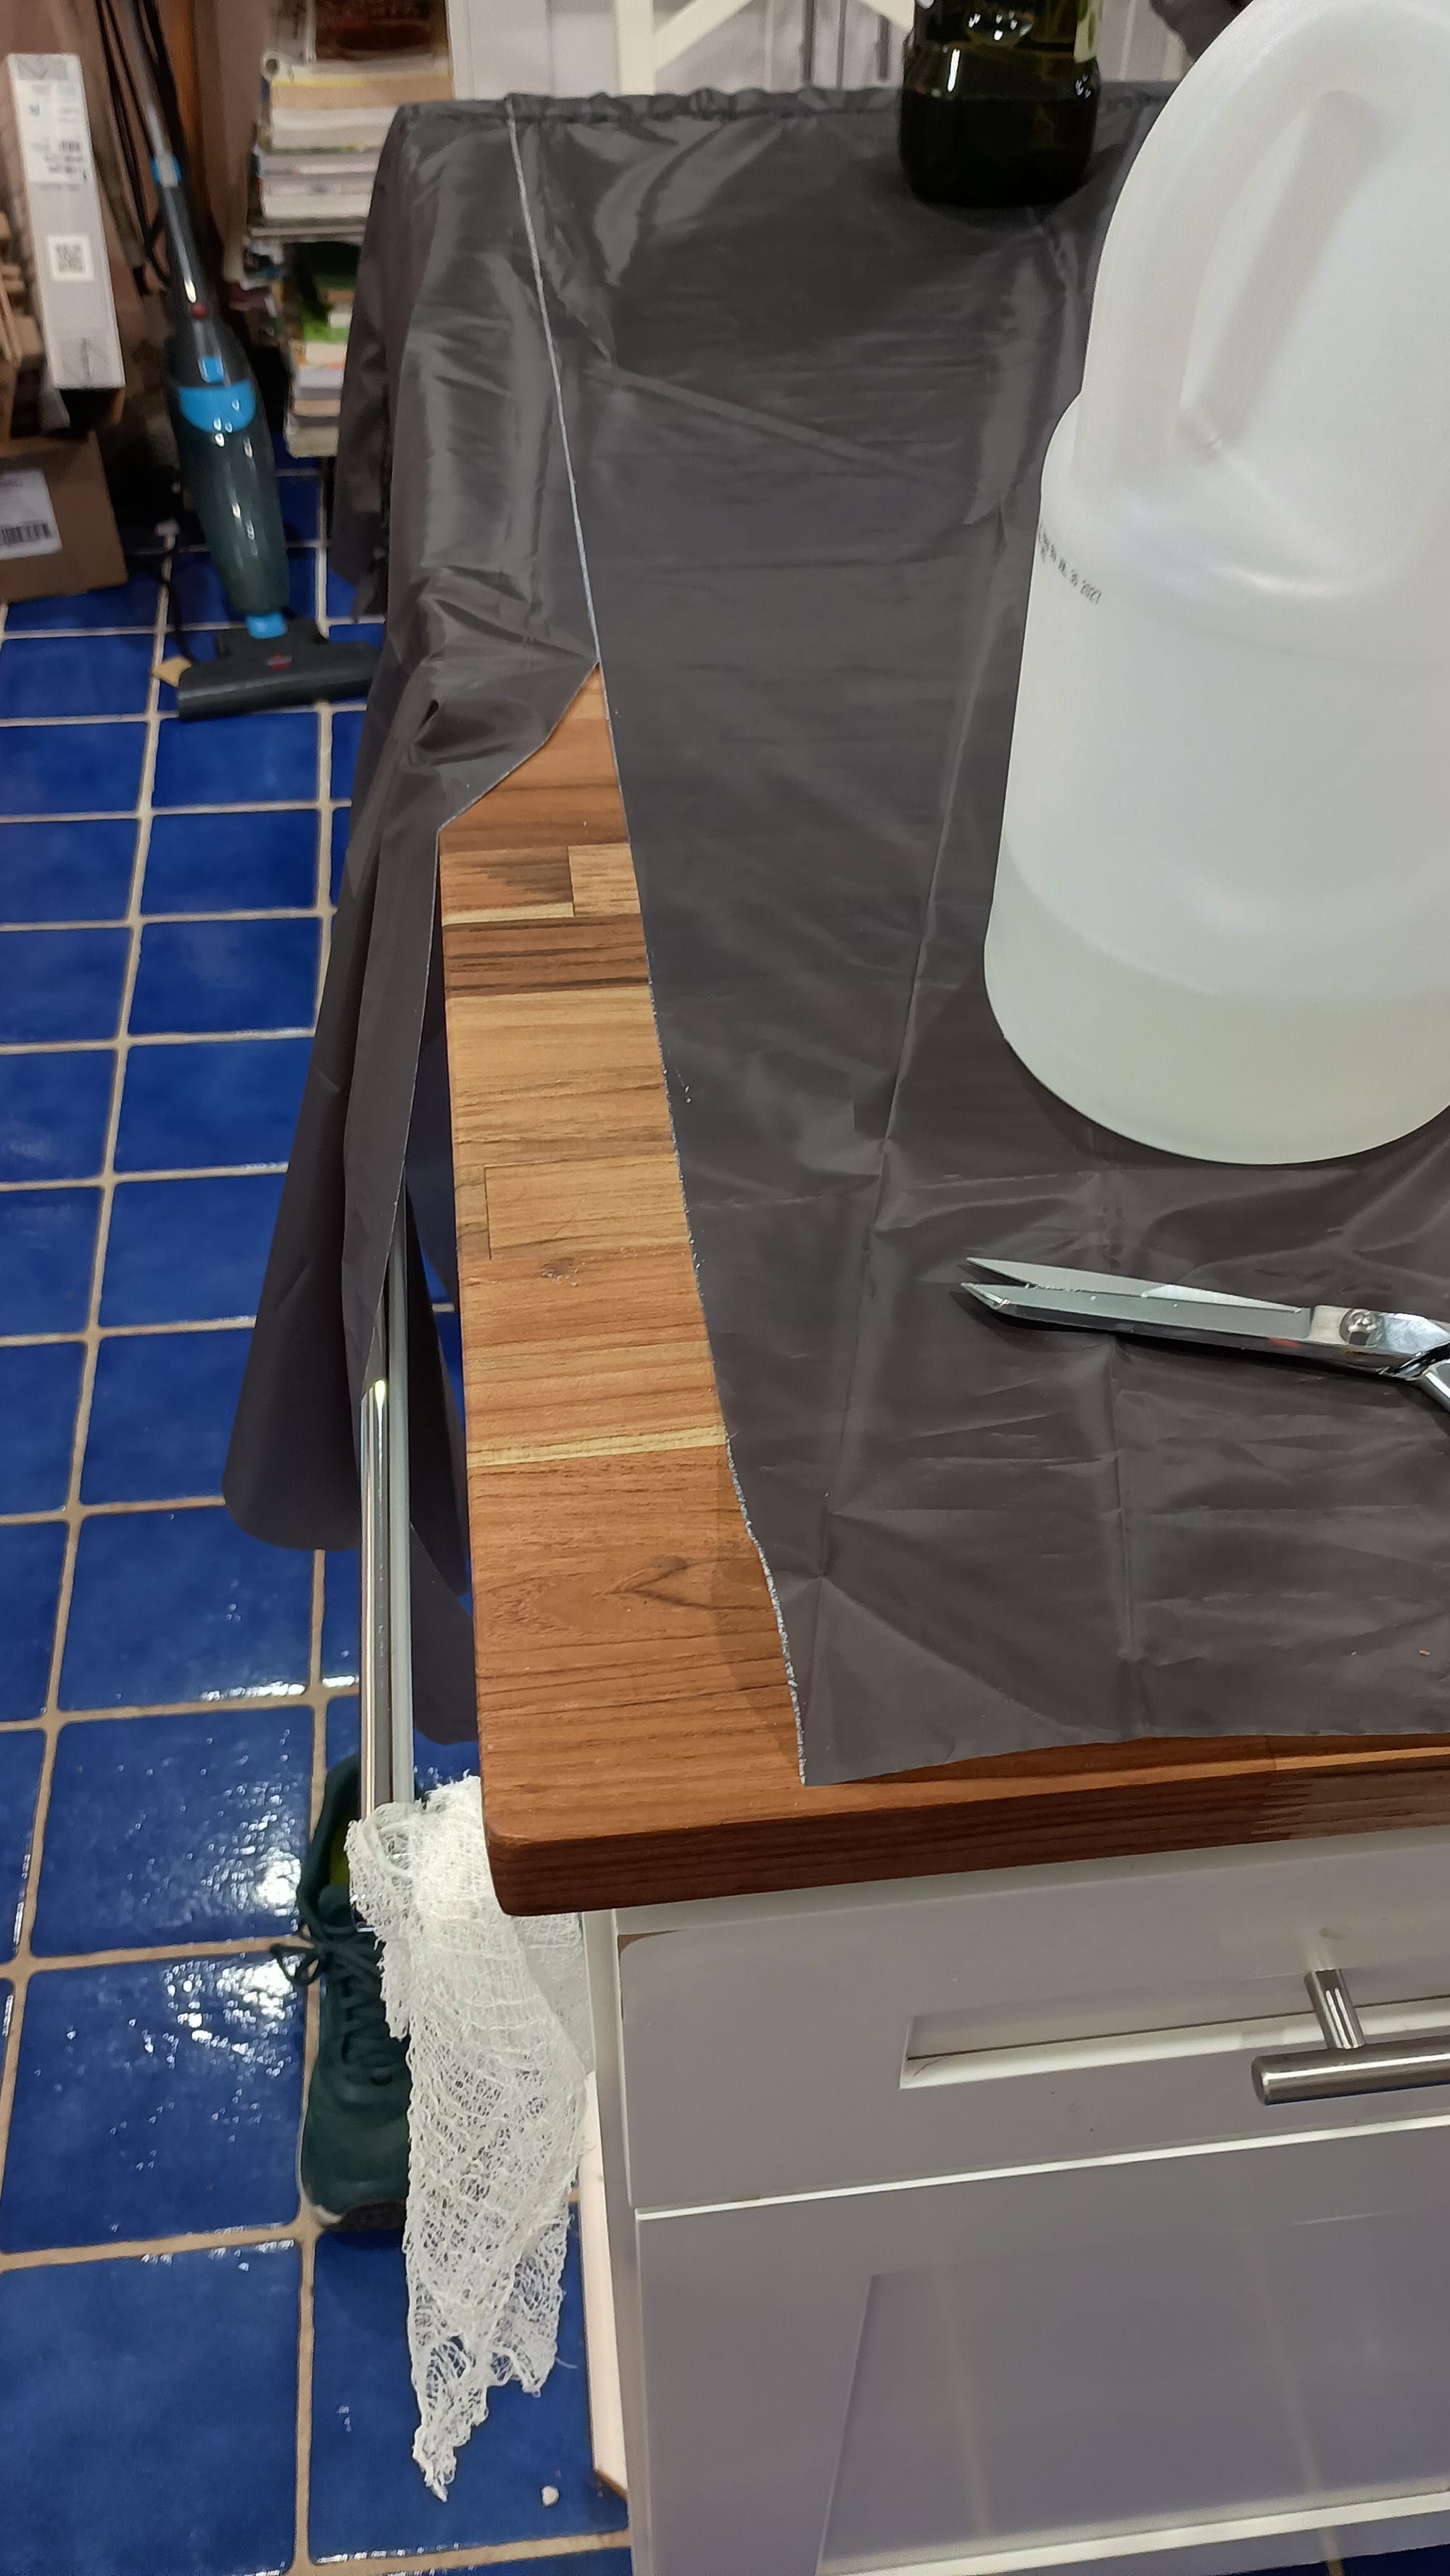
I then roll-hemmed each of the short sides.
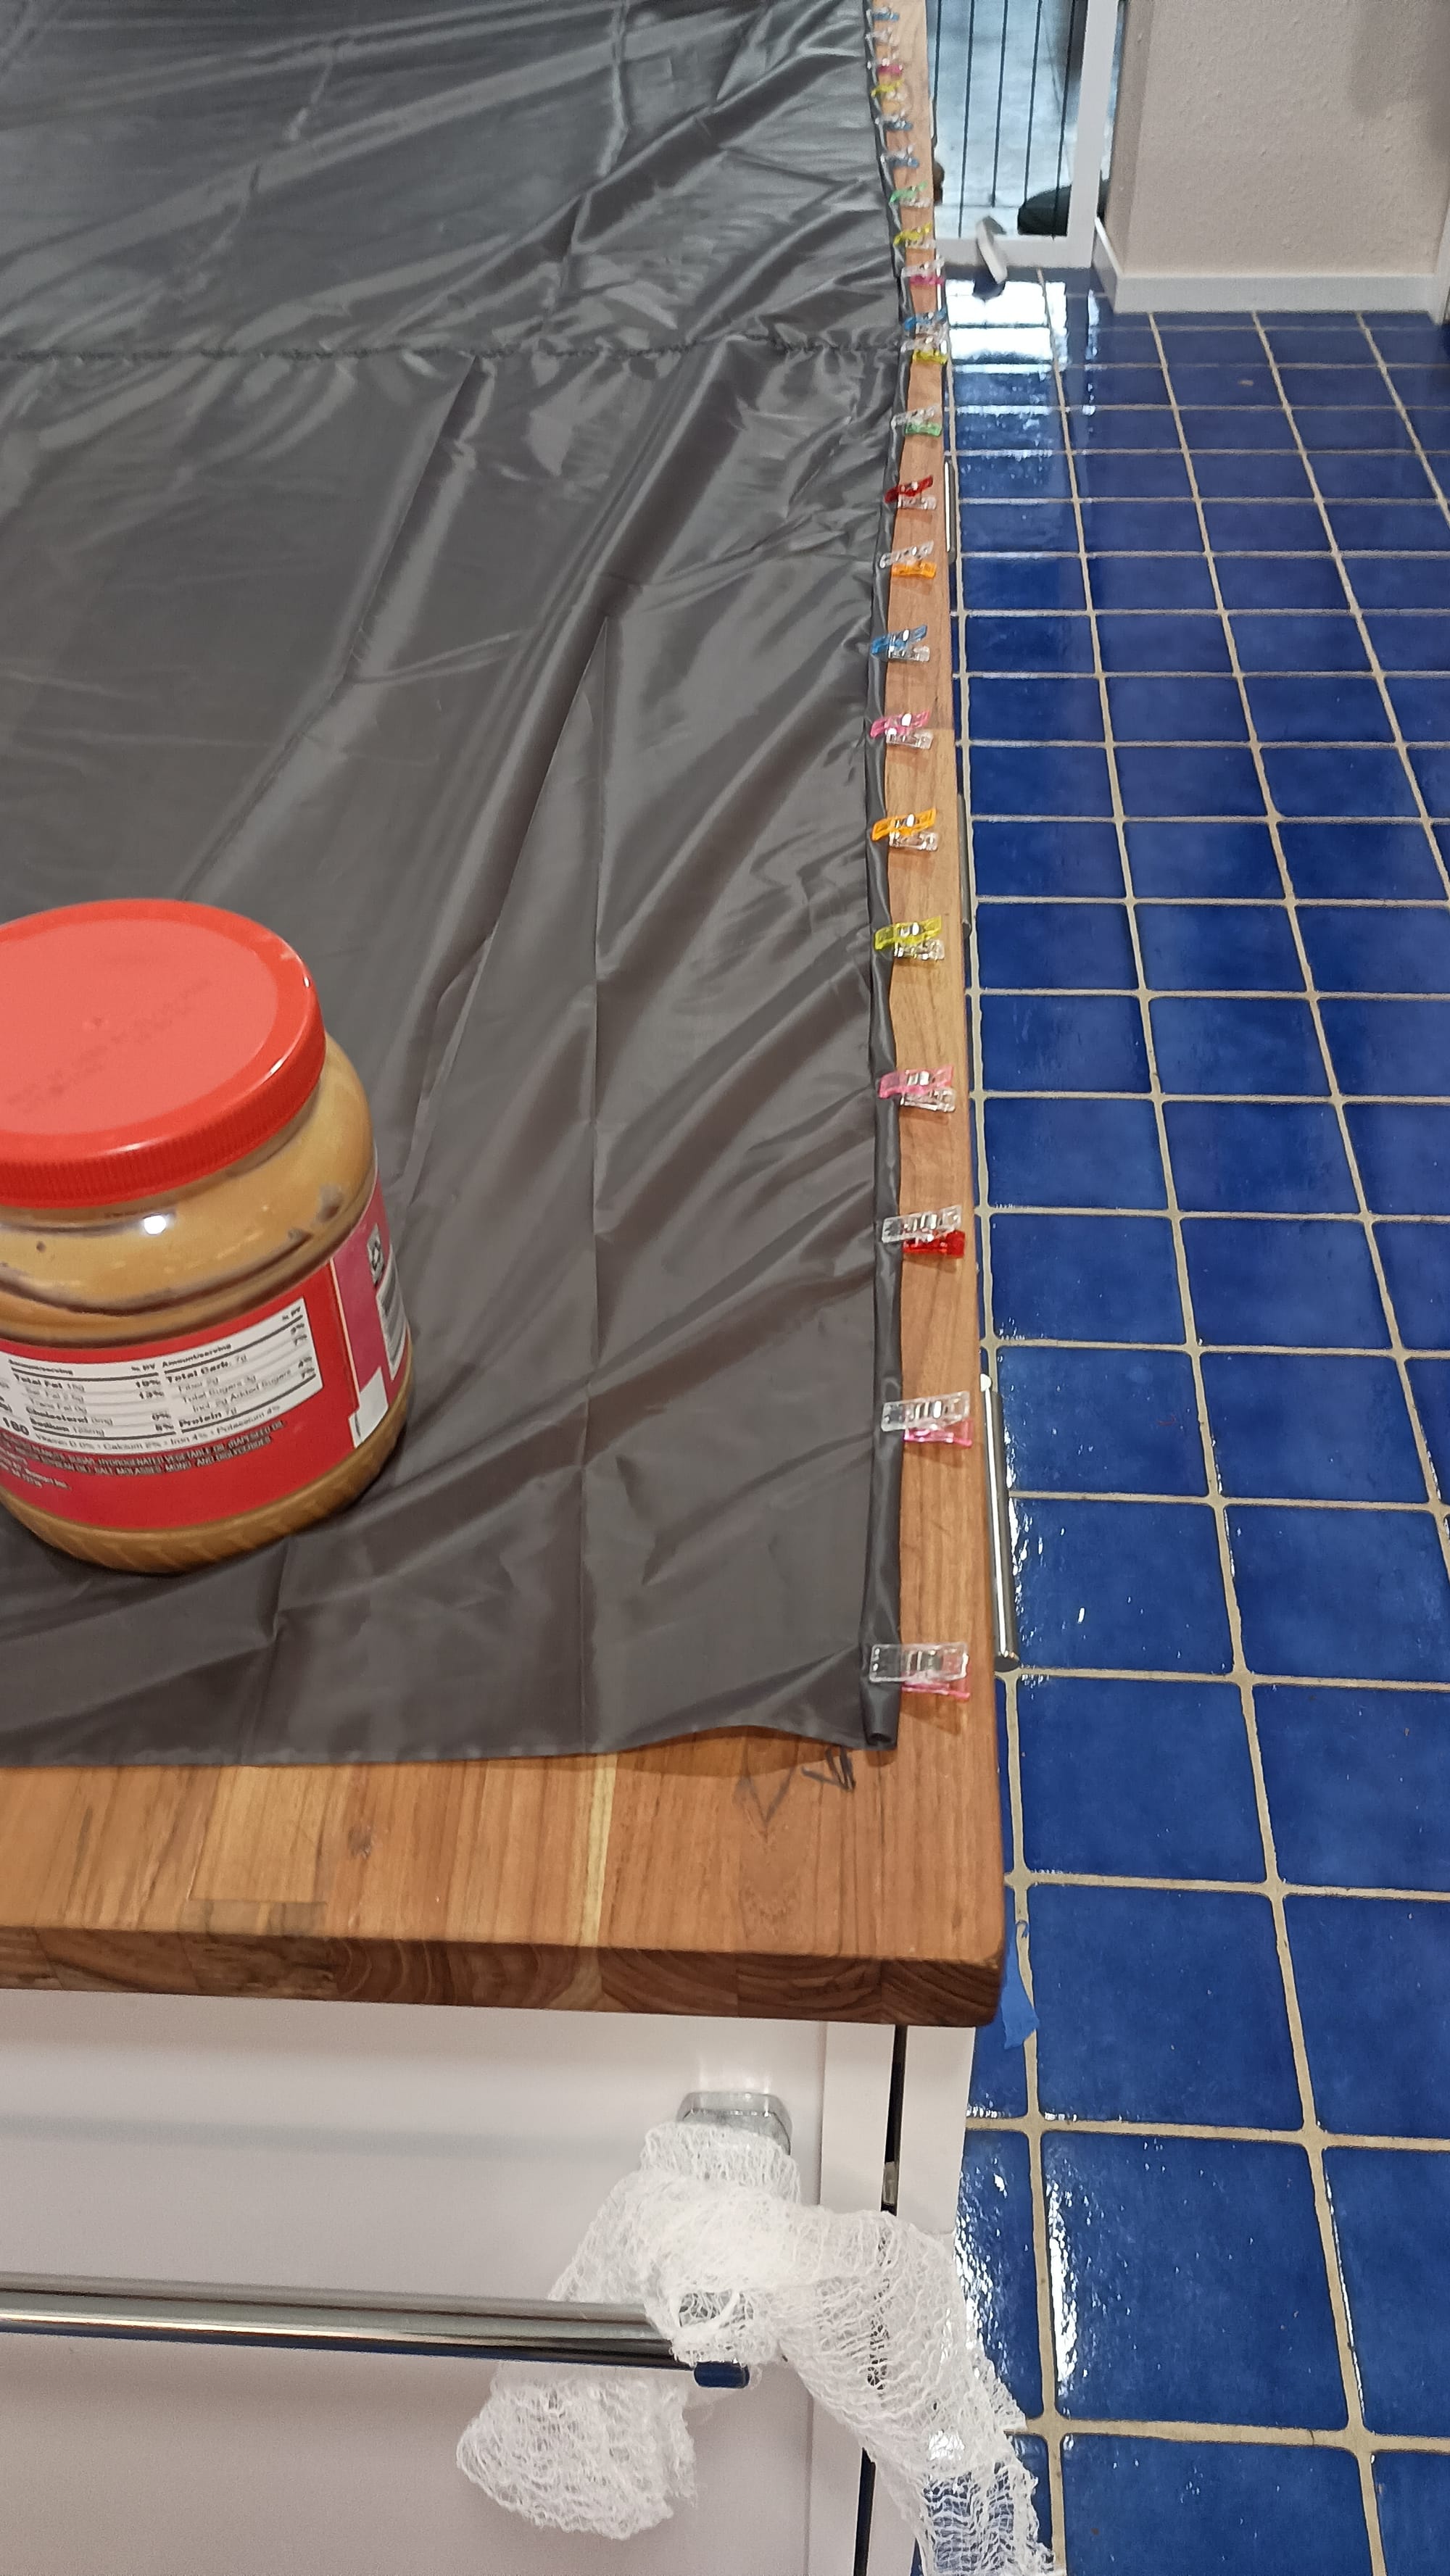
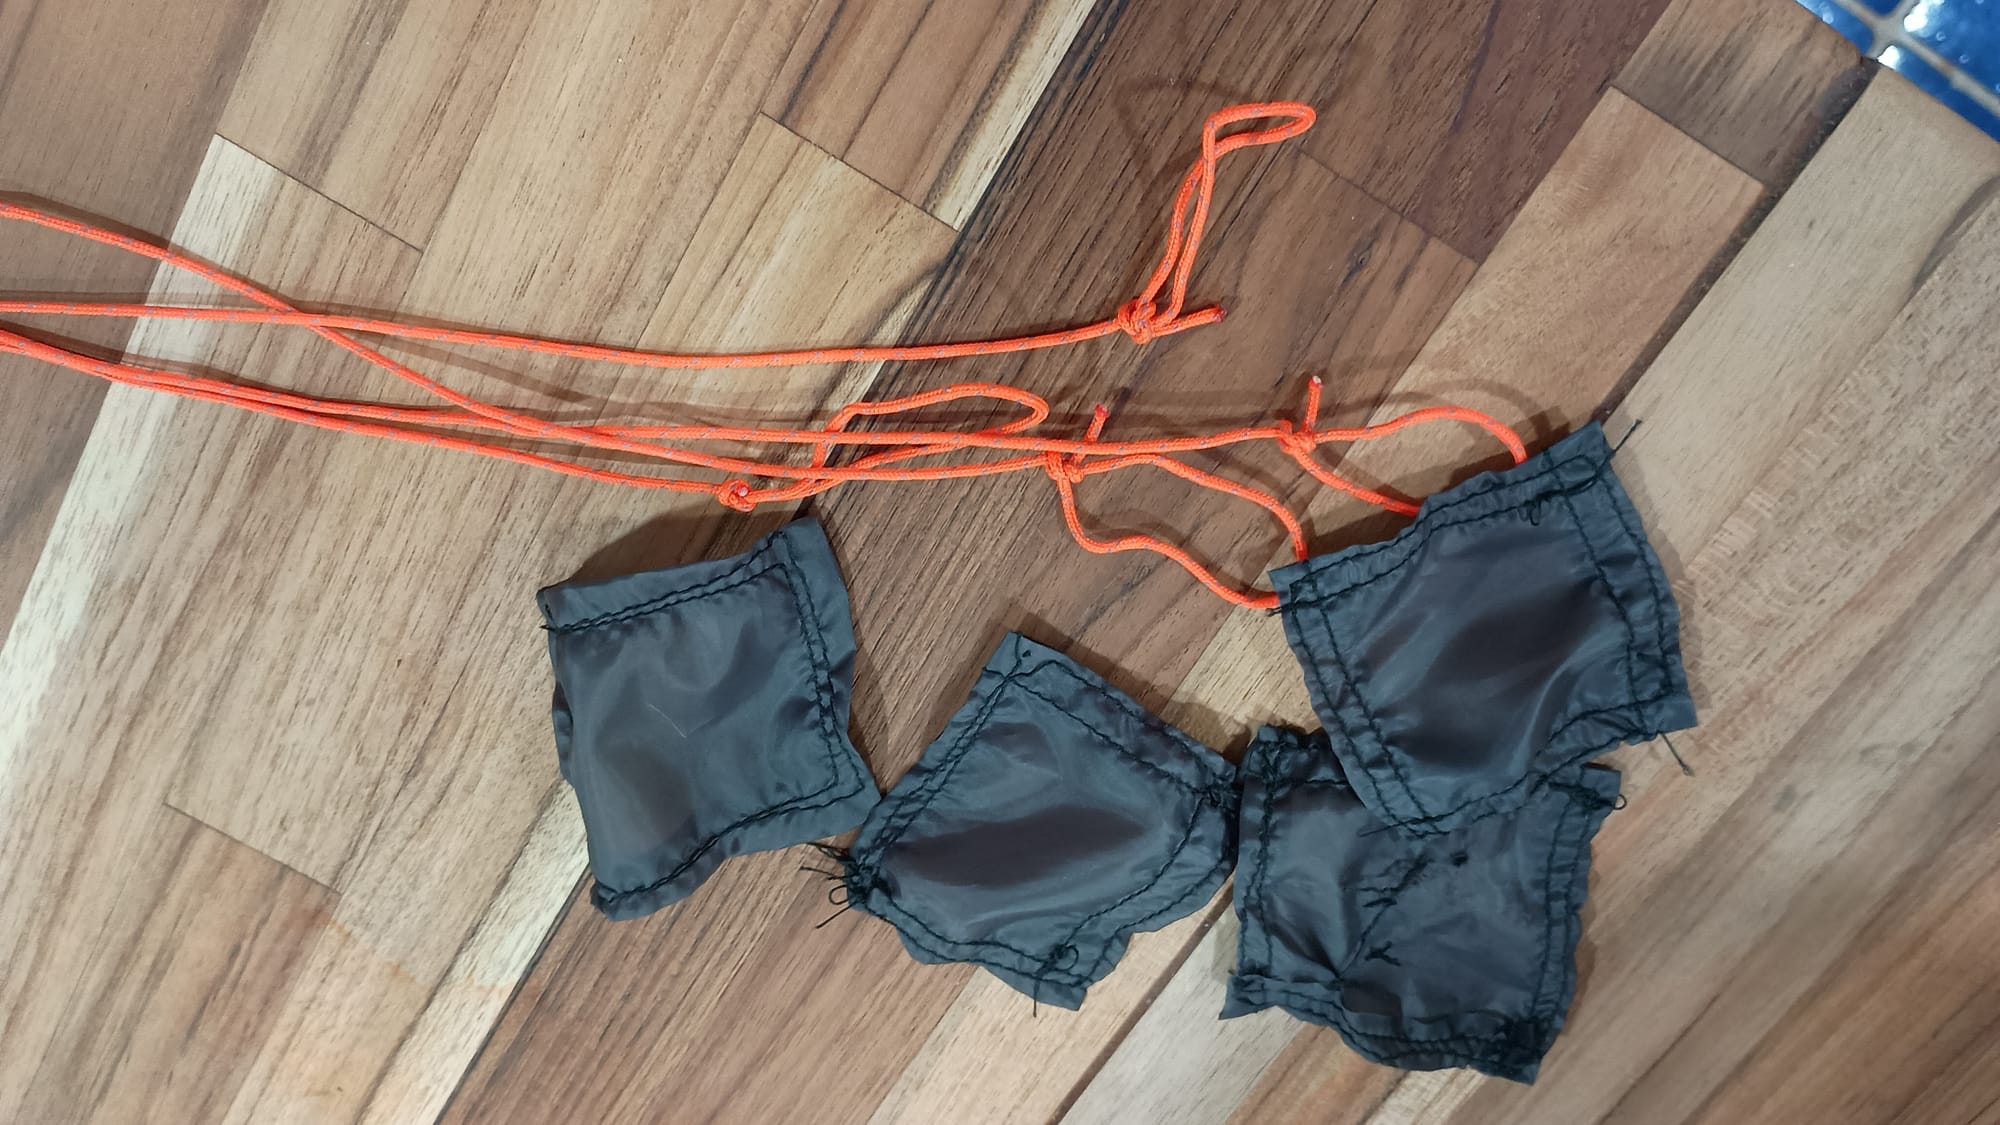
Once hems have been rolled on both of the short sides, the only thing that remains is to install corner reinforcements and tiedown cords. To do this, I started by cutting 4 squares out of scrap material approximately 3" on a side. I then folded each edge over and sewed it down to hem it. (A double roll isn't necessary for this because the edges will be captured inside the groundsheet when finished.) These squares will end up approximately 2" on a side. I also tied bowline loops in 4 lengths of 1.8mm cord, approximately 16-18" long each.
Next I pinned a corner patch in the corner of the groundsheet and sewed 2 and a half sides, with the side and a half that are not sewn to include the tarp corner. Make sure that the raw edges of the square is on the inside/between the square and the groundsheet.
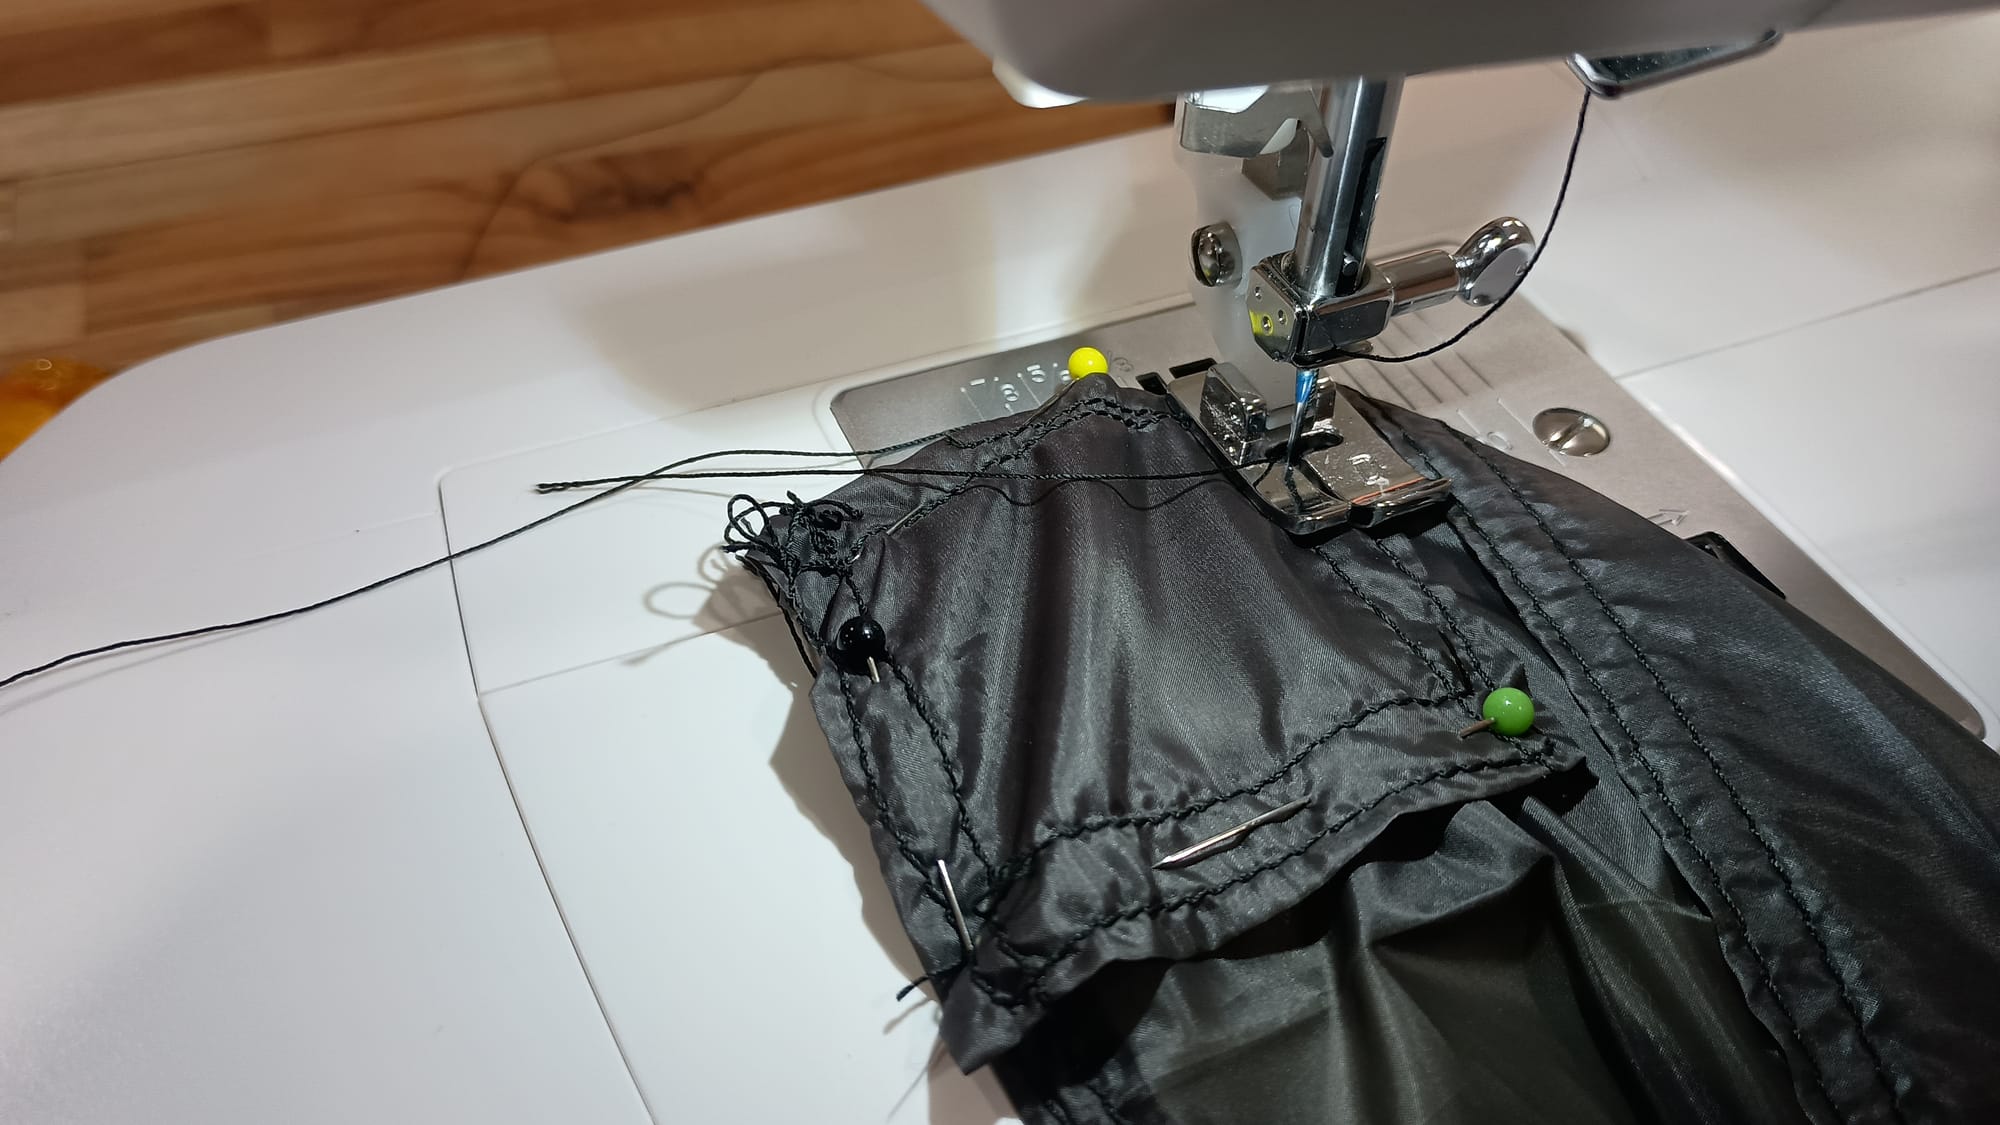
Next I inserted the bowline between the square and the groundsheet, and pinned the loop open.
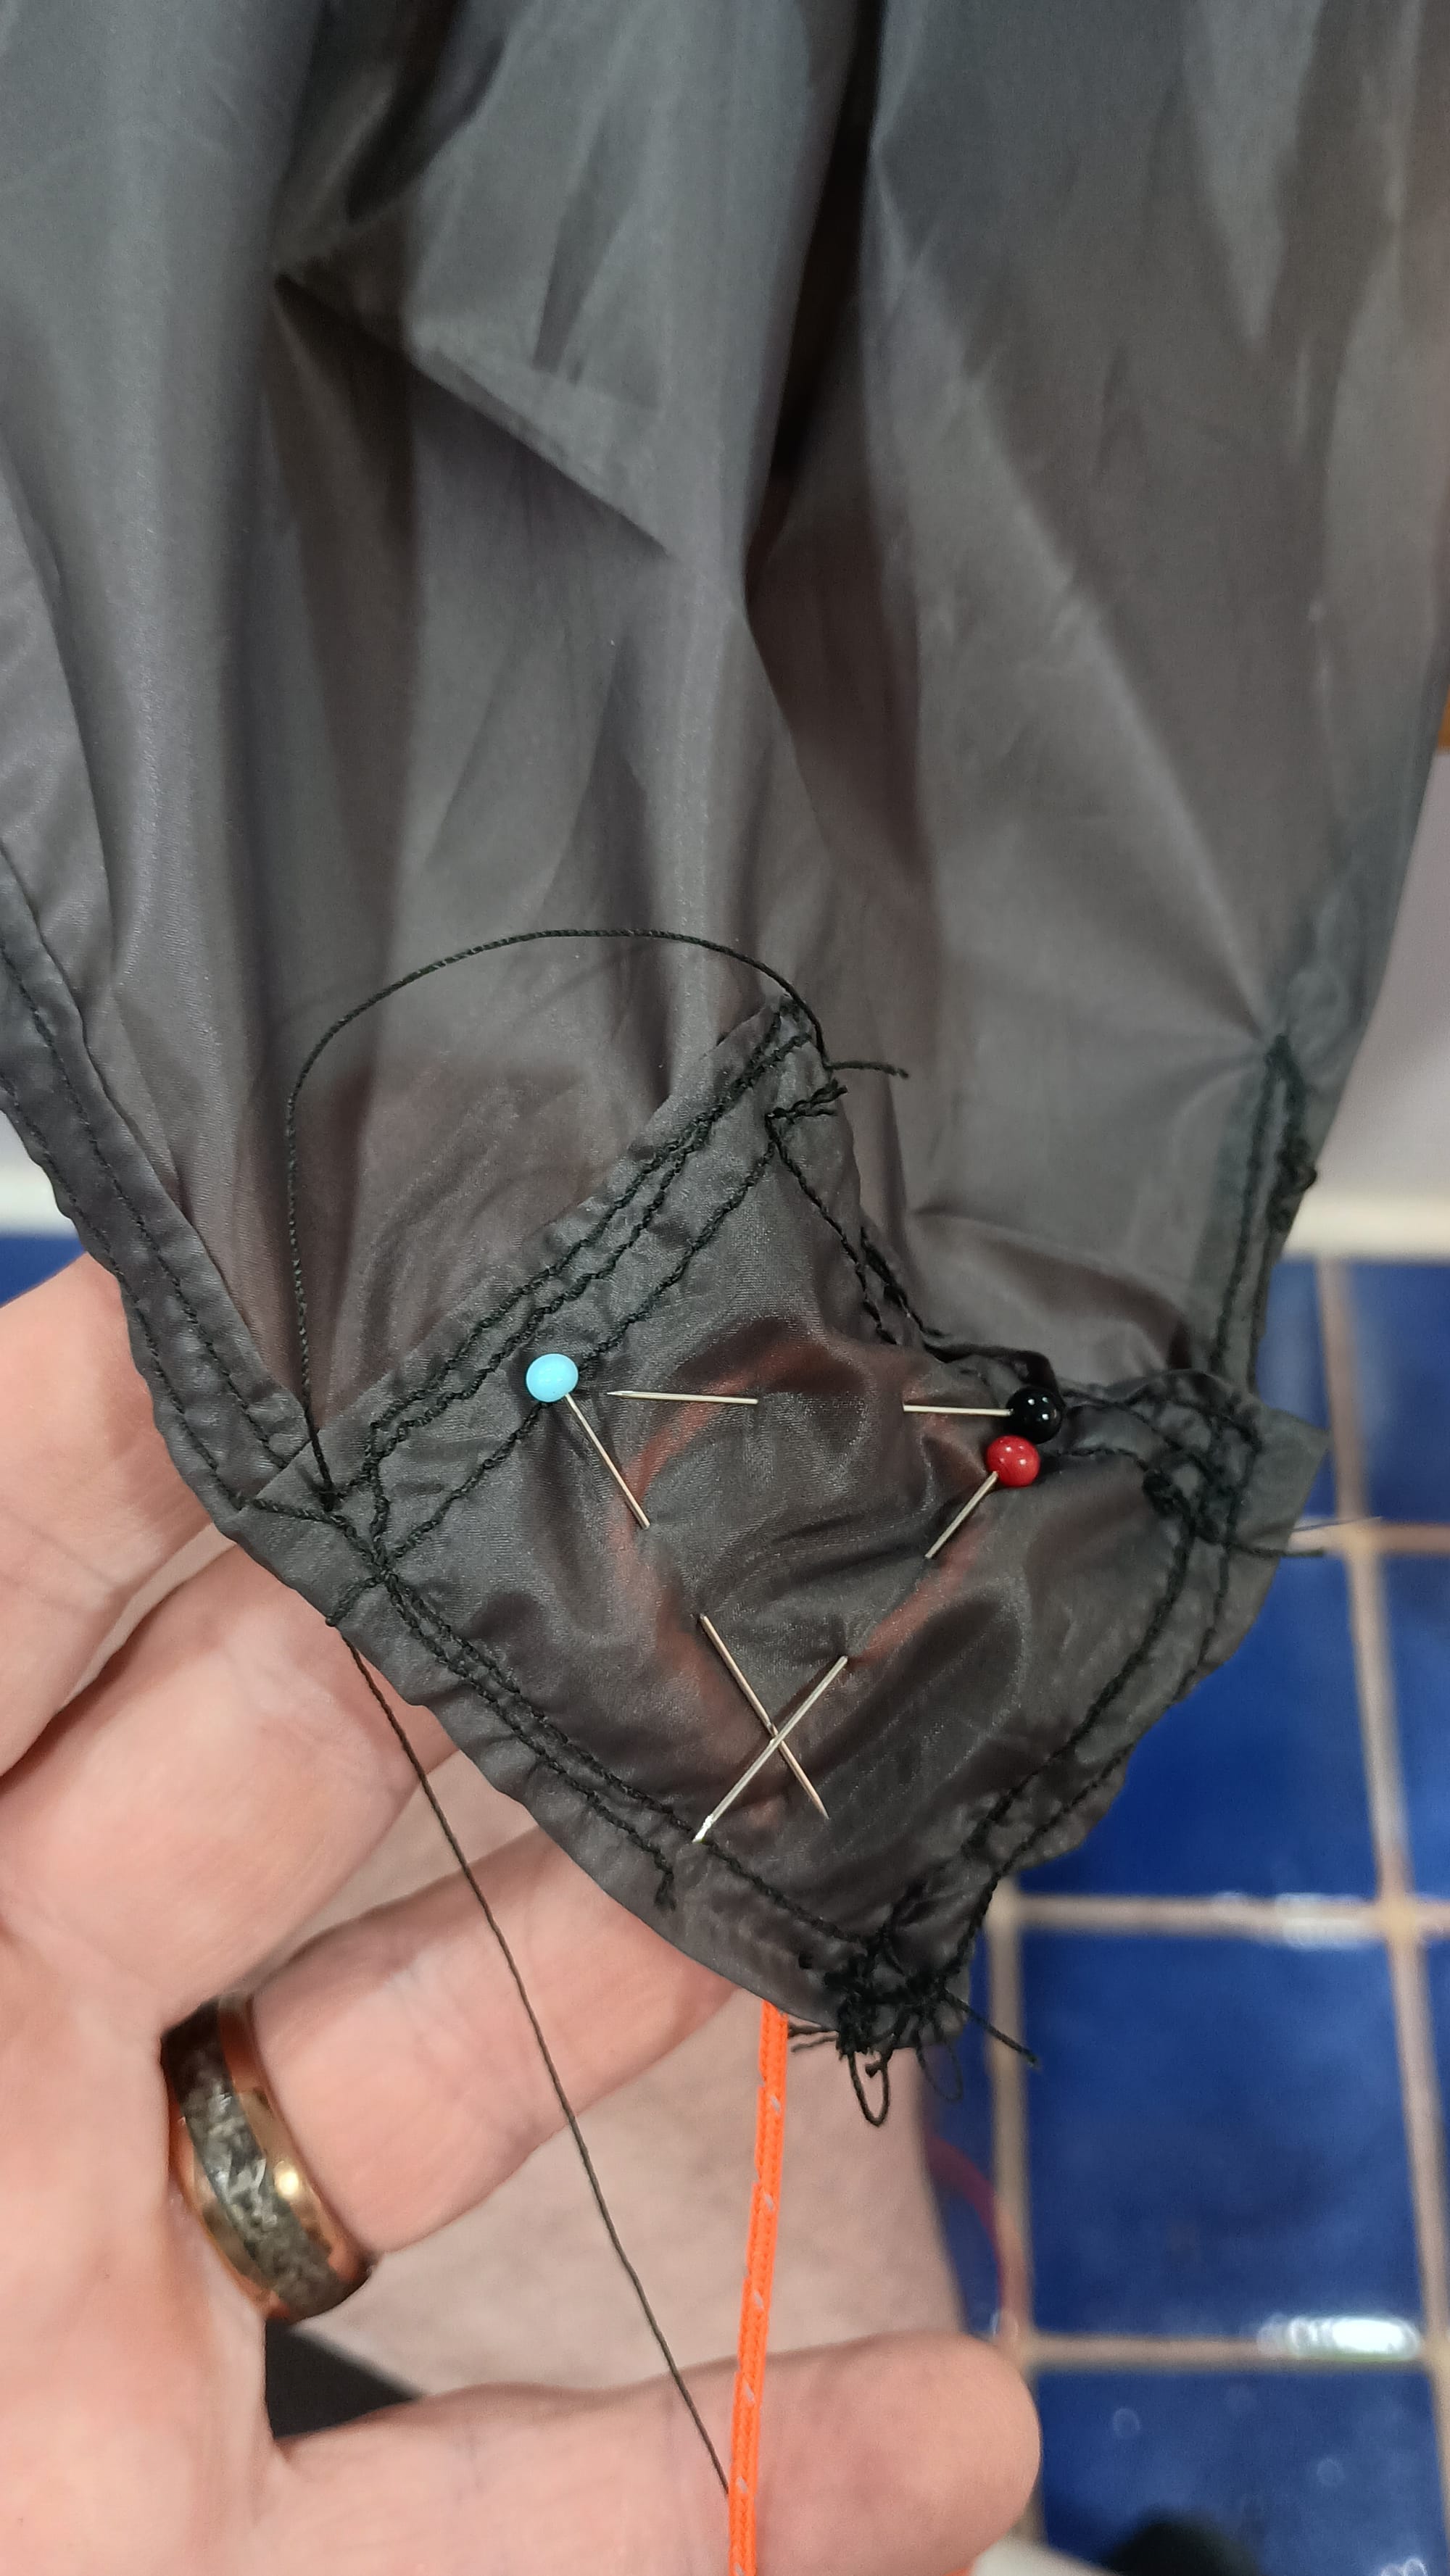
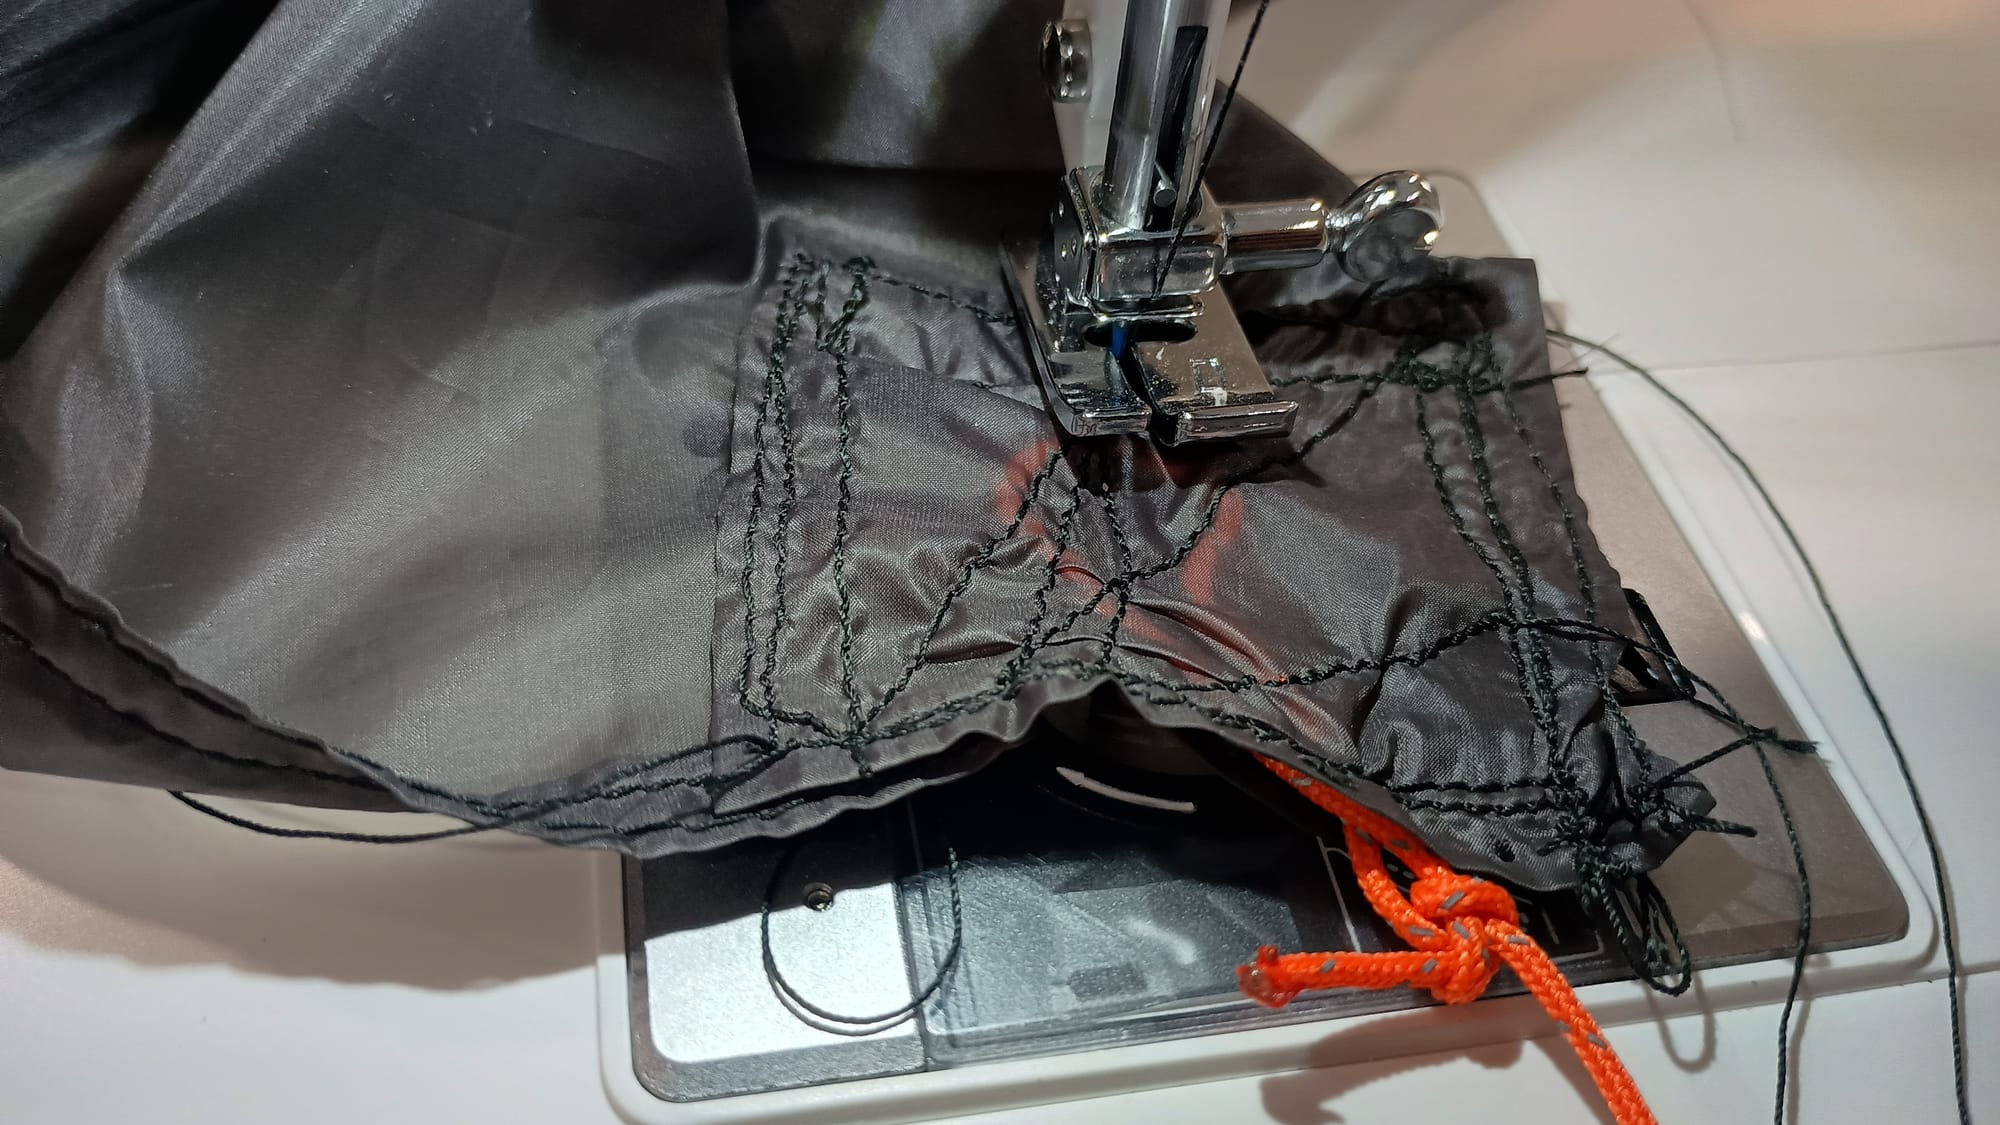
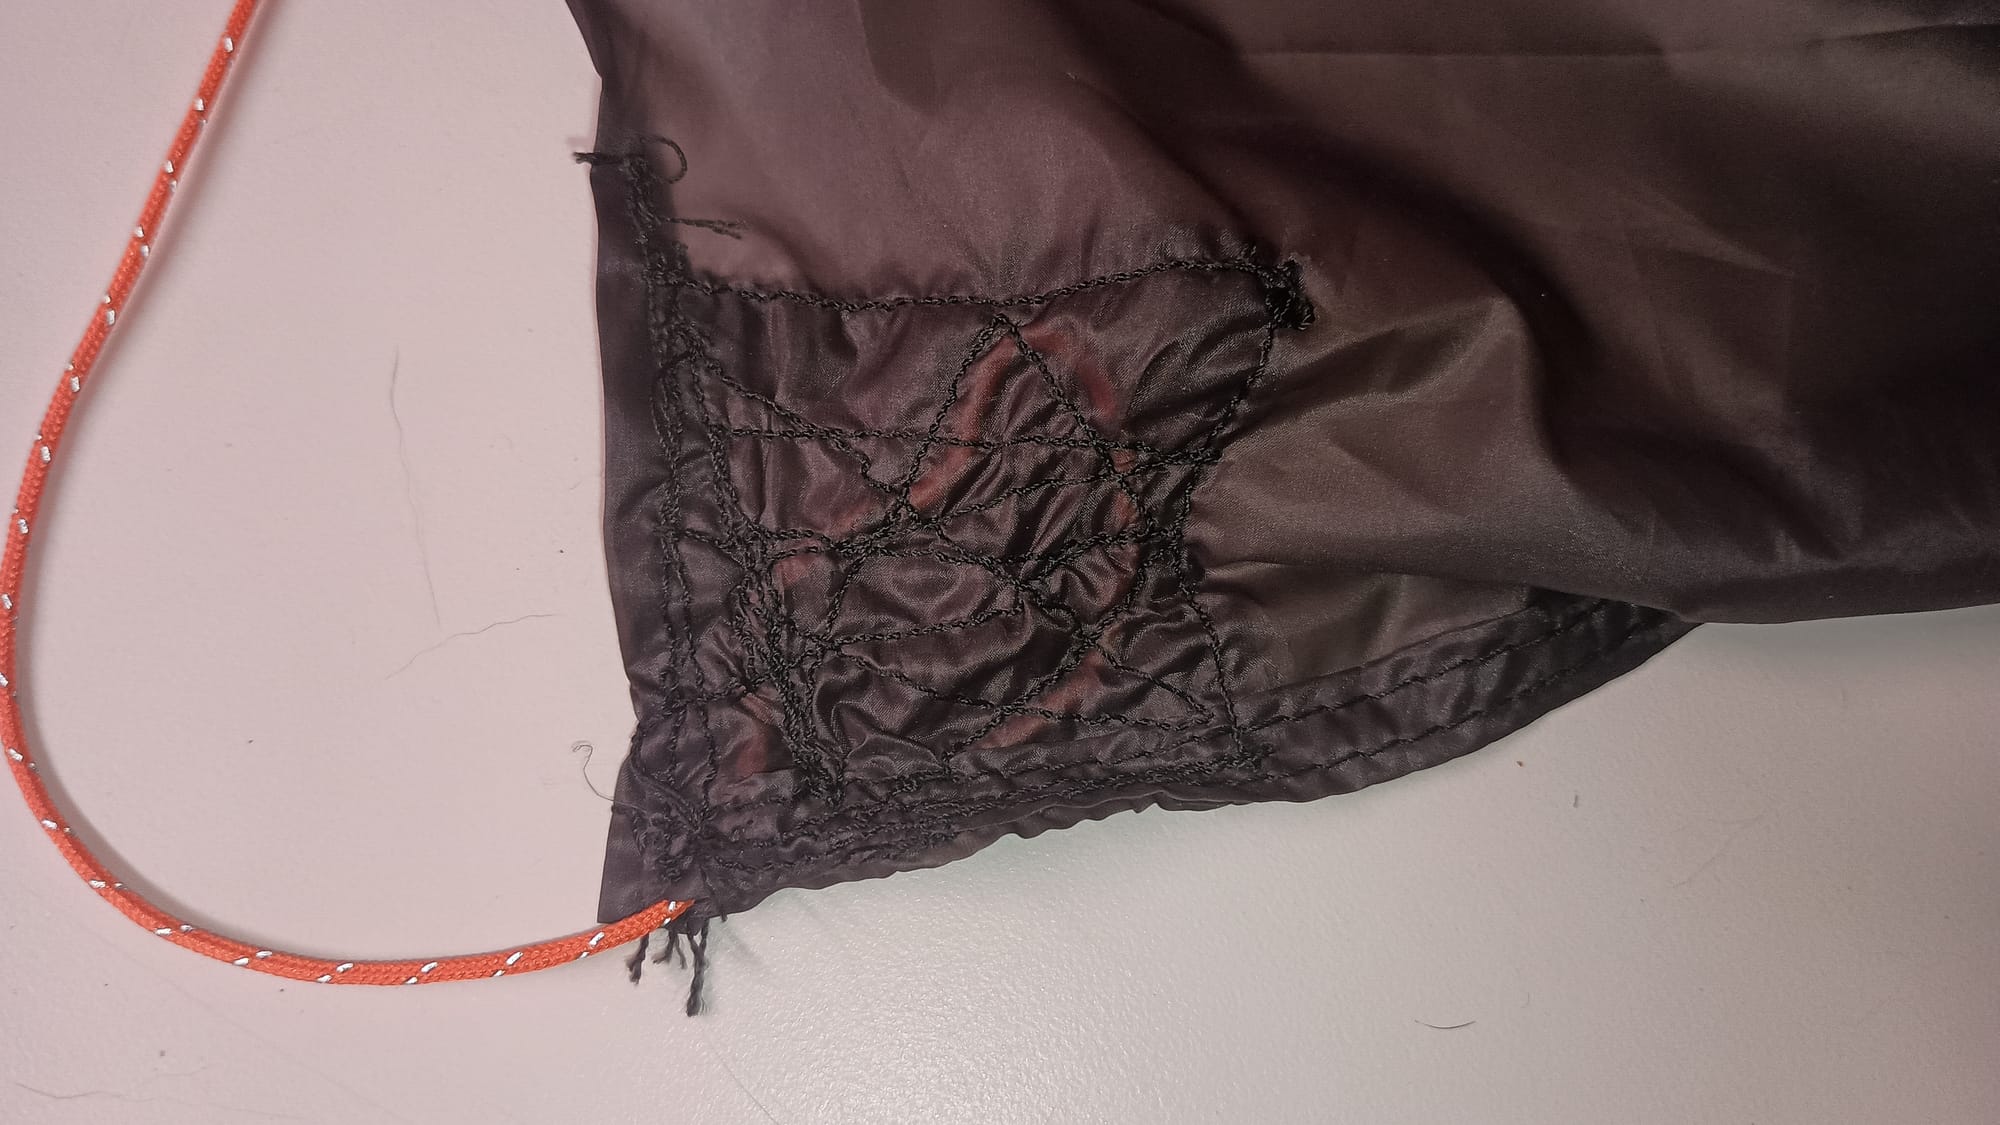
What remains is to sew back and forth over the square multiple times and to close up the remaining 1.5 sides to lock the cord in place. Obviously my work is not pretty. It's functional, and that loop is securely fixed in place. I tucked the knot inside before finishing the outer edges.
Configuring the Footprint
The final step involves tying tautline hitches in the cords, then staking the groundsheet out and setting up the Xmid 2P on top of it as I showed in the video on the 1Pro. If you don't know how to tie a tautline hitch, here's an instructional video.
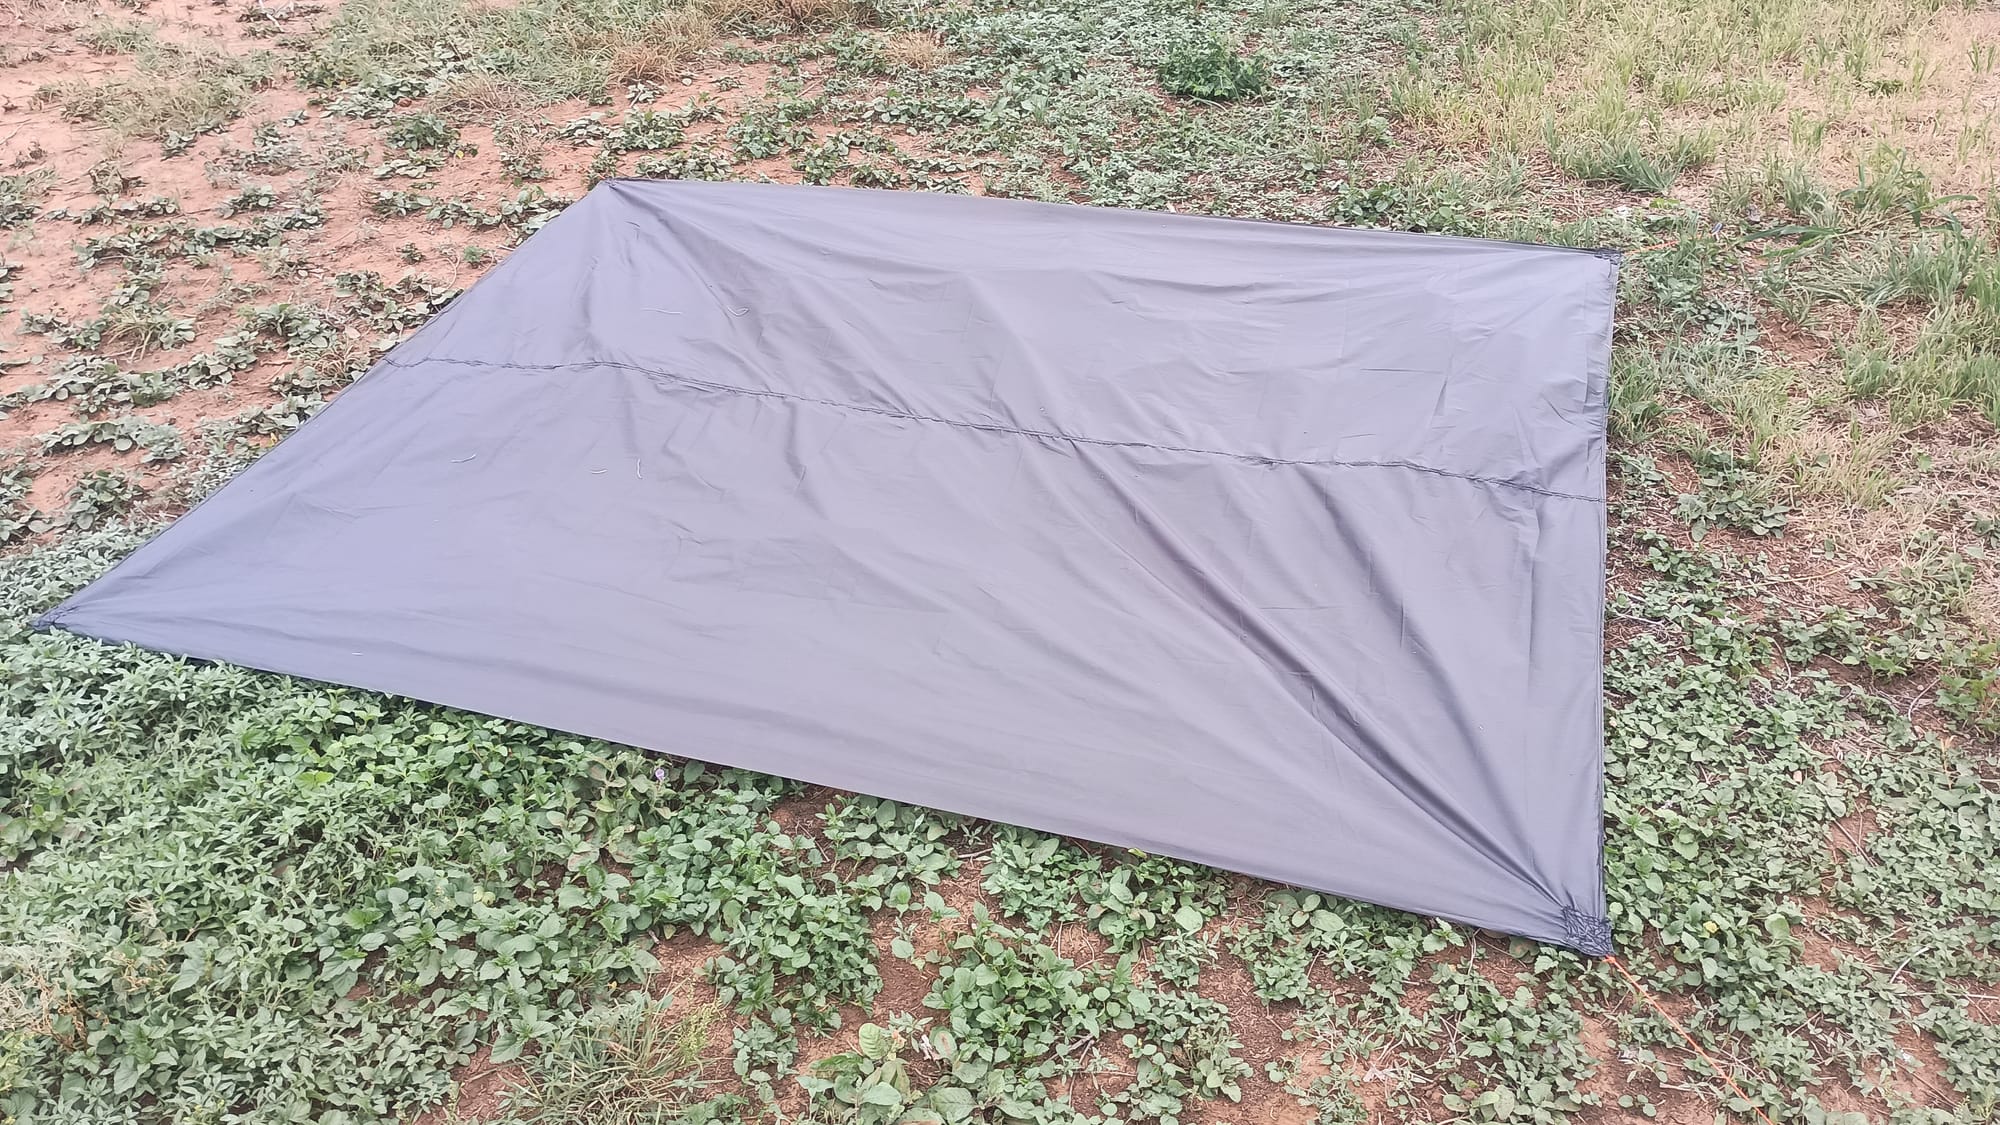
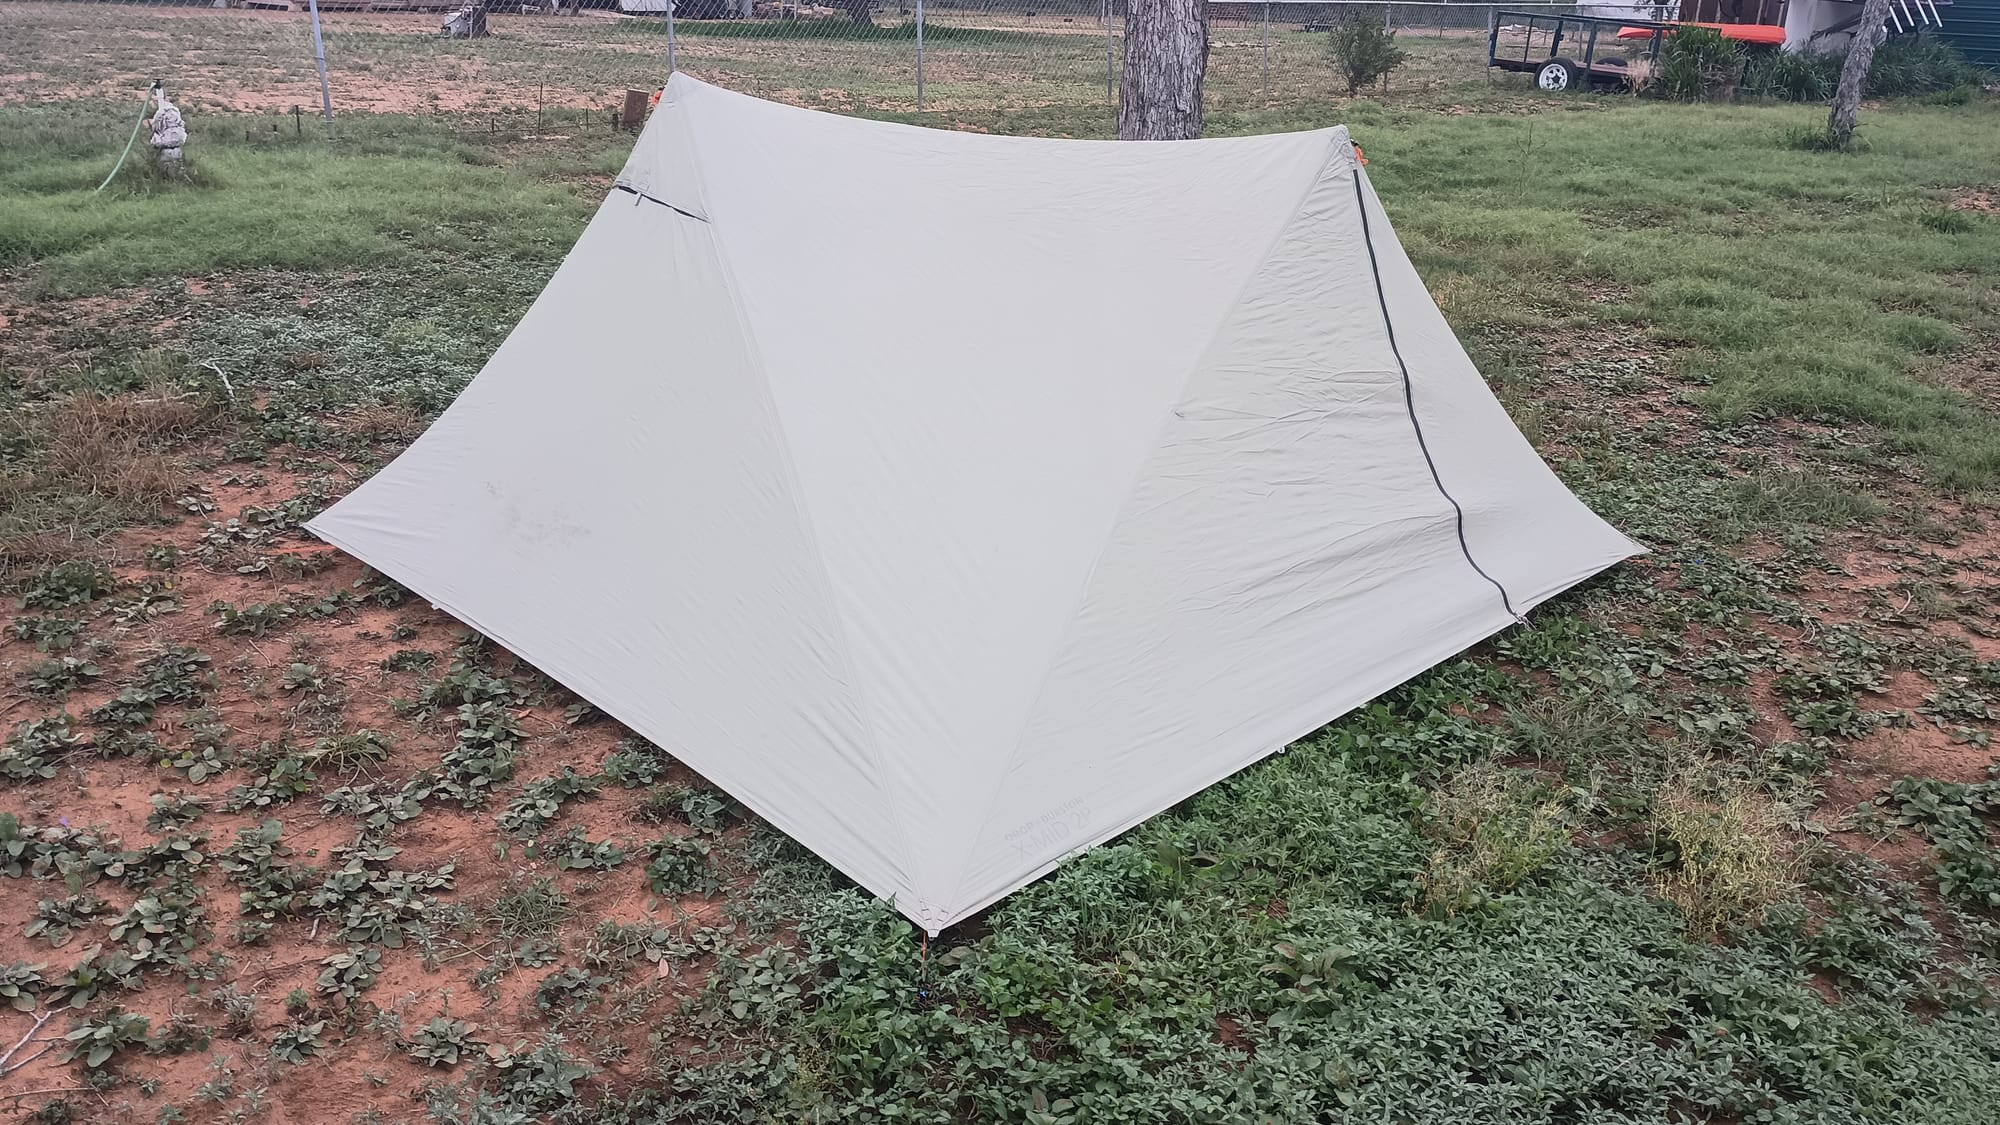
Stake your footprint out with the lines coming off the corners at 45 degrees.
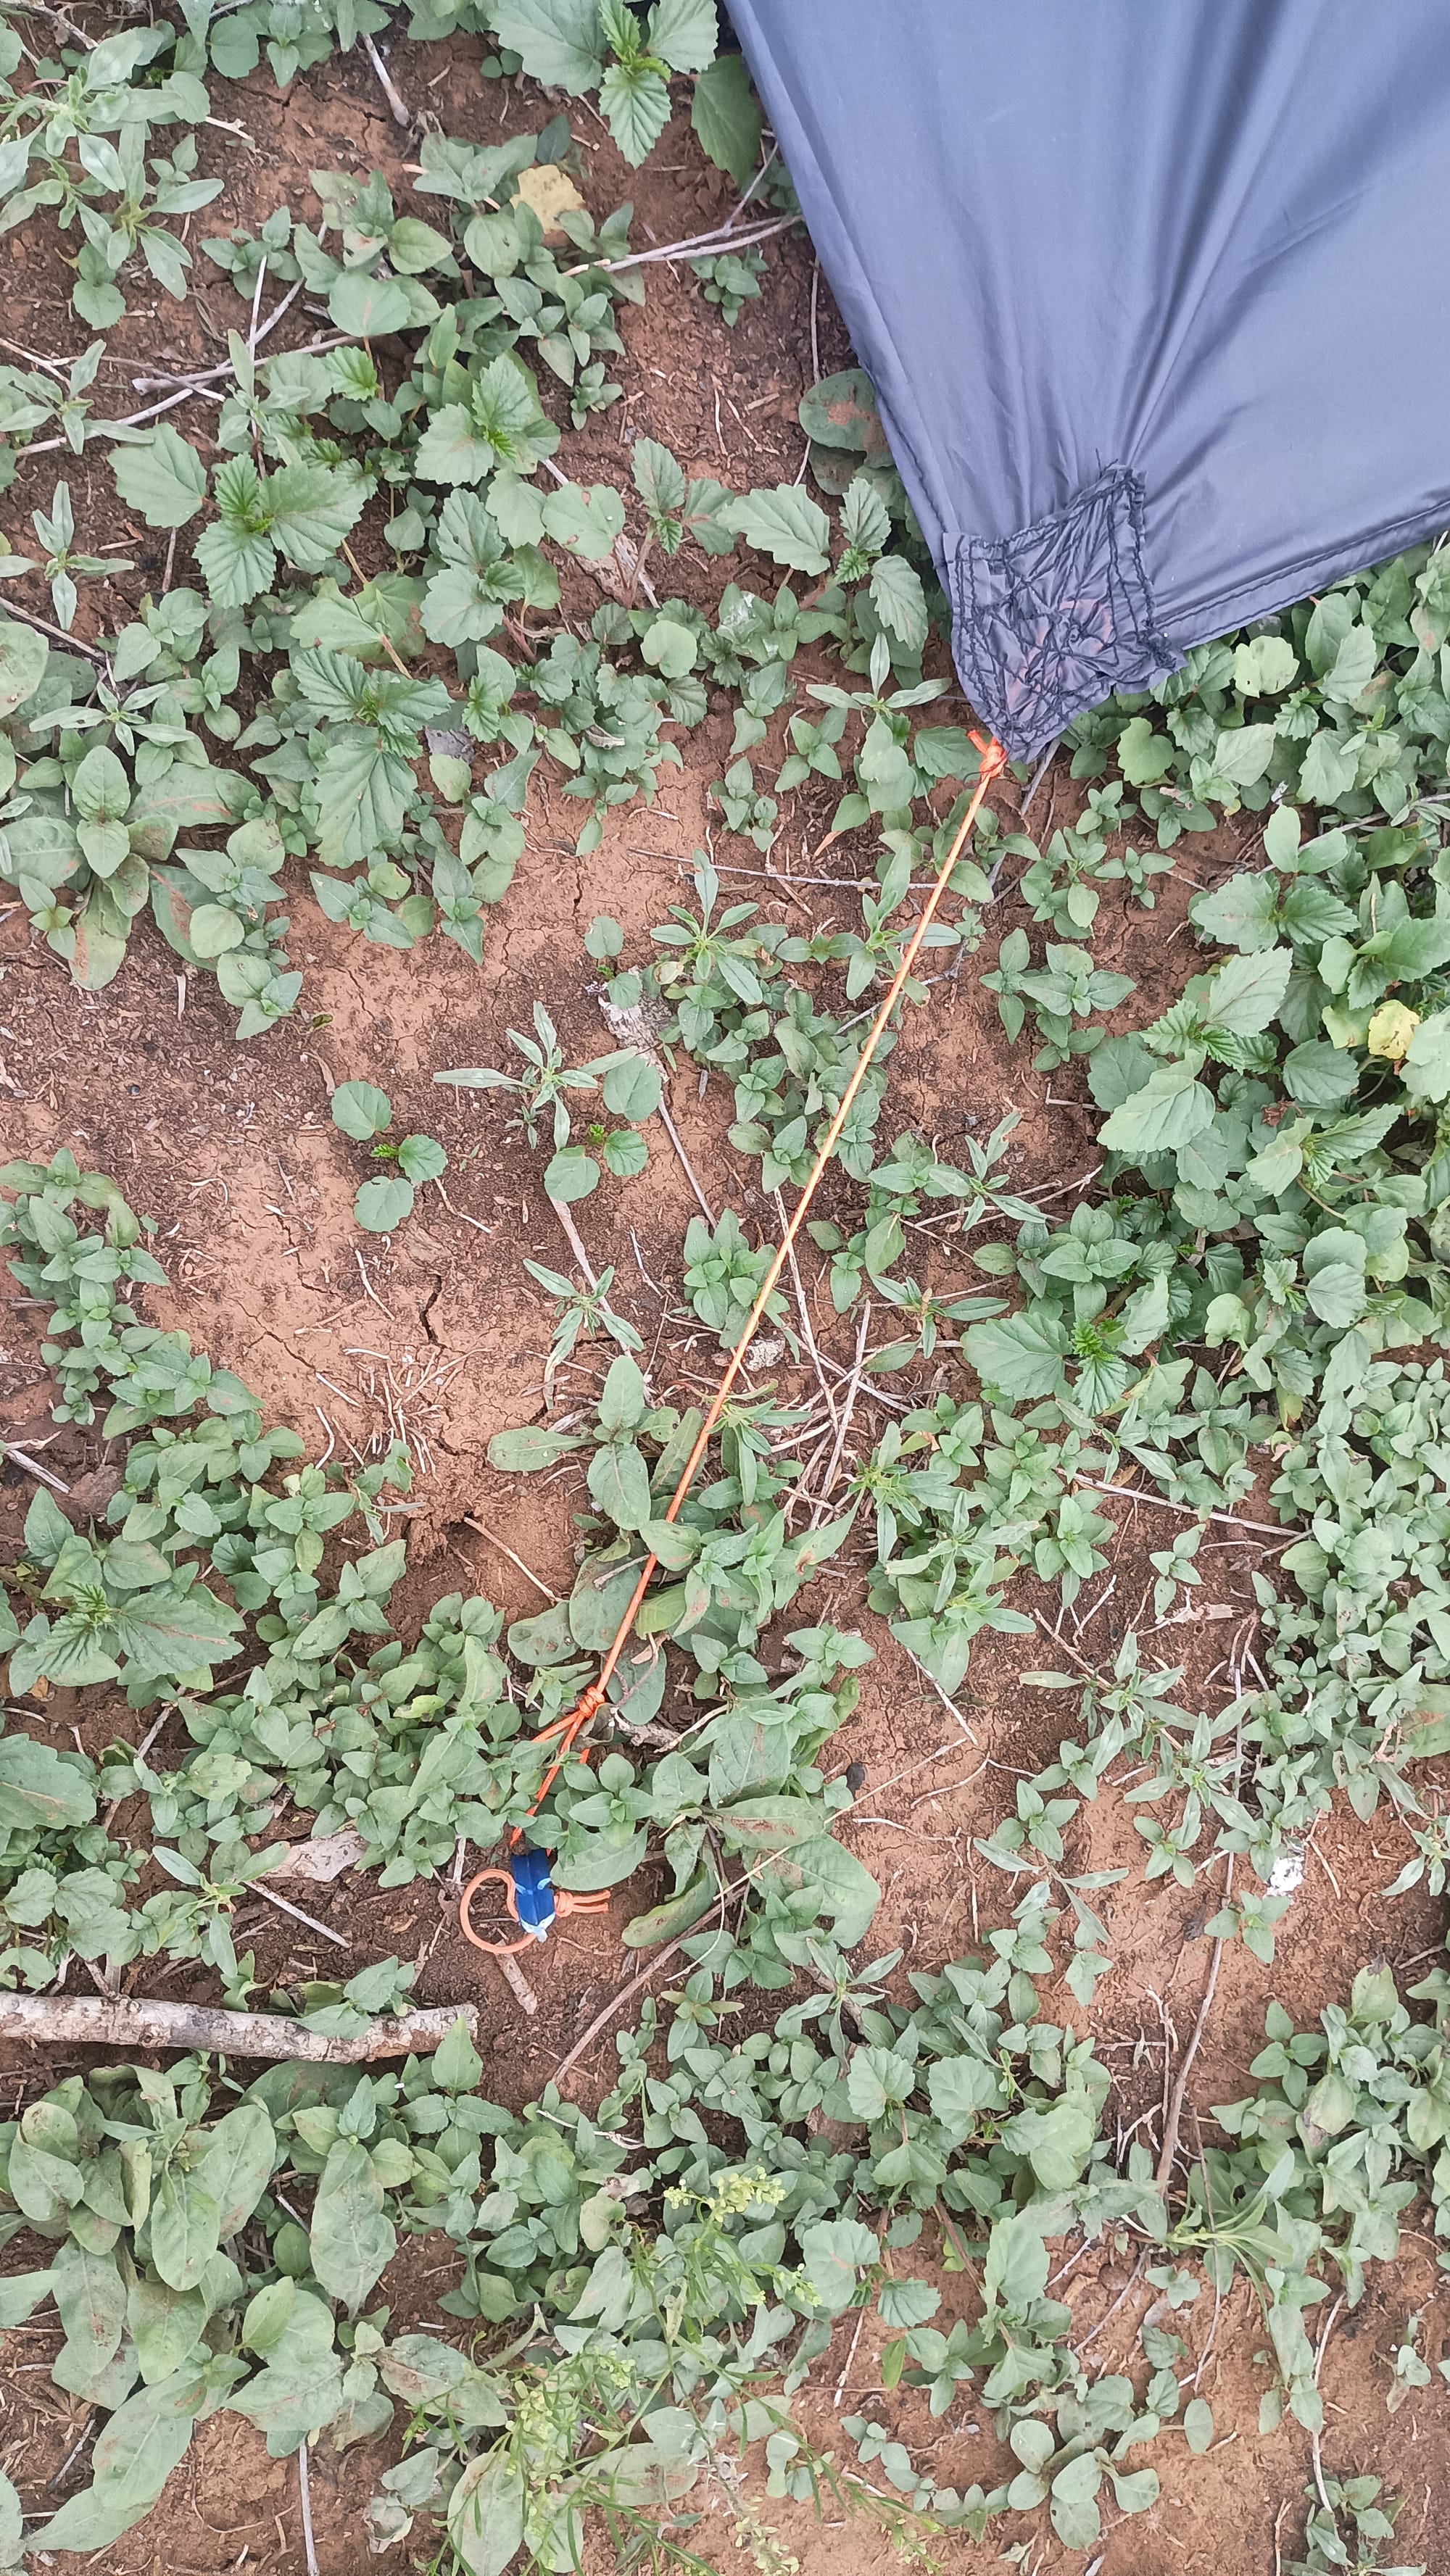
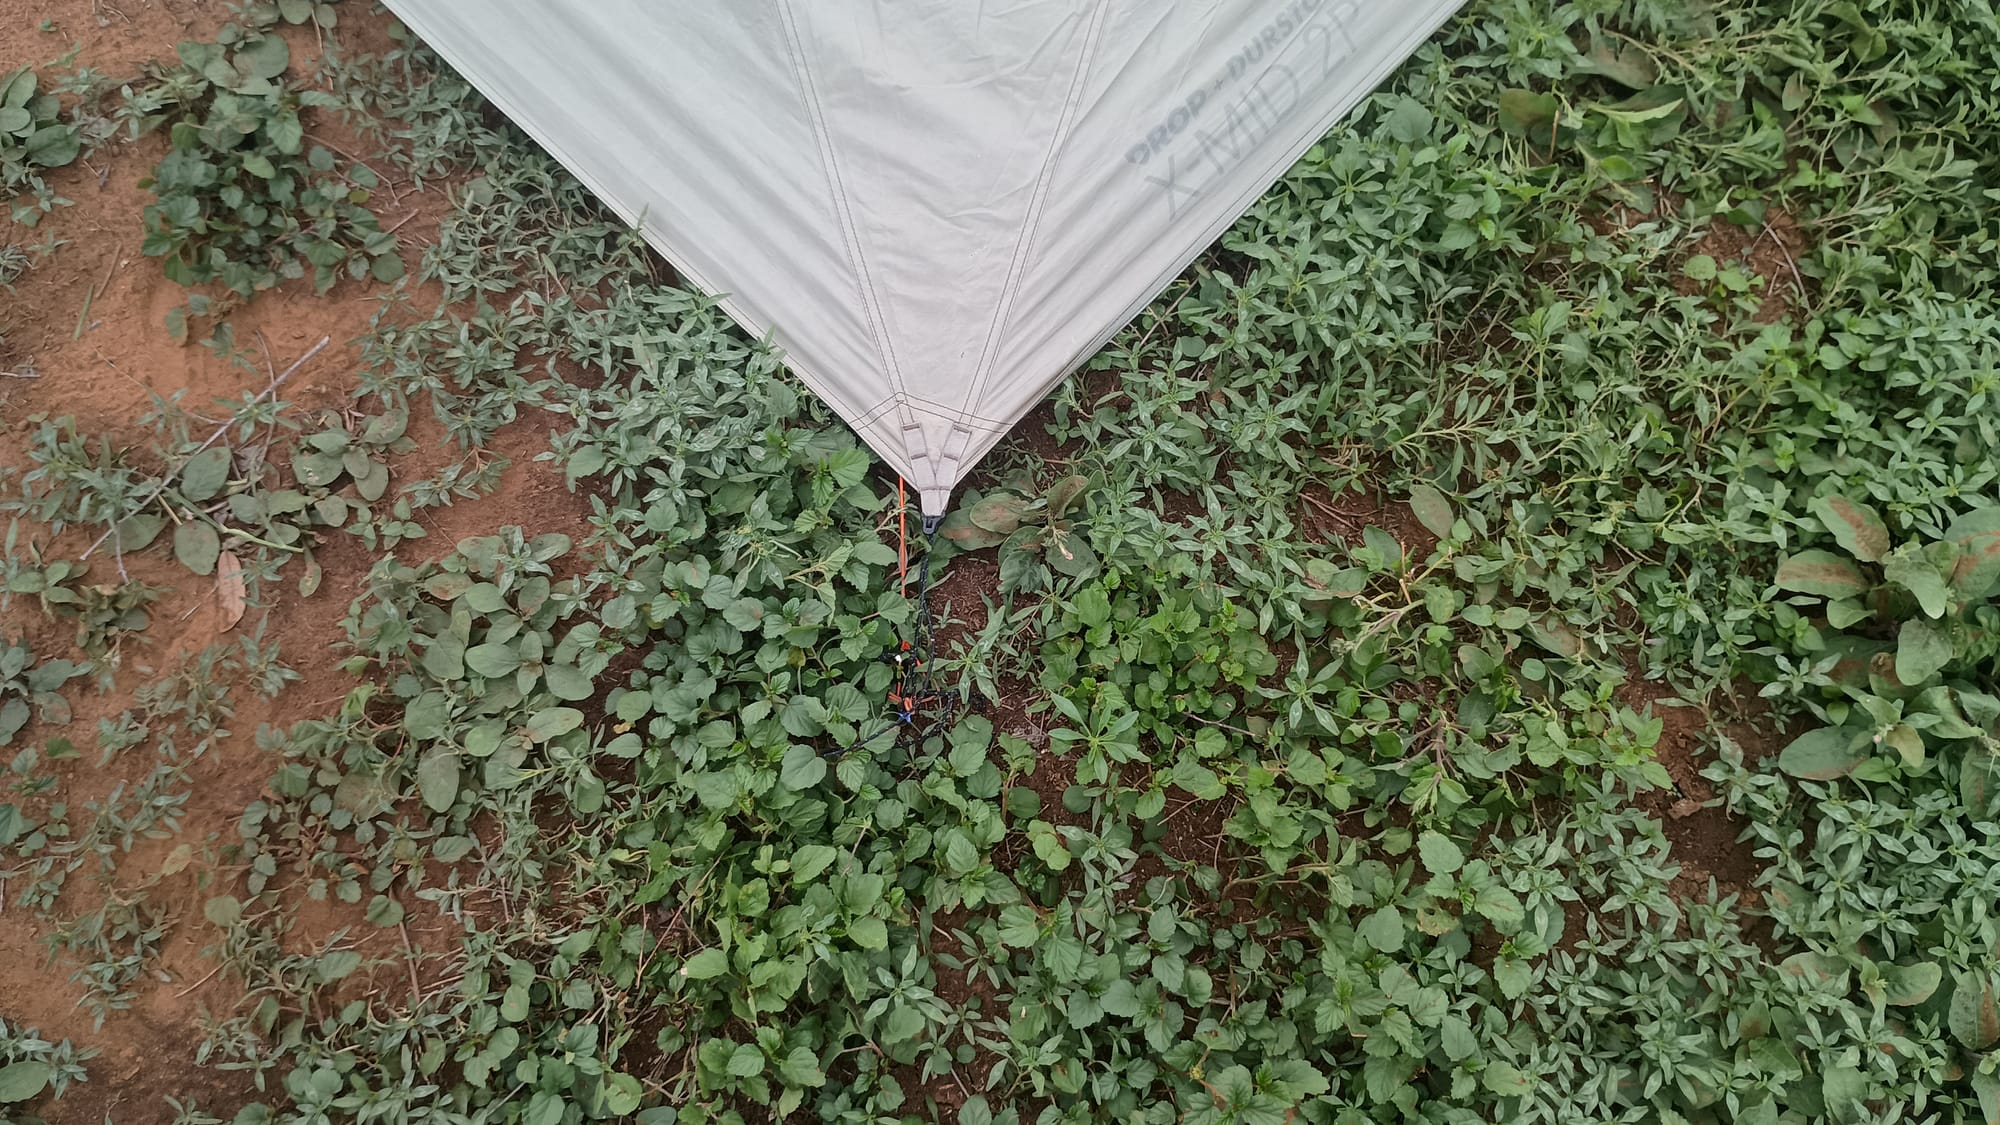
Next, use those same 4 tent stakes to set up your Xmid 2P. This will likely require changing cord lengths, repositioning tent stakes, fiddling, etc. to get the most balanced/perfect centering on the footprint. The good news is that once you get this set properly, you should never have to adjust this again unless you set up your tent some place where the stake locations just don't work, or you have to substantially change the lengths of cords for something like "big rock/little rock." (It should be noted in these pictures, that I have lengthened the stock 2P corner cords with Ironwire in order to facilitate big rock/little rock.)
Final thoughts
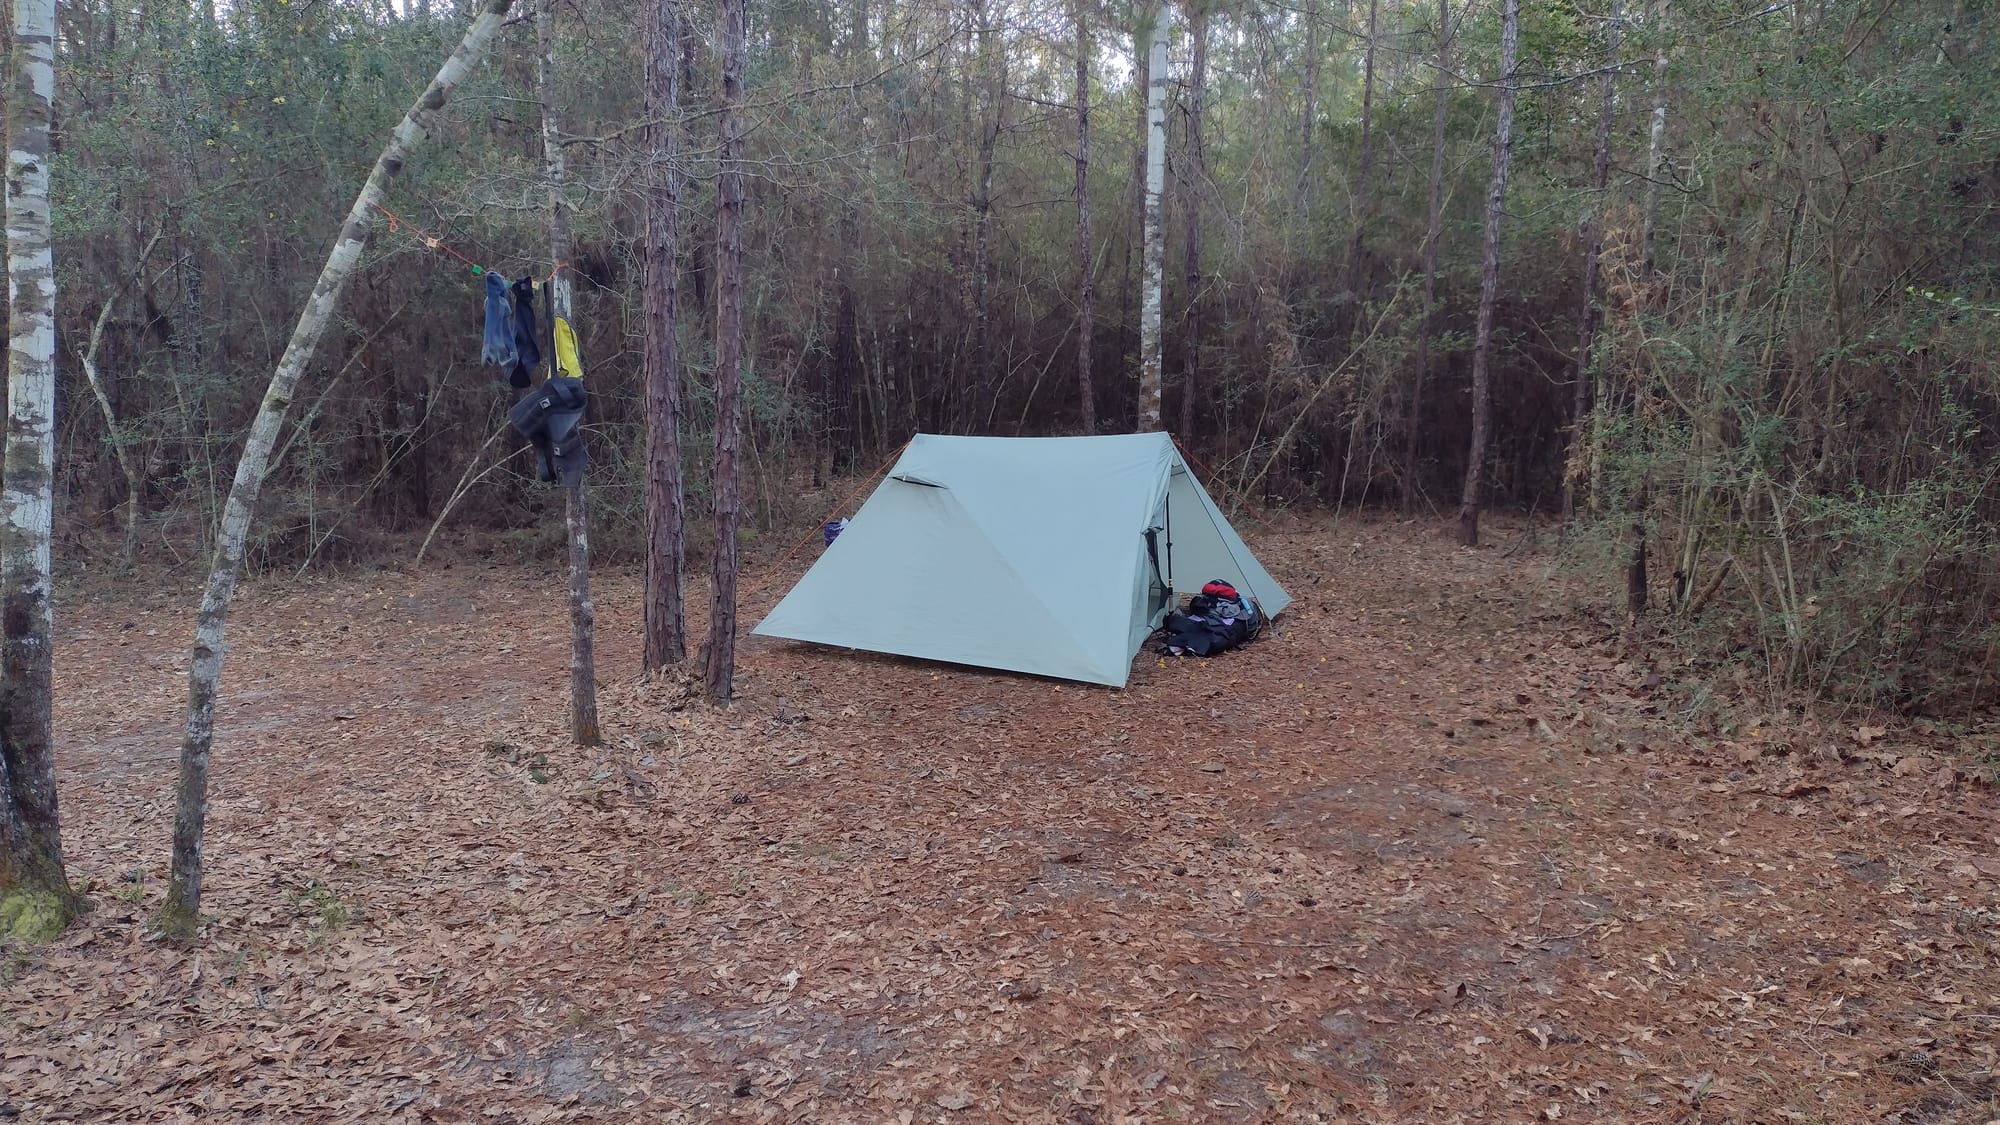
My 2P is one of original ones from Drop when they sold it on Amazon for a brief stint. I used the measurements in the first image off of the Durston website to make my footprint. I intended it to have a 3" margin all the way around the footprint of the tent. After I made the tent and set it up, the margin turned out to be 6". In retrospect, I should have set my tent up first, measured the actual footprint, and built the ground cloth to fit that rather than trusting the website dimensions. When I checked, the OG 2P's base dimensions ended up 89"x106", or exactly 6" larger in each dimension than the website diagram. If you have an OG 2P, you're going to want to take that into account. However, the instructions listed in this article should be perfect if your tent was purchased recently. This 6" dimension discrepancy also explains why the corner cords were extended so far in the pictures above. Now I need to decide whether I use the scrap/left over fabric to rework this to add 6" to the length and width. Maybe. But I'll test it out in the field first.
Keep hiking my friends
