Super Duper Ultralight

I've officially gone off the deep end. In the past 6 months I have pursued MYOG in the quest for the lowest possible base weight. Ultralight fabrics like 0.56 OSY / 7D Ripstop and 2.5 OSY Climashield Apex allowed me to cut over 100 grams from the already-light overquilt I previously purchased from Timmermade (285 grams vs. 390). 3.6 OSY Apex and Argon 49 allowed me to create a 2-person quilt for Tina and my trip to IRNP. This 2-person summer quilt is lighter than Tina's down quilt (691 grams vs. 831.) I've learned new skills using these UL materials, and used those skills to create UL stuff sacks for things like my ditty bag, pillow, and stove. These bags are lighter than Ziplocs!
But there is one MYOG genre I've never attempted: Dyneema Composite Fabric (DCF) items. And I've long thought of DCF as a way to further reduce base weight - specifically with regards to my raingear. My current raingear setup is already pretty weight efficient. It's made of 1.1 OSY and 0.93 OSY Silpoly, custom printed with the Leaf motif. What would happen if I made my raingear out of 0.51 OSY DCF? And instead of a rain tunic AND a rain kilt, what if I went with a more traditional jacket and kilt? How much weight would that save?
- Leaf kilt, MYOG: 55.6 grams. Leaf Tunic, Timmermade/MYOG: 147.8 grams. Total: 203.4 grams.
- MYOG DCF kilt: Estimated 25 grams. DCF jacket with pit zips/front zip, estimated weight: 75 grams. Total: 100 grams.
- Potential savings: 103 grams.
But clothing is a big step in the MYOG realm. It's way more advanced than bags and quilts. And I've never worked with DCF before. I'd need to watch YouTube vids, and team up with a professional...... Enter, Stephanie English.
Stephanie and I had been hiking together on the November 2022 50-miler where we experienced the most miserable day in my hiking life. (Mid 40s and soaking rain, all-day.) Following that trip, Stephanie contemplated a DCF rain jacket. She was done with Gore-tex style jackets that inevitably leak. She wanted something lighter and absolutely waterproof. We chatted about it, on and off, tentatively agreeing to start on that project in the summer of 2025. We had purchased this pattern from RSBR, and decided to give it a go.
Memorial Day Weekend, 2025
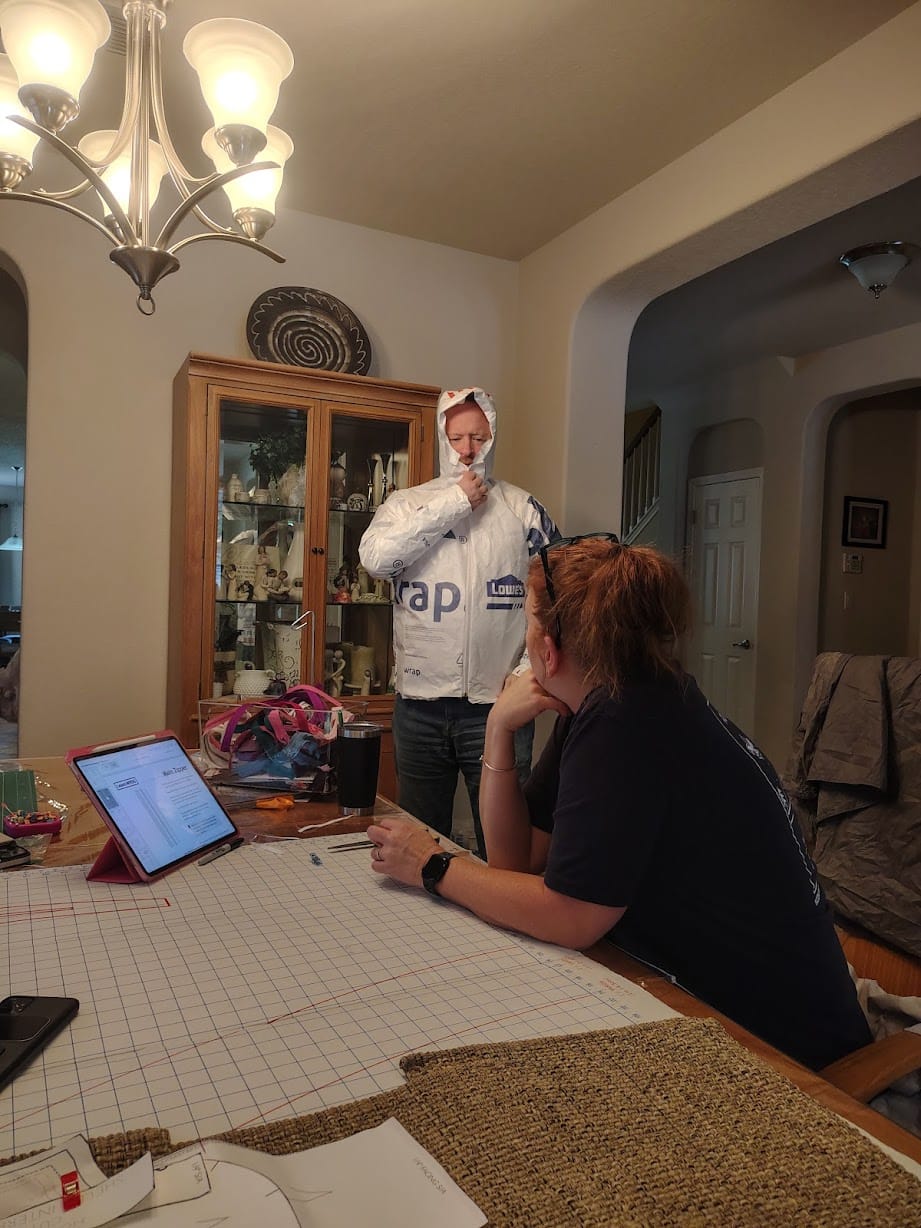
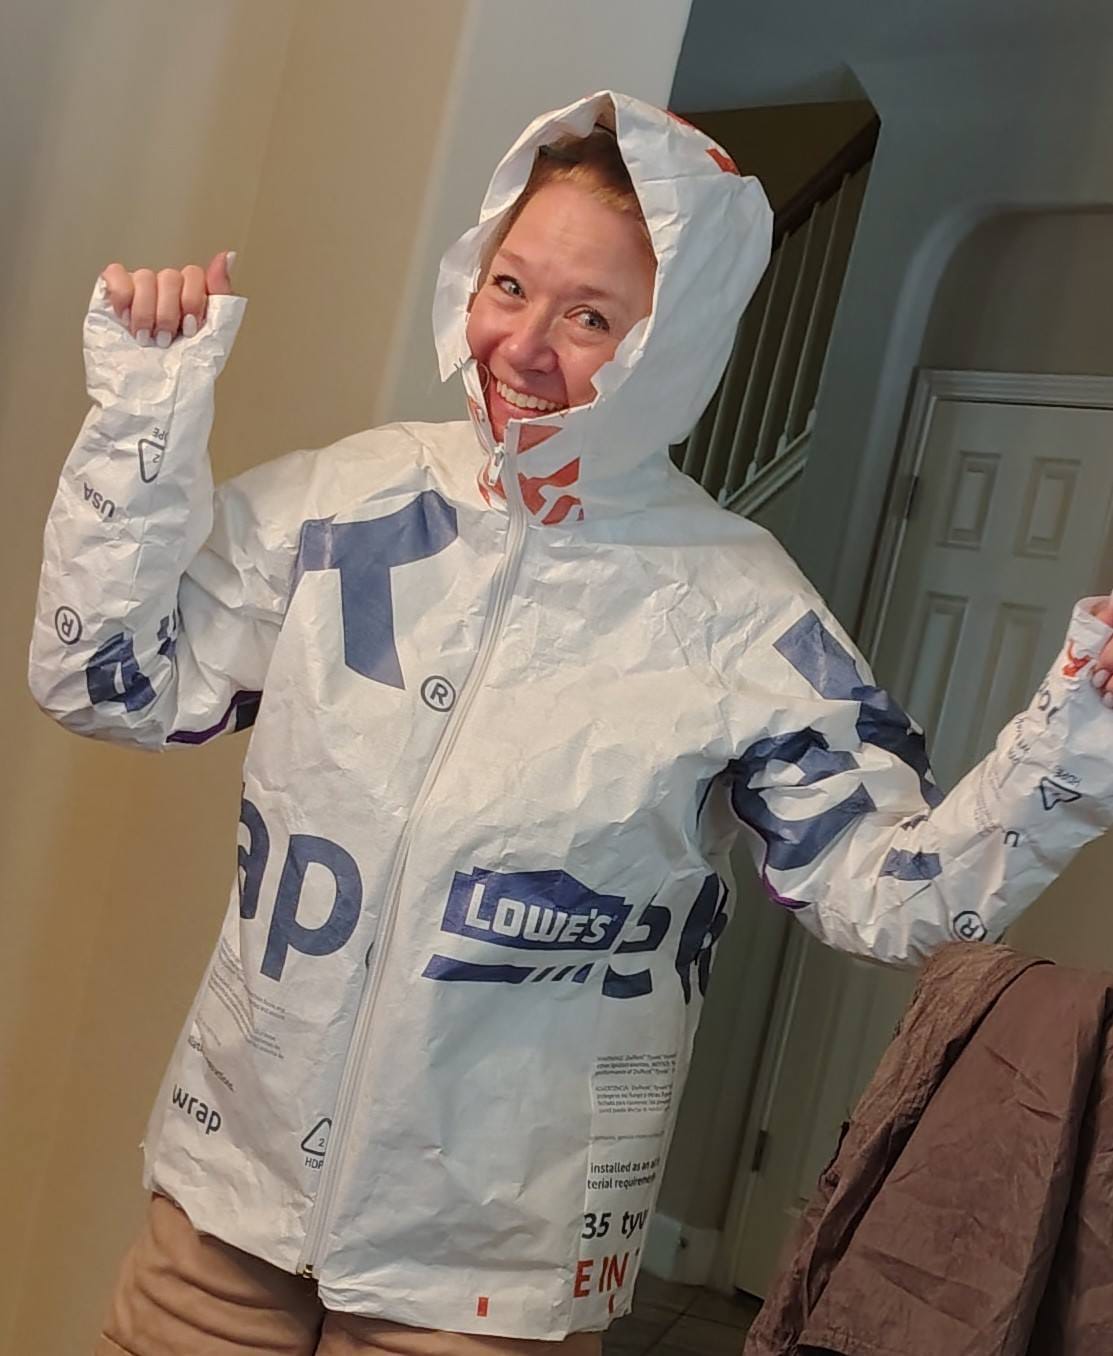
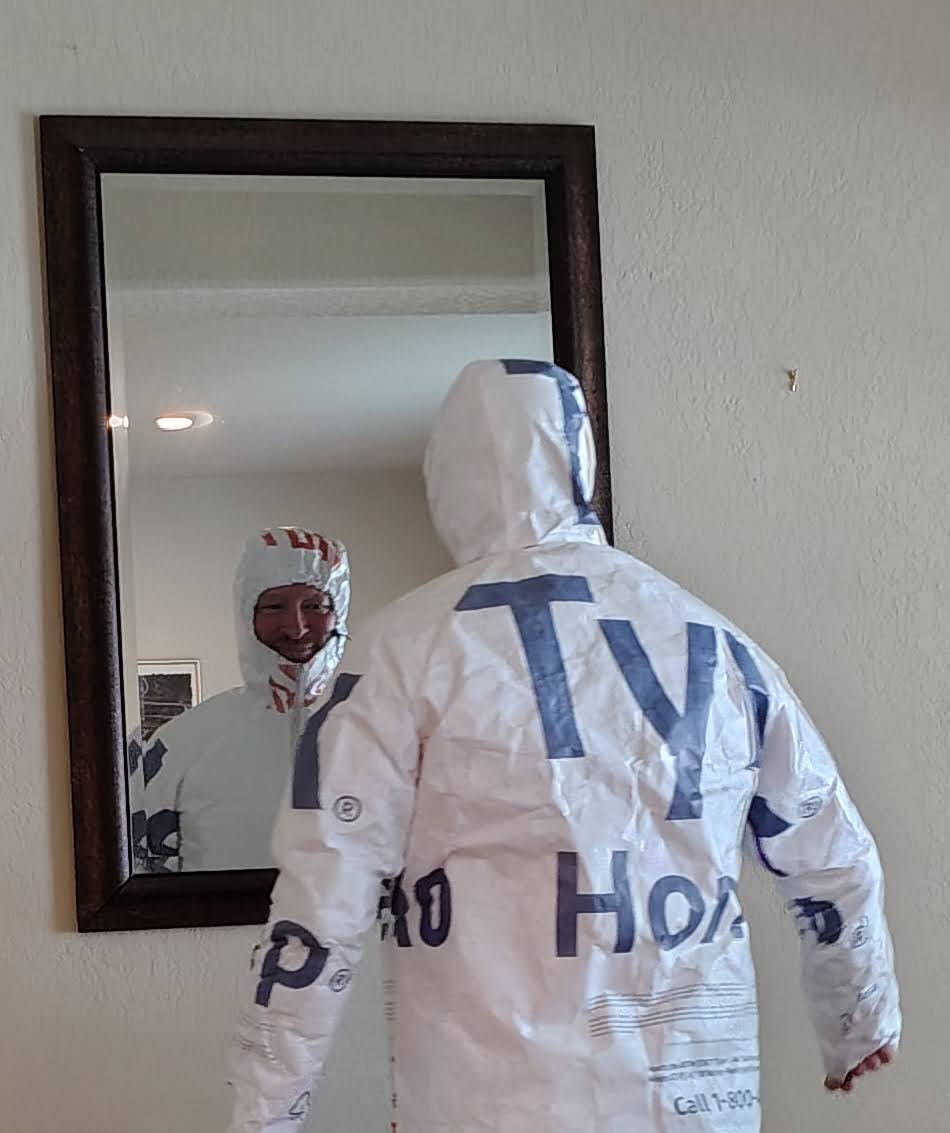
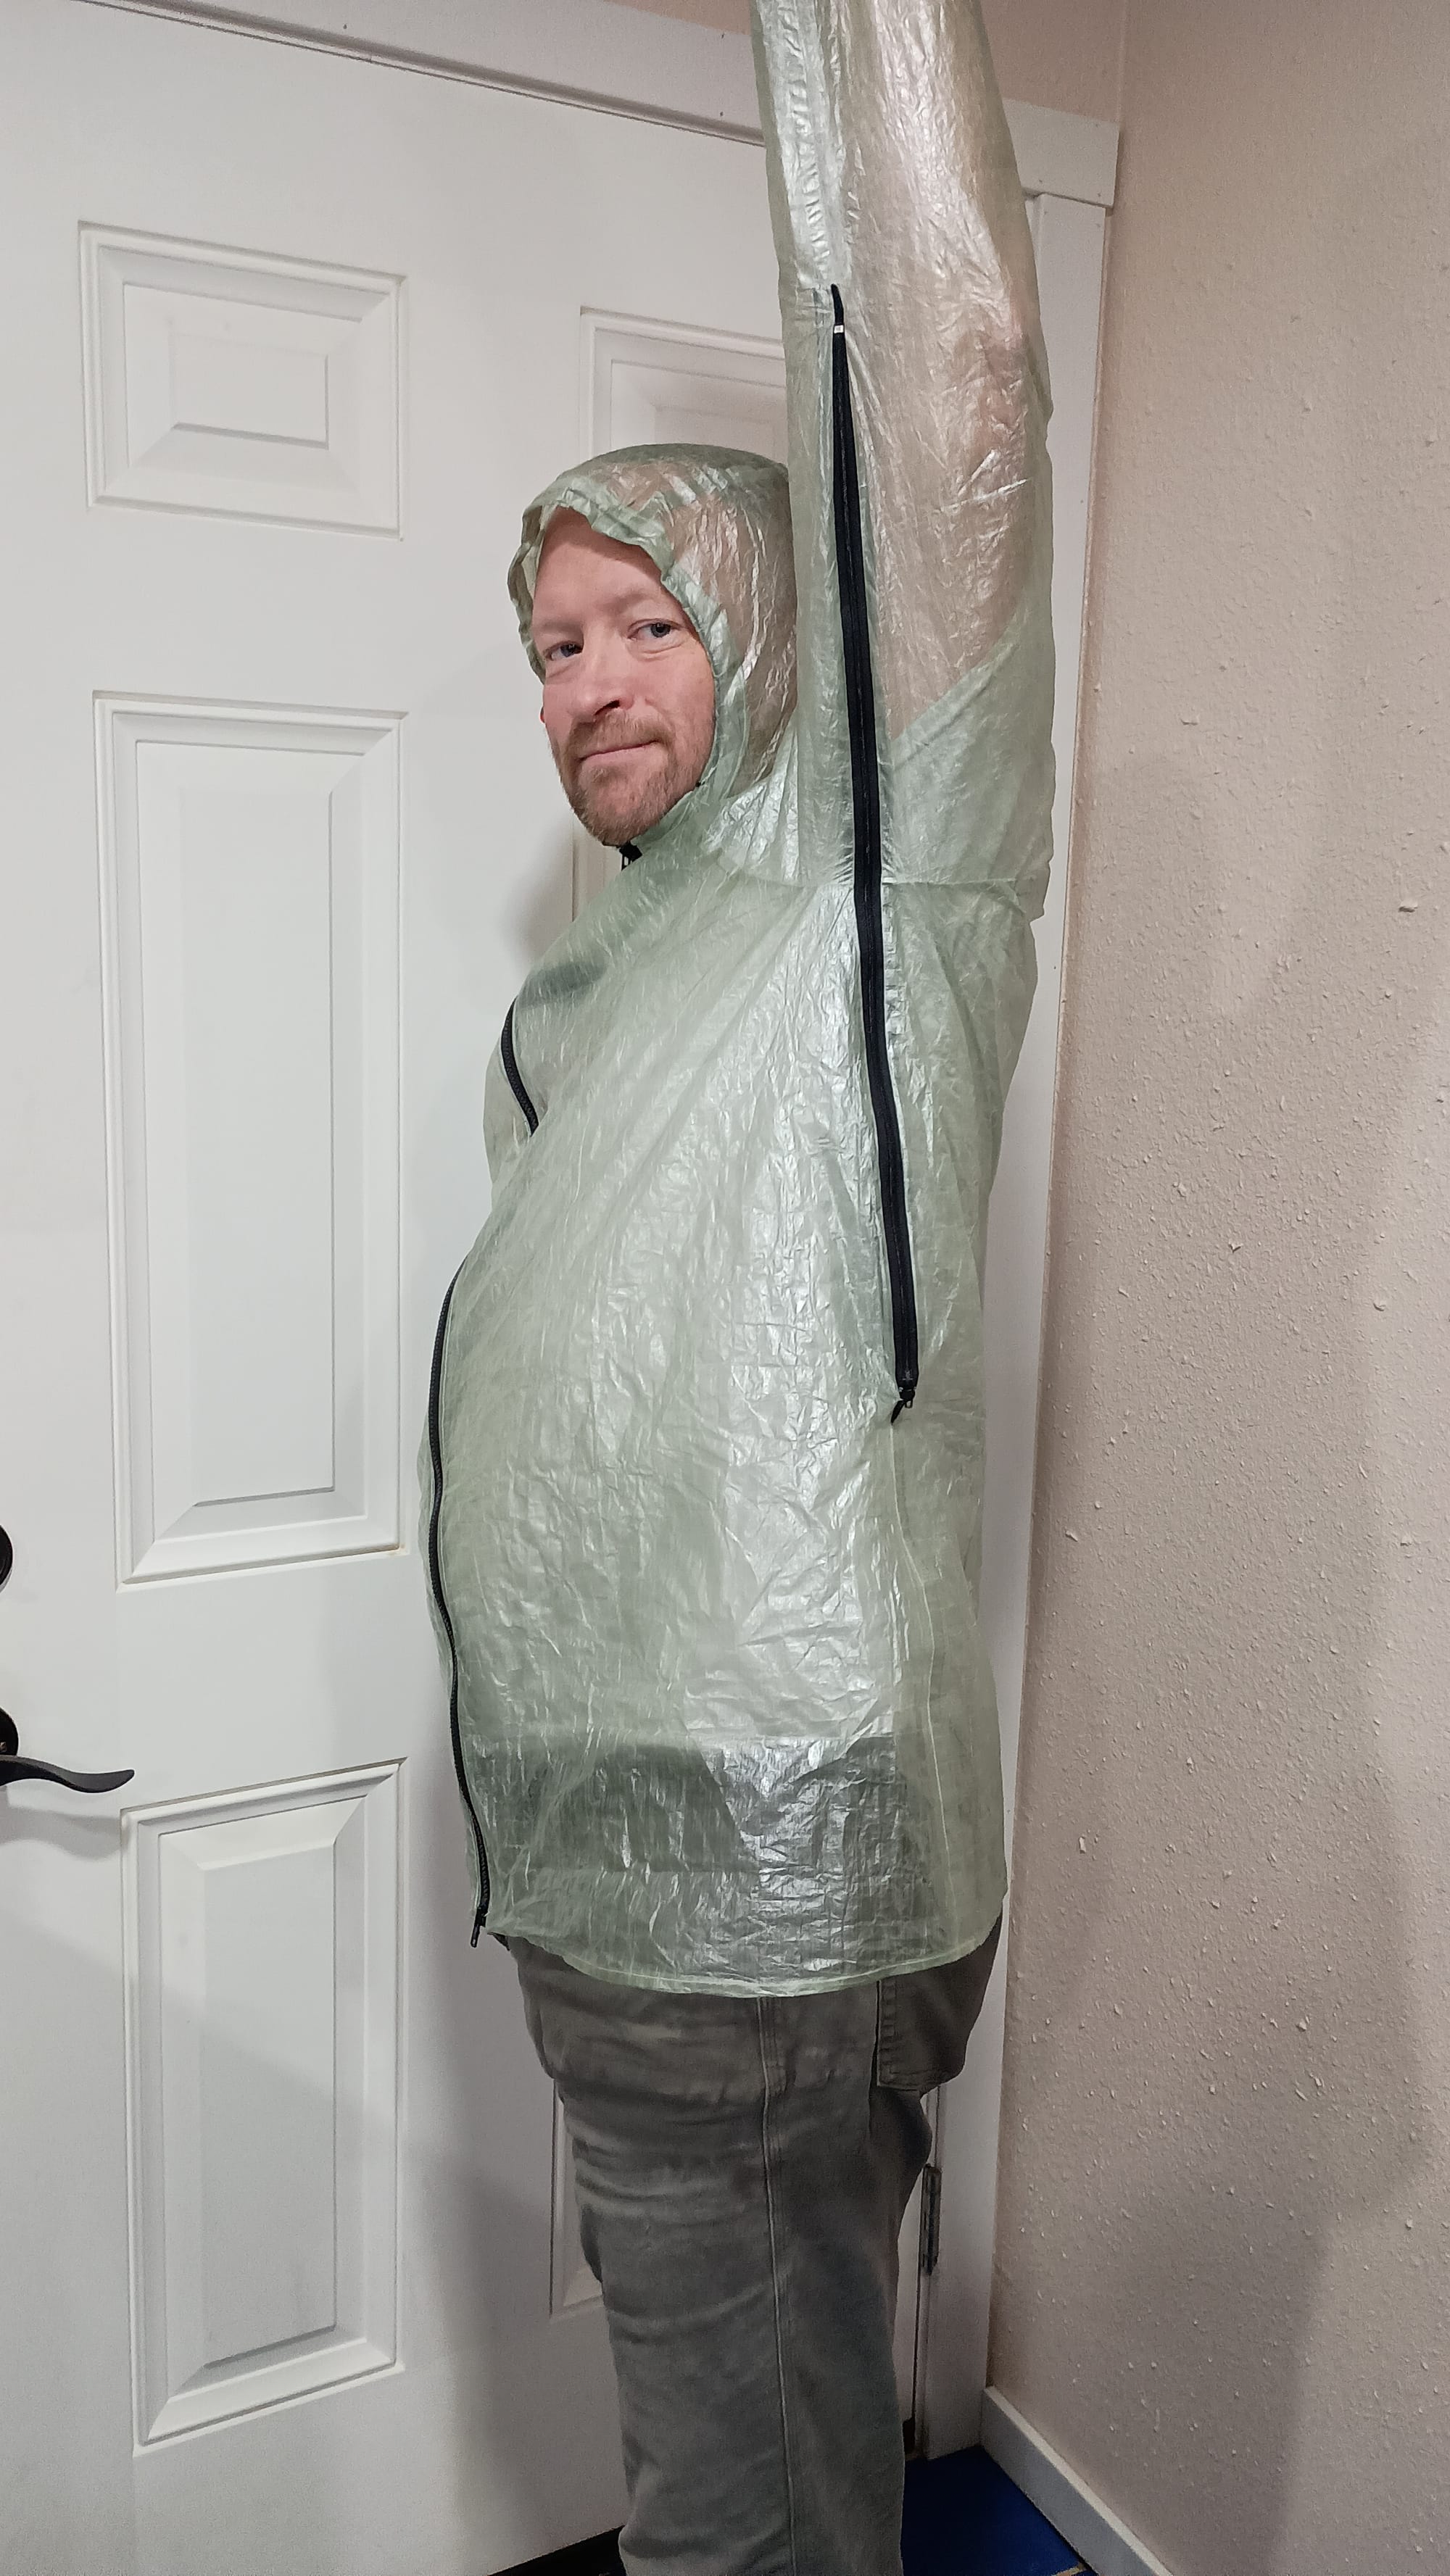
We agreed that the thing to do was to build a practice garment out of cheap materials so we could learn the pattern and see how well it went together. Stephanie had a roll of Tyvek that had been purchased years ago for other projects, and I picked up some cheap zippers from Hobby Lobby. We followed the pattern, and noted a number of design changes and pattern tweaks that we would make for the final product: more relief here, longer there, omit this feature, this part unnecessary, etc. It was a good thing we took this step as it allowed us to simplify since we were eliminating the jacket pockets, make it longer so that it didn't ride up with your arms in the air, try out pit-zips (not part of the original design), as well as make decisions for the DCF version: with the longer length, we'd go with a double zipper (so you could unzip from the bottom for more ventilation, and tweak sizing in a couple areas.
Next Step: Working with Dyneema Composite Fabric (DCF)
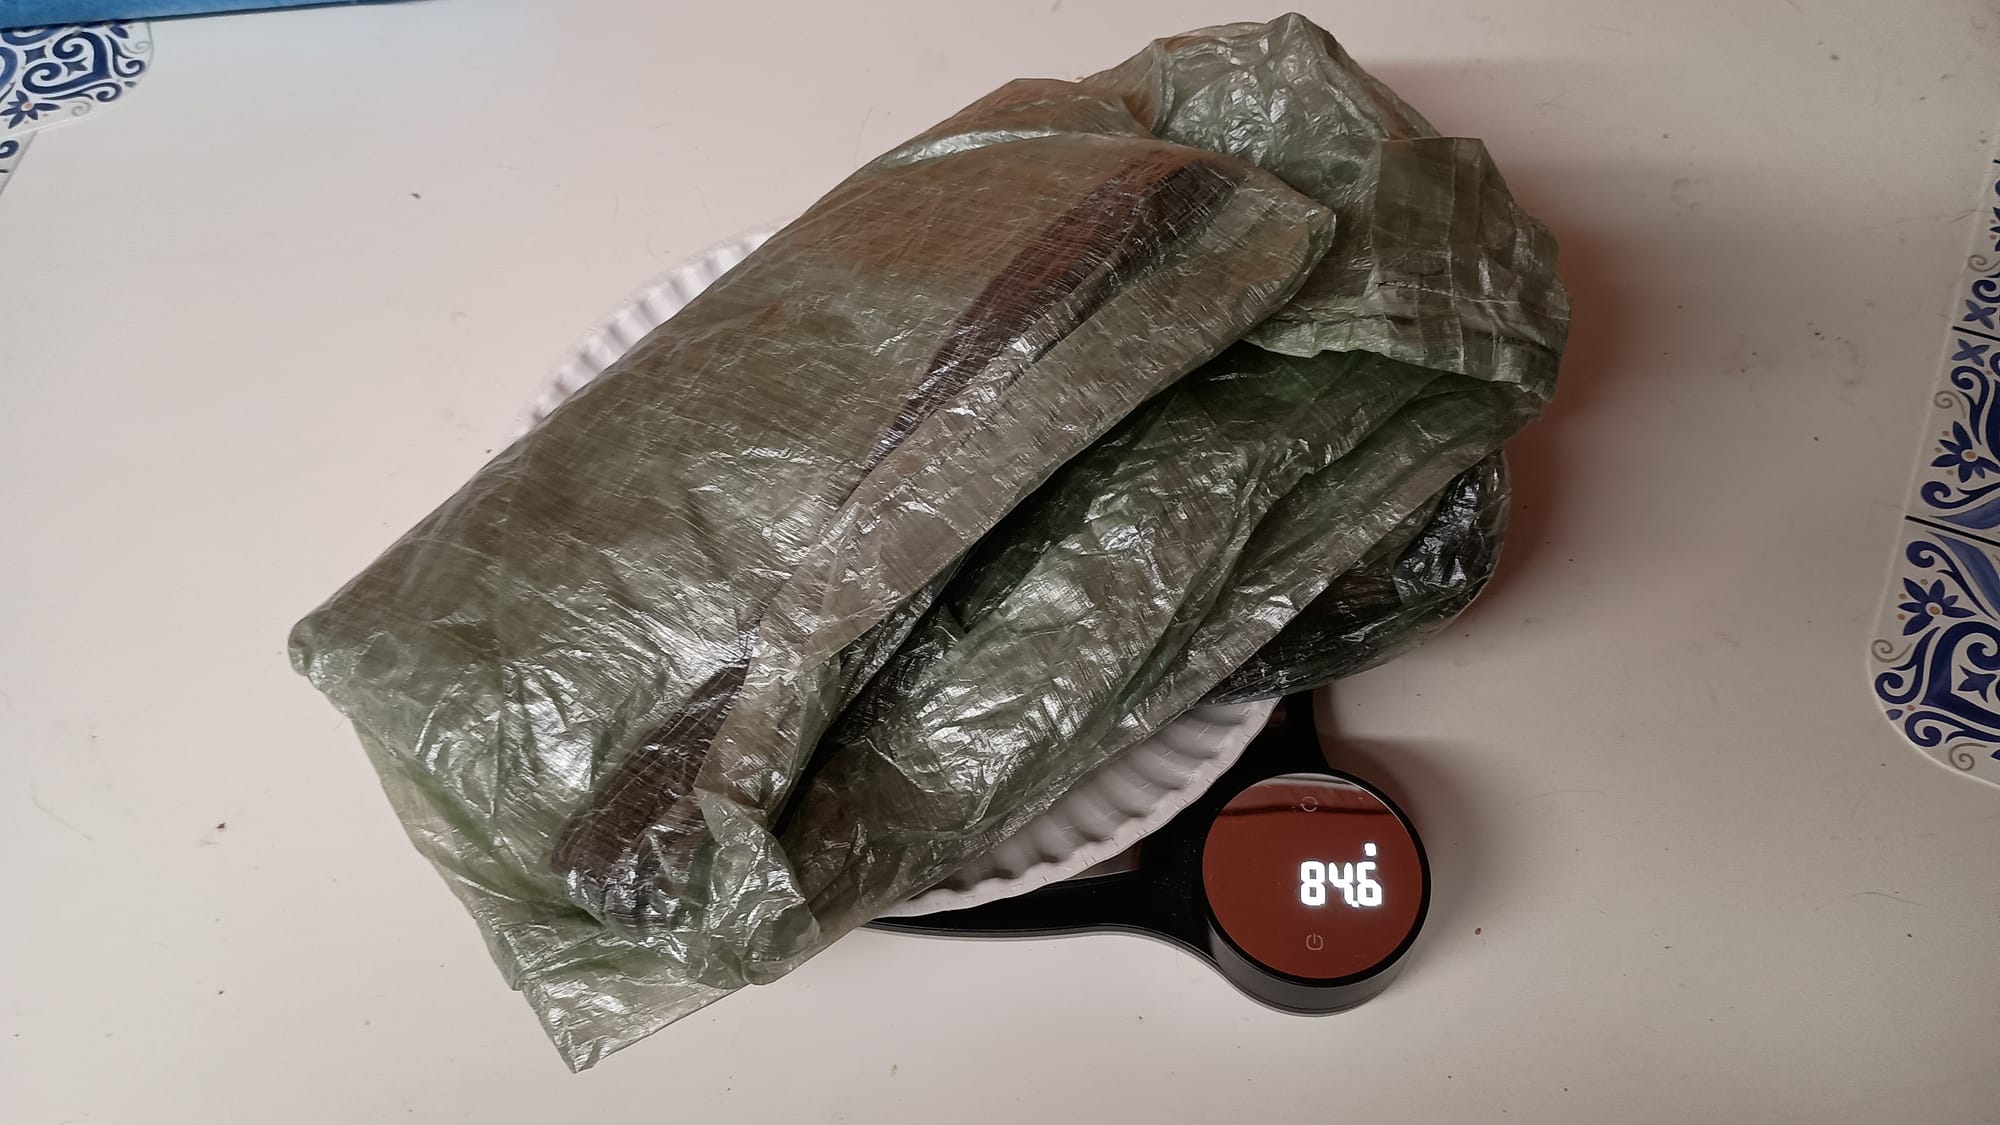
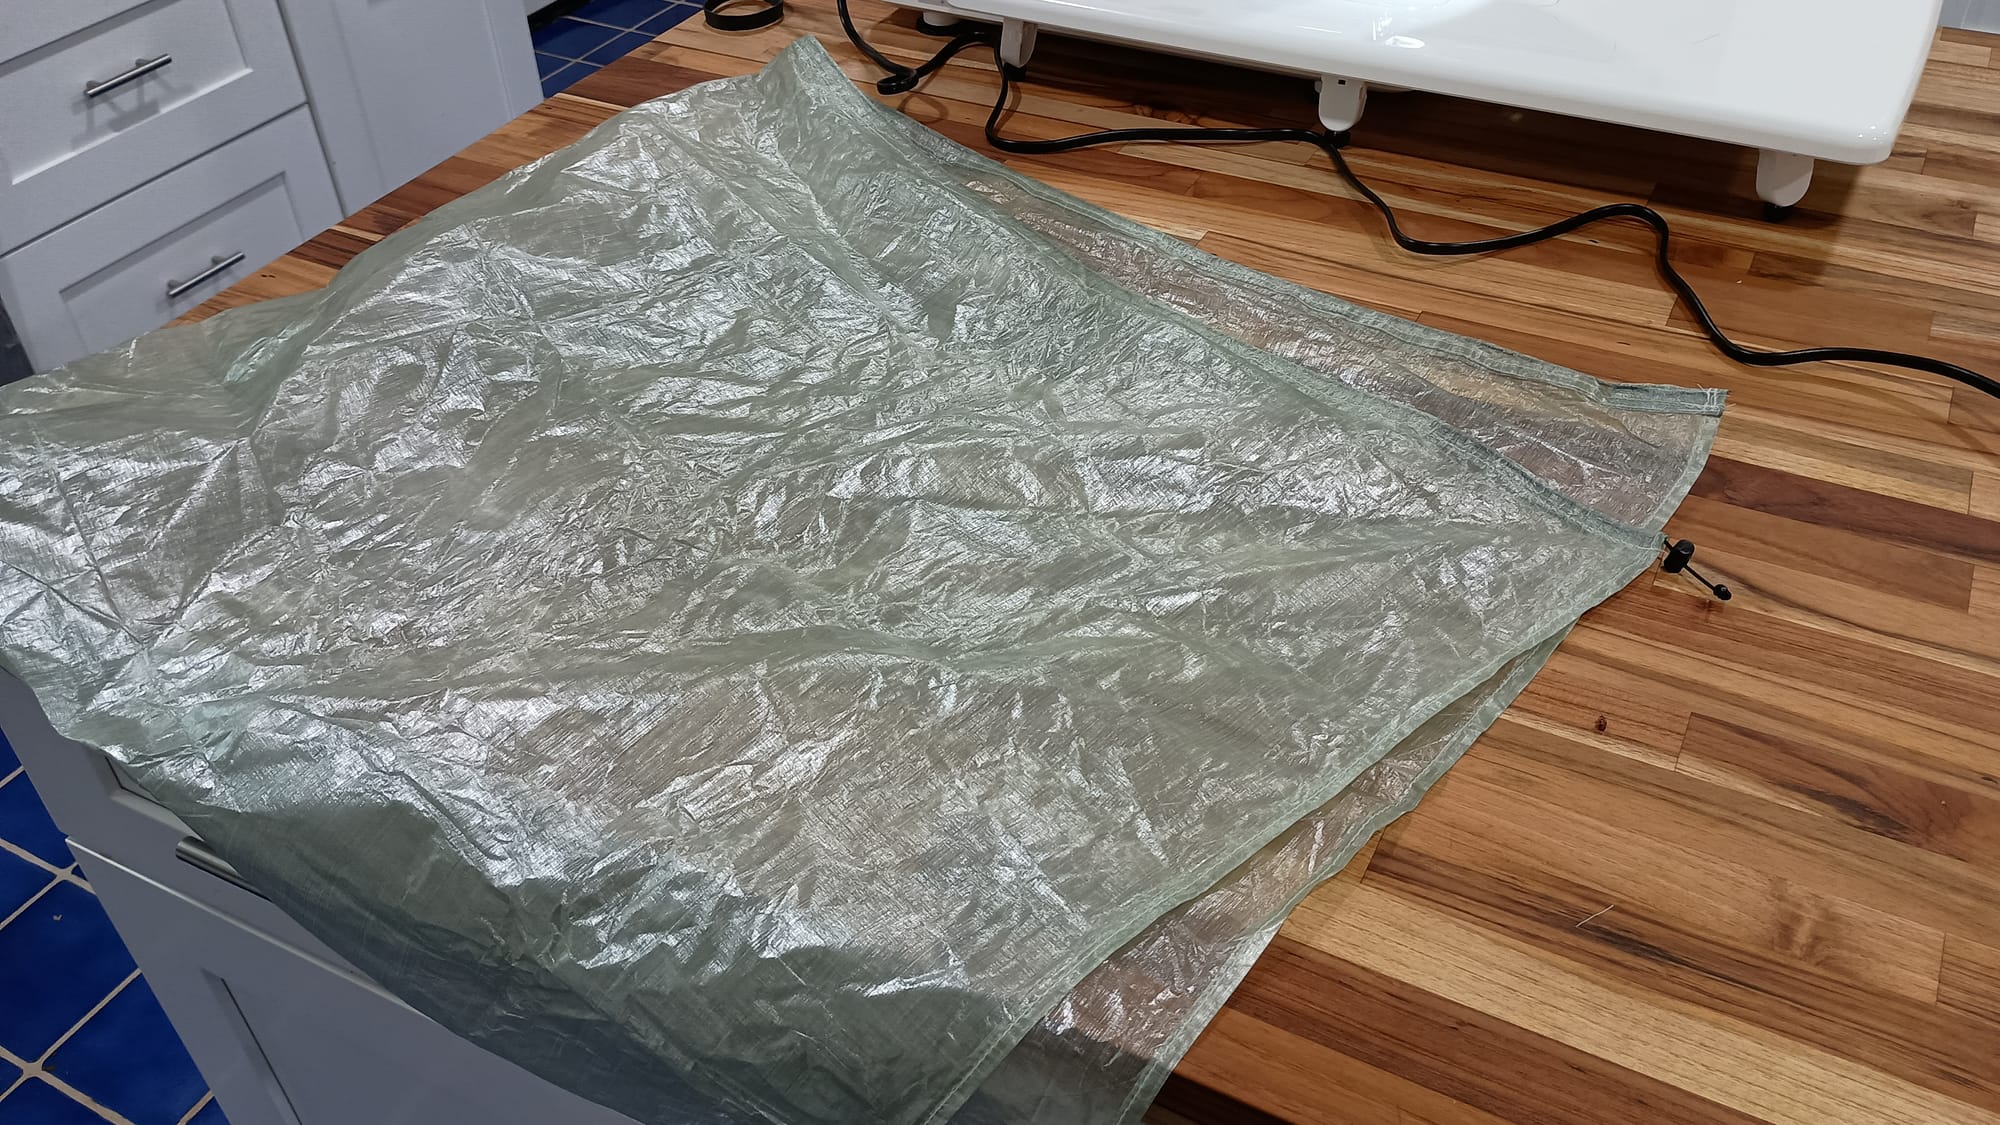
I've made 3 kilts before: a conical design for myself that didn't turn out very well, and a pair of pleated designs - one for myself and one for Tina. These were functional, but because of the pleats, they didn't double very well as a ground cloth. Several commercially-available rain kilts did not take either step - they were just rectangular, with an overlap, and the gap/overlap to be placed at the back when walking. I then found instructions for how to do this on Backcountry Banter's YouTube video. Easy enough. I also watched videos like this one from Dyneema to learn the basic technique of using Pressure Sensitive Adhesive (PSA) tape to bond Dyneema seams together, then also sewing with waterproof taping over the sewn seam. With this knowledge, I started the rain kilt. Pretty basic - just a bunch of hemming, and a couple of do-dads (Velcro, shock cord), but it gave me the chance to practice using PSA tape and using a new sewing machine. Final weight: only 25.9 grams!
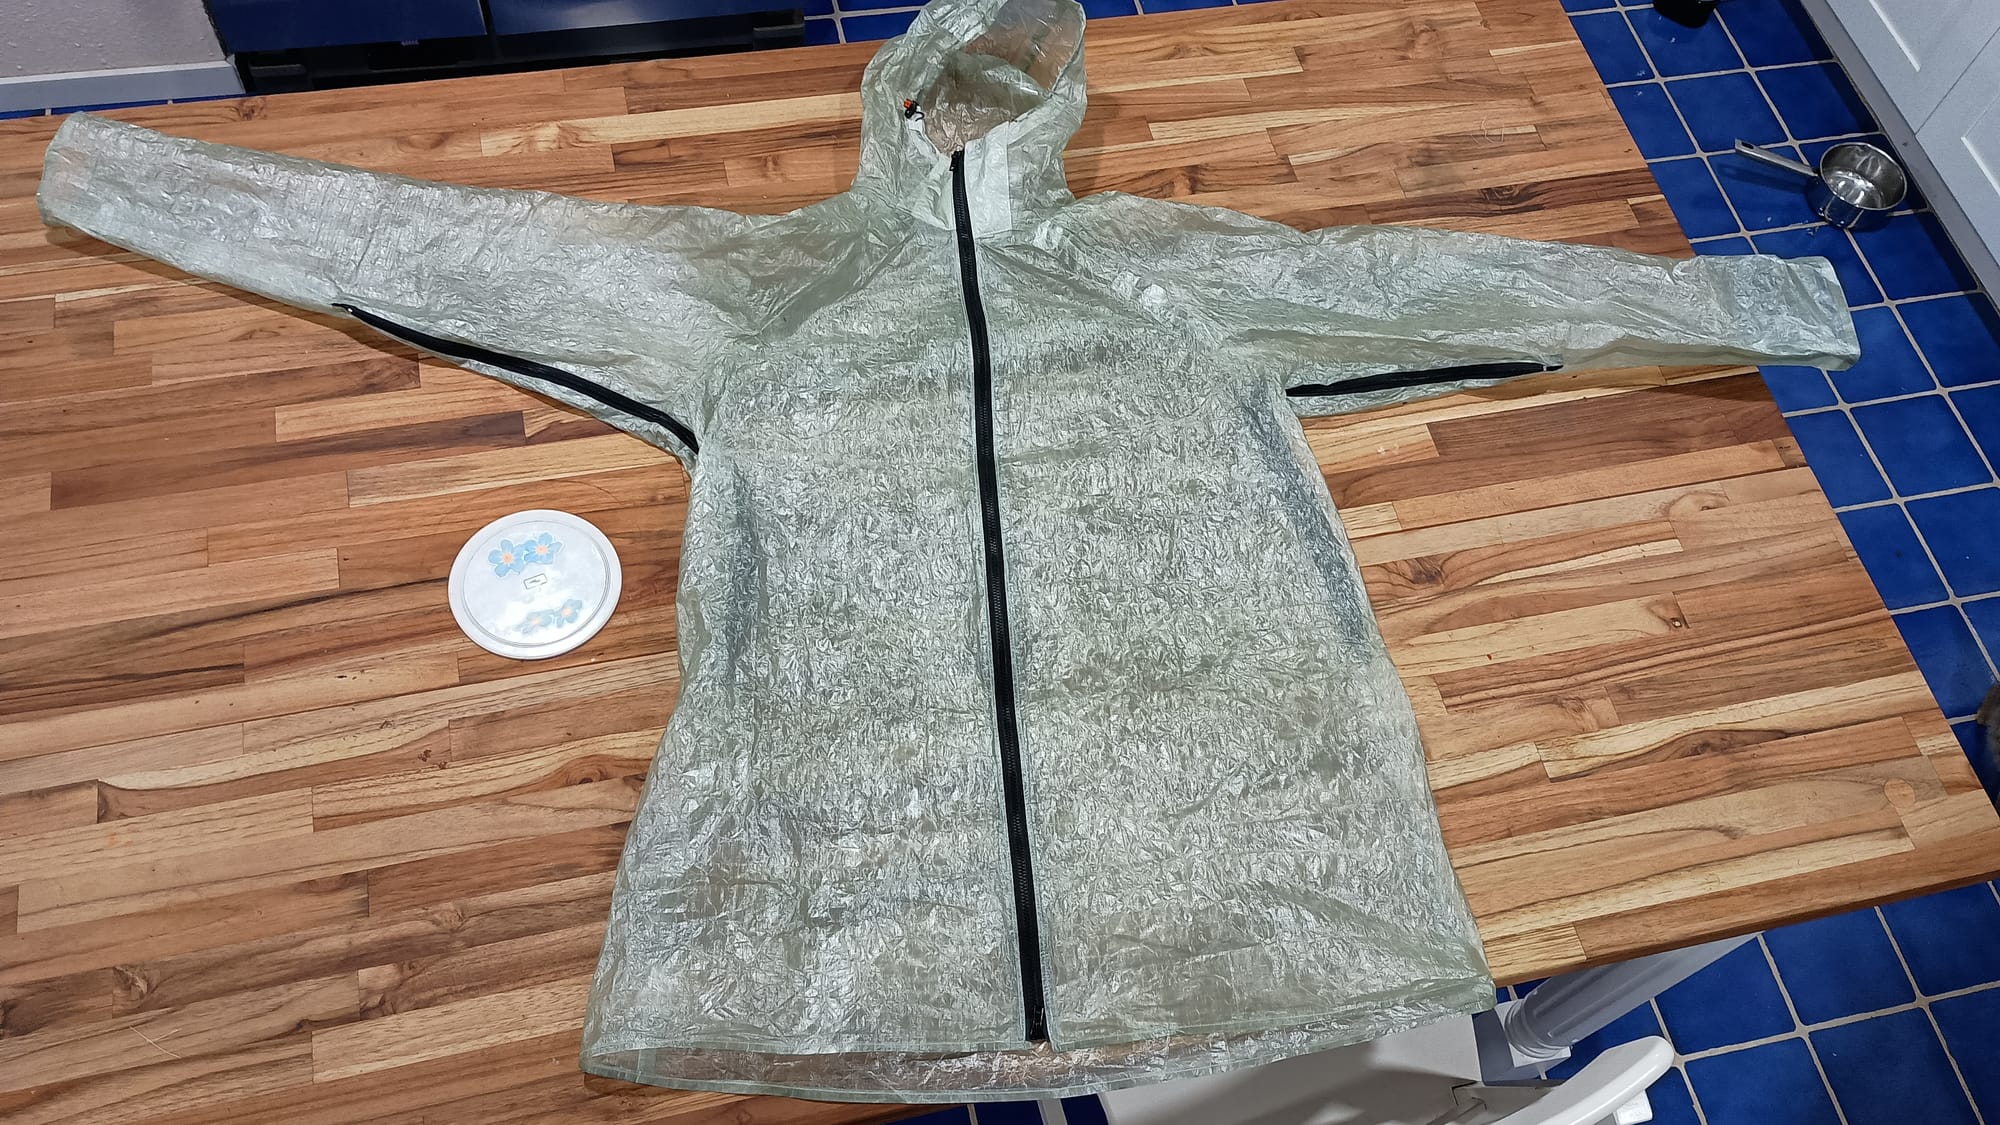
Construction of the DCF Rain Jacket
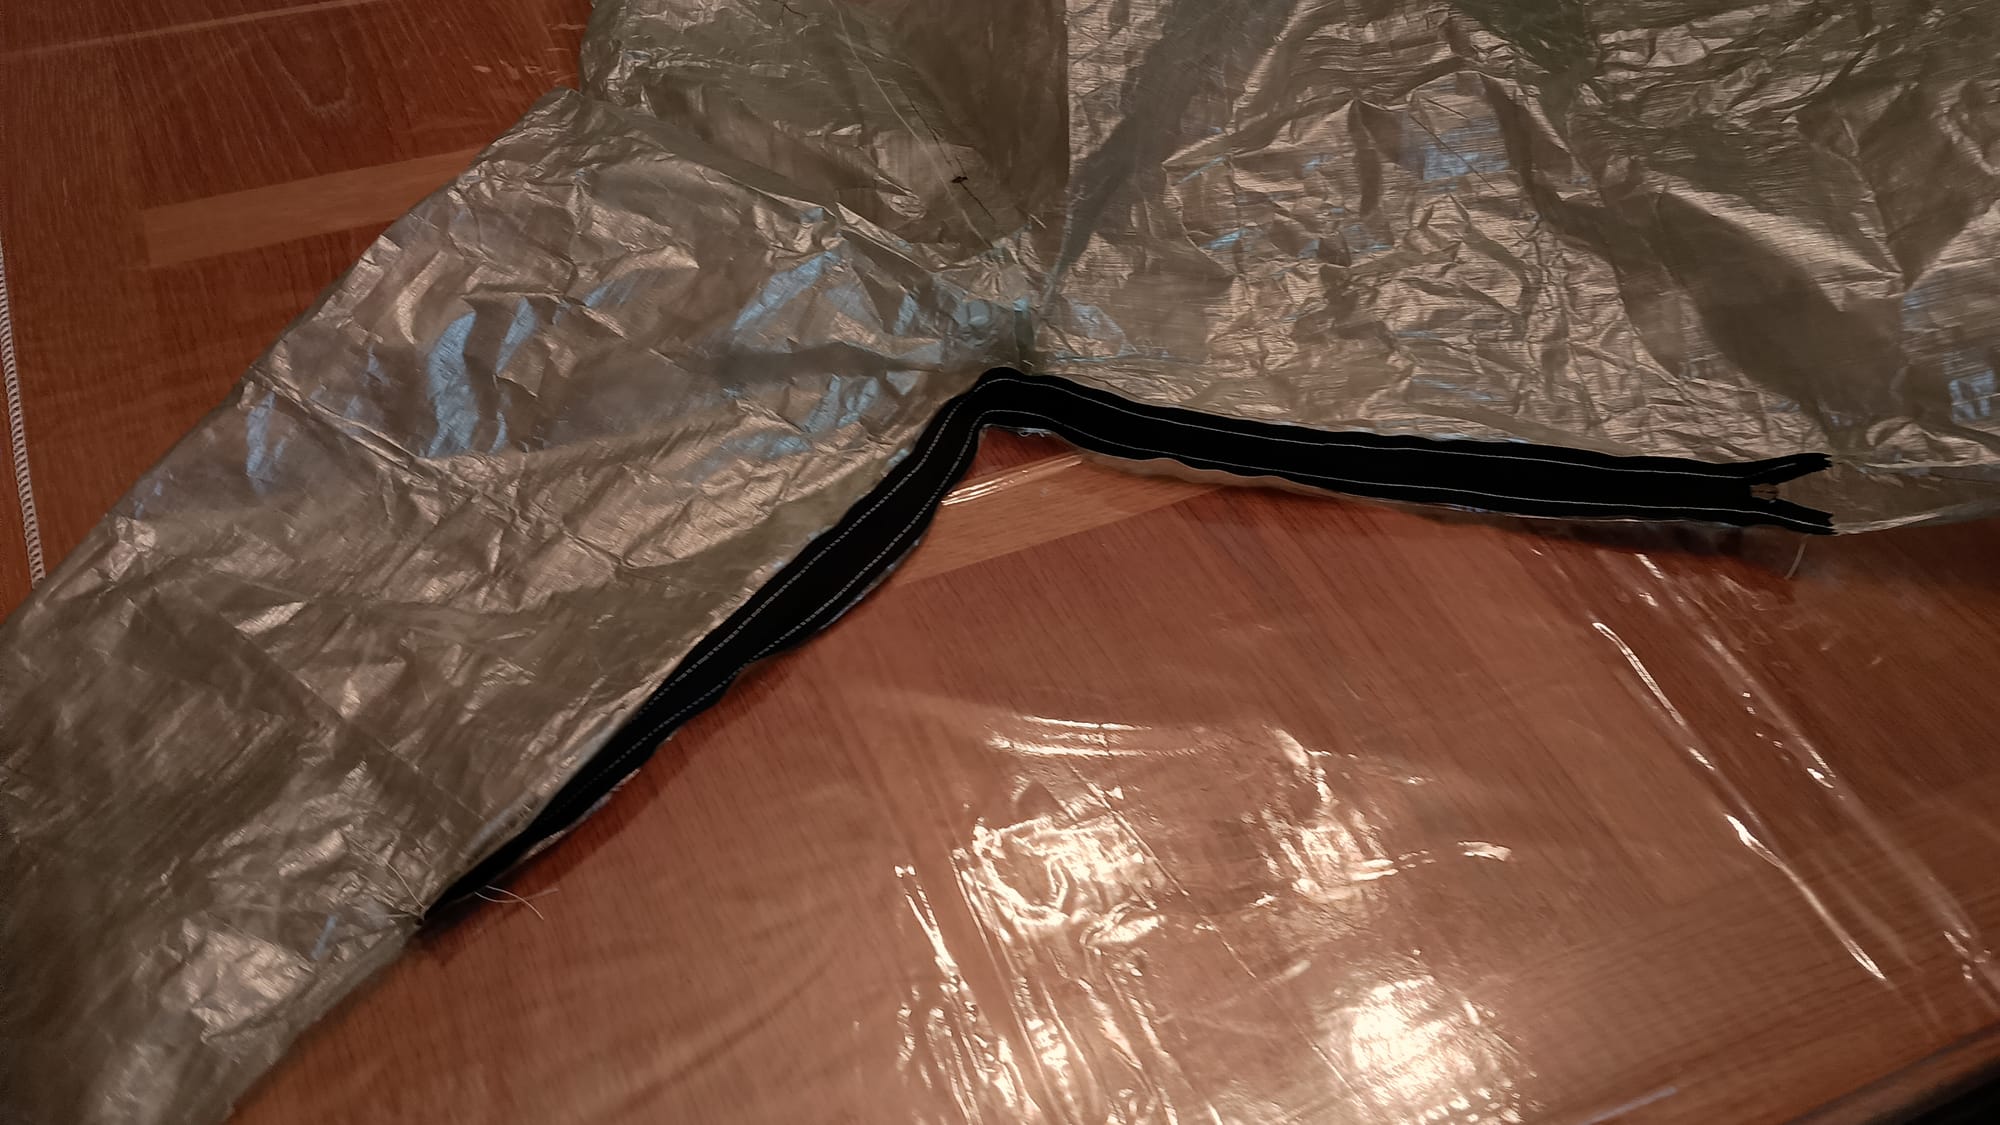
One of the primary advantages the DCF setup has over my leaf tunic (besides weight) is the zippers. But zippers are heavy! The weight of the zippers alone is 37.2 grams! In fact, just the 2-way zipper for the front weighs 21.3 grams, or almost as much as the entire kilt! Oh well, if I want that convenience and functionality, I guess that's the price to pay.
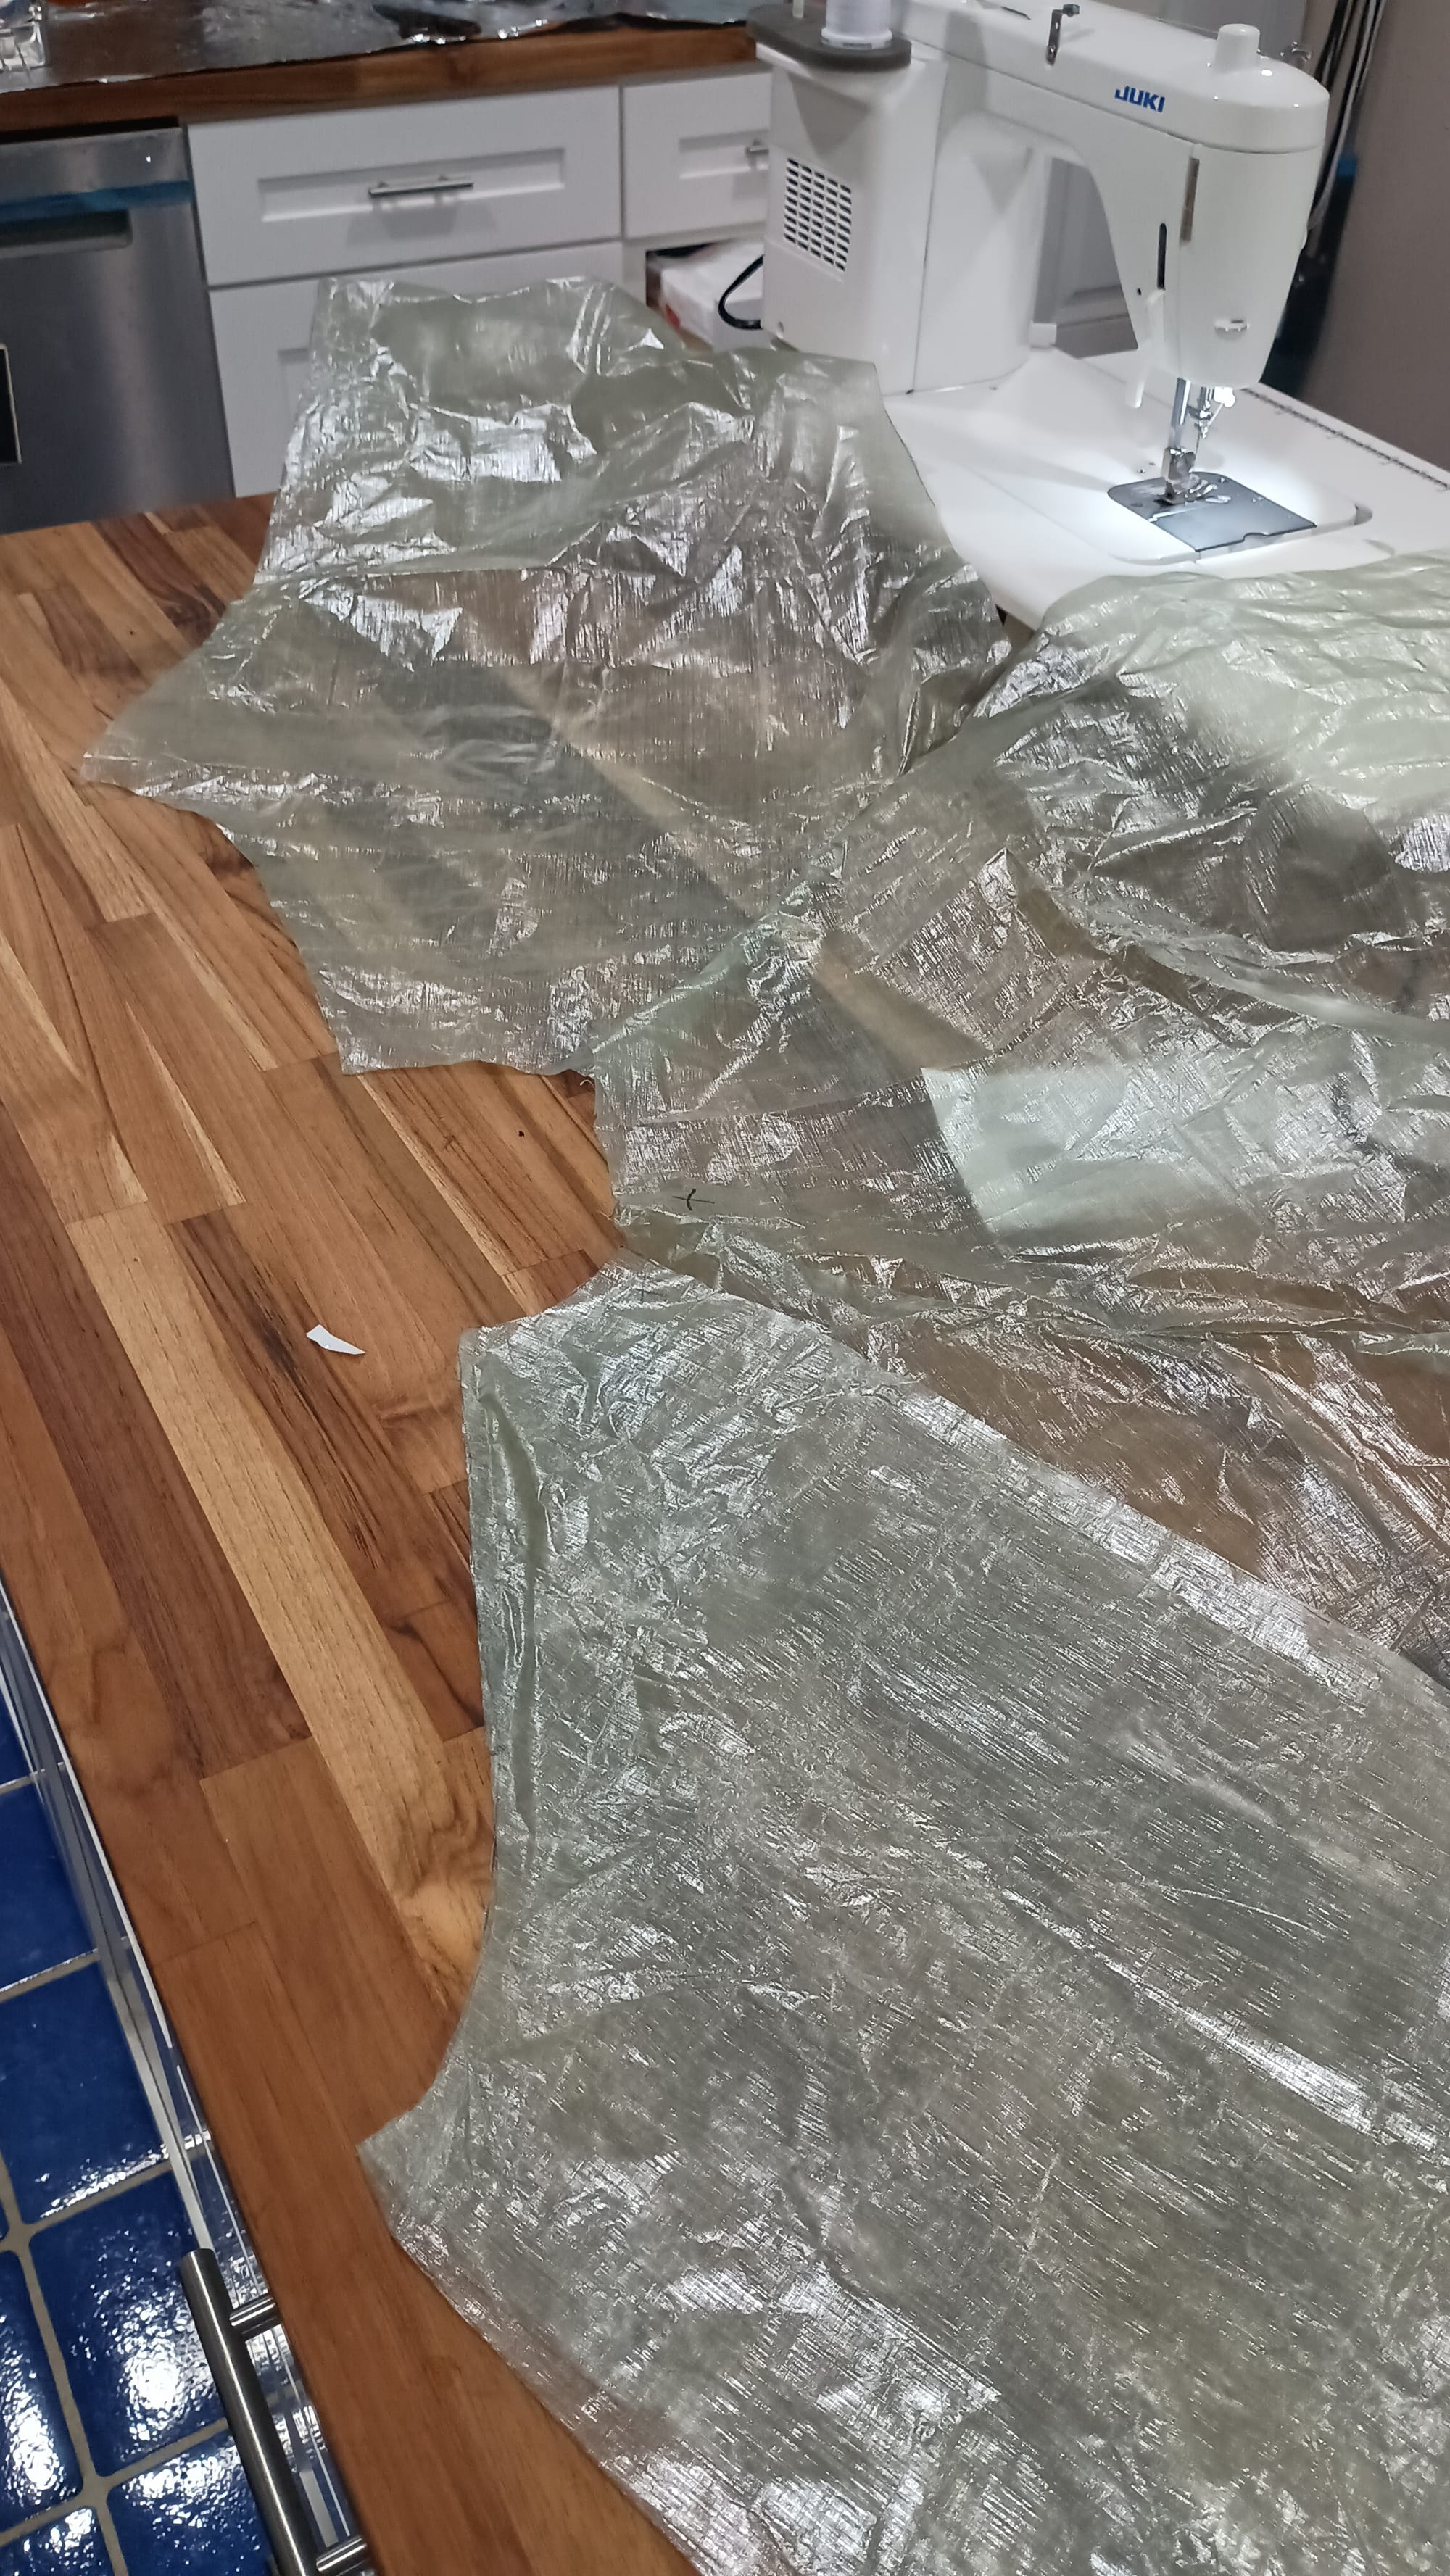
In preparation for constructing the jacket, I sliced the 1/2" double sided adhesive tape down the middle to make 2 x 1/4" strips since all of the seams on the jacket were 1/4" or 3/8" seam allowances. I should have used a different pair of scissors to do this than my good fabric scissors because after doing that they needed to be sharpened and would not cleanly cut the DCF. Oh well. I didn't get any pics of the cutting, or of the sewing of the interfacing to the pieces that needed it. I remembered as soon as I started assembling.
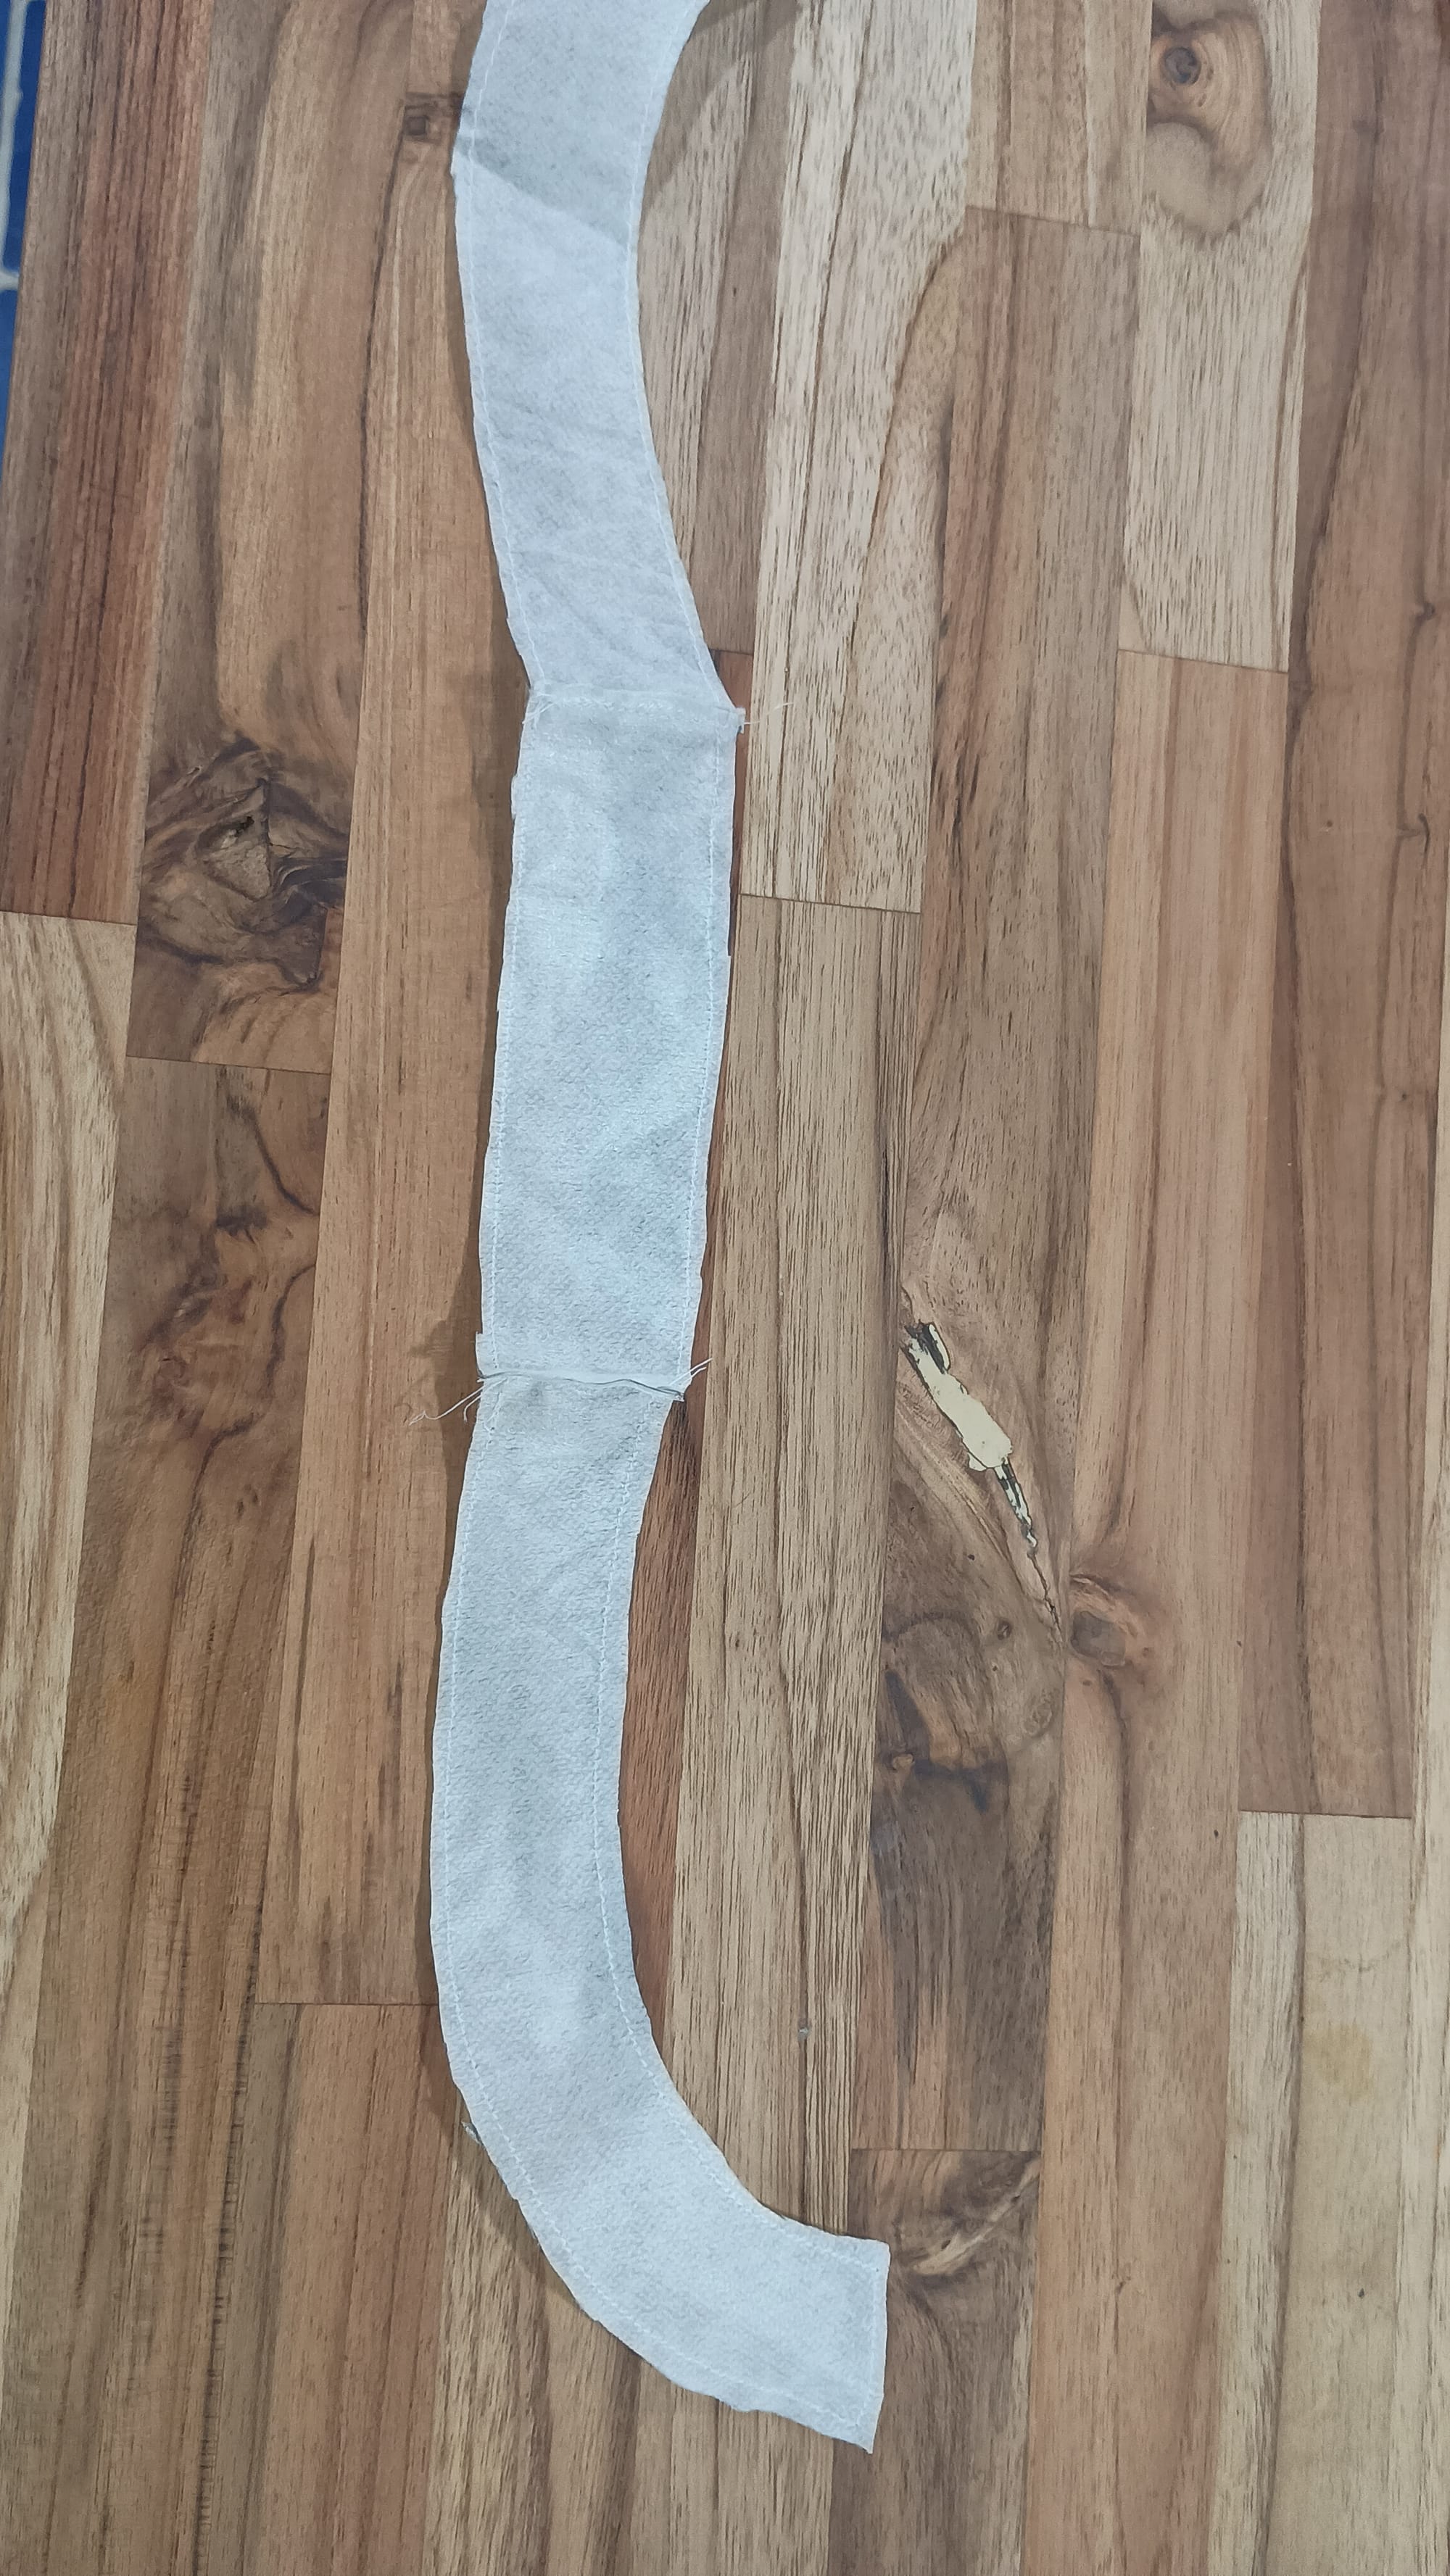
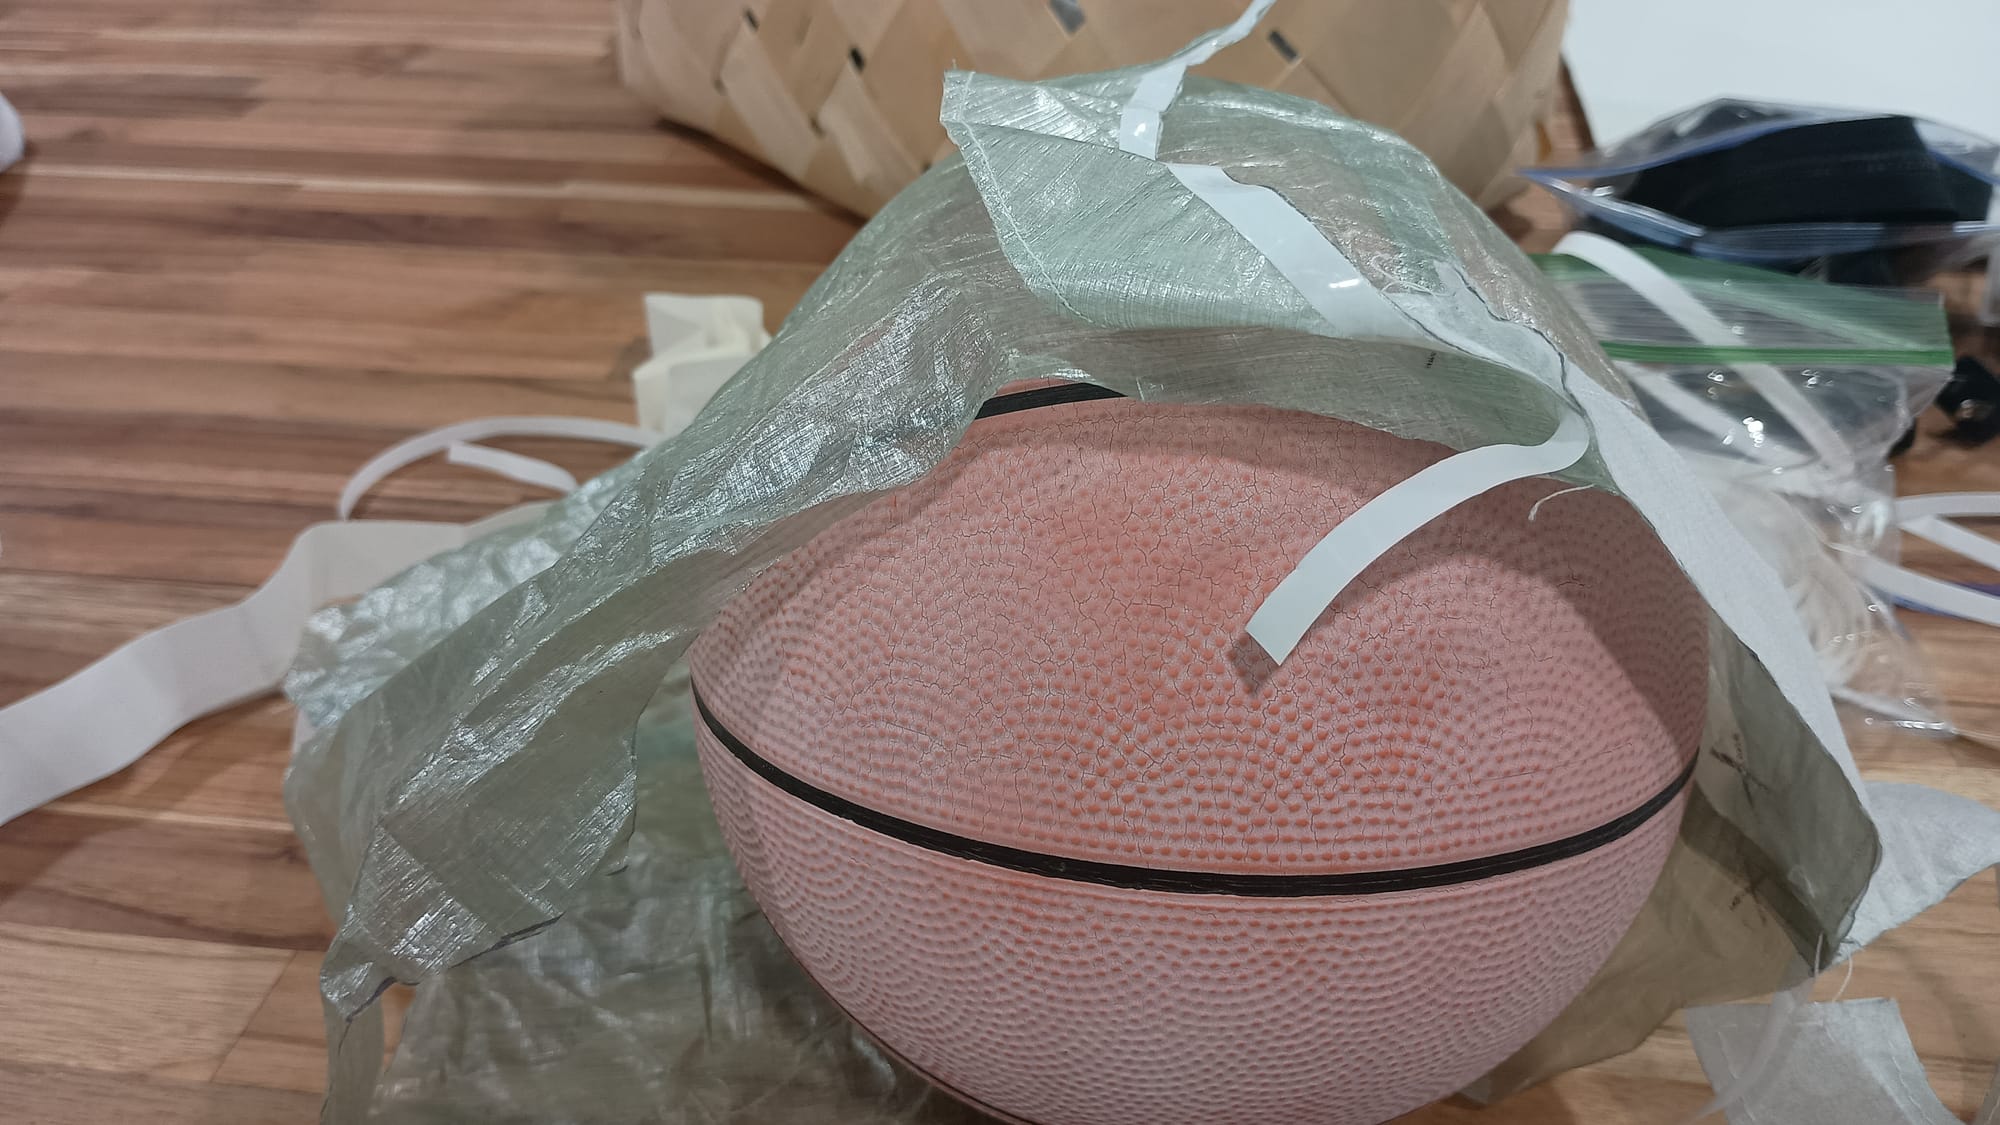
I find DCF projects with the double sided tape are actually easier than normal fabric. The double sided tape makes assembling the pieces quite easy - far easier than pinning things together. One challenge I found, however, is that because DCF does not stretch AT ALL, going around curves and complex 3D shapes becomes very difficult / impossible to get things to look nice without puckers and wrinkles. And getting something to work against when the garment is 3D can be a challenge - hence the mini basketball I used as a surrogate for my head.
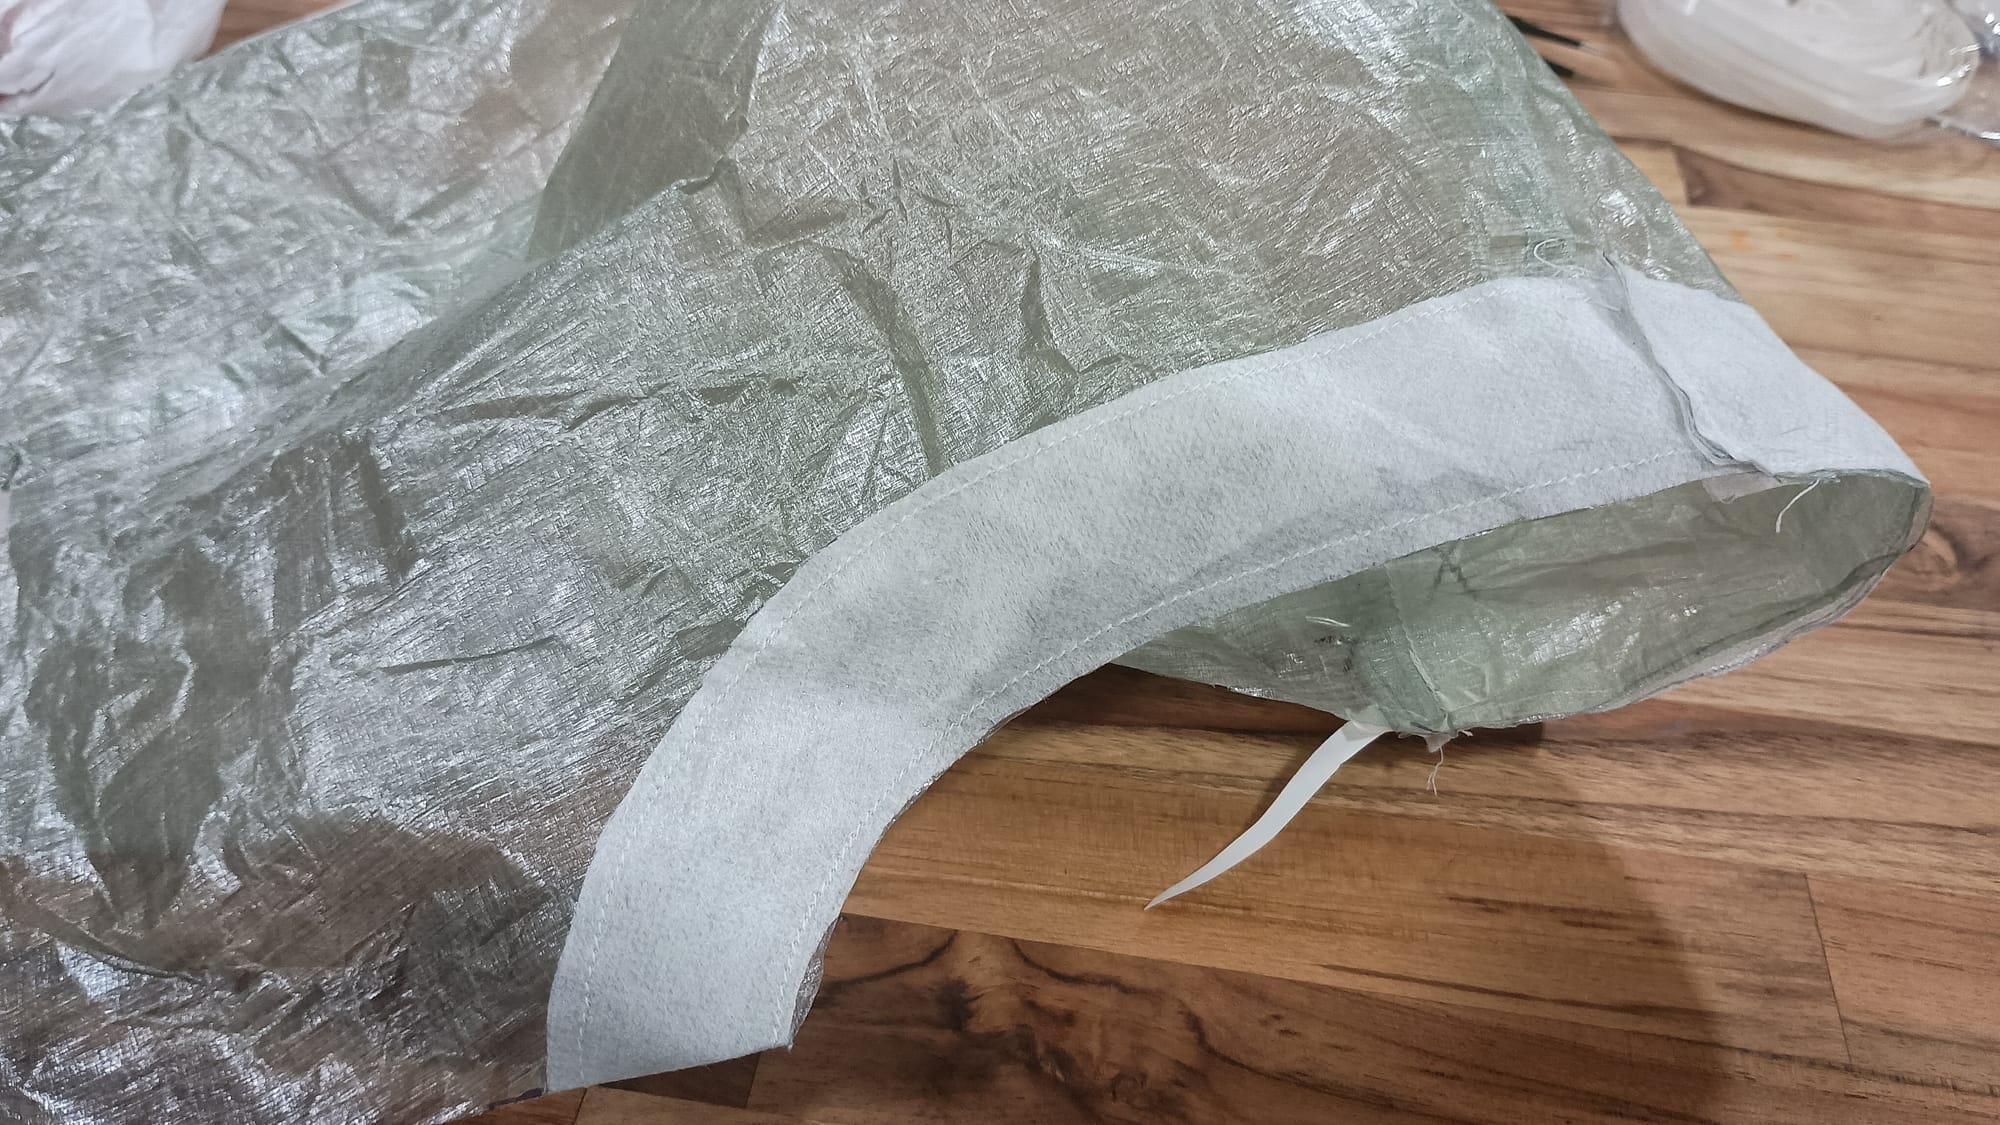

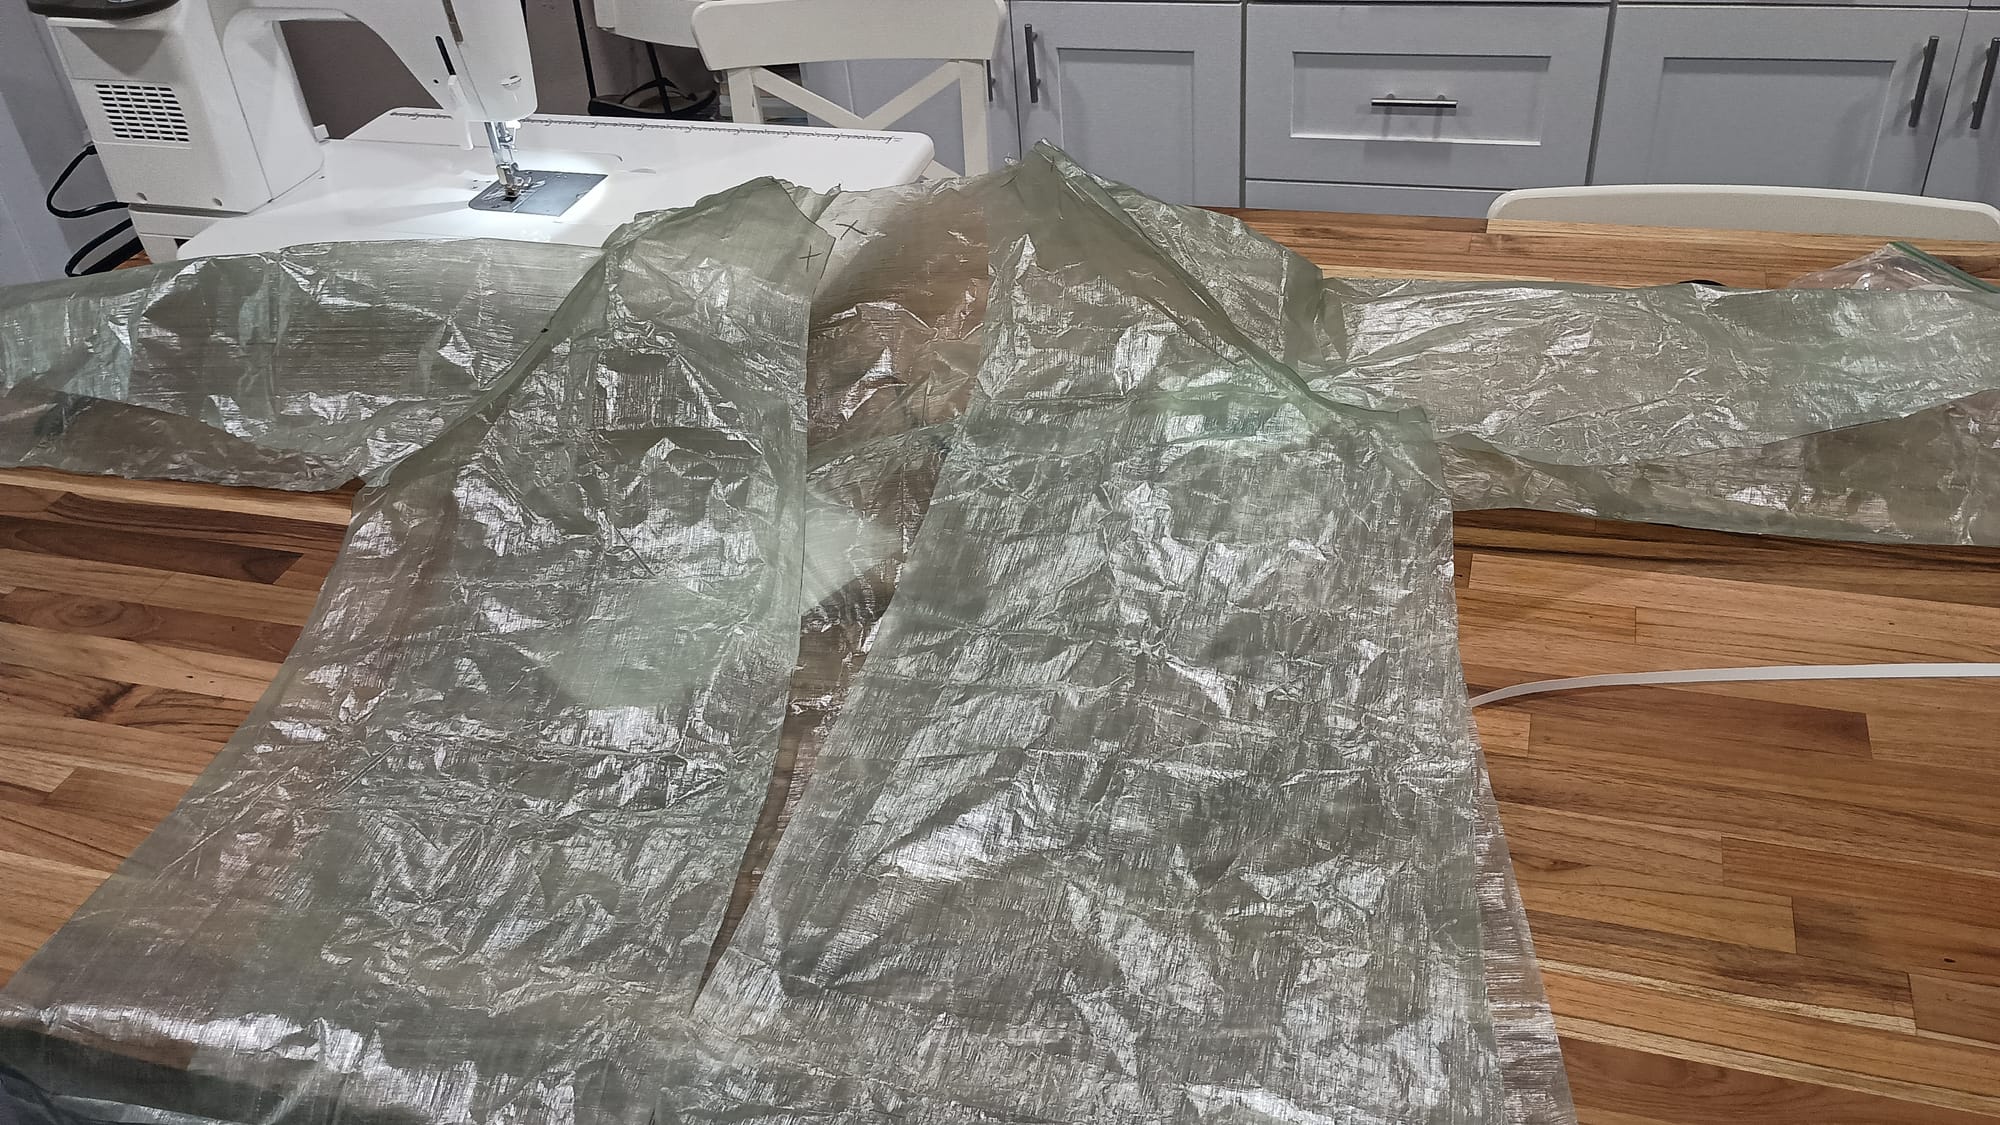
Assembling the big seams was as easy as transferring sharpie alignment dots from the patterns onto the pieces, making sure the proper sides were facing each other (right side vs wrong side of fabric), installing one side of the double sided tape along the seam to be assembled, carefully peeling off the other side, then aligning dots and sticking edges together.
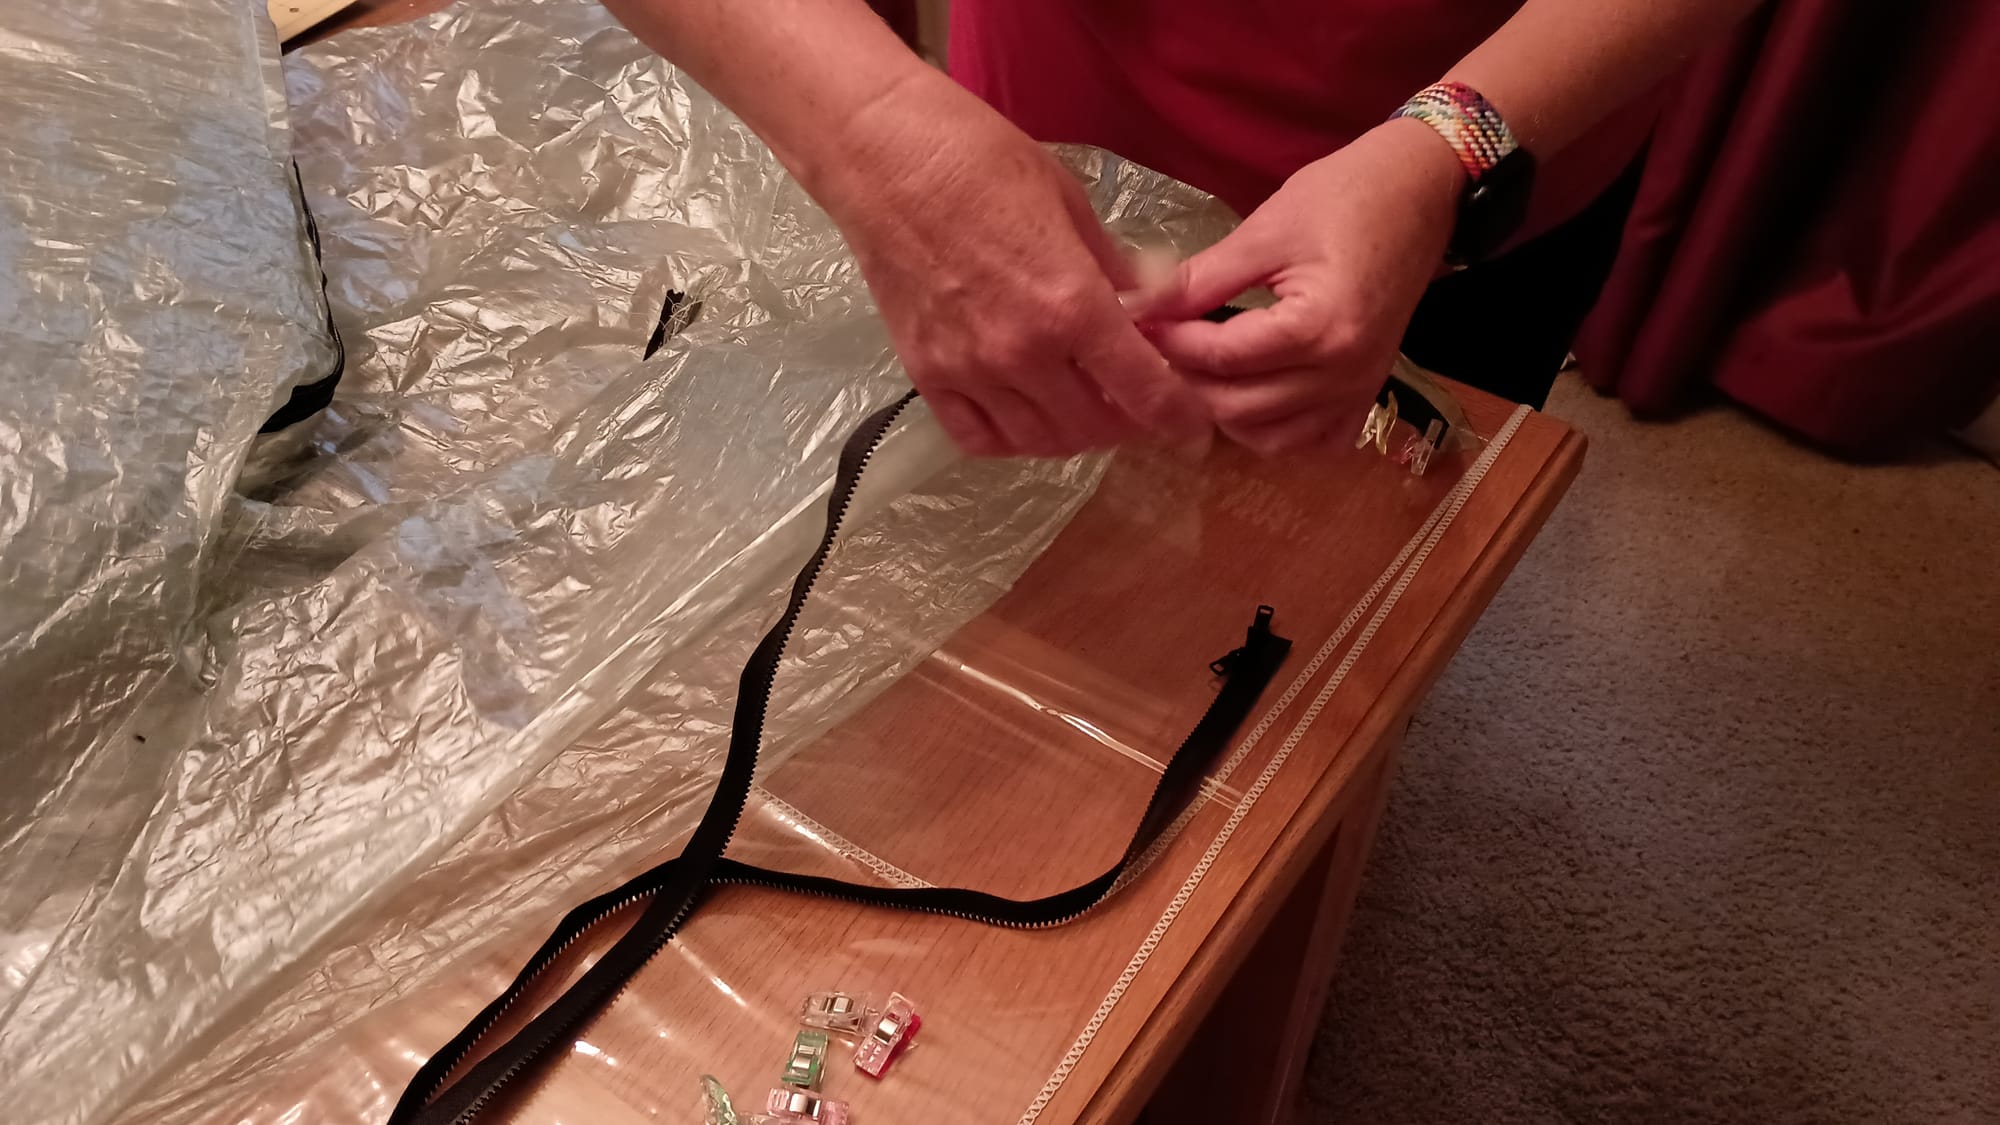
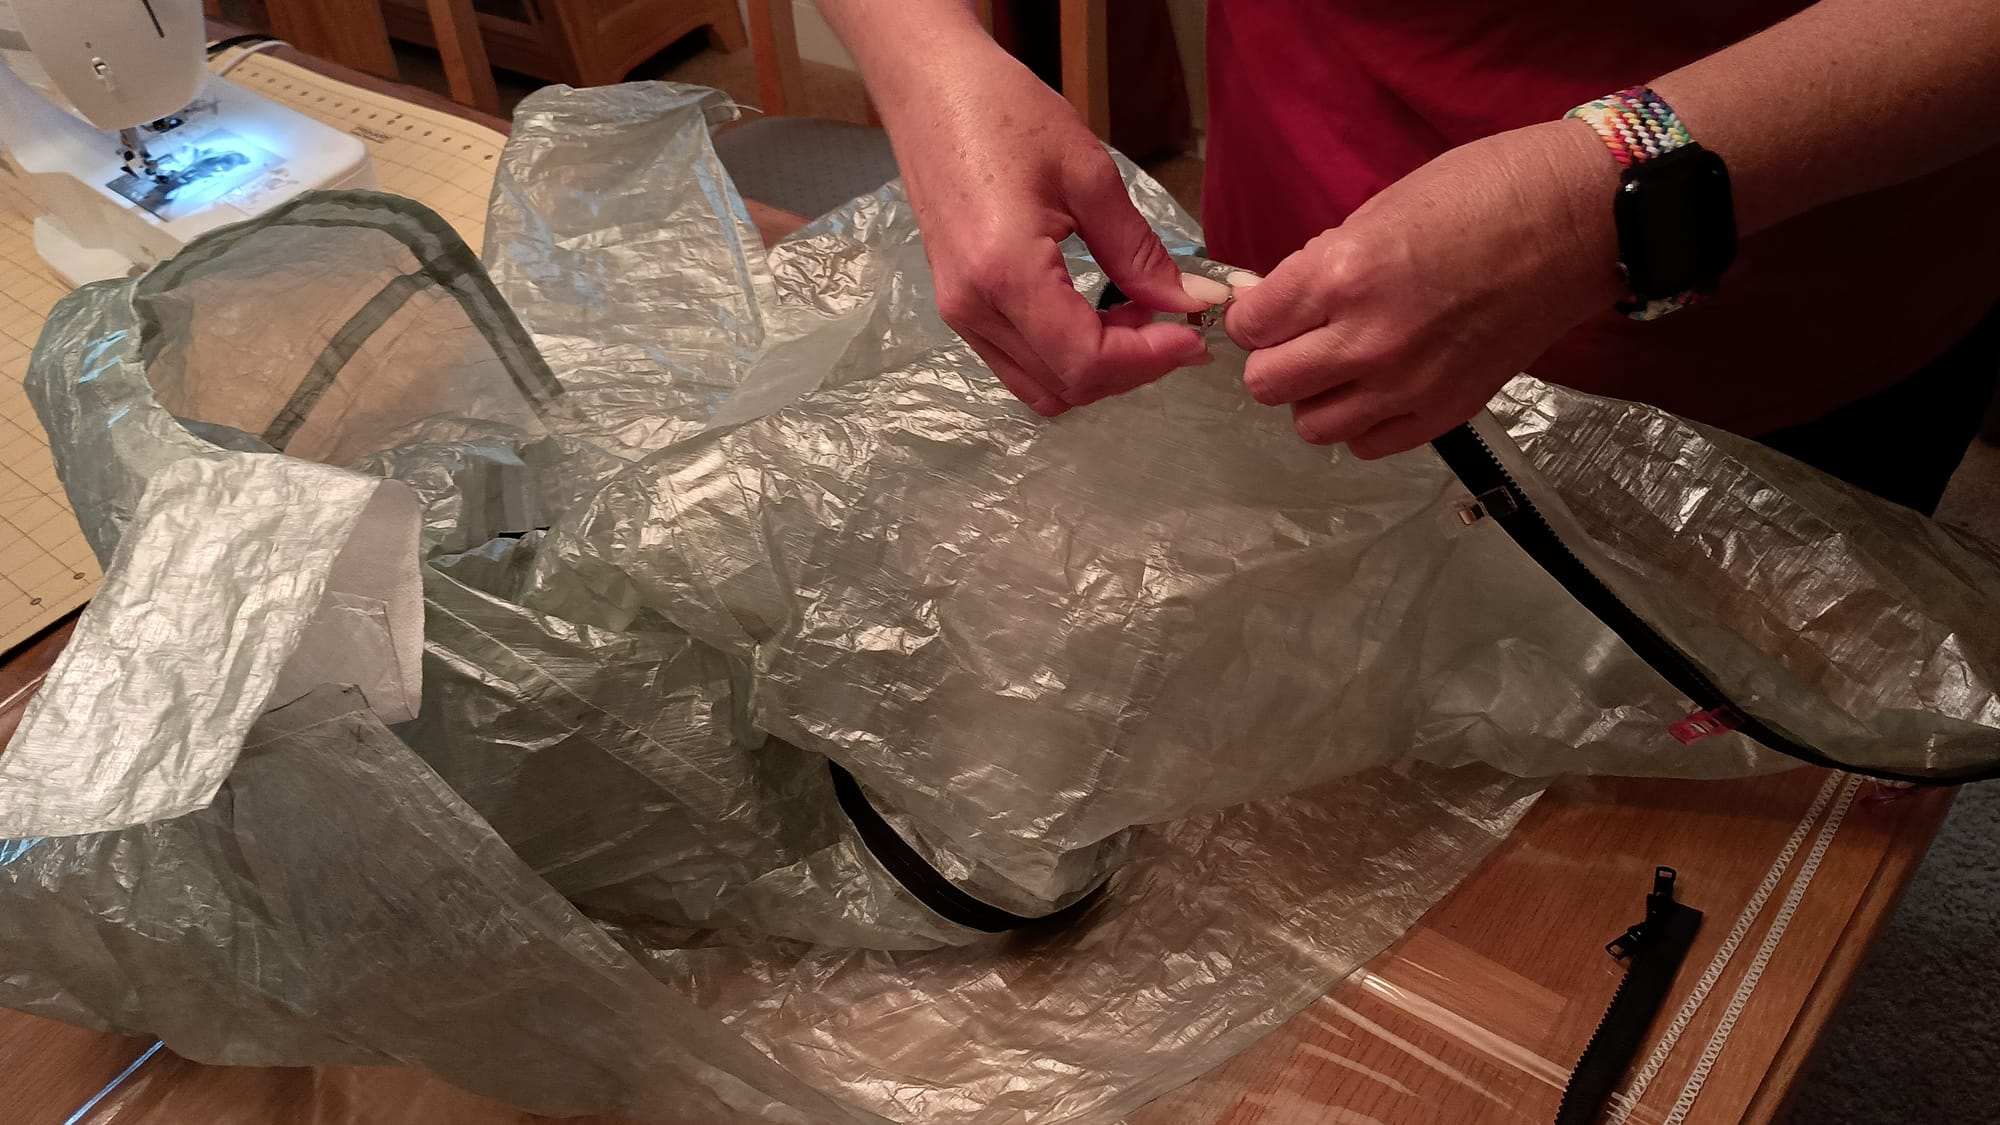
Installing Zippers and Final Assembly
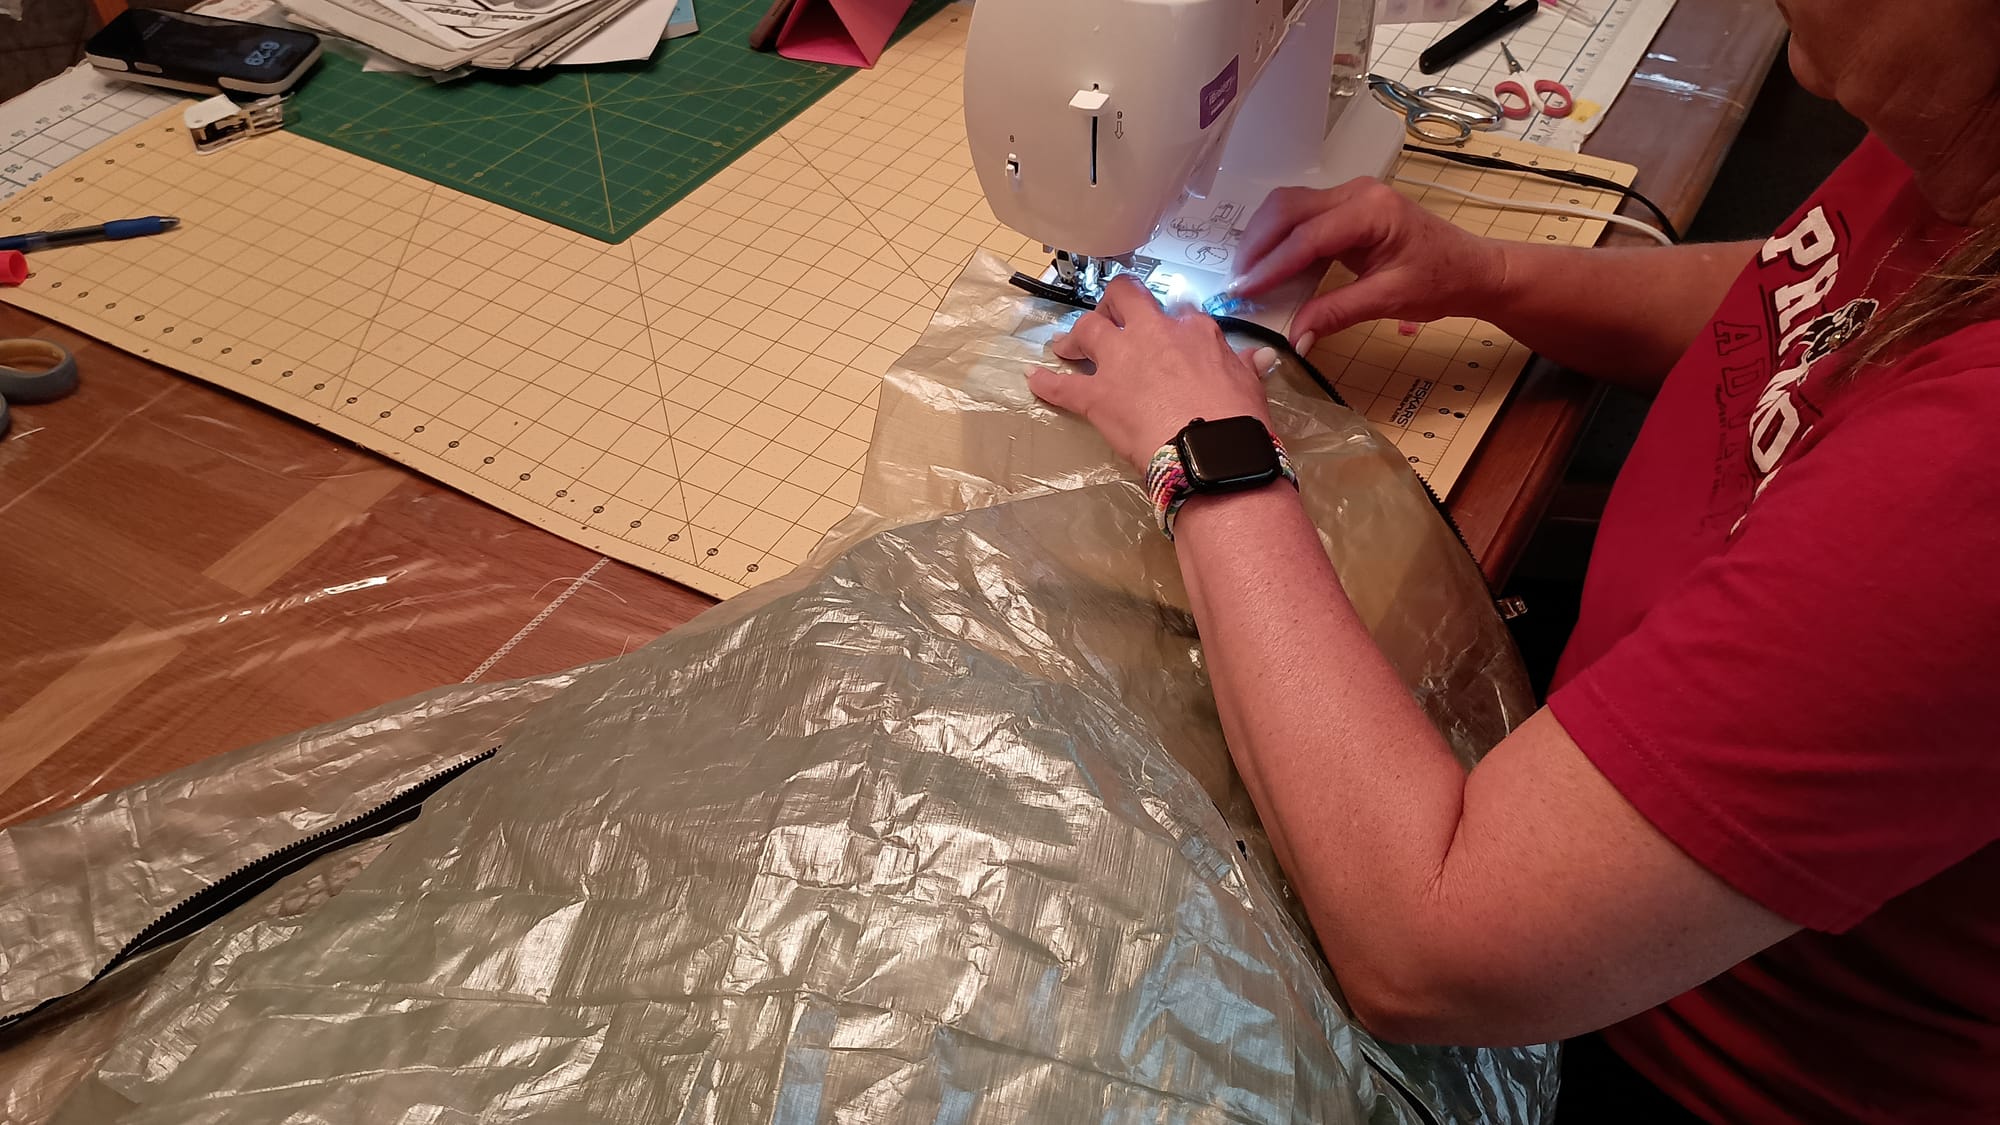
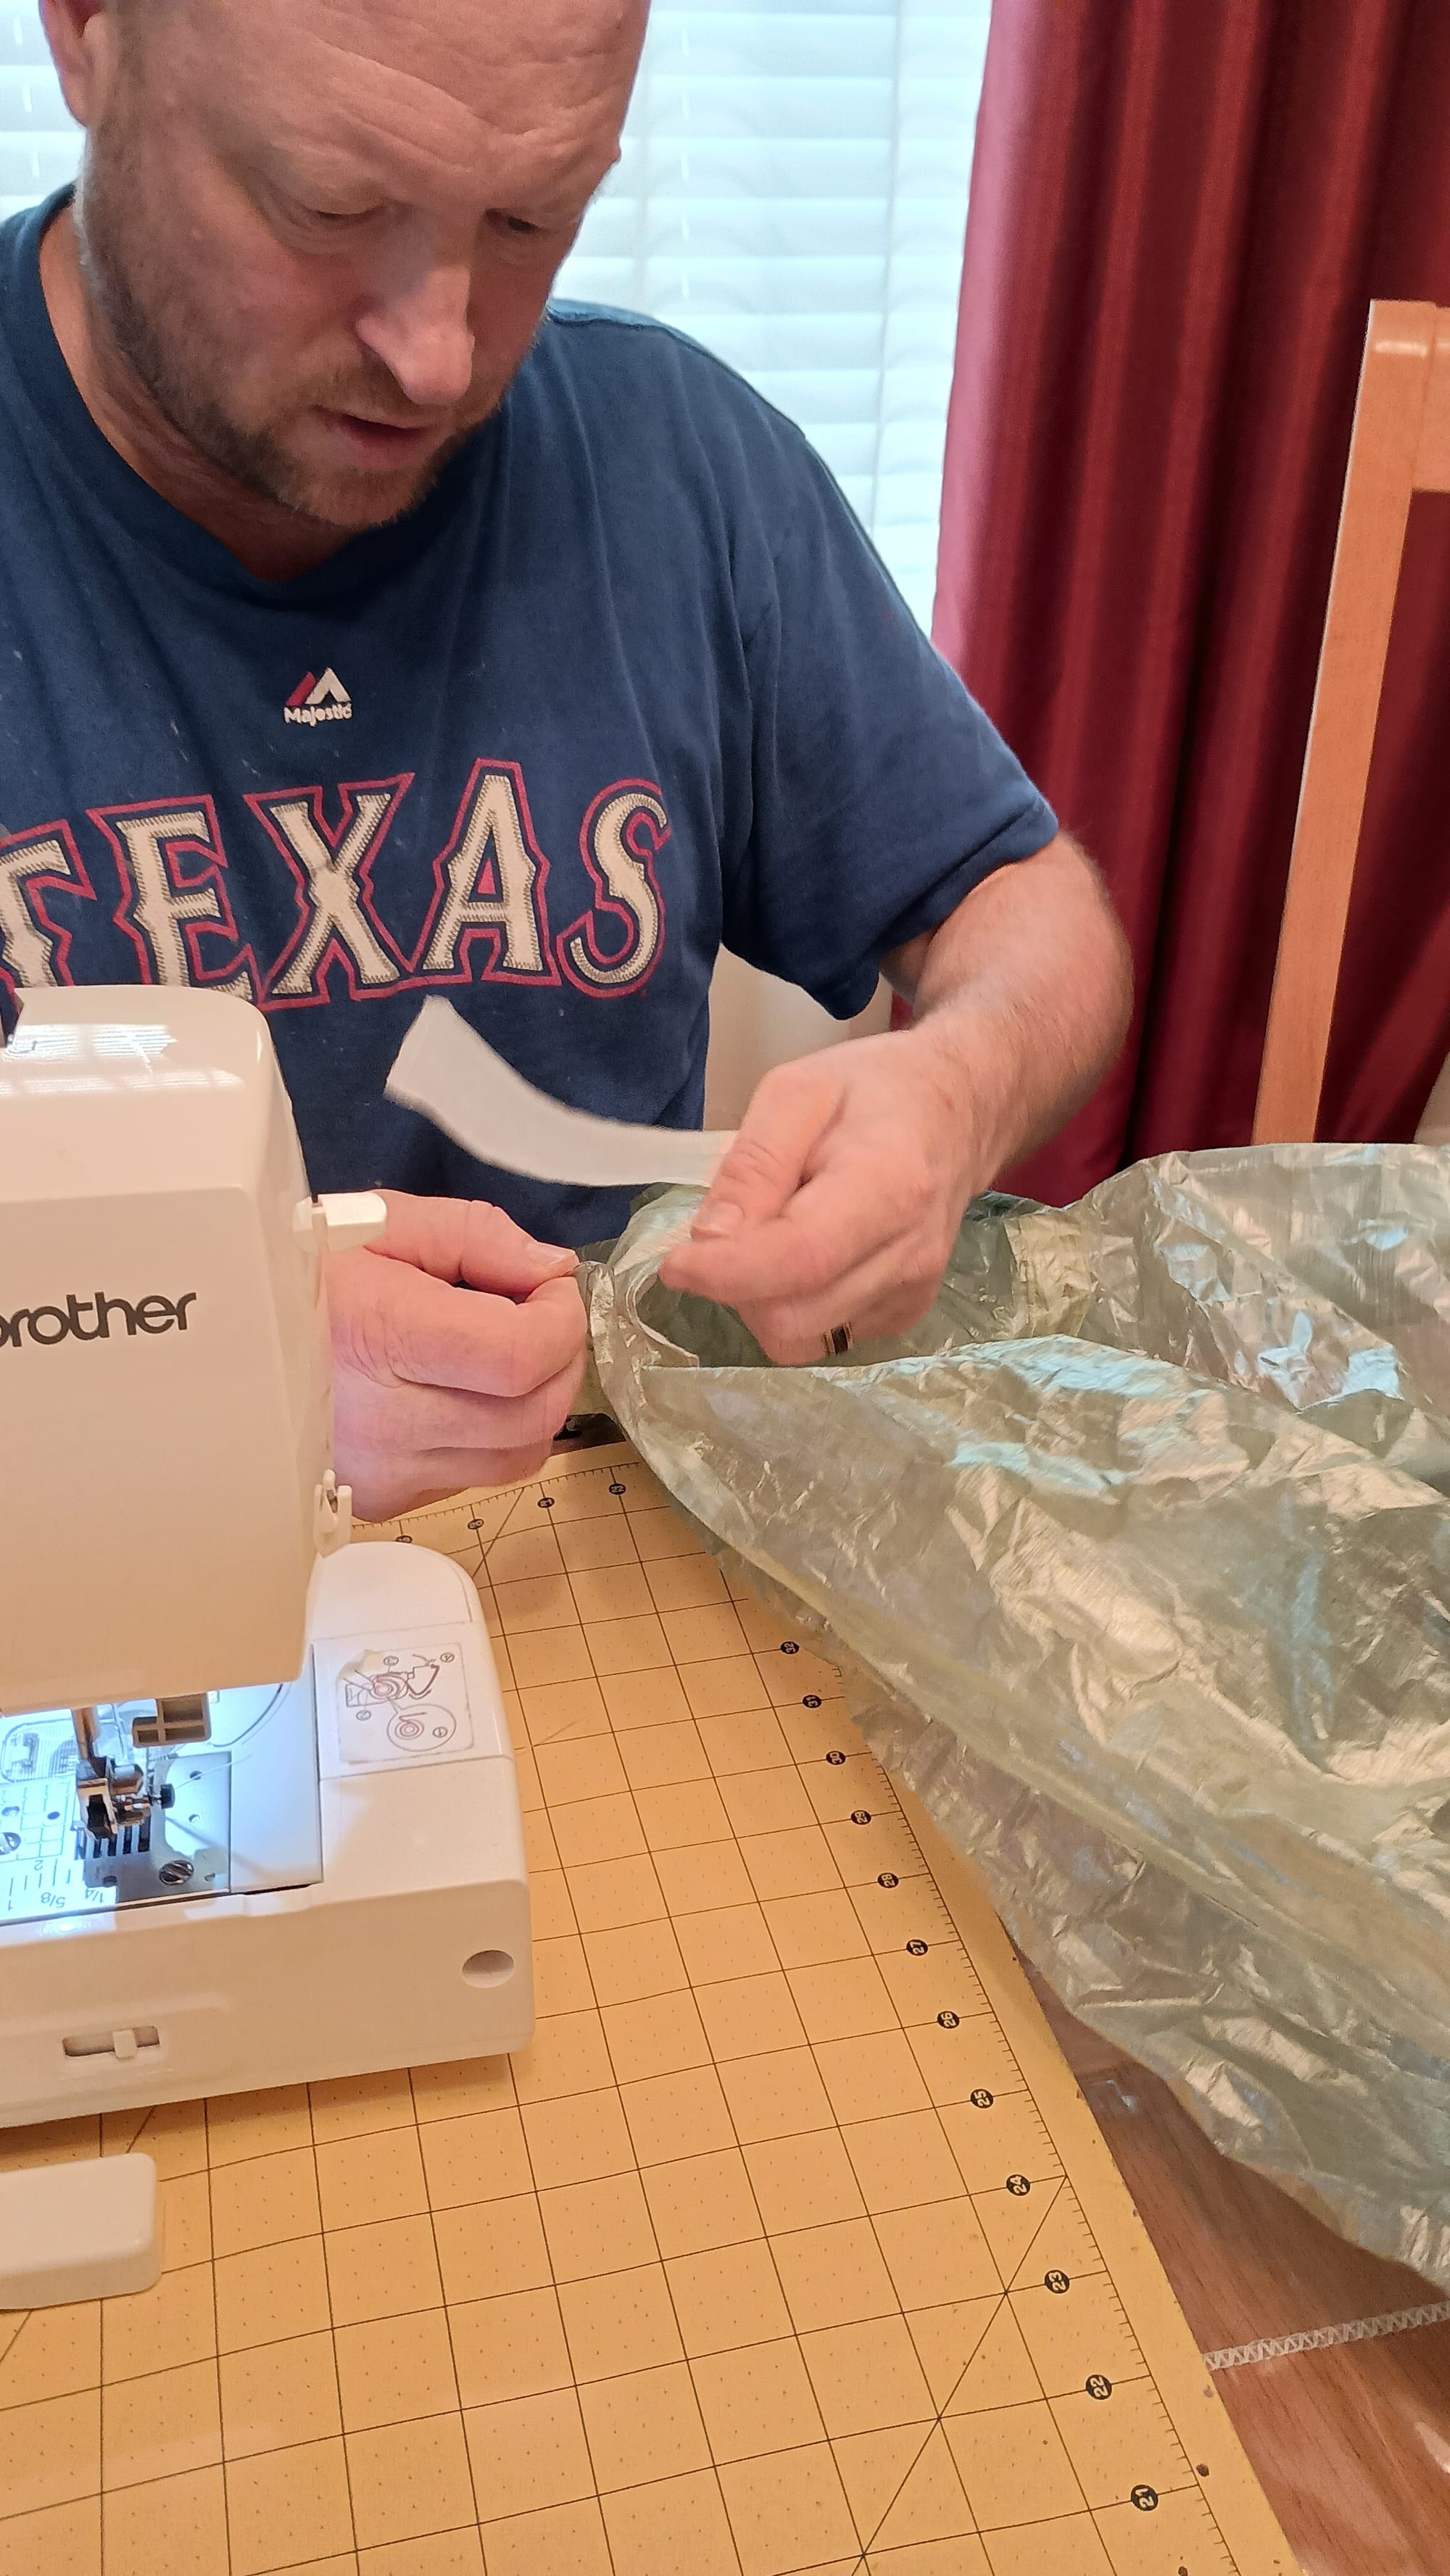
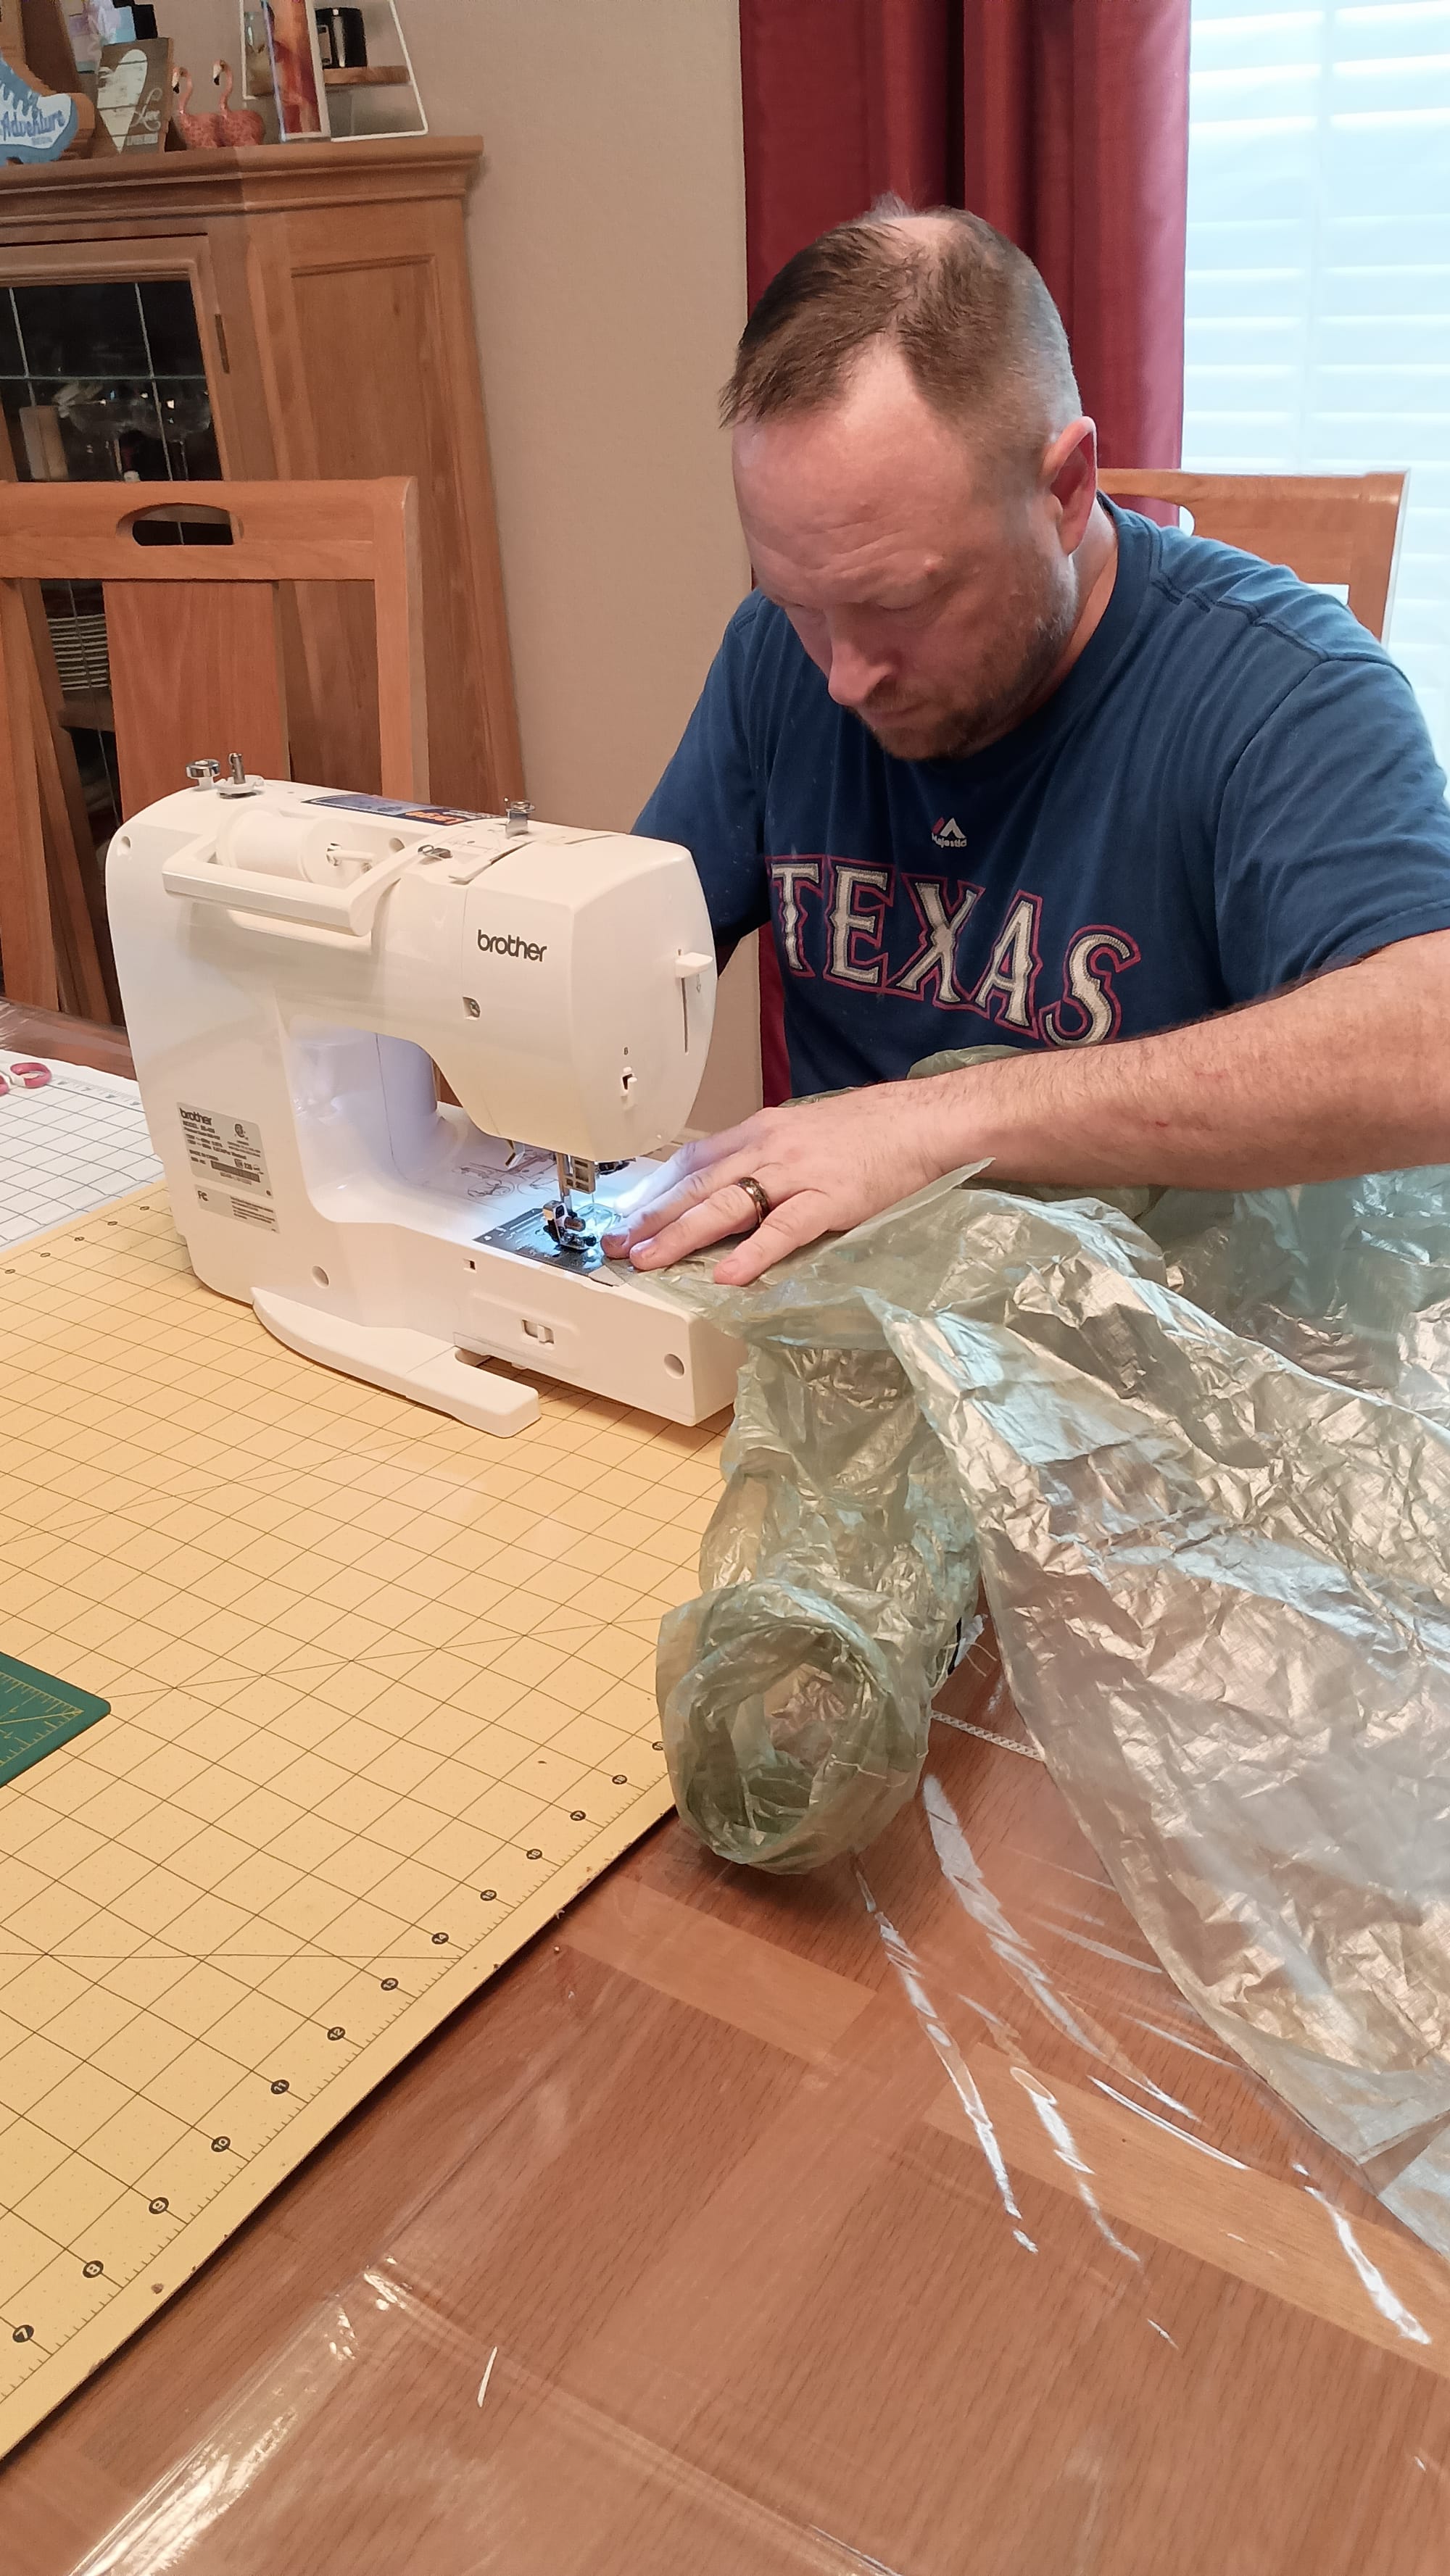
This is the part that I needed Stephanie to help with. Zippers are.... tricky. At least for someone who hasn't worked with them before. Thankfully she did the hard stuff - and it turned out great! Once she put those in, I did the remaining seams, attached the hood, and top stitching.
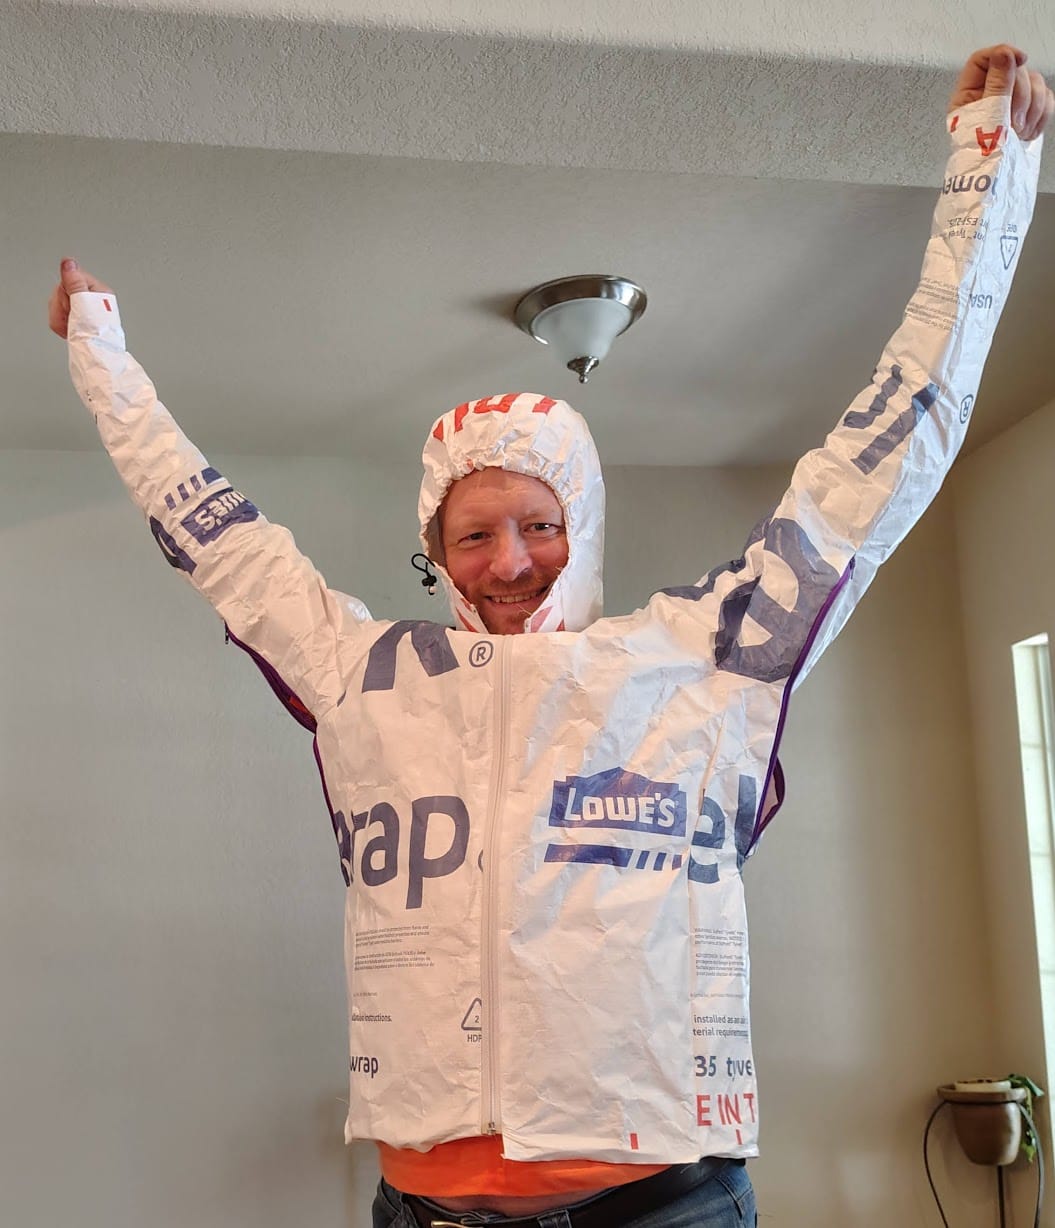
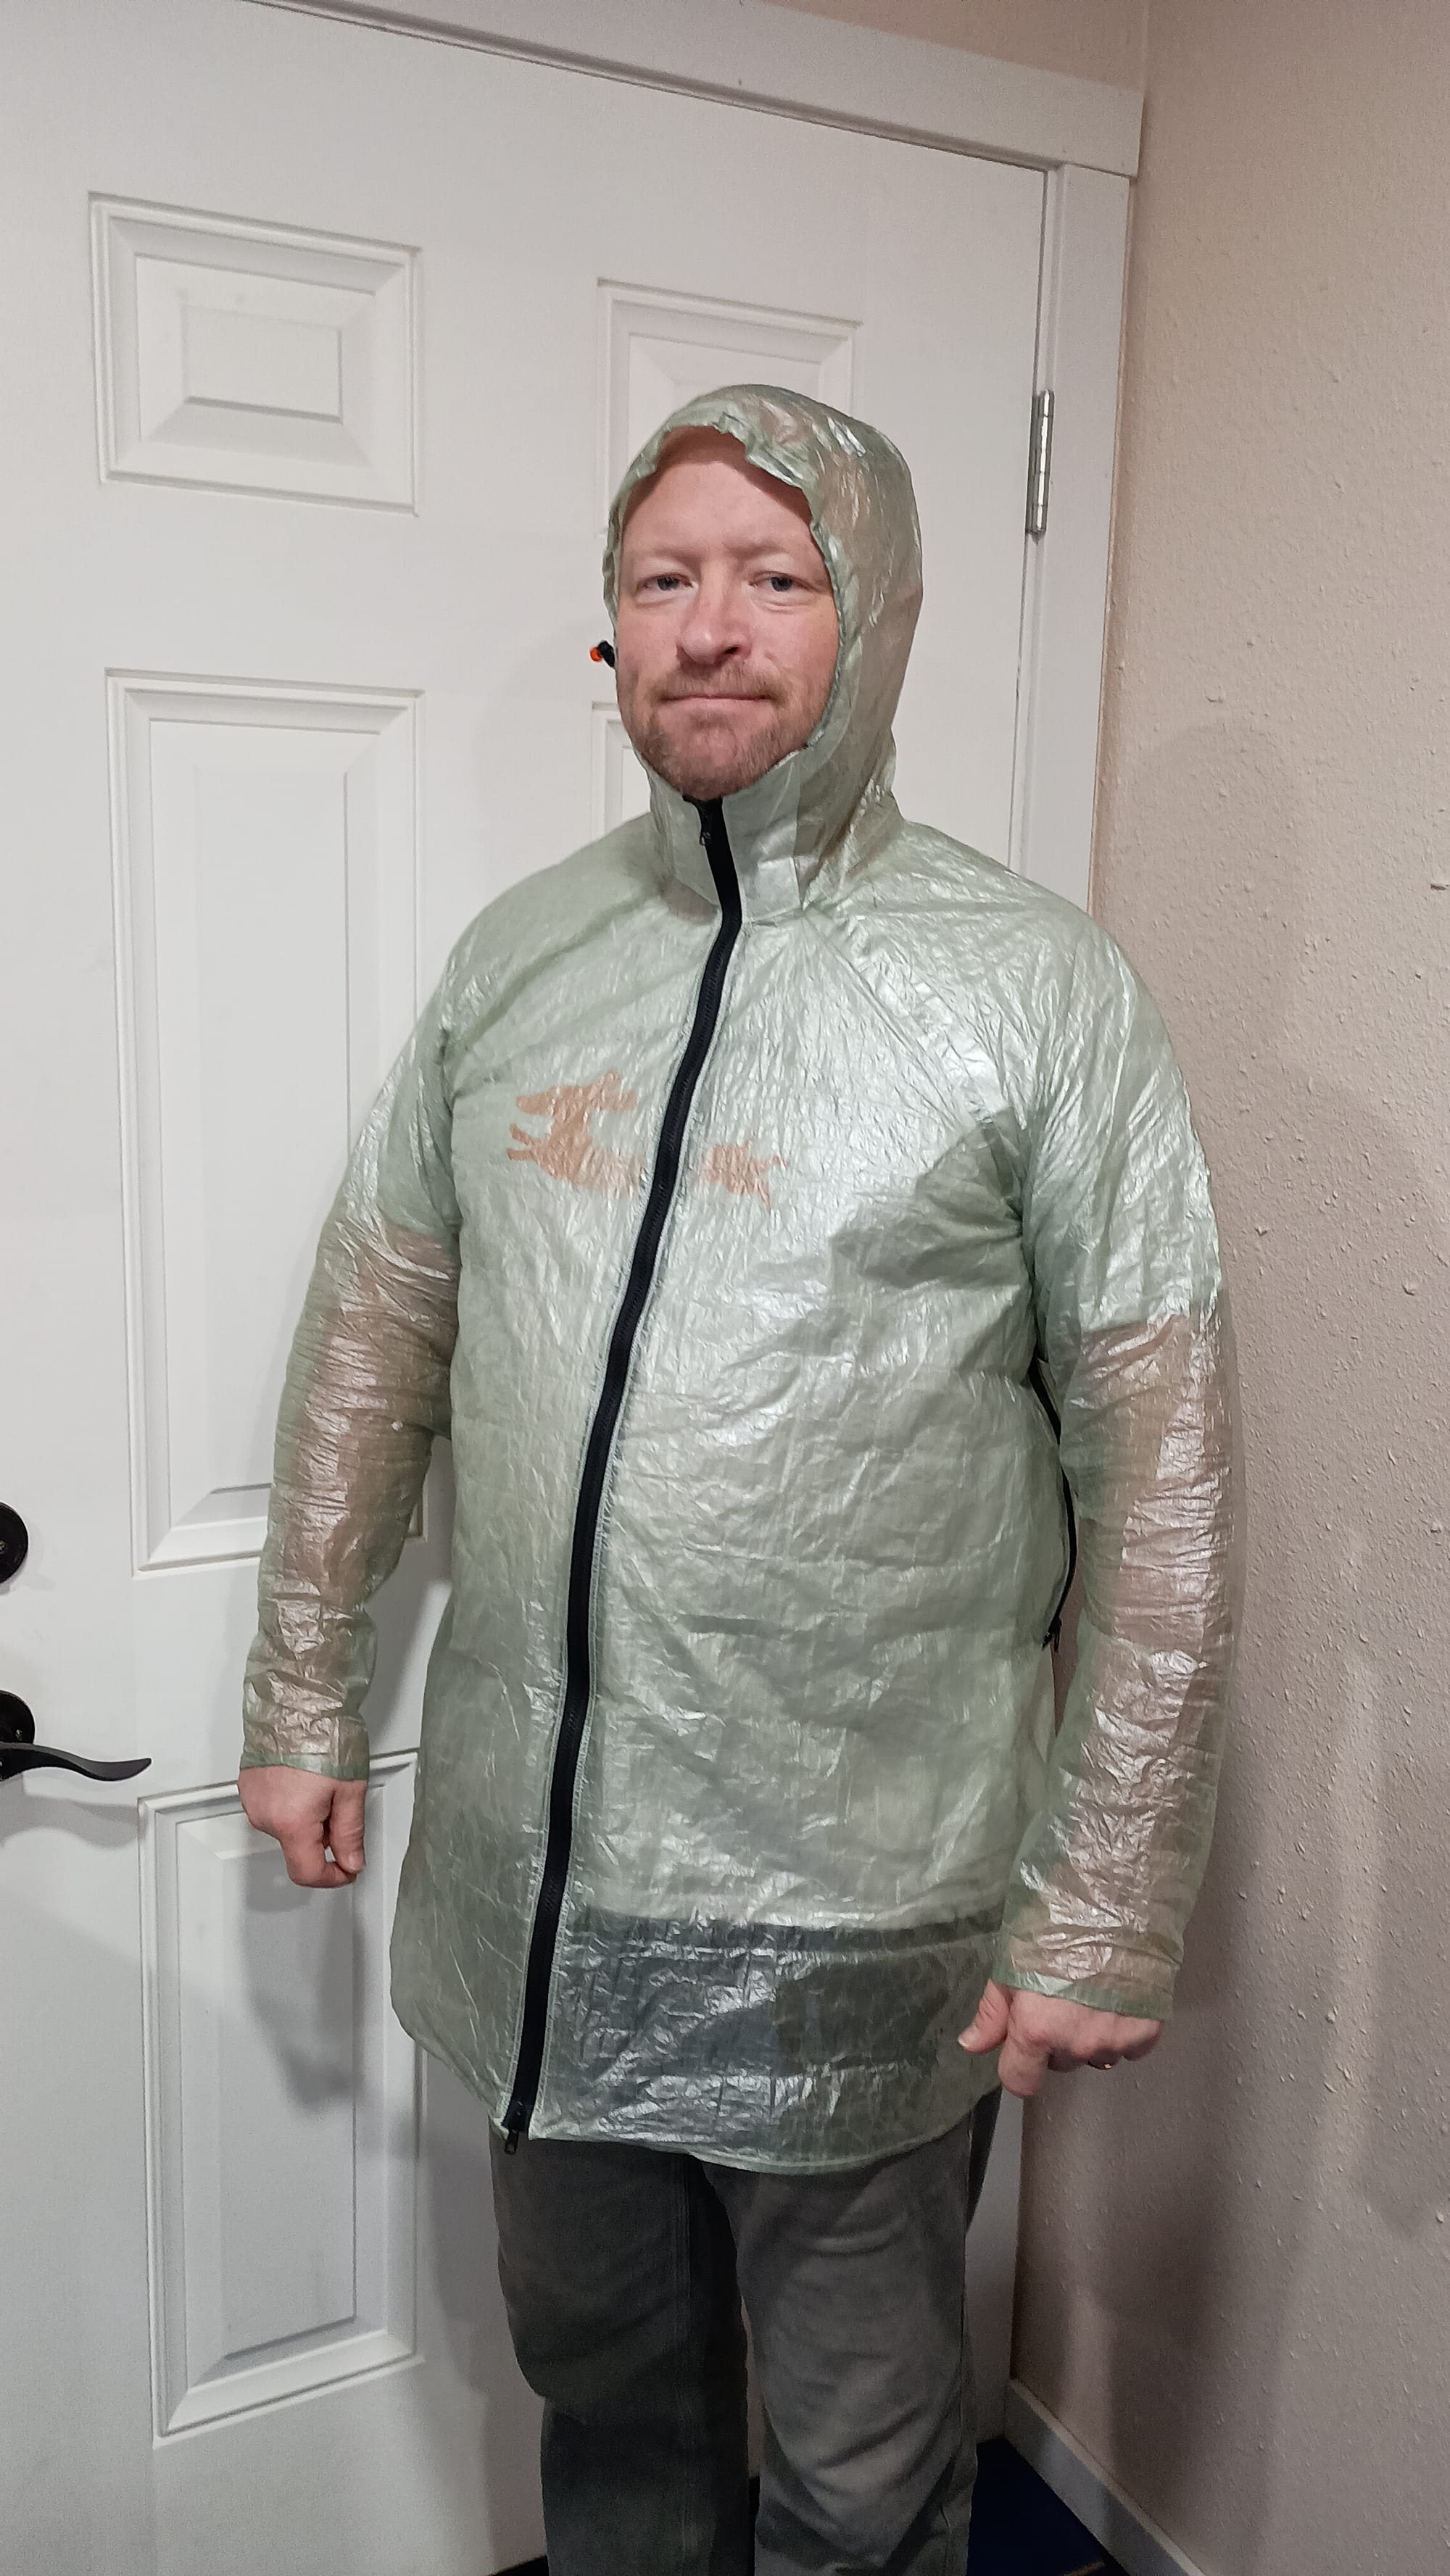
Trying it on
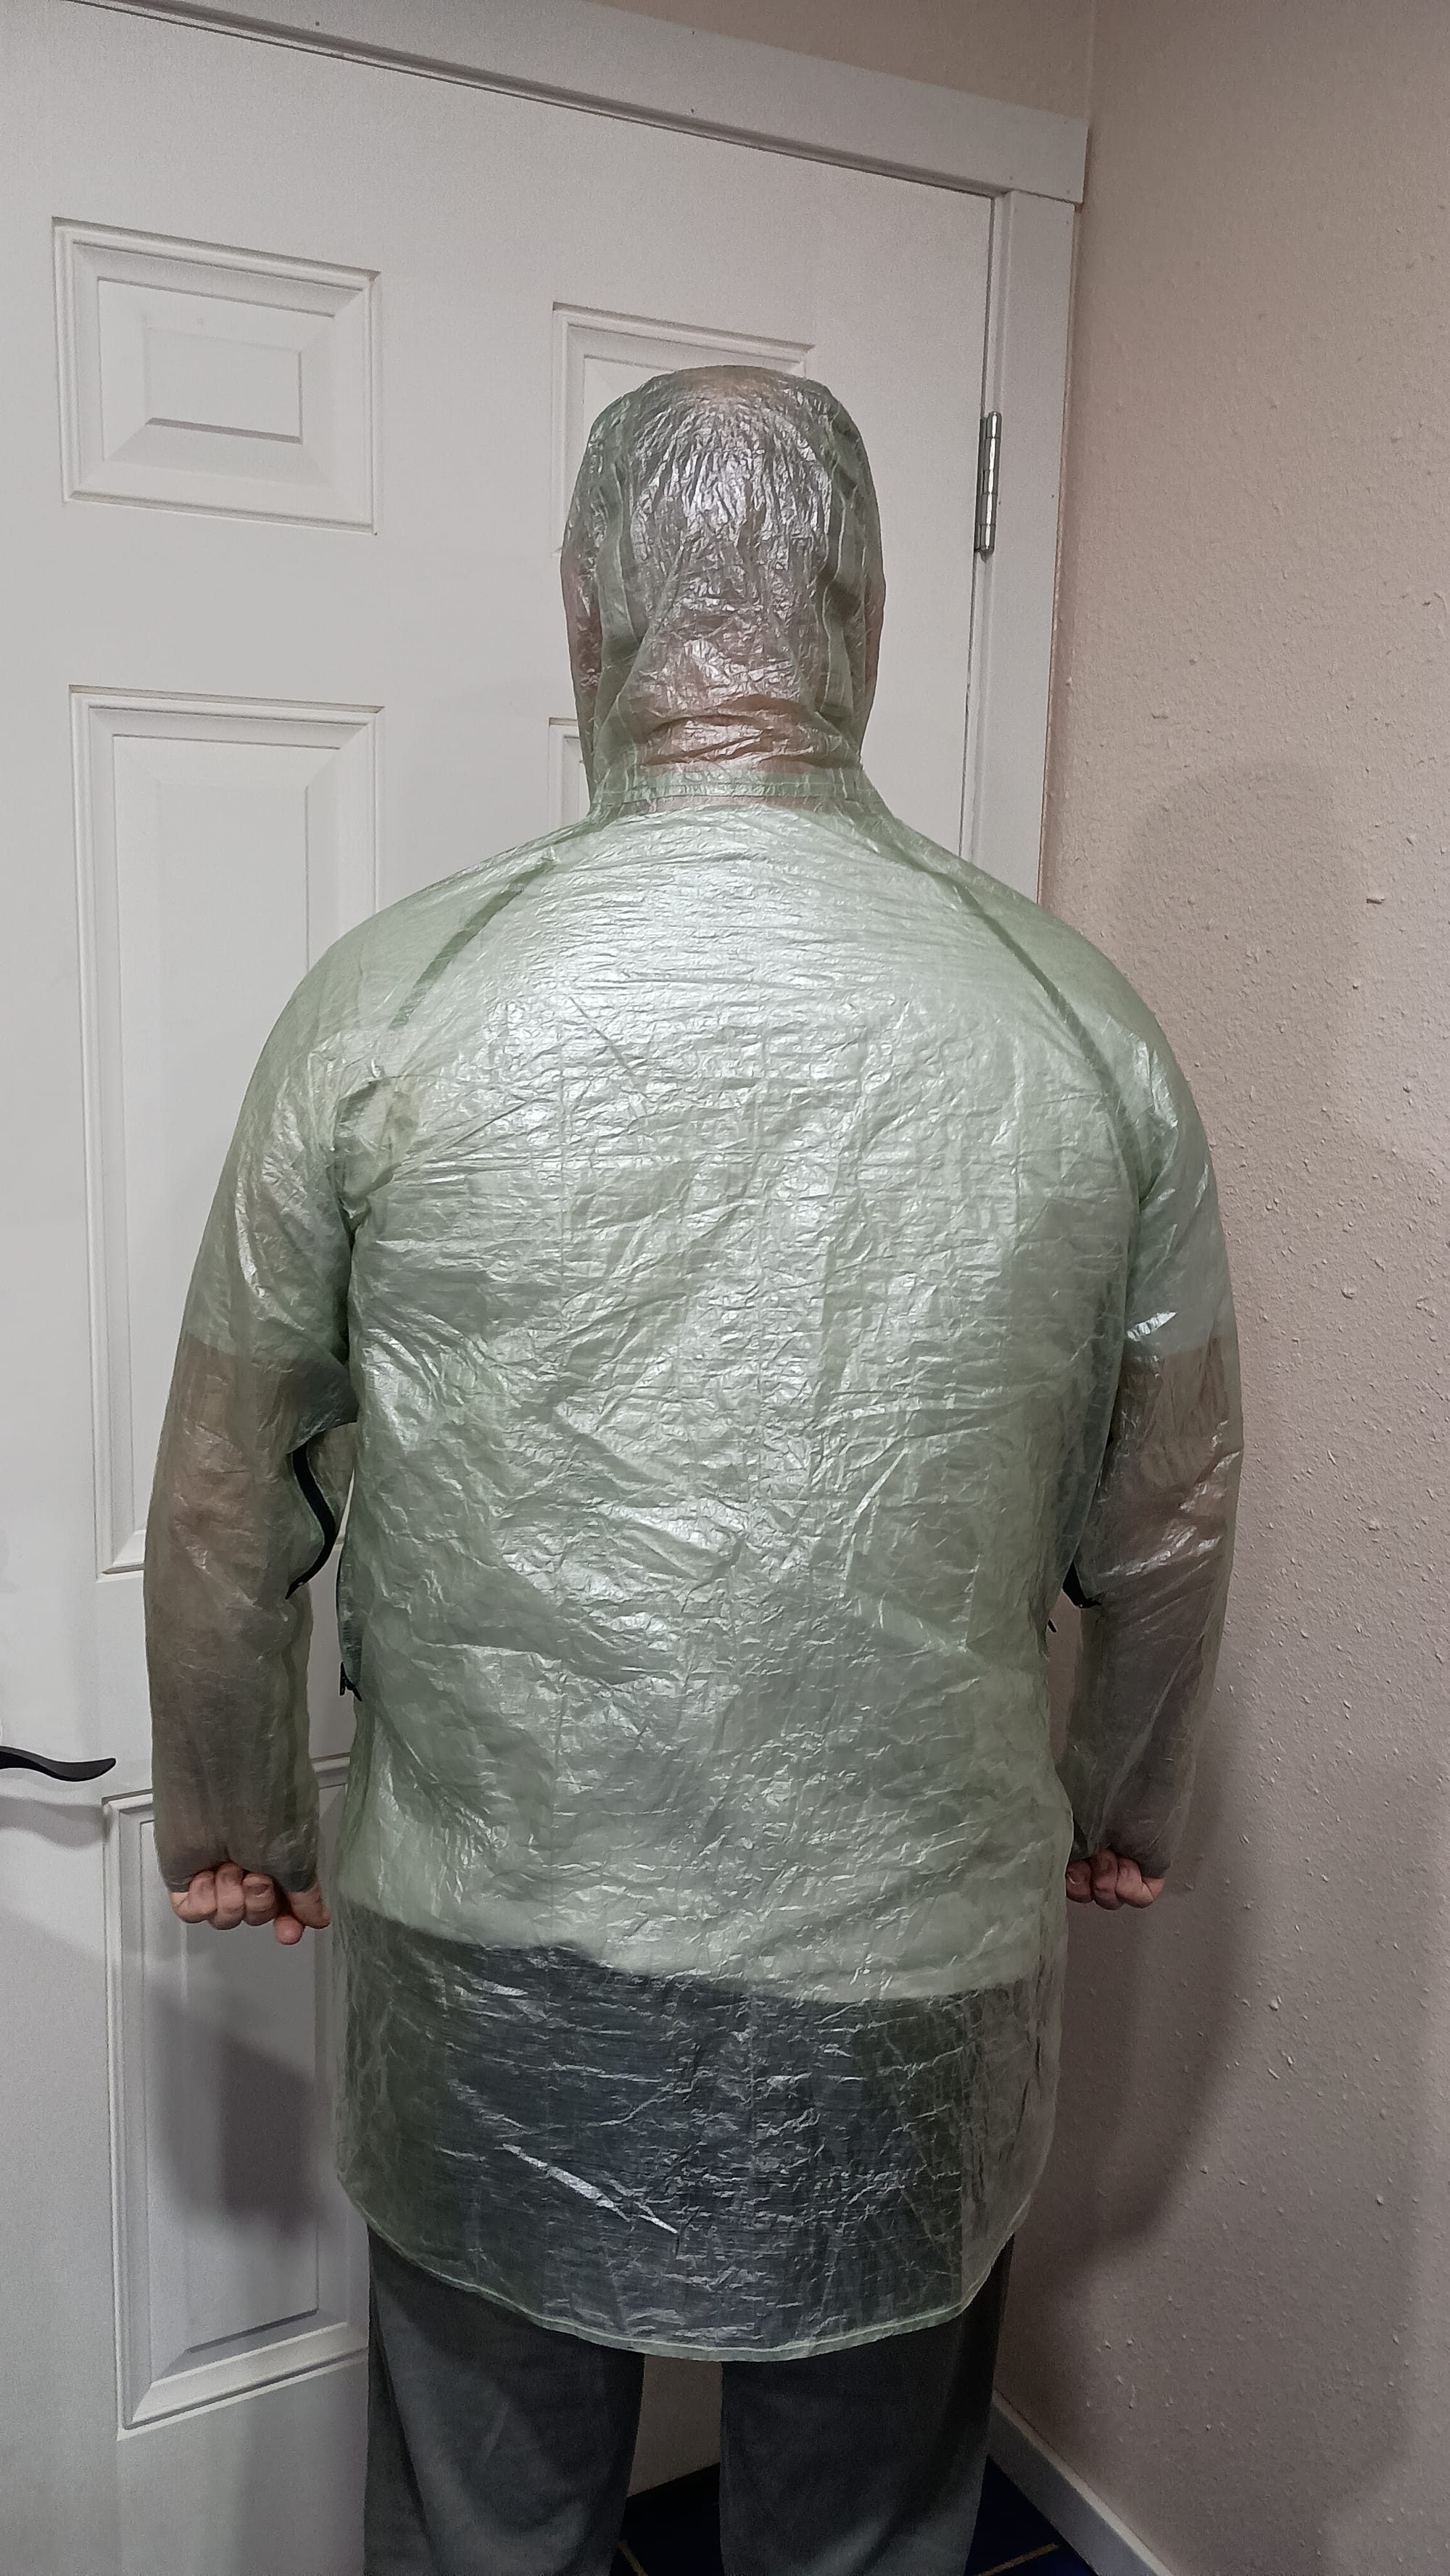
Fits great! I'm so happy I added overall length, and splurged on the 2-way zipper. The extra length covers my butt and will add some overlap with the kilt.
Lessons Learned
- DCF does not stretch AT ALL, so your pattern needs to be dead-nuts perfect. Even then, where curves meet, you will likely get puckering and pleating.
- Seam sealing tape doesn't stretch either! And it's wider, so that makes negotiating some of the curved seams a challenge
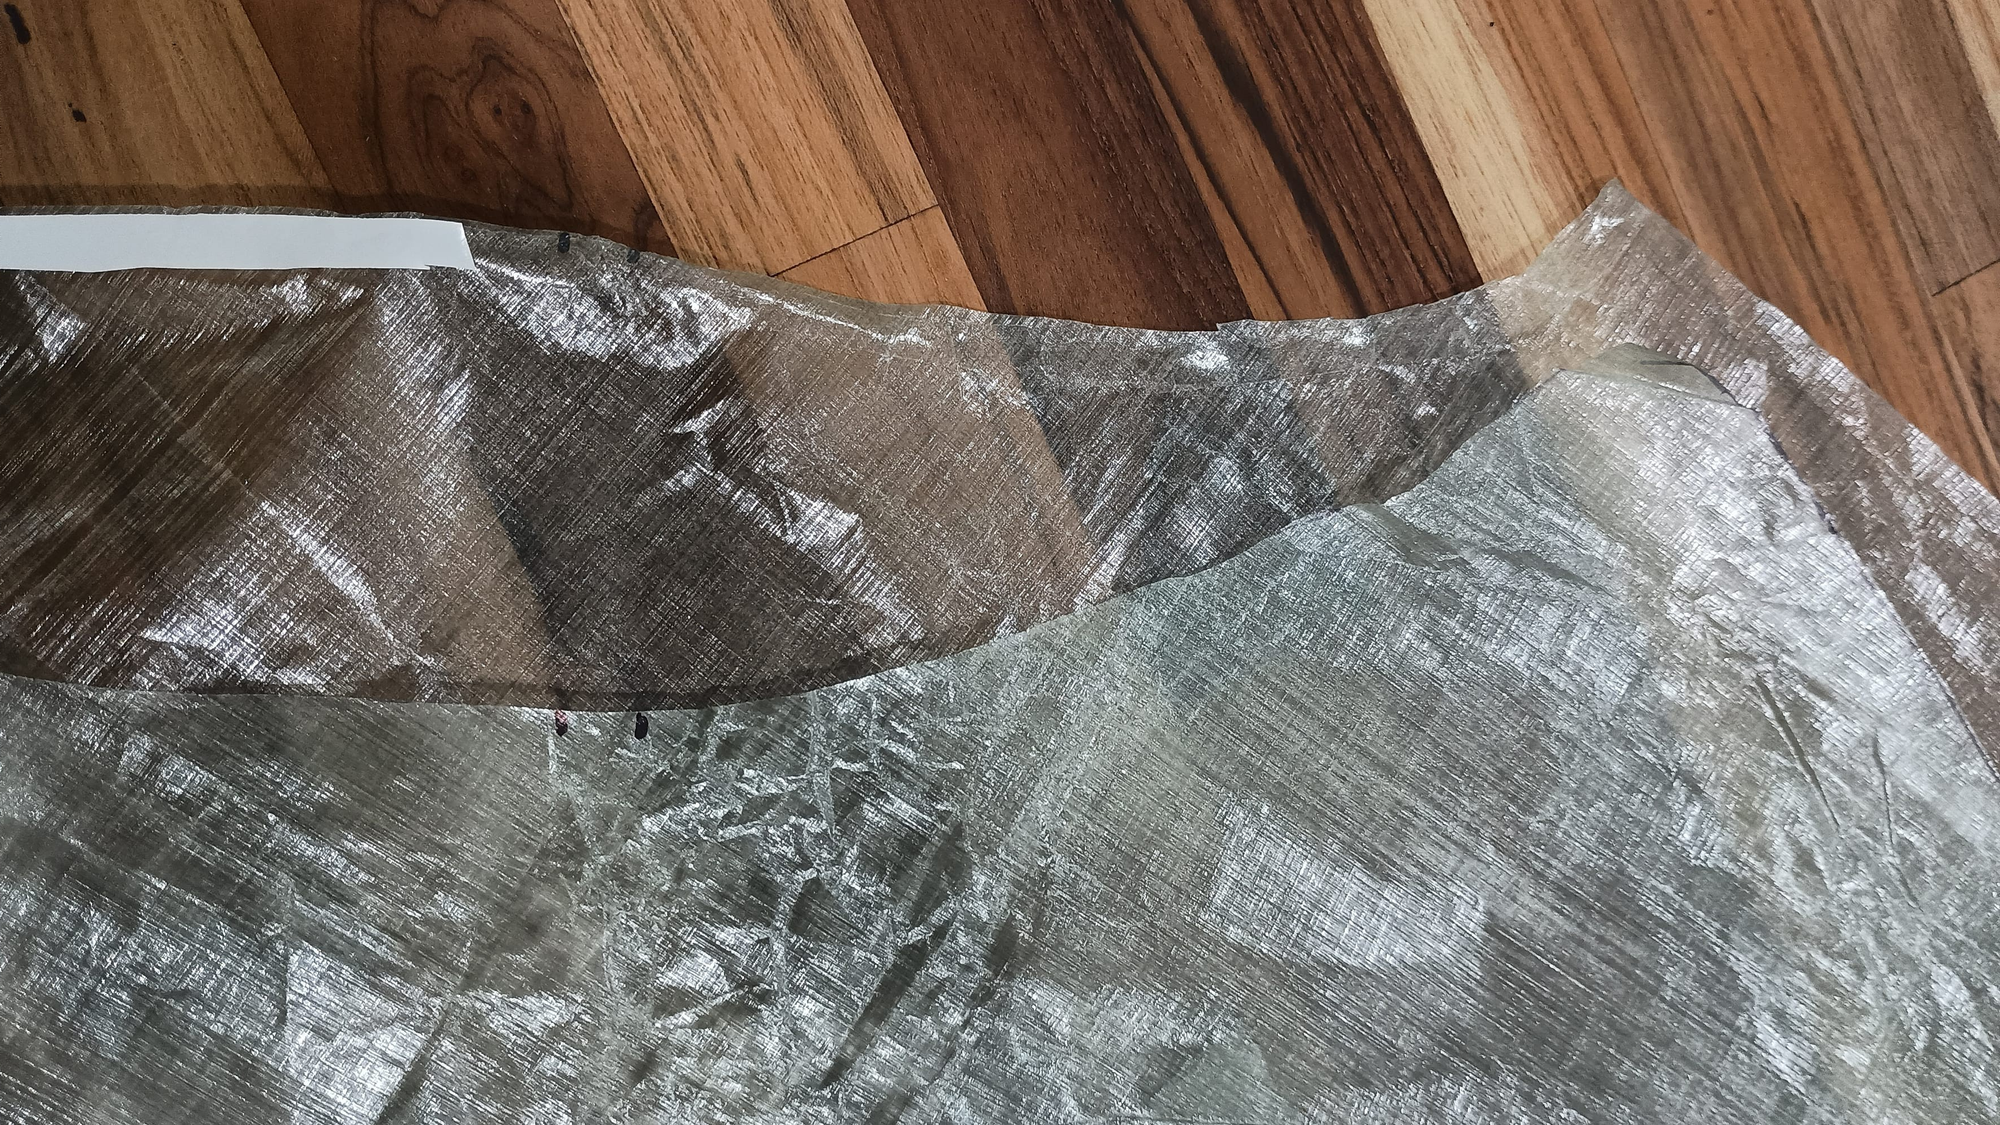
- DCF holds sharpie marks really well. Too well. The marks I made were visible after assembly
- Double sided PSA tape for working with DCF is the bomb. It makes assembling things super easy. Way easier to work with DCF than pins in normal fabric
- Zippers are heavy, but worth it.
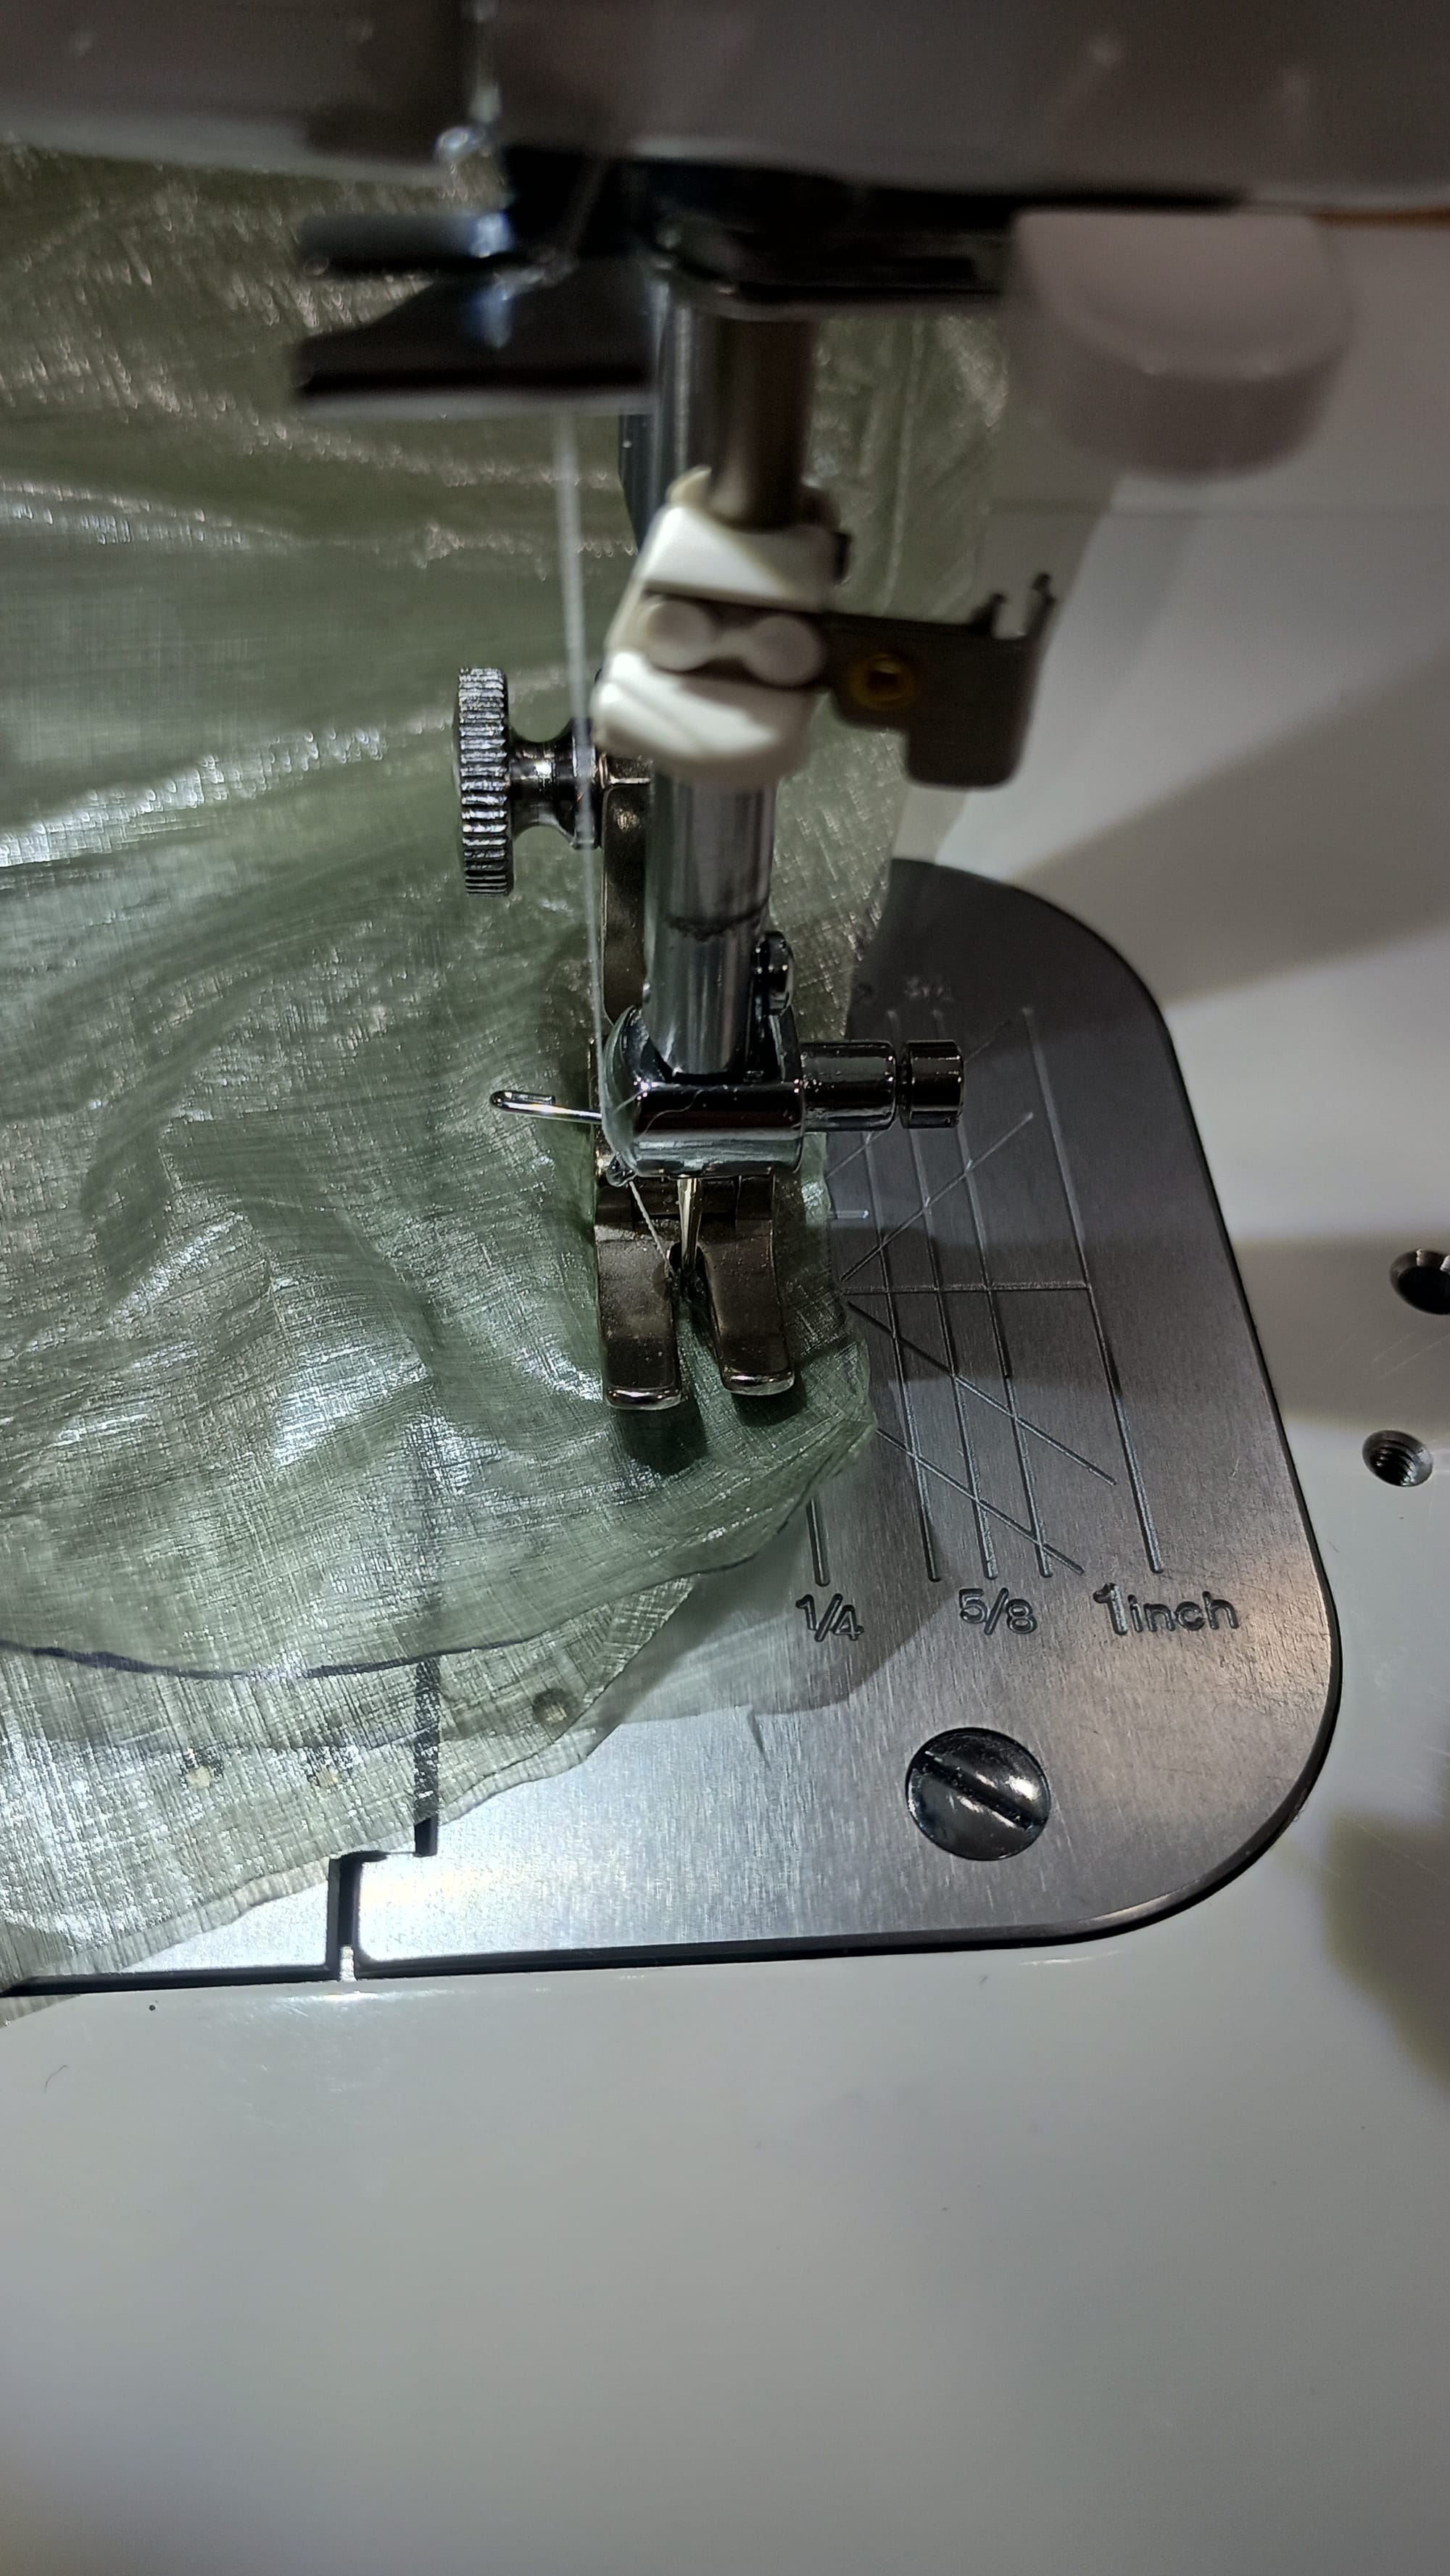
- A sewing machine with a control to slow the machine down is a great thing, and the ability to cut the tread at the press of a button is almost cheating!
Costs
- 2.5 yards of DCF at $44/yard: $110. From Dutchware (Ripstop was sold out.)
- 2-way zipper: $14 from Wawak
- Pit zips: $14.50 from Amazon (for a dozen)
- Double sided tape and Seam Tape: $8.50 & $10 from Ripstop.
- Pattern and template: $27 from Ripstop
- Interfacing, shock cord, mini cord lock, Tyvek, and practice zippers from existing supplies on hand.
- total $184 (shipping included.)
For comparison, a similar offering from Timmermade goes for $280. But I didn't have to try to win the lottery. And I have a pattern and extra zippers for Stephanie to use on her jacket.
Keep hiking my friends