Xmid Footprint Quest
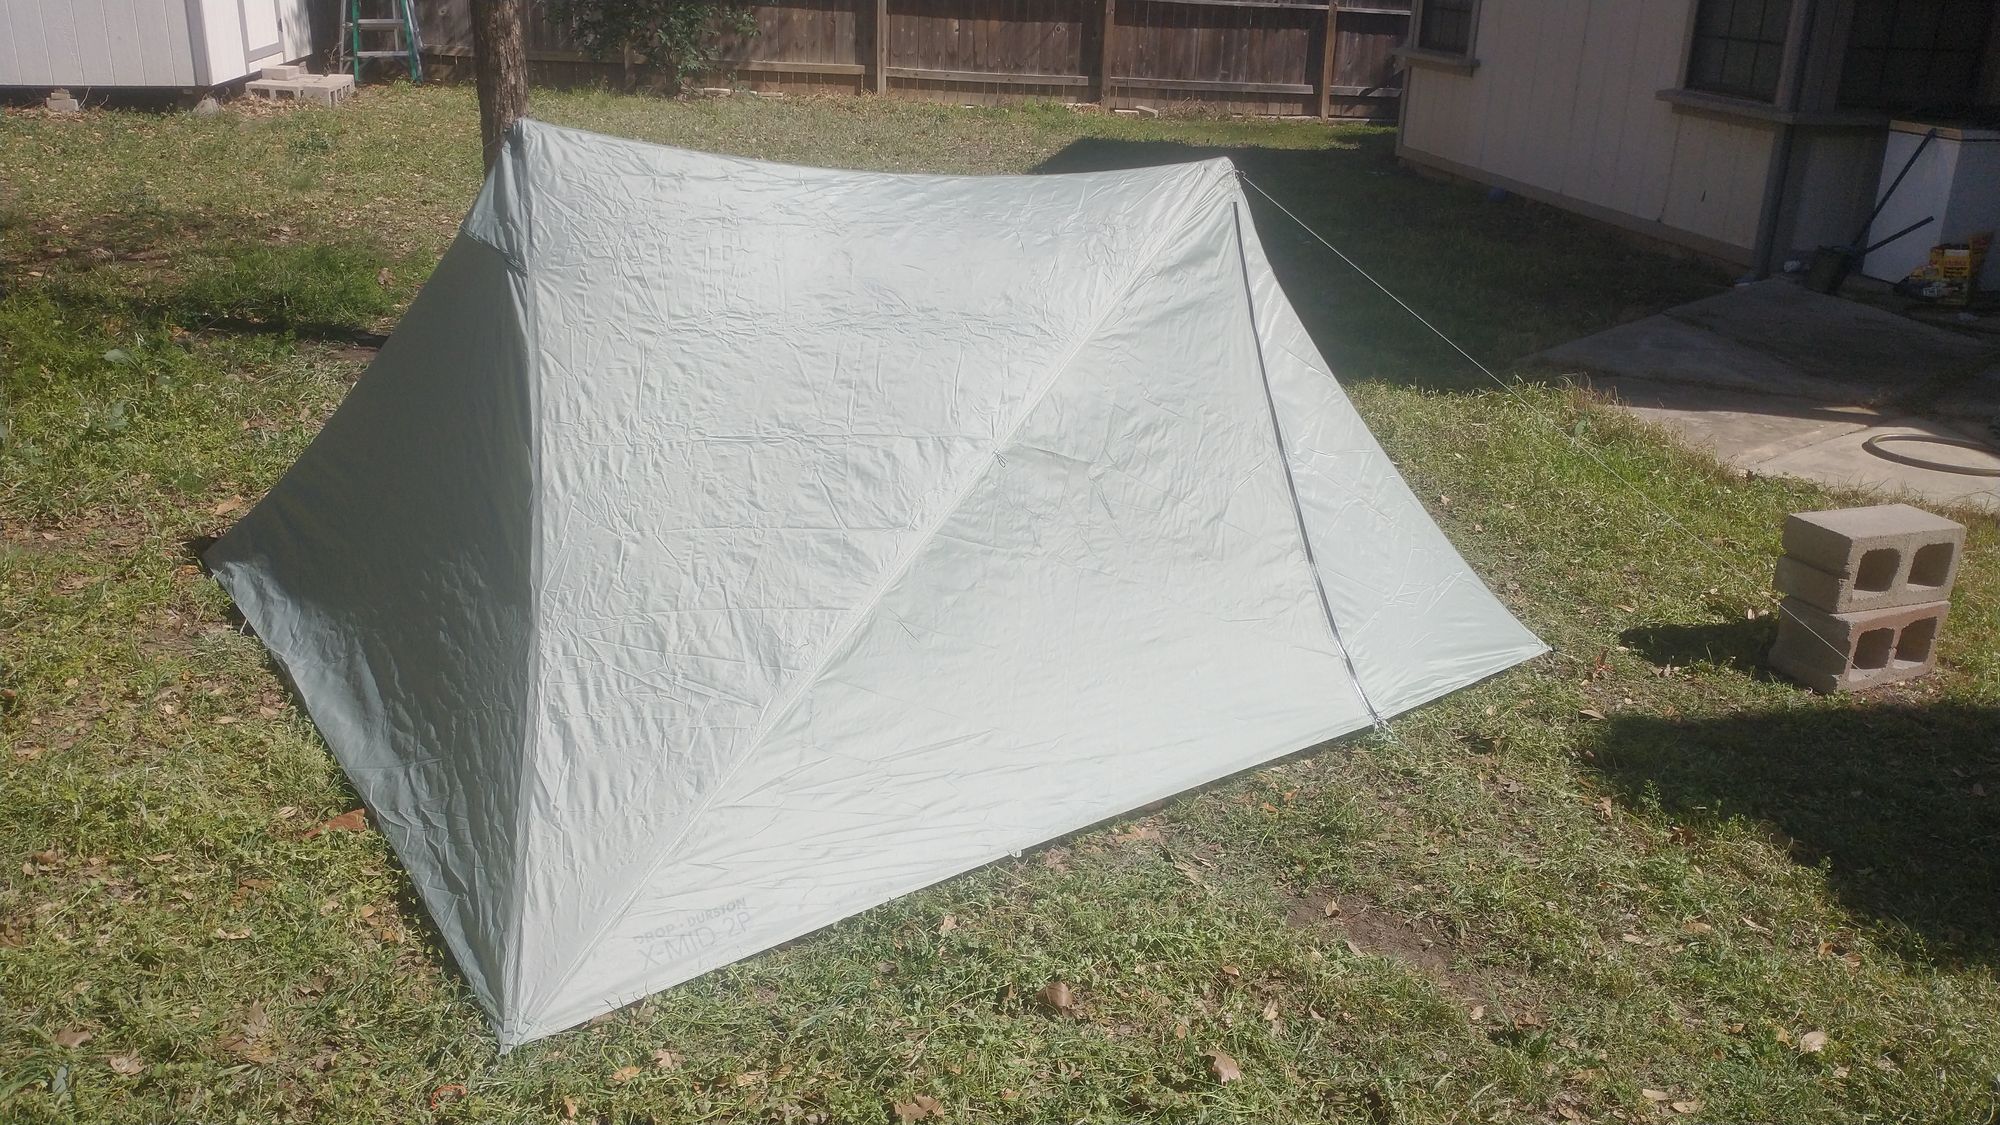
When I was making my transition from traditional to lightweight backpacking in 2020/2021, I learned about trekking pole tents. (Ok, I'll admit it: it was YouTube videos.) Nifty idea I thought, but $700 for a tent was ridiculous - no way was I buying anything made of DCF (Dyneema Composite Fabric.) So I started Googling other tent materials. Sil-nylon and sil-polyester were the two most common, with sil-nylon dominating. Both of the free-standing tents I then had - a Big Agnes Fly Creek UL1 and a REI Quarterdome SL1 - were sil-nylon. I read and knew from experience of the propensity for sil-nylon to stretch when wet whereas sil-poly was much less likely to do so. And from what I'd read, that is a big deal for a non-freestanding tent. So, if the Lanshan series of tents were sil-poly I would probably have ordered one of those instead of my first Xmid. You see, at the time, Drop was marketing Xmids through Amazon. Sure, the Xmid cost more than the Lanshan, but it was stimulus check money I was spending, so the extra bit didn't really bother me. Plus, I really liked the "thinking outside the box" aspect of the Xmid - i.e. sleeping on the diagonal. On March 15, 2020 I ordered one. Two days later it arrived. I had no idea how lucky I was. I immediately pitched it in my back yard, snapped this innagural pic, and posted it on the Facebook Ultralight Backpacking group. That's when/how I learned about the Durston Gearheads group. Alas, I'm now a thru-and-thru convert / cult member evangelizing at any opportunity.
I have never been a tent footprint fan. Protecting the bottom of the tent seems unnecessary to me - I mean, unless you're camping on top of cactuses, lava, or broken glass. A footprint to keep the bottom of your tent dry seems equally stupid. WTF the purpose of a tent floor if it's not waterproof? But there is one thing that makes the extra ounces of a footprint worth it to me. It's so that when you are packing up your tent you don't have to roll it up in the dirt, mud, and leaves. Nothing annoys me more than kneeling in the mud to get the top of my tent muddy when packing it up.
Durston offers a footprint. It's the grey part in the image below. It only covers the bottom of the tent, not the triangular vestibule areas in front of each door.
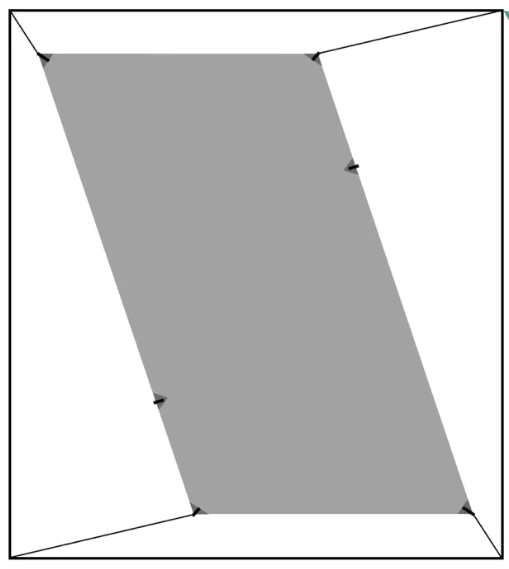
Besides not getting dirt/mud all over the tent when rolling it up, another thing that annoys me is setting my gear down in the dirt when storing it in the vestibules. In addition, floorless vestibules mean I do not have a place to take my shoes off to prevent tracking dirt into the tent. The Durston footprint design doesn't fit my requirements.
The Quest
The perfect tent footprint for an Xmid would be rectangular to cover the majority of the actual "footprint" of the tent. It wouldn't have to cover the entire width of the tent - I could sacrifice complete coverage and only use 1 door if I had to. But it would have to be durable and light as possible. And it would have to include reinforcement at stress points. Oh yeah, and cost.
For my first attempt, I purchased some Tyvek online. I was able to get a 10' wide strip and cut it to size to get the perfect fit for the tent. I then folded the edges to reinforce and installed brass grommets. That's when I learned that Tyvek comes in different weights/thicknesses. This thing ended up weighing 387 grams. Totally unacceptable. (For comparison, the bugmesh inner weighs 422 grams)
My second attempt was Polycro. It was not wide enough to cover both vestibules, but it was ultralight: only 52 grams for the sheet. It was too light actually. Getting it laid out became a hassle - the slightest breeze and it was all over the place. And it would tear if you looked at it sideways. Nope.
I went without a groundsheet for a while - unwilling to carry the weight of Tyvek, unwilling to deal with PITA Polycro, and unwilling to go with the off-the-shelf shape. In all fairness I should have sought out the proper grade of Tyvek and tried again, but before I did I started getting into MYOG (Make Your Own Gear.) That was when I learned about this material: Membrane Silpoly. From Ripstop-By-The-Roll website:
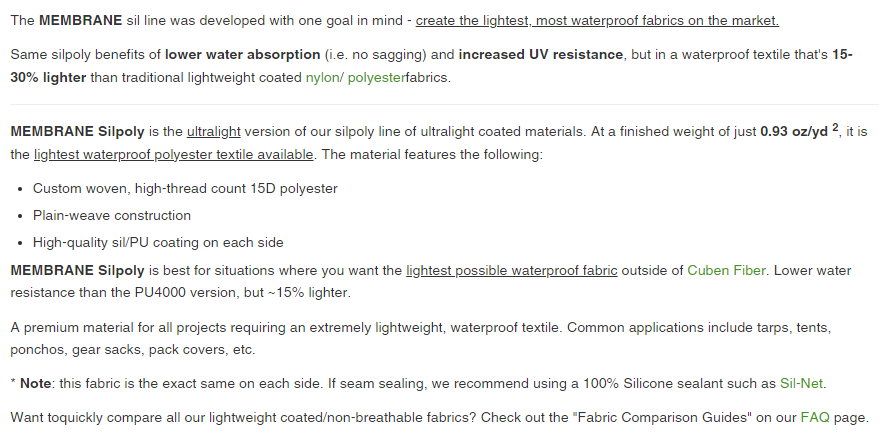
For $8-$9.50 per yard (depending on color) this material comes 60 inches wide.
The Design
My footprint design uses 60 inch wide material with a finished/hemmed length of 94 inches. I order 3 yards of material, cut it to 96 inches, and roll a hem on both cut edges. I do not do anything to the selvages - I leave them as-is. From the remaining material I cut 4 squares, approximately 2 inches on a side. I fold/seam to create patches roughly 1 inch square. I tie a bowline with a loop diameter of ~1" on a ~16" length piece of this or this cord, then sandwich the bowline between a square patch and a corner of the hemmed groundsheet. I go back and forth over the entire area multiple times lock the cord into place. Total weight: 118 grams.
Alternate materials
I read about this awesome material from a place called Rockywoods for $13.50 per yard for 60 inch wide. It is a 7 denier ripstop nylon with a silicone coating on one side and polyurethane coating on the other. It was supposed to be 0.68 ounces per square yard (OSY), or 26.8% lighter than the 0.93 OSY Membrane sil-poly from Ripstop. I bought 3 yards and made a second footprint, following the same design as the first. It turned out to weigh 107 grams, or just 11 grams less. I was expecting the weigh to come in somewhere around 85-86 grams. I calculated the actual OSY to be 0.85. It was 9% lighter but 68% more expensive, and took weeks vs. days to arrive. I would not recommend this as a substitute.
The use
This is where I will have to show you rather than tell you. Please watch this short video. Oh yeah, and I finally got over my cost aversion to DCF. (A divorce will do that to you!) The video will feature the Xmid 1Pro - in my opinion the best 1-person tent on the market. It's made of DCF.
Application to 2P and 2Pro
The template concept mentioned in the video using a strip of 60" wide fabric only works with the 1P and 1Pro. If you want to make a footprint/template for a 2P or 2Pro, you're going to need to purchase additional material, then cut and seam the finished rectangle to have the appropriate width for those tents. I haven't yet done that for my 2P, but it should be easy. (The 30 minute MYOG project now just became a 45-50 minute MYOG project. Still pretty trivial.) Once complete and the corner lines are adjusted properly, it would/should work the exact same way.
Keep hiking my friends.
